Tub to ShowerConversion

Converting a rarely-used tub into a functional walk-in shower is one of the most practical bathroom changes San Diego County homeowners make. We assess suitability, coordinate the conversion and deliver a fully waterproofed result.

About Us

Your Trusted Bathroom Remodeler in San Diego

We specialize in residential bathroom remodeling across San Diego County—showers, tubs, vanities, flooring, and full remodels planned around your home and schedule.

Every project starts with a clear conversation, a written scope, and a permit-aware plan so you know what to expect before work begins.

  • Licensed CA Contractor
  • Permit-First Process
  • Written Warranty
  • In-House Craftsmen

Get Your Free Bathroom Remodel Estimate

No obligation. A specialist contacts you within 1 hour.

Footprint

The Same Footprint, A Different Function

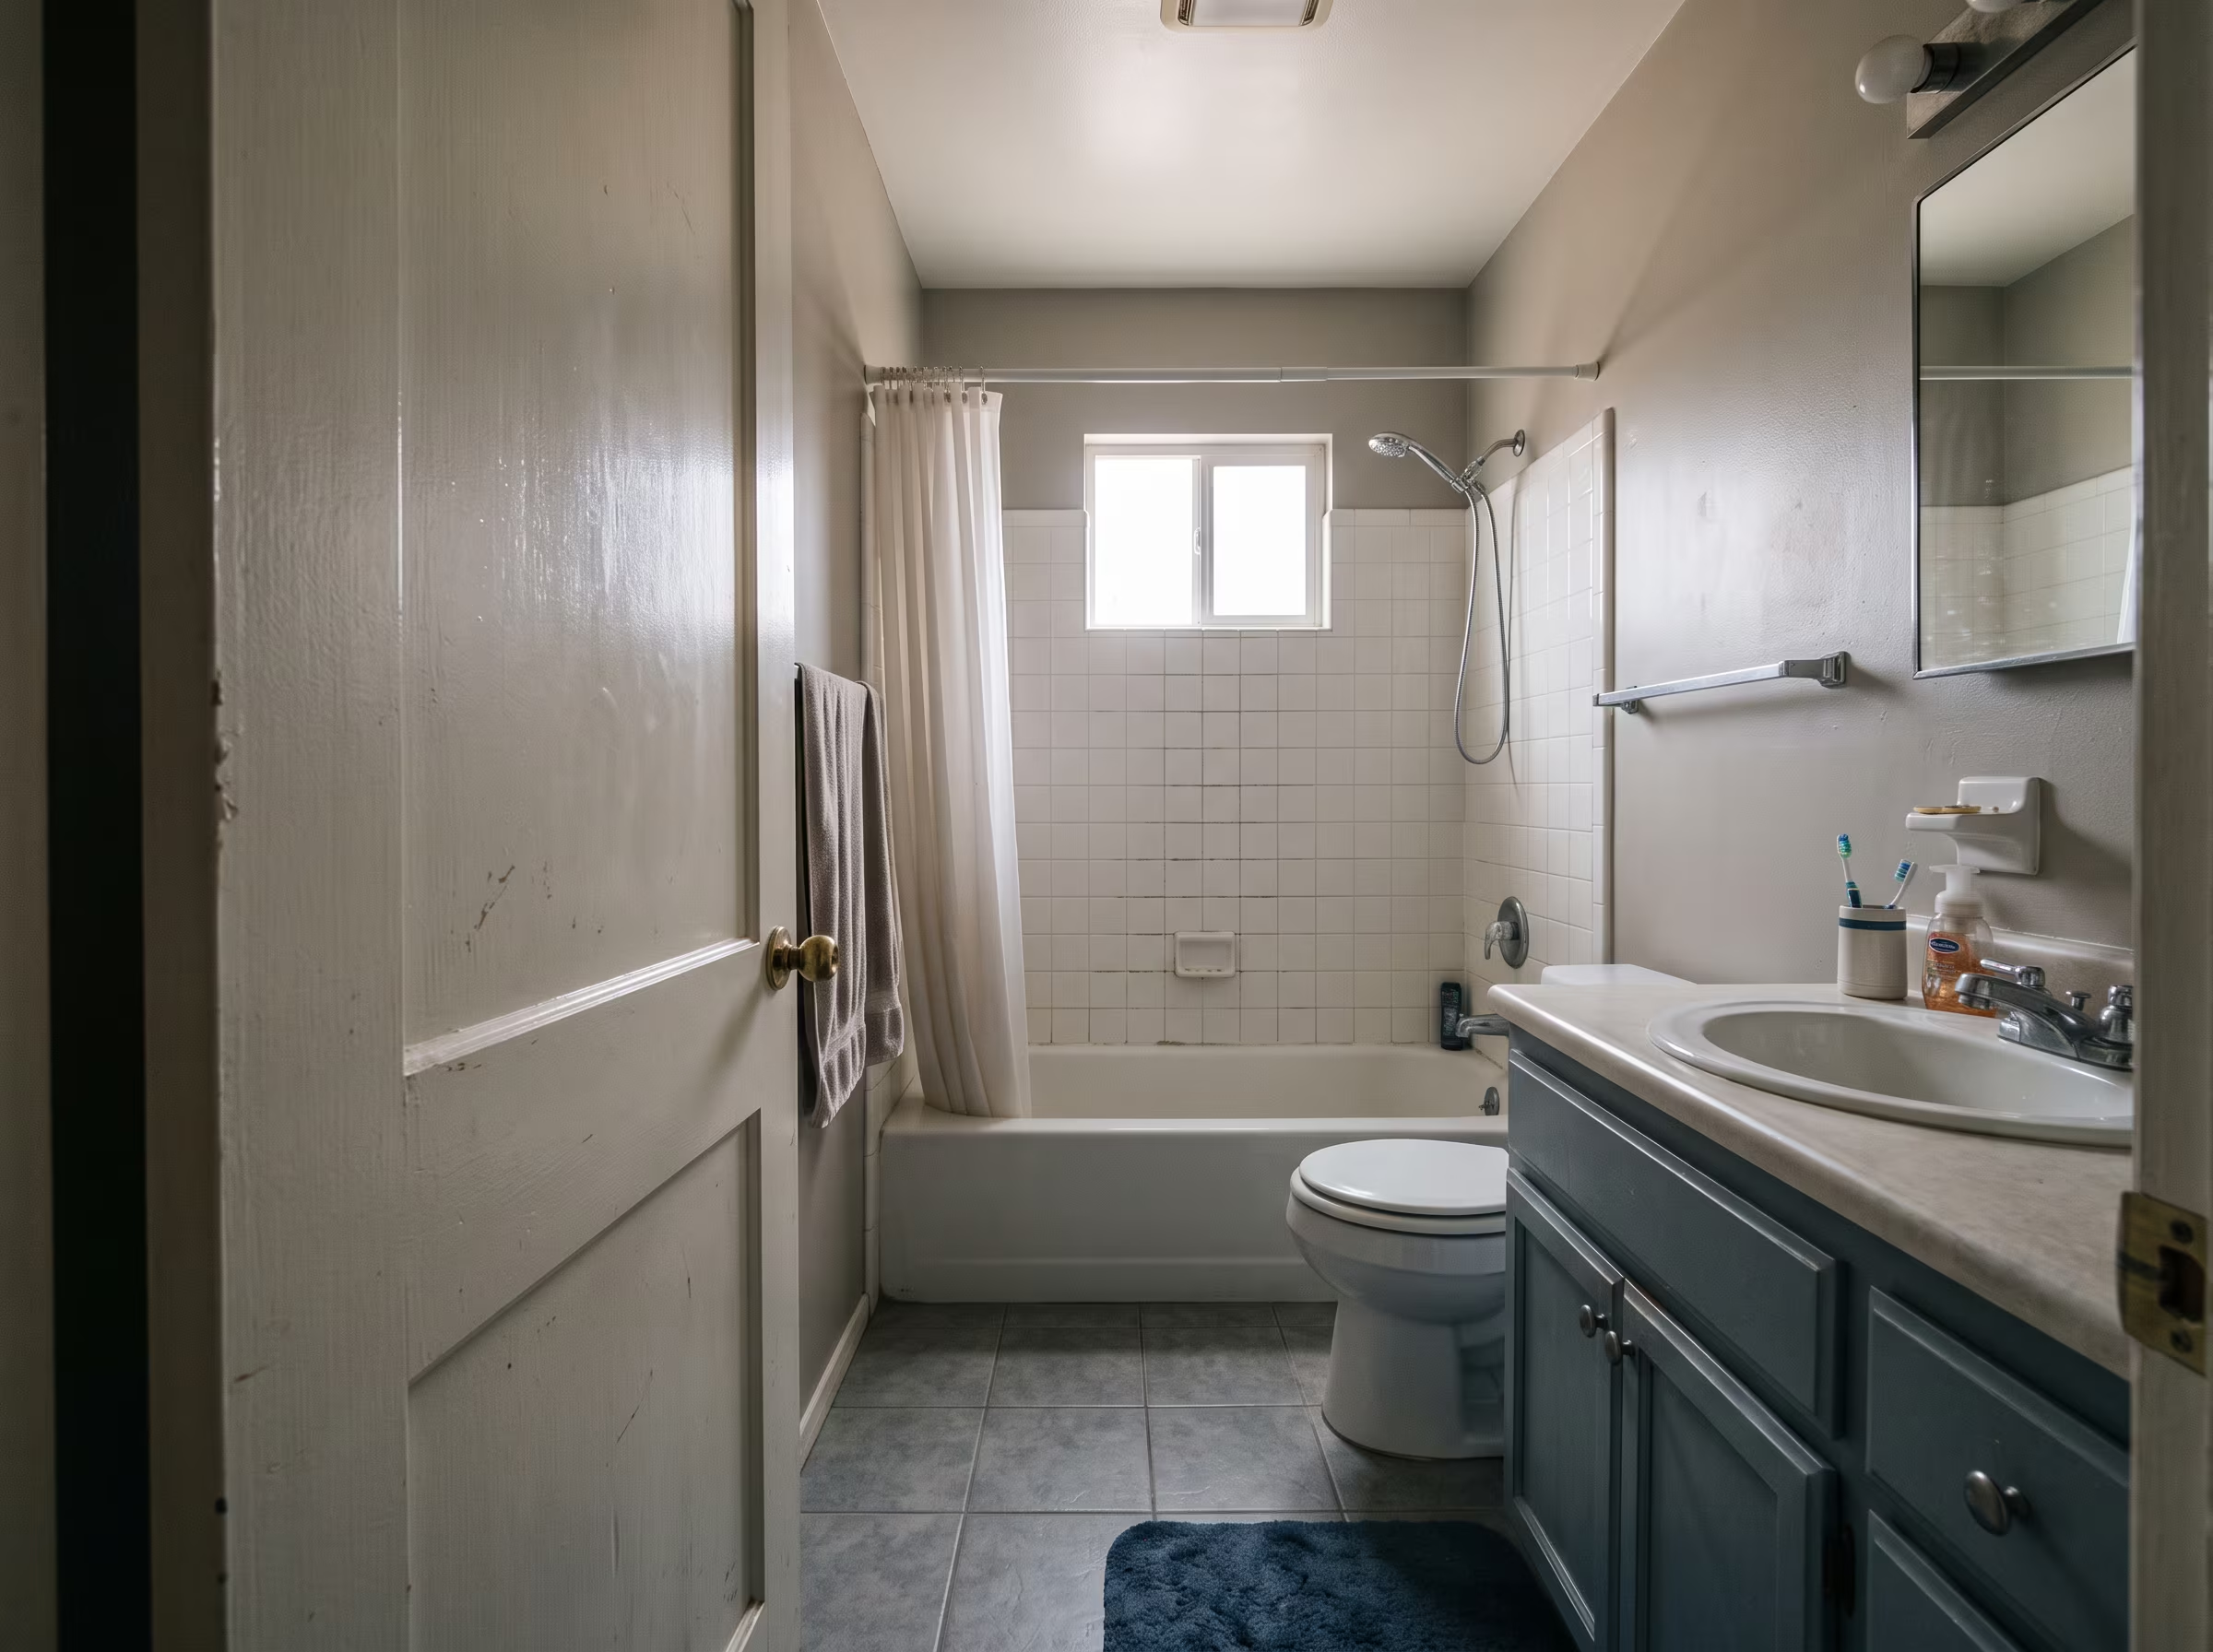
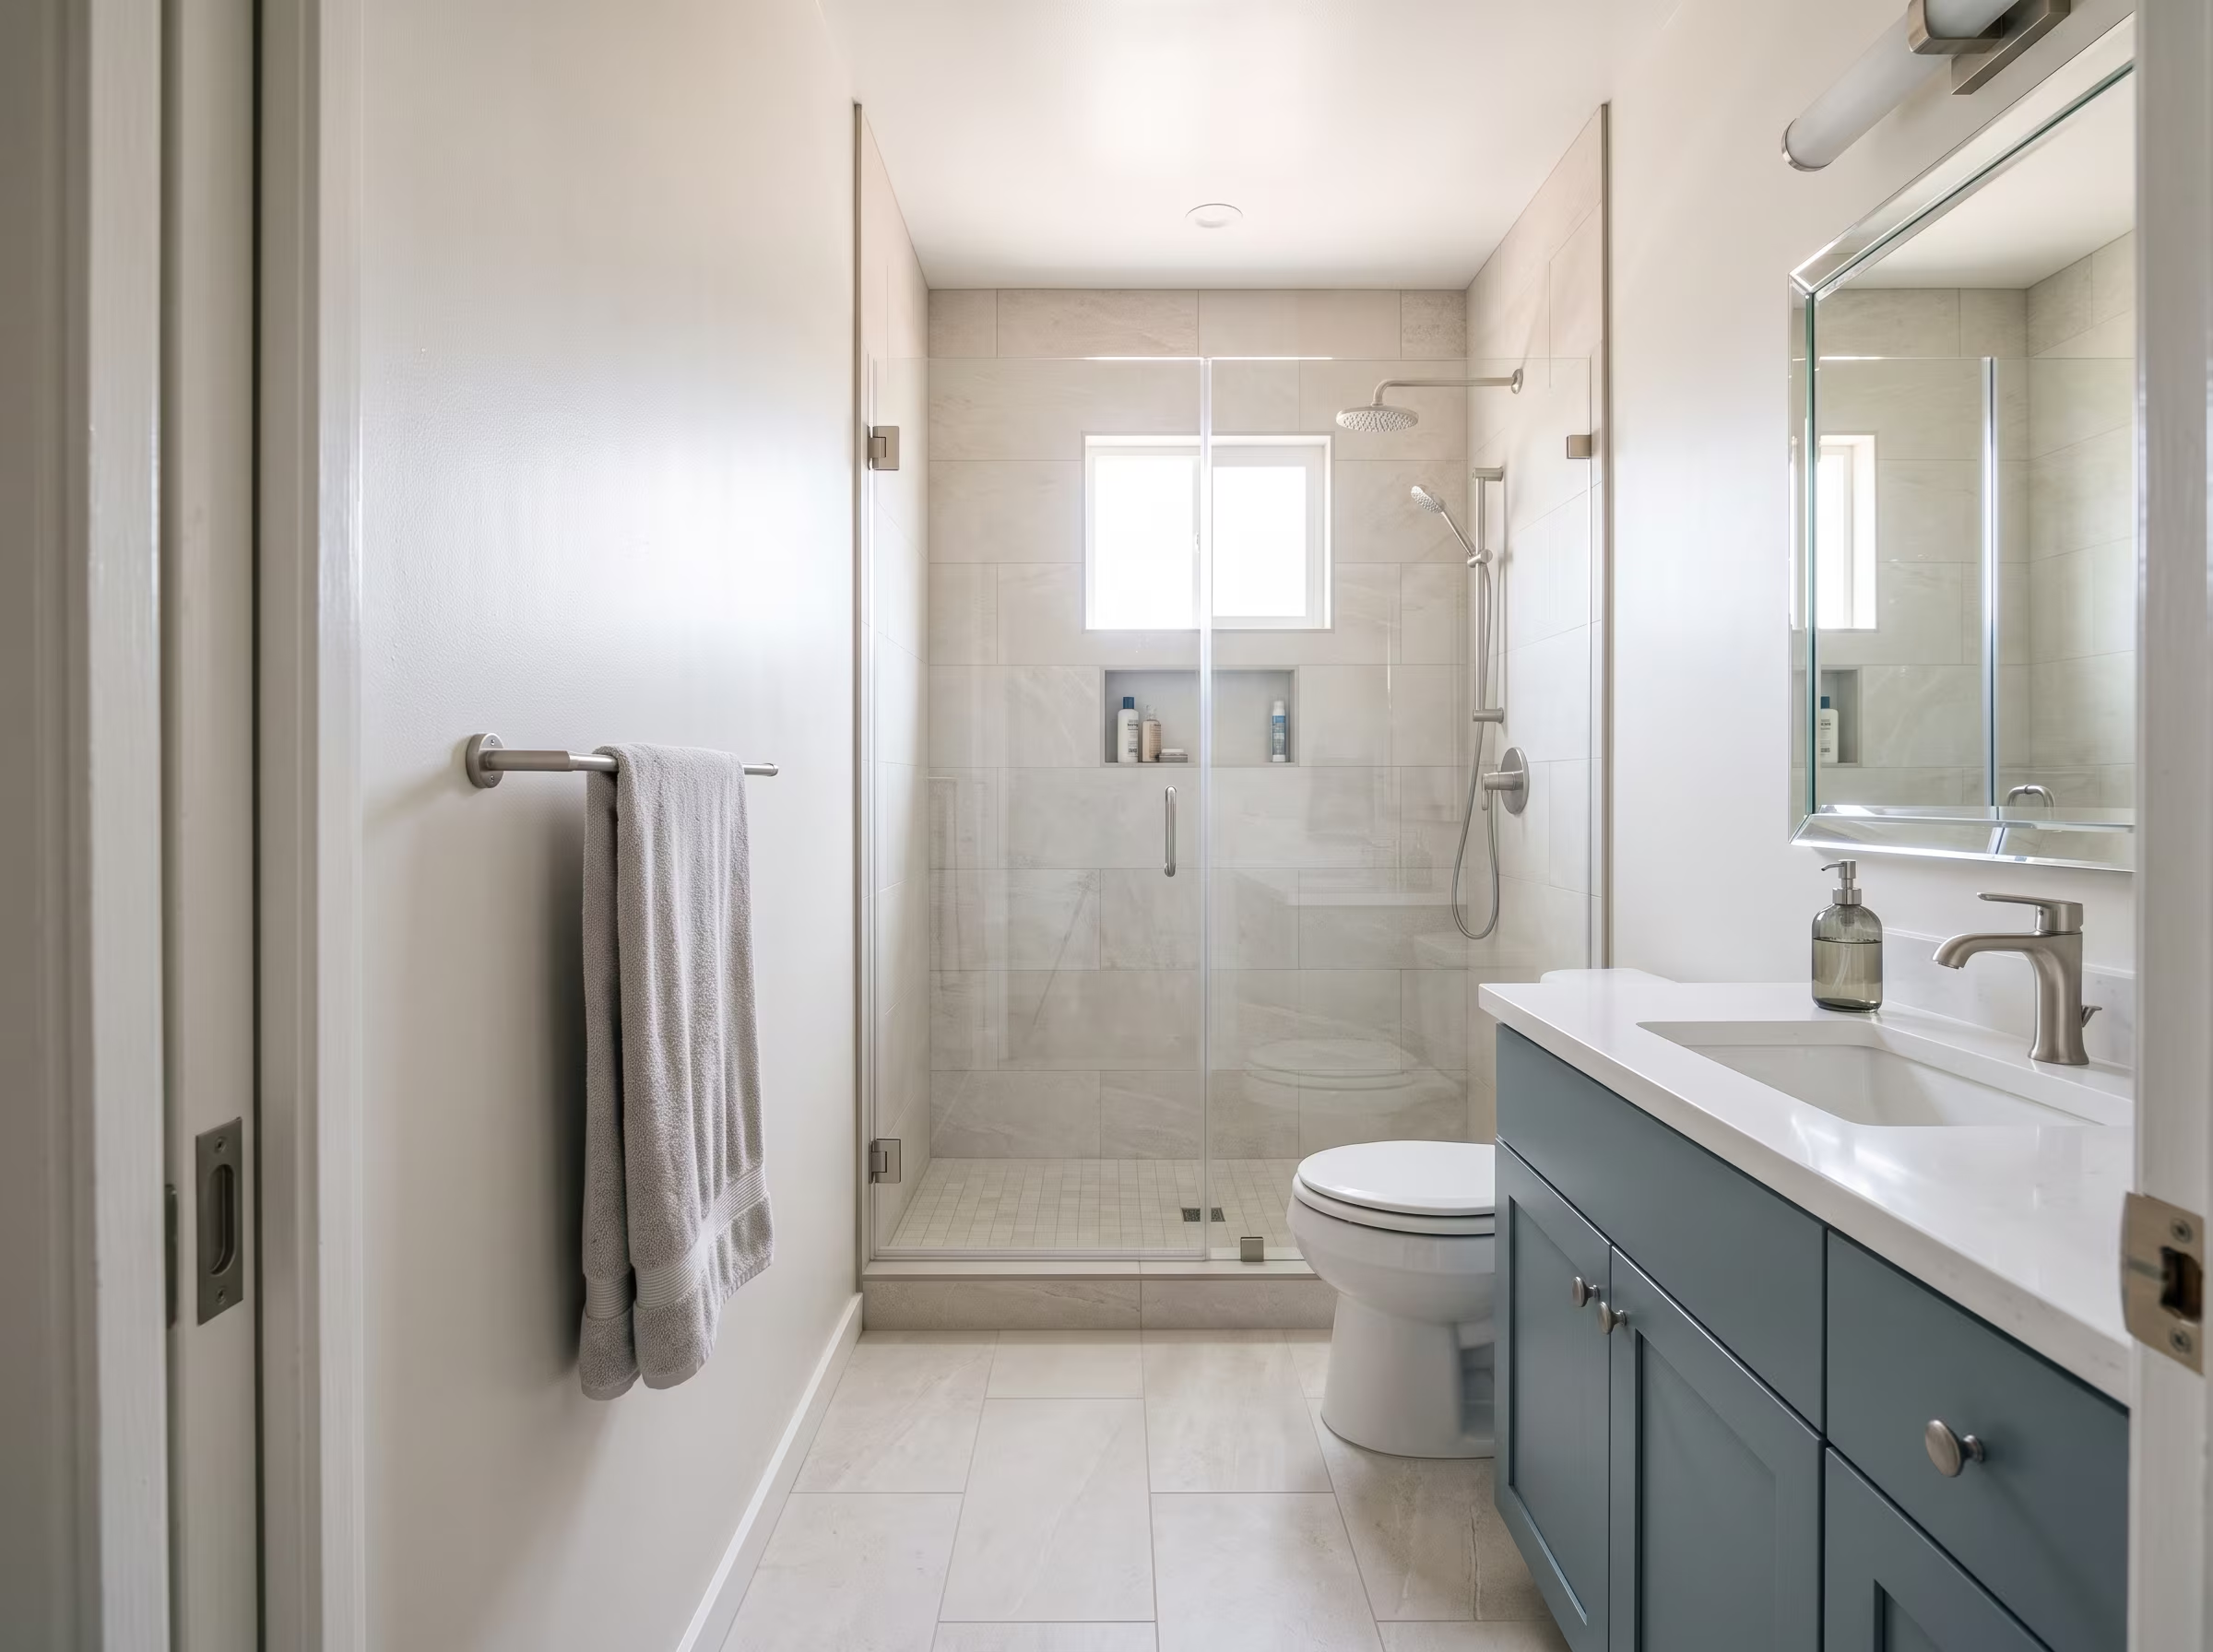
A tub-to-shower conversion uses the existing alcove space. The drain moves, the entry opens and the walls become the shower surround. Compare the layout concept below.

Before: Standard alcove bathtub in residential bathroom
Before
After: Converted walk-in shower in the same footprint
After
Fit

Is Your Bathroom a Good Fit for a Tub-to-Shower Conversion?

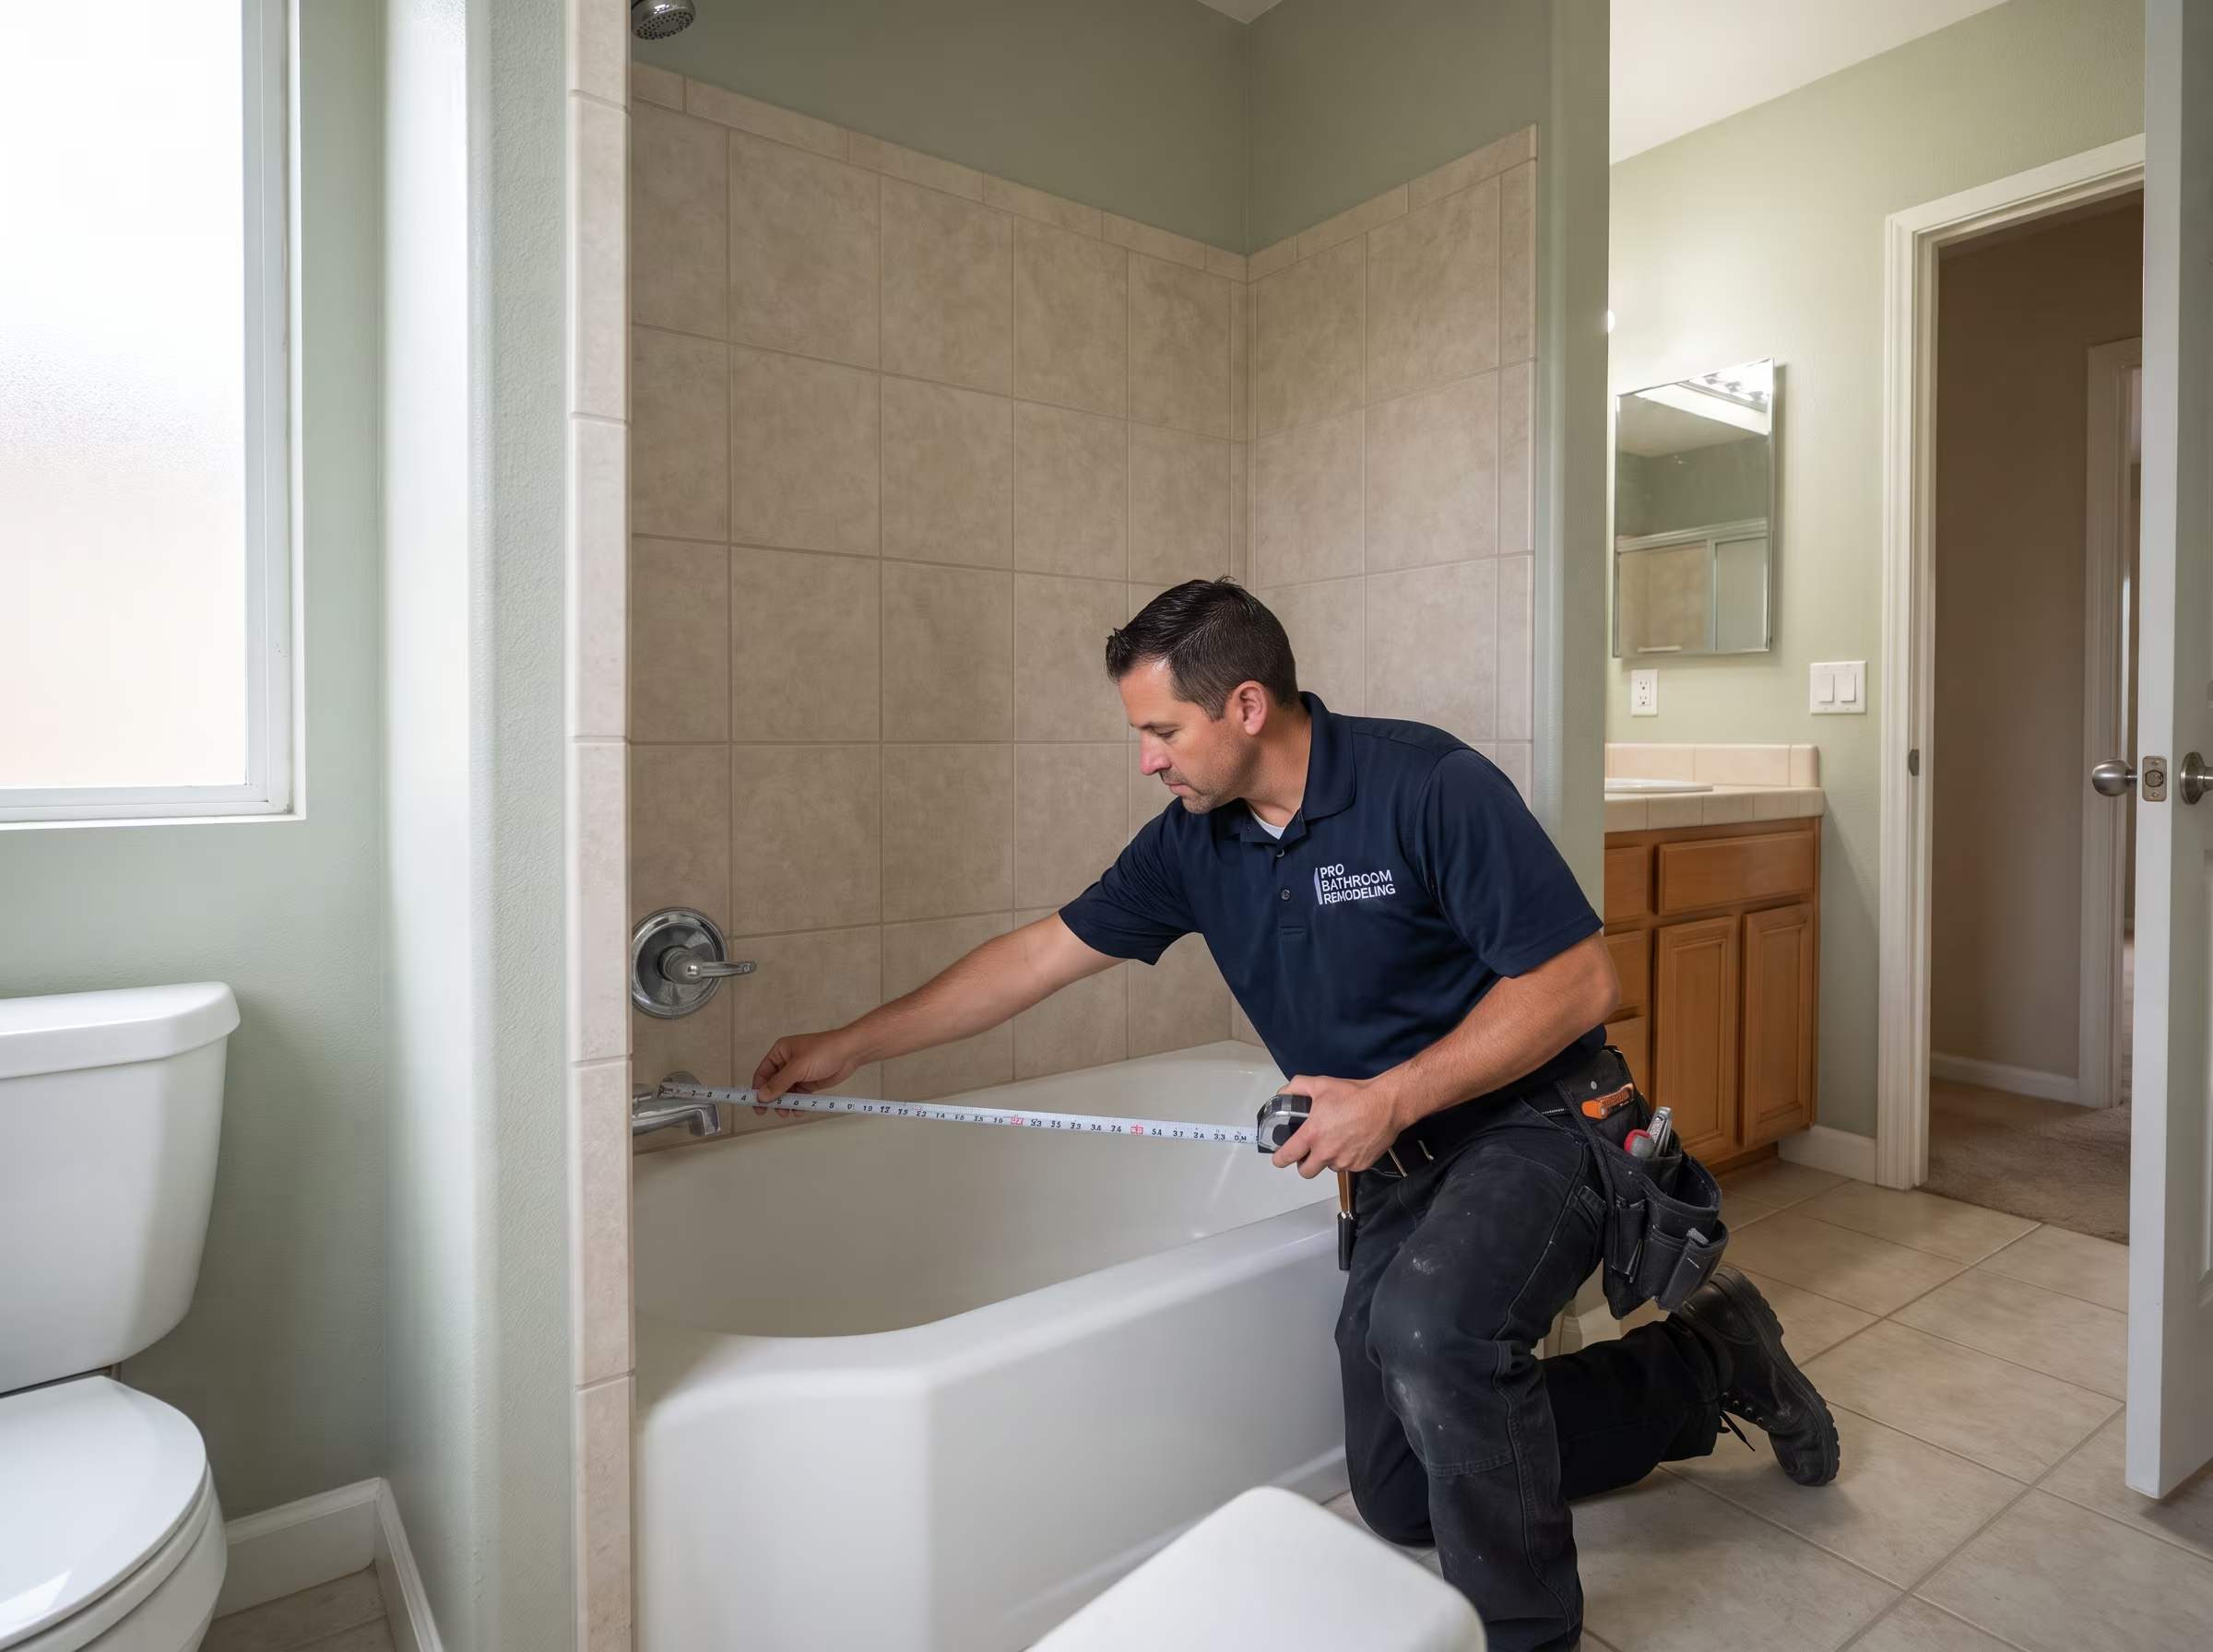
Most standard alcove tub spaces convert cleanly. These are the factors that most affect suitability. A professional assessment provides the definitive answer for your specific bathroom.

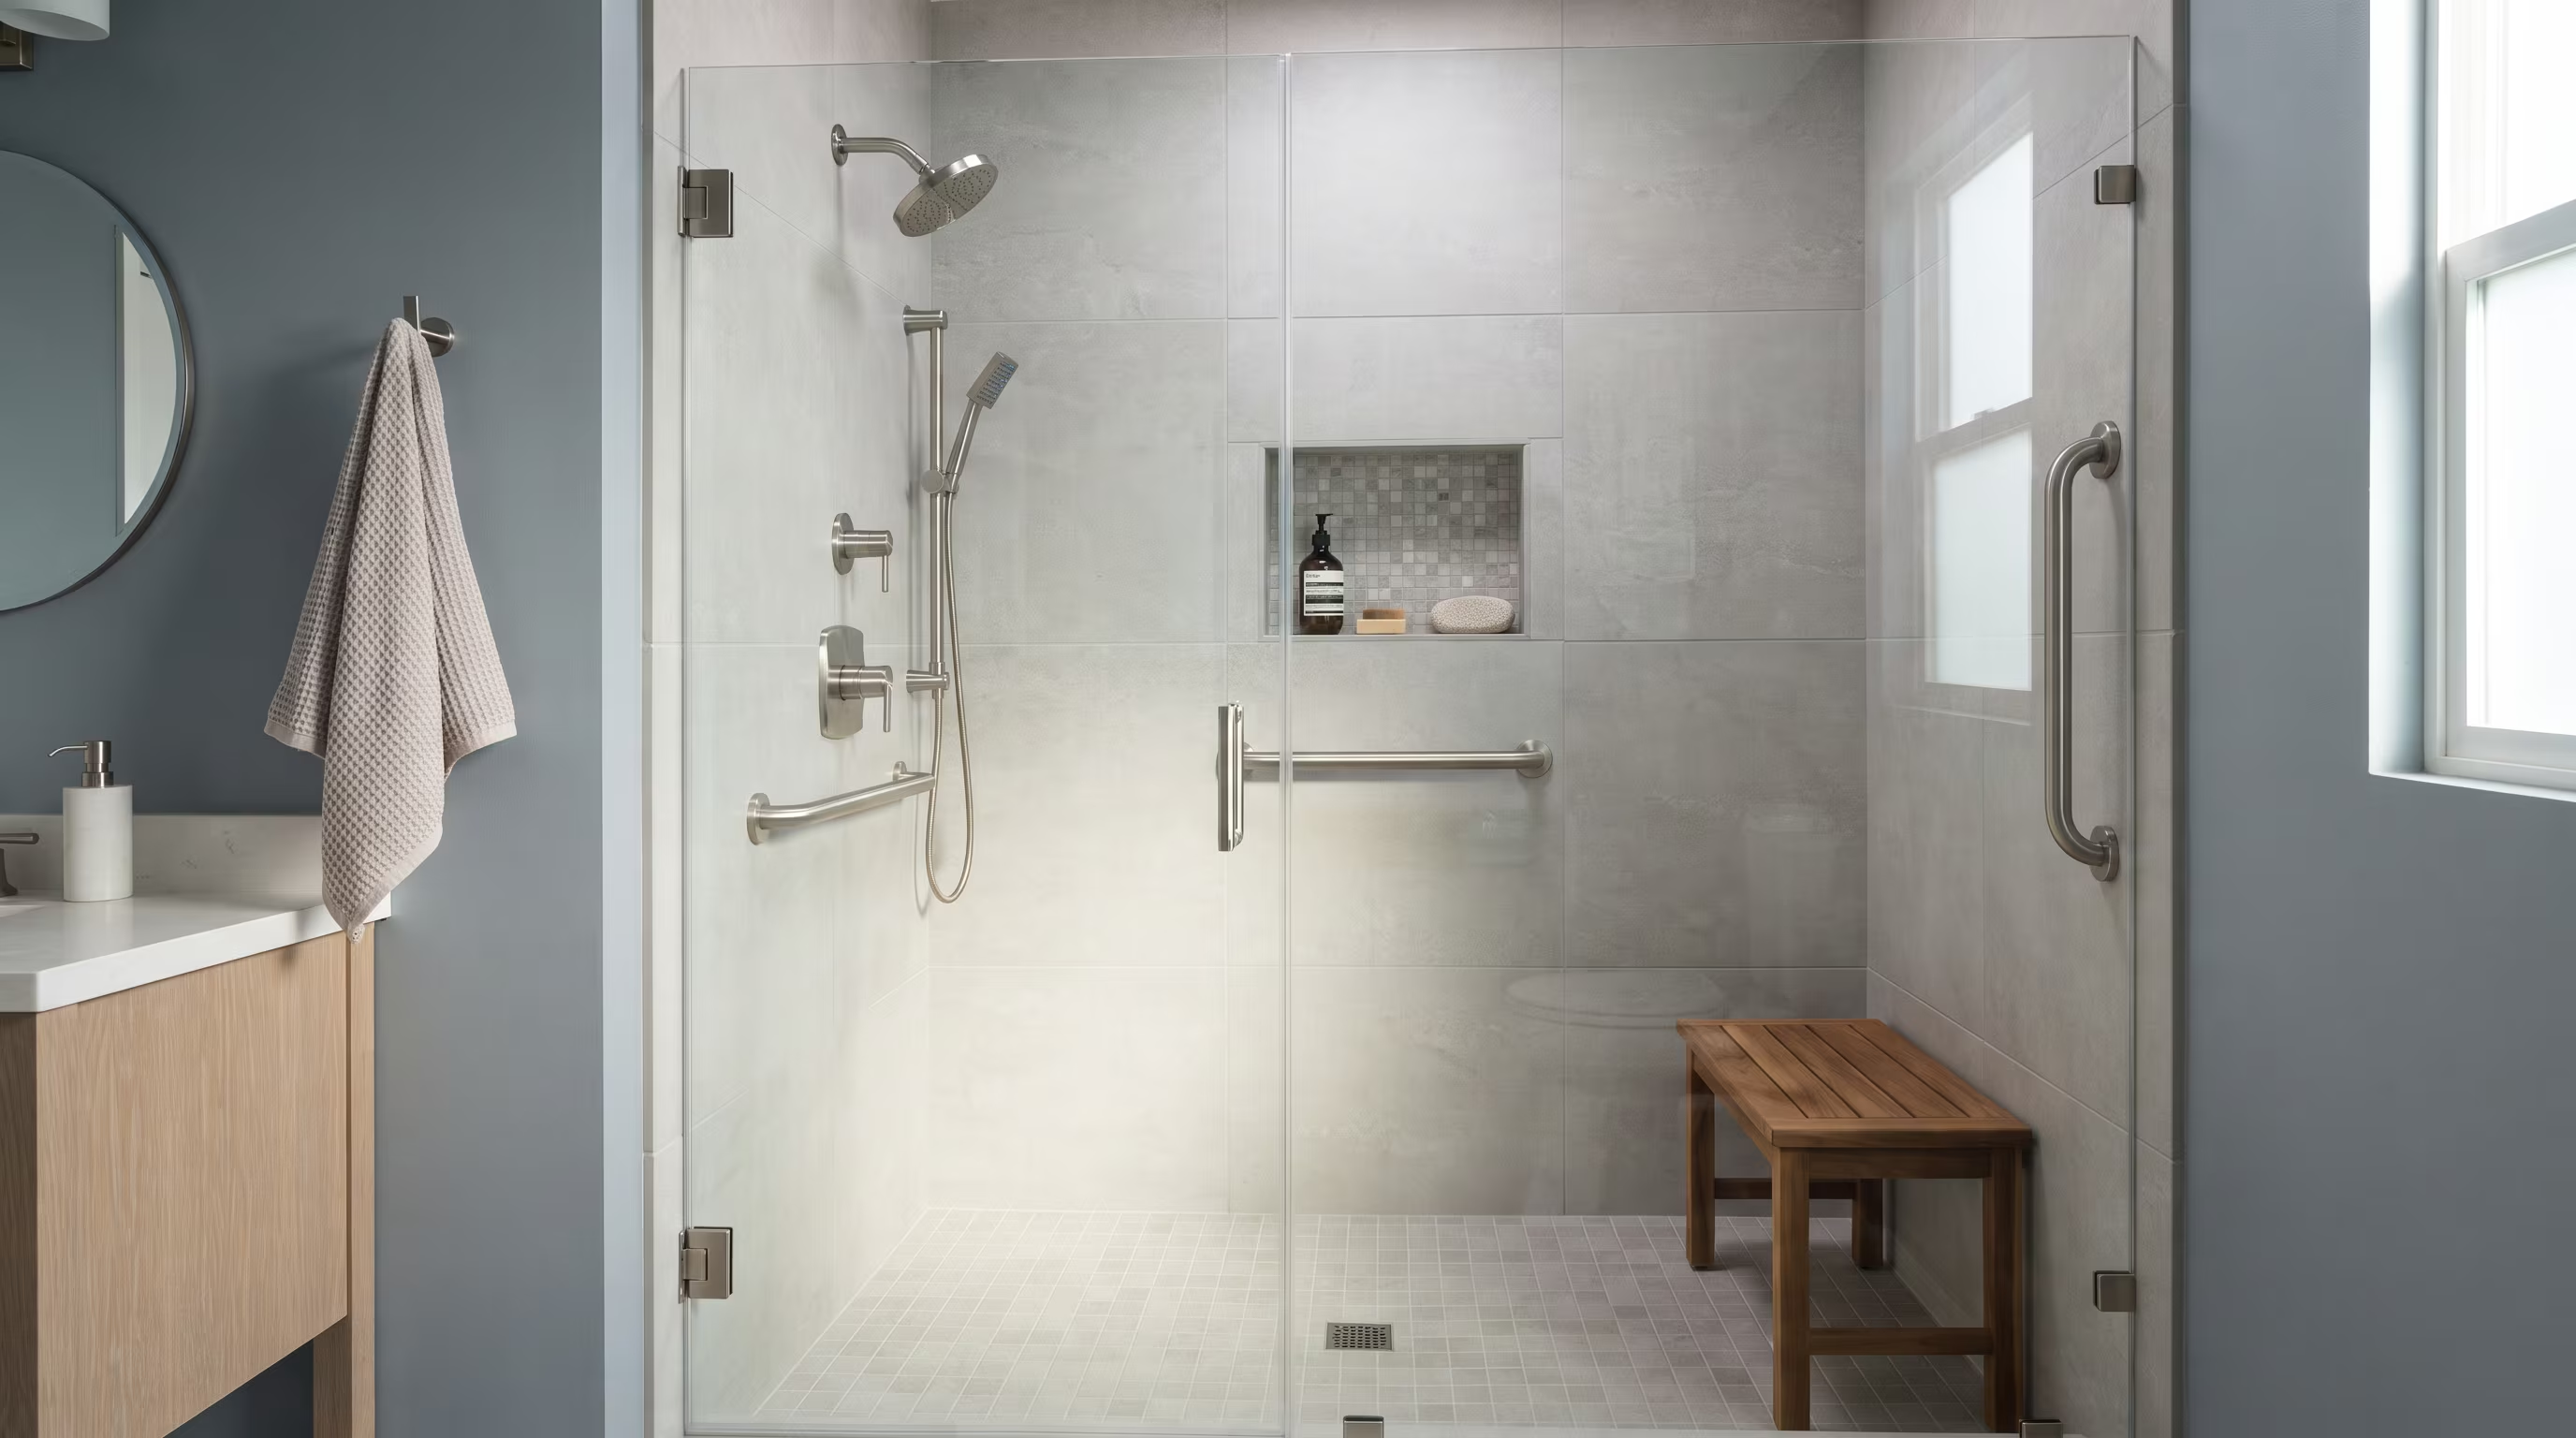
Open walk-in shower that replaced an alcove bathtub
Pass

Factors that support a clean conversion

  • Alcove tub space at least 30 inches wide and 54 inches long
  • Existing drain position allows relocation to shower center or end
  • Valve rough-in height can accommodate a shower valve
  • Surrounding walls are structurally sound without moisture damage
  • No other bathtub in the home, or household does not require one
  • Entry opening allows a swing or sliding door or open entry
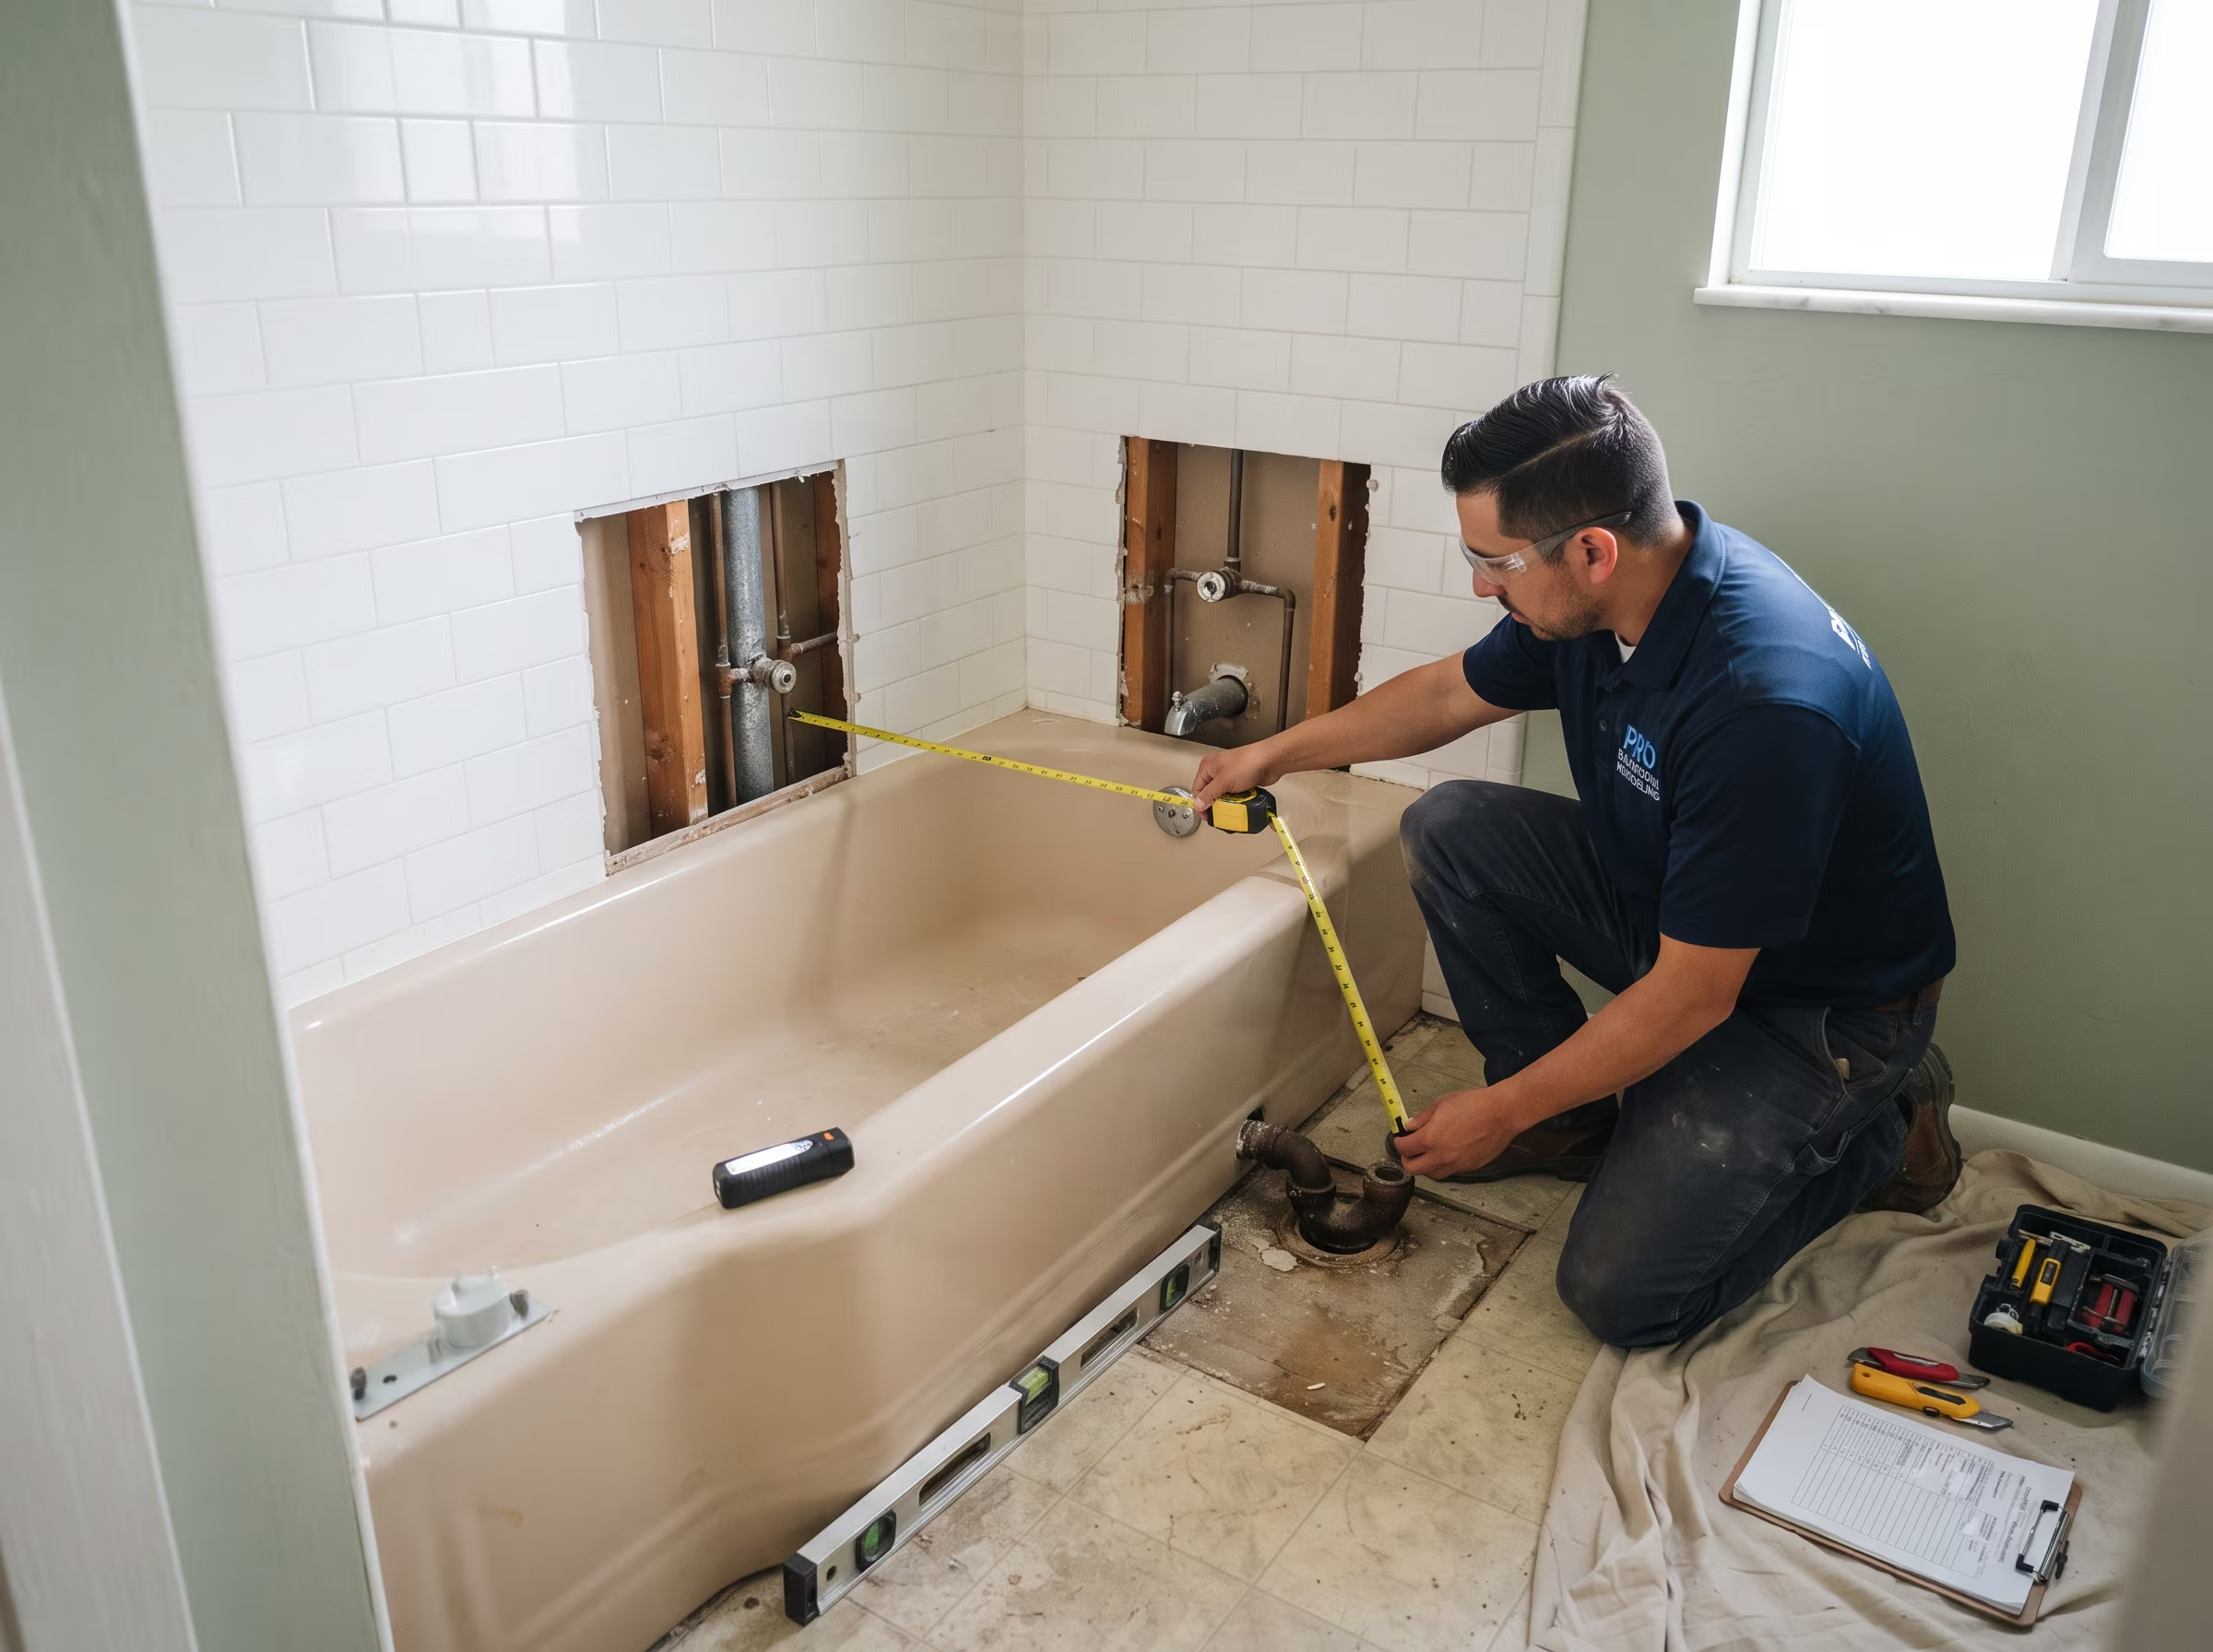
Alcove bathtub that may need further assessment before conversion
Review

Factors that require further assessment

  • Tub space narrower than 30 inches may limit shower usability
  • Drain relocation to a concrete slab floor adds scope and cost
  • Existing valve rough-in may need relocation for shower entry
  • Moisture damage in surrounding walls must be addressed first
  • Household has children or members who regularly use a tub
  • Only bathroom in the home, limiting acceptable disruption window
Alcove bathtub retained in a secondary bathroom
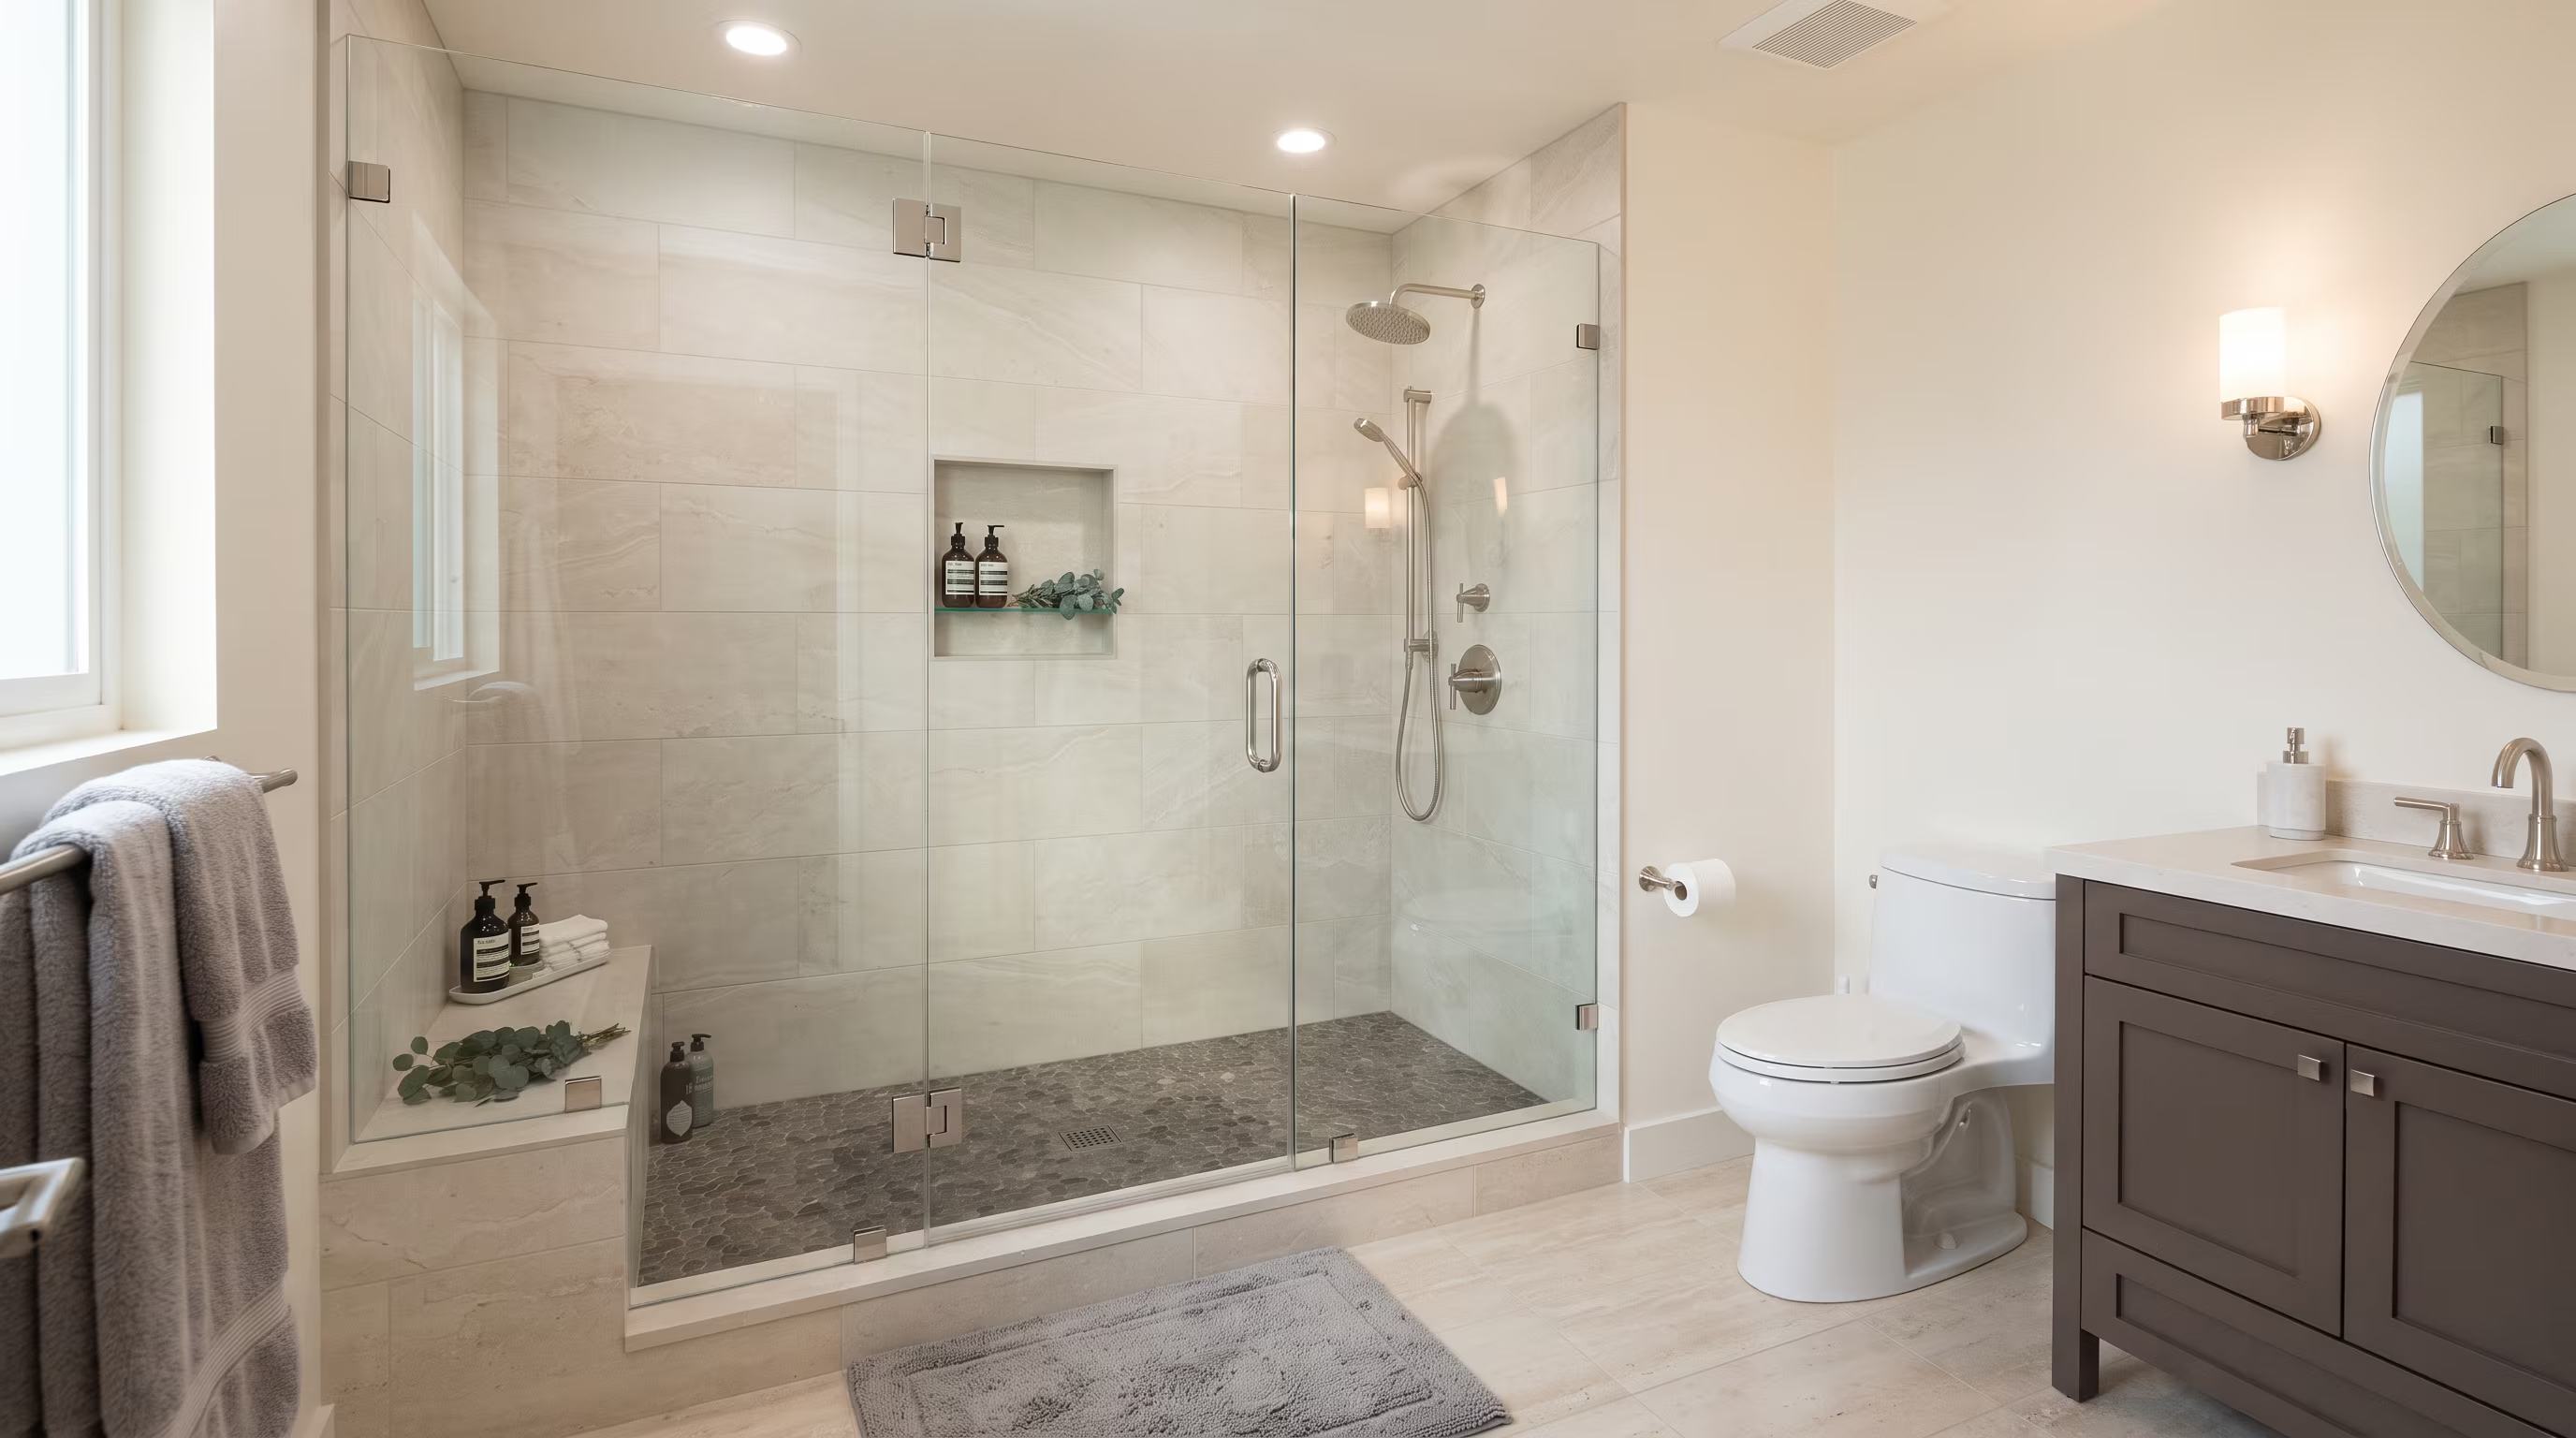
Primary bathroom converted to a walk-in marble shower
Household

Should You Keep a Tub Somewhere in the Home?

Real estate guidance and personal preference often factor into this decision. If the bathroom being converted is the only bathroom in the home, a tub may be important to retain for resale or family use. If another bathroom retains a tub, converting the primary bath to a shower-only configuration is typically a practical decision for households that prefer showering.

We discuss this question directly during the consultation, without pressure. Your daily use patterns and household composition are the most reliable guide.

Surfaces

Base and Wall System Options

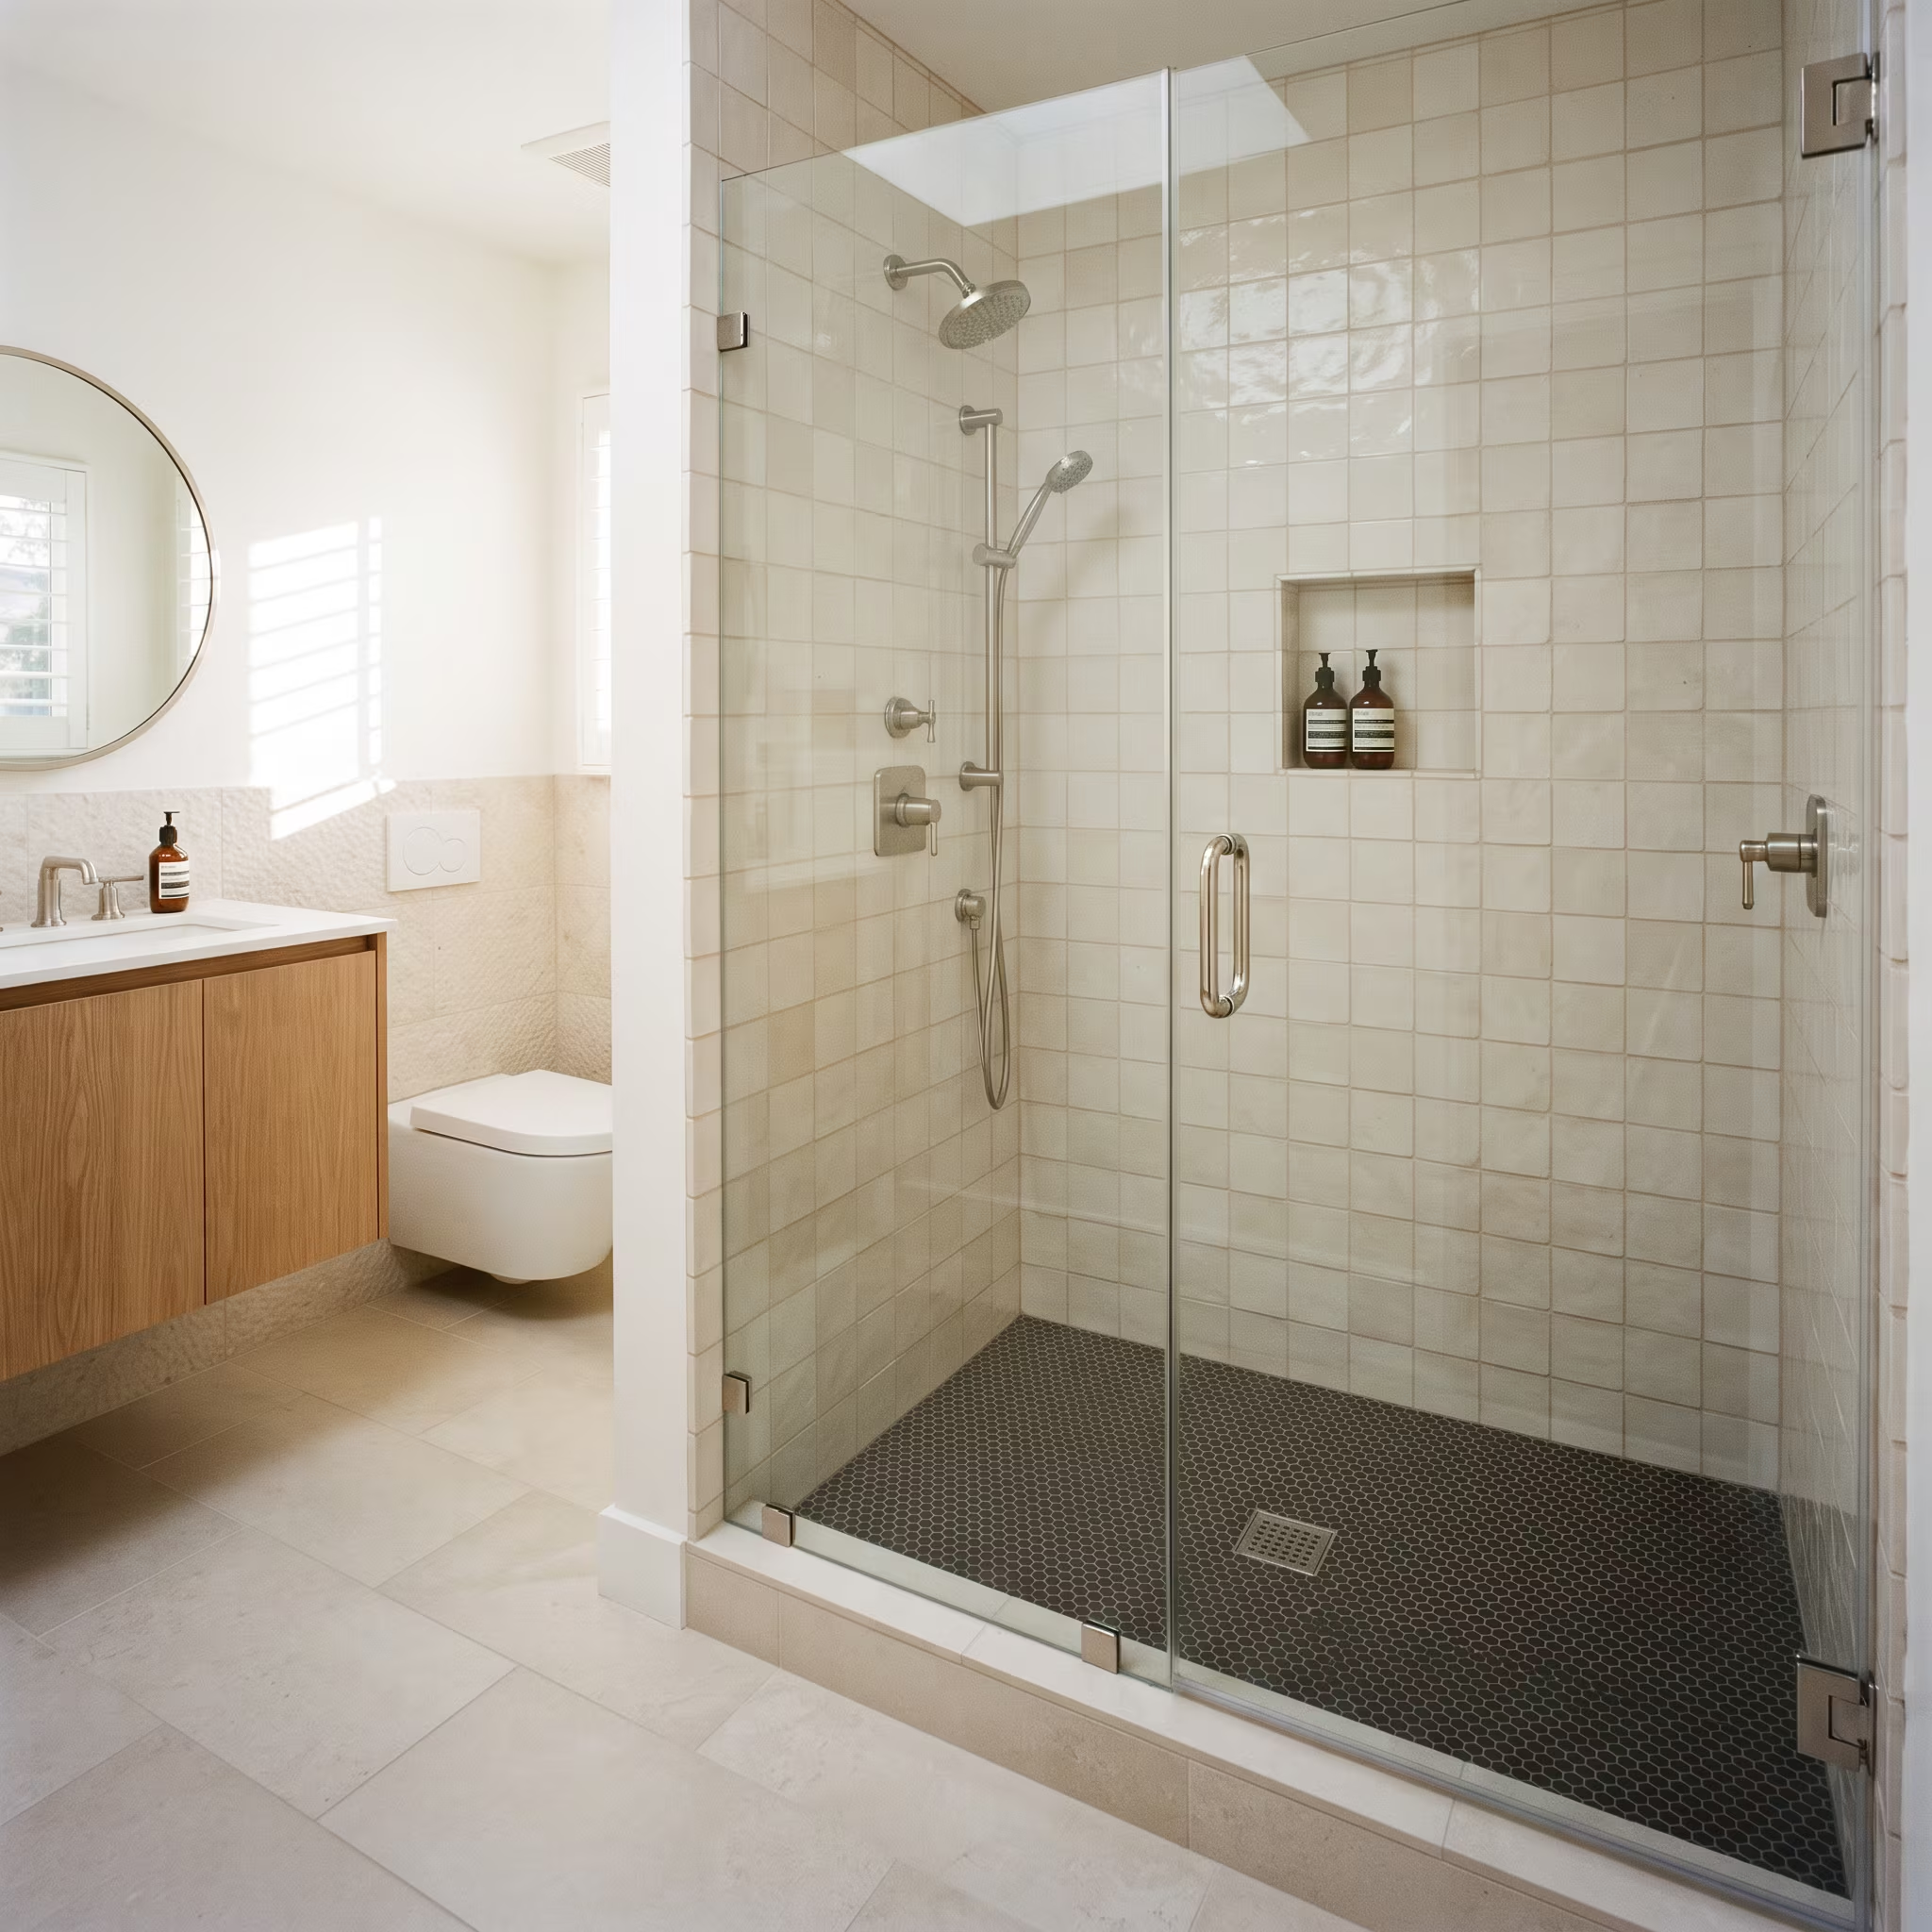
Tiled shower walls and pebble floor
Tile
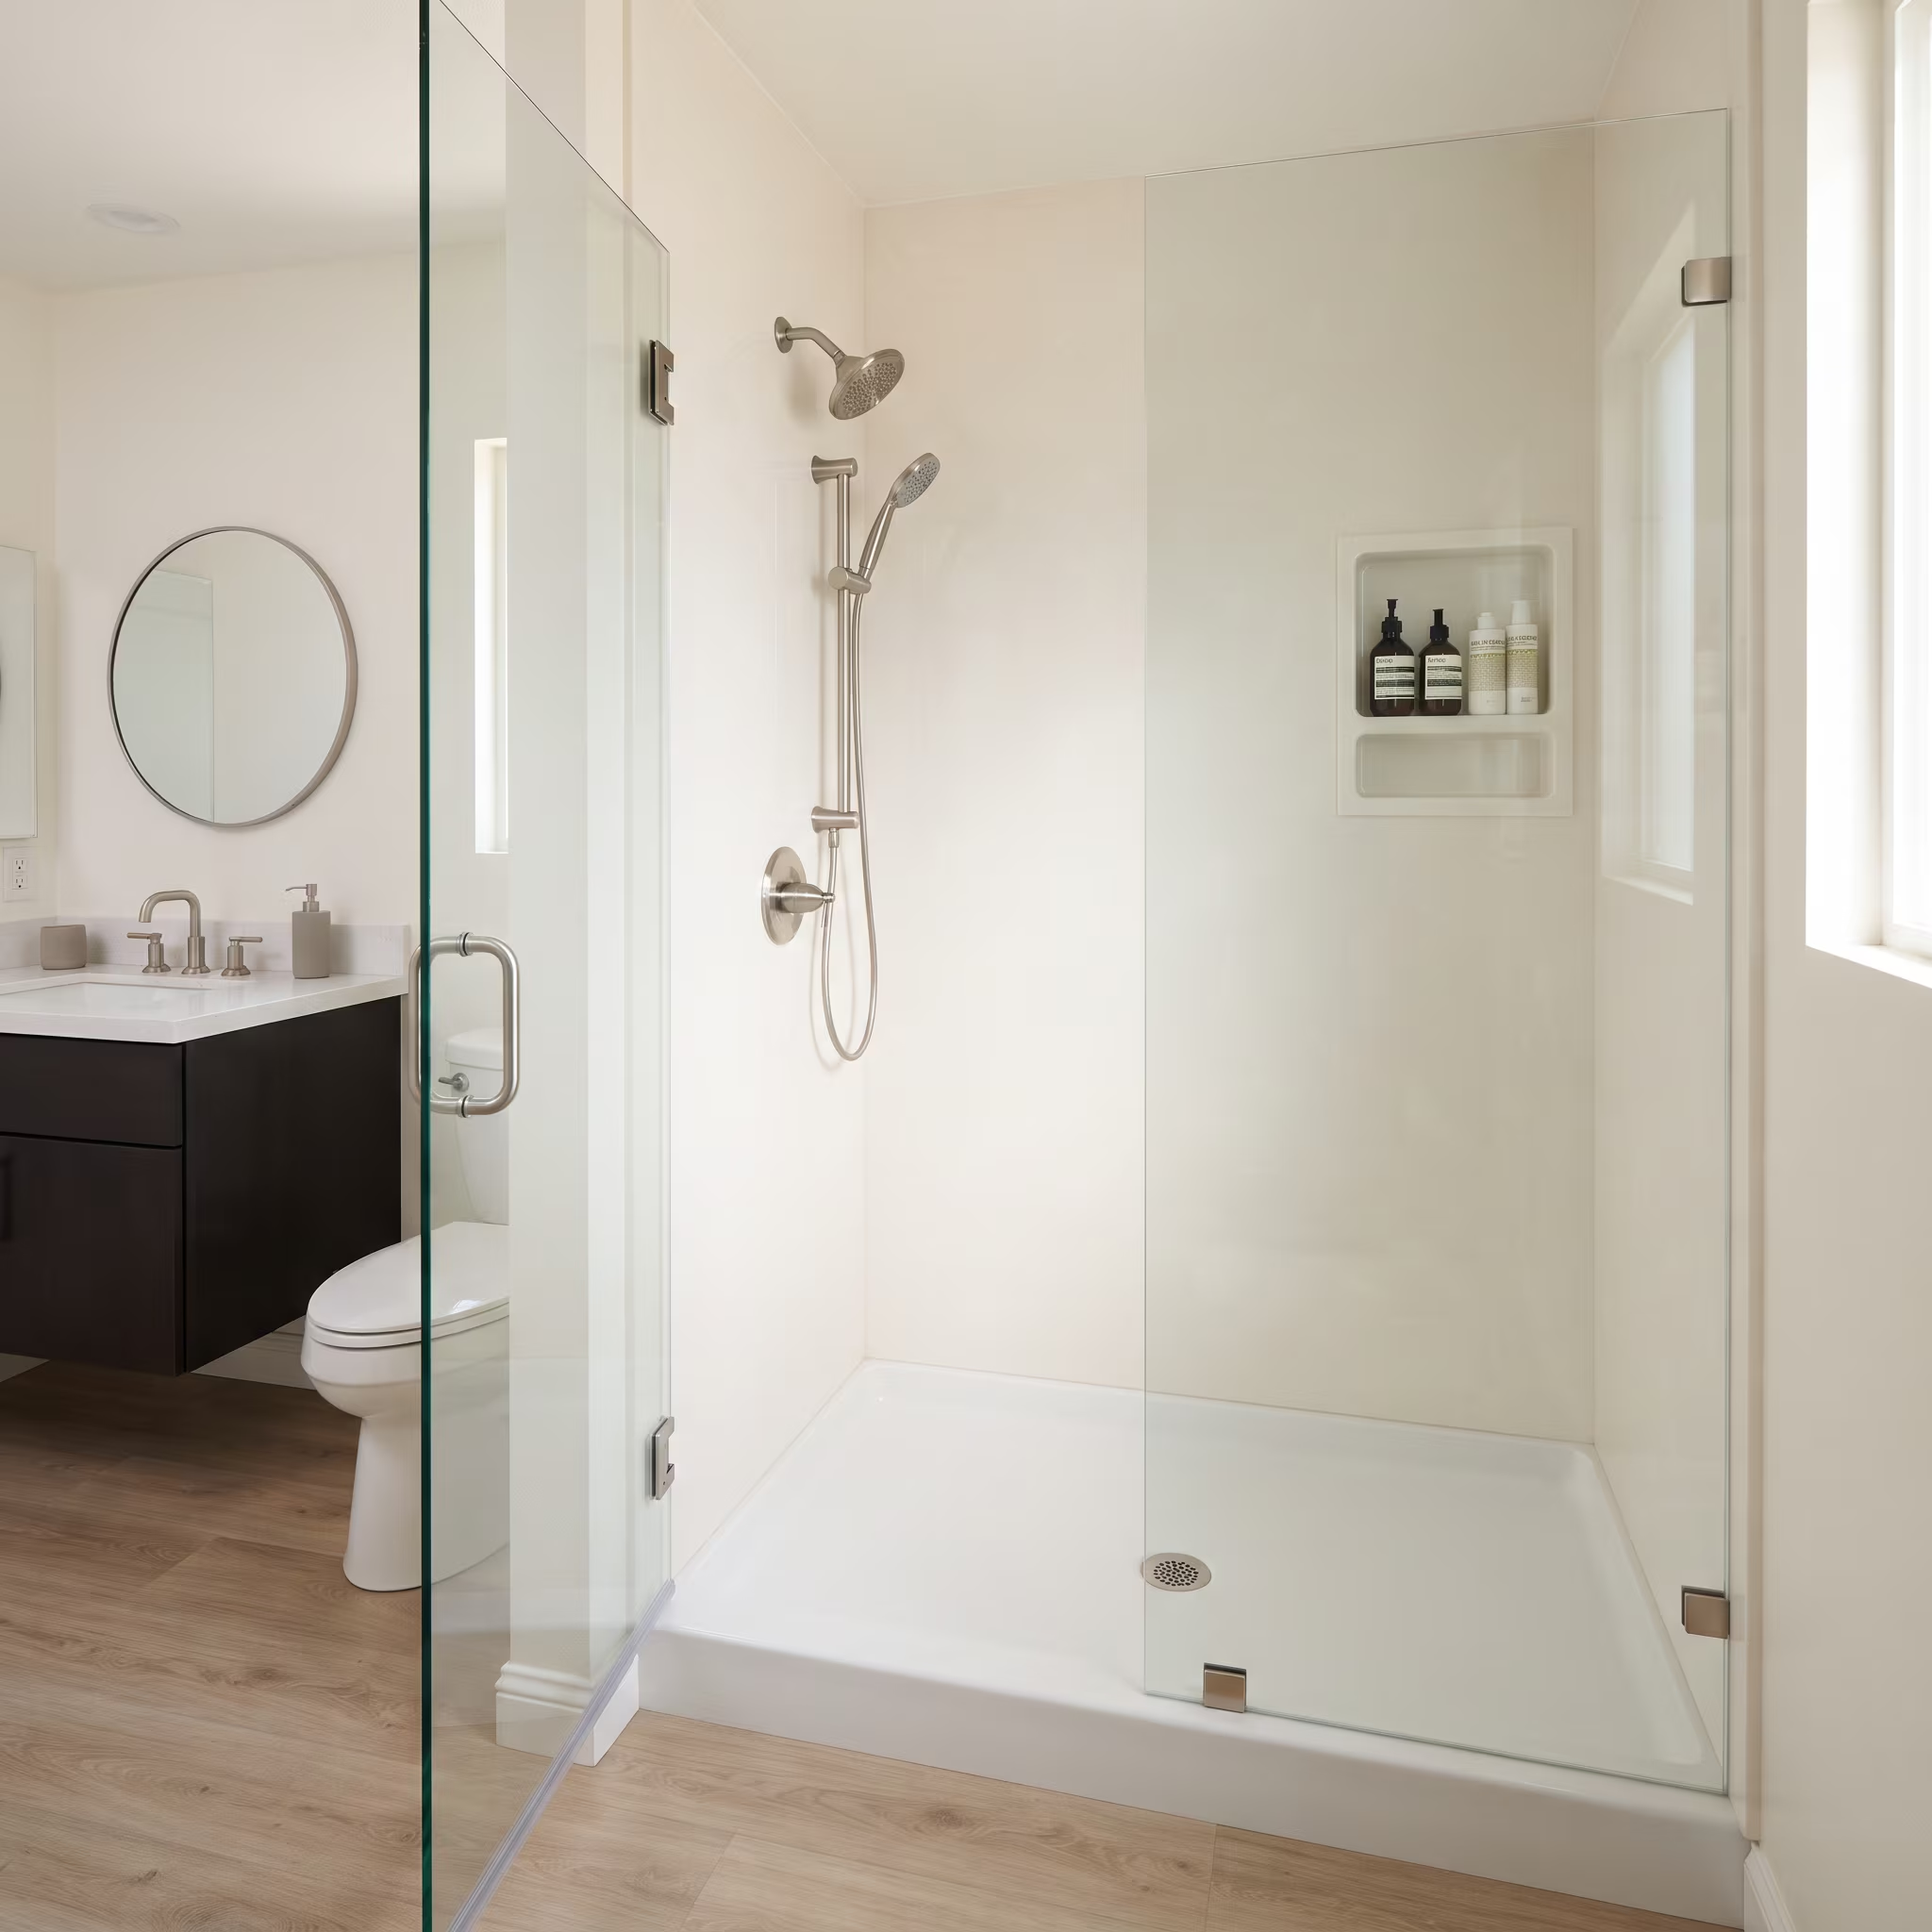
Low-profile acrylic shower pan and panel walls
Acrylic
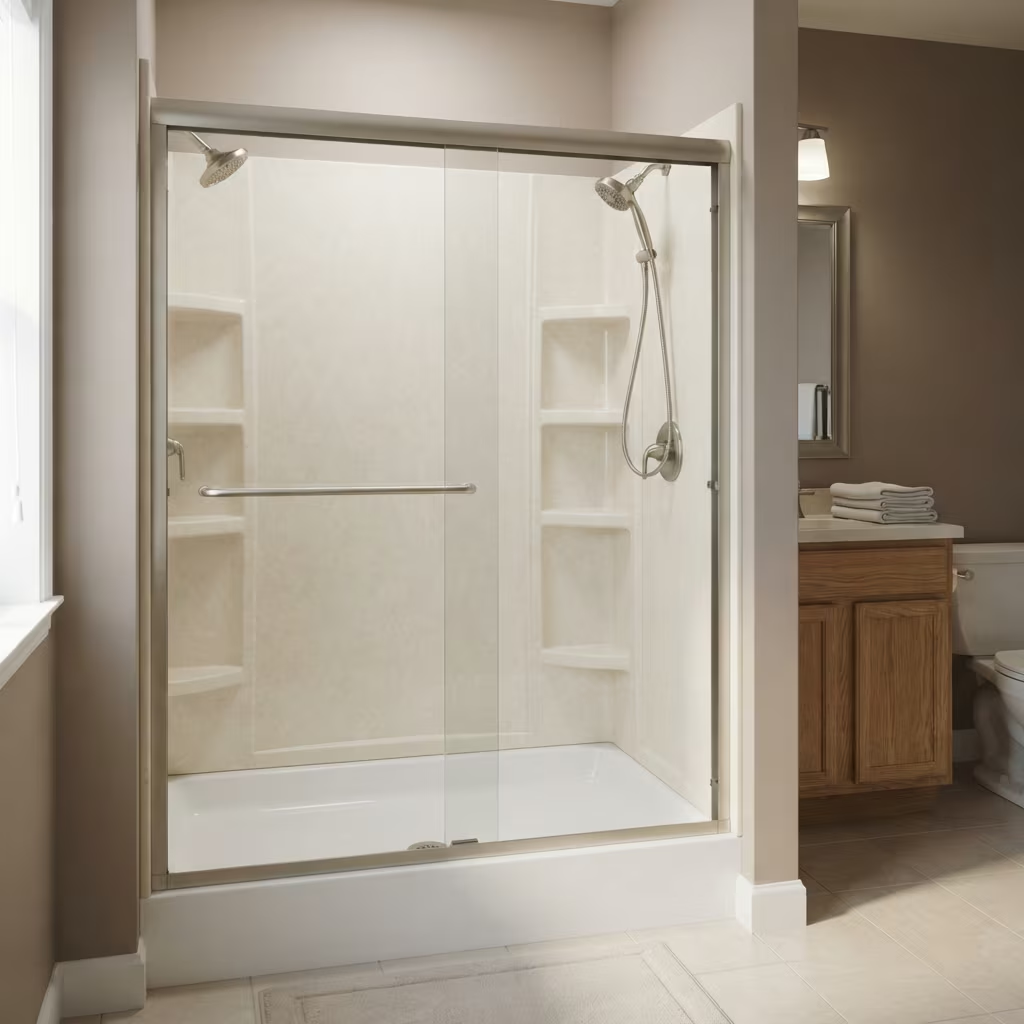
Prefabricated shower kit in a residential bathroom
Prefab kit
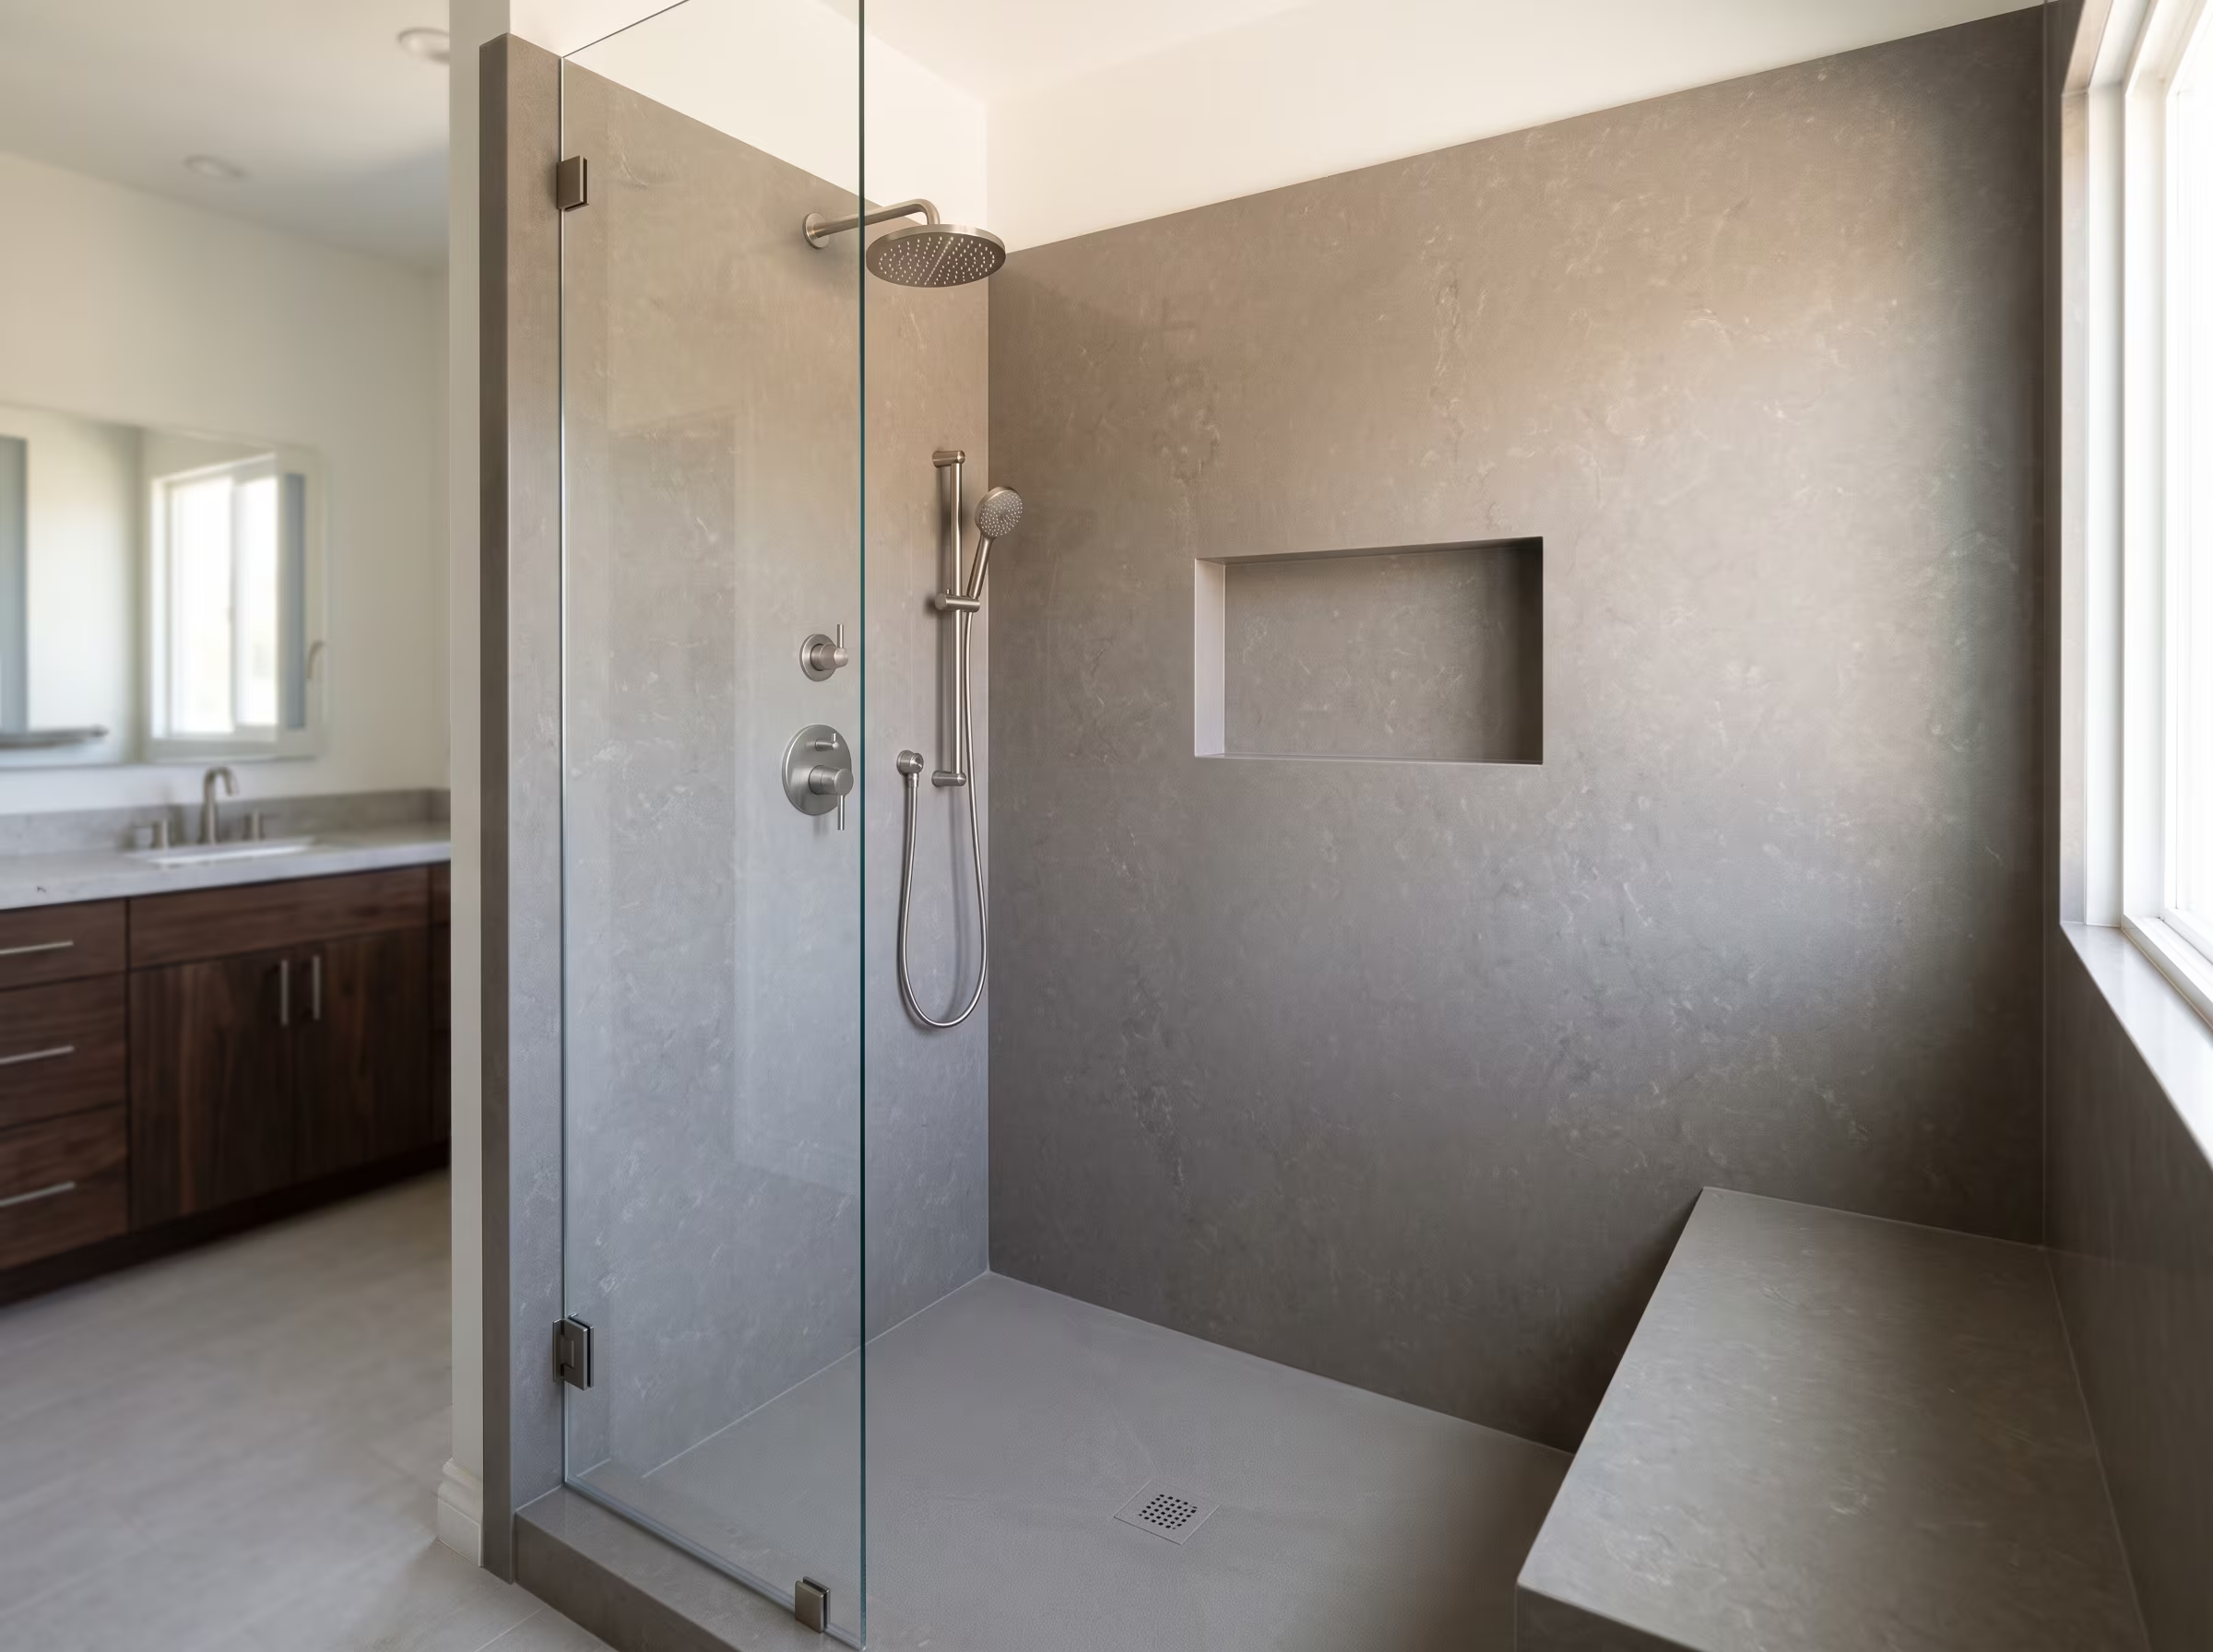
Solid-surface style shower walls with few seams
Solid surface
Shower base and wall system comparison for tub-to-shower conversion
SystemCleaningGroutMaintenanceSuitable Conditions
Tile base and wallsRegular grout cleaningRequiredPeriodic sealingAny substrate condition after proper prep
Acrylic panel wallsVery easy, wipe-cleanNoneVery lowSound substrate required
Prefabricated shower kitEasyMinimalLowStandard dimensions only
Solid surface wallsEasy, few seamsNone or minimalLowSound substrate required
Sequence

Tub-to-Shower Conversion Steps

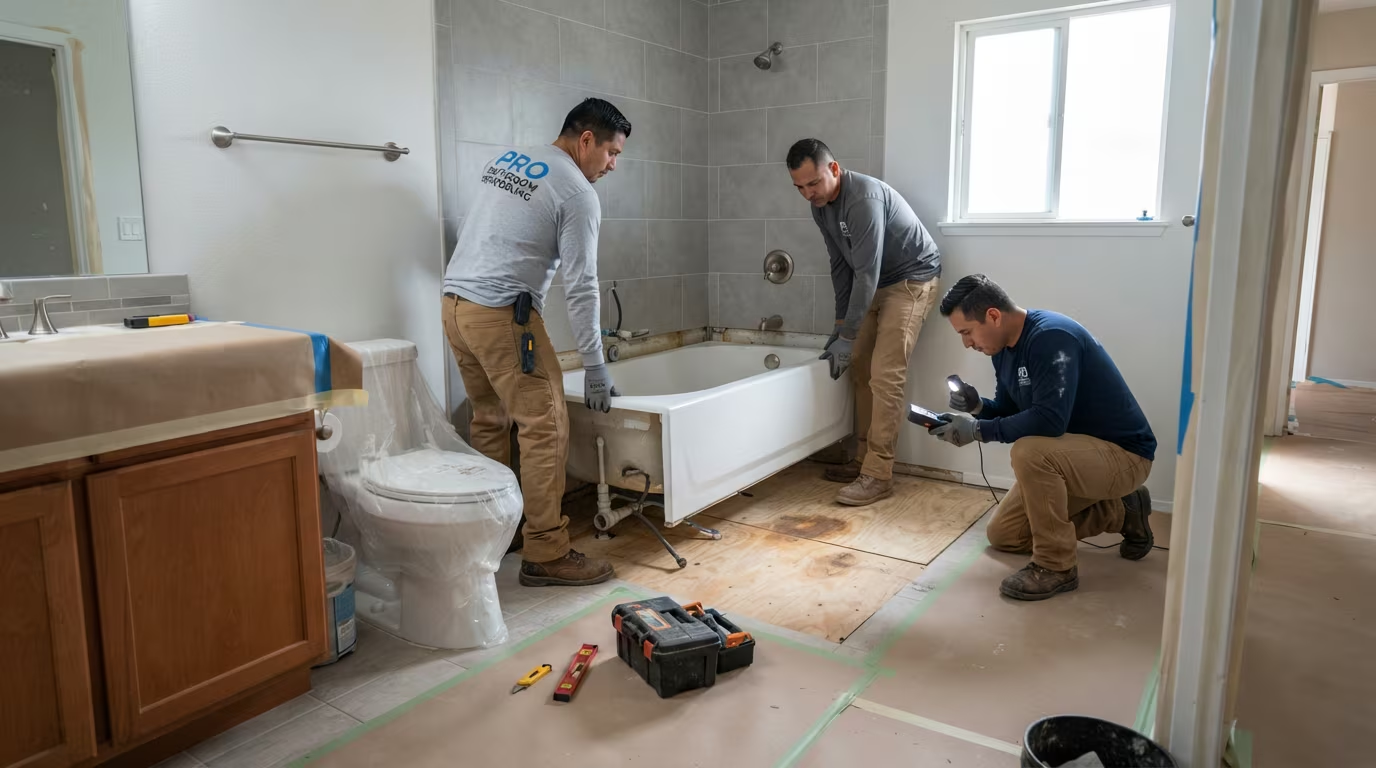
  1. Alcove bathtub before removal 01

    Protection and tub removal

    Adjacent surfaces are protected. The tub is disconnected, removed and disposed of. Surround walls and subfloor are fully assessed for moisture damage before any new work begins.

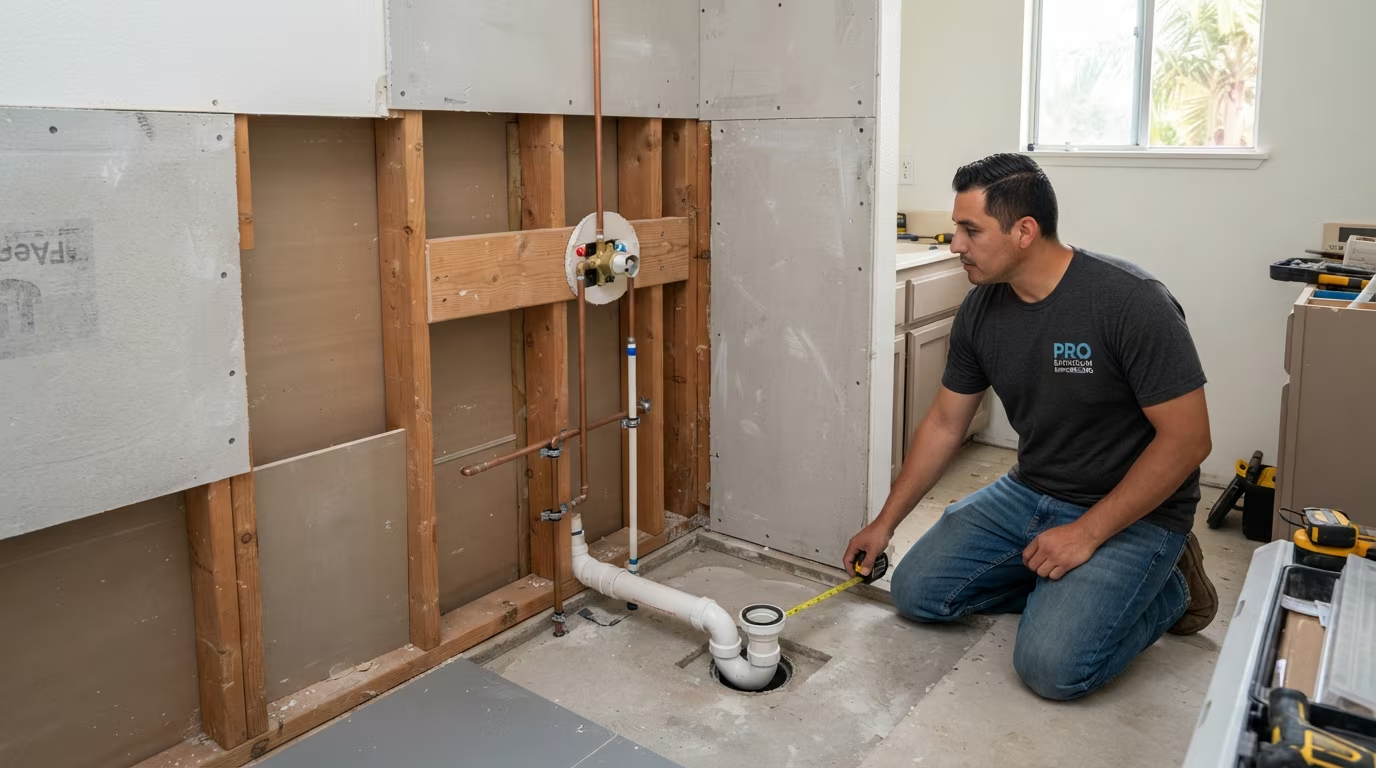
  2. Bathroom plumbing and valve area during conversion 02

    Drain and valve rough-in

    The drain is relocated to the appropriate shower position and a new shower valve is roughed in. Inspection is scheduled where required by the applicable jurisdiction.

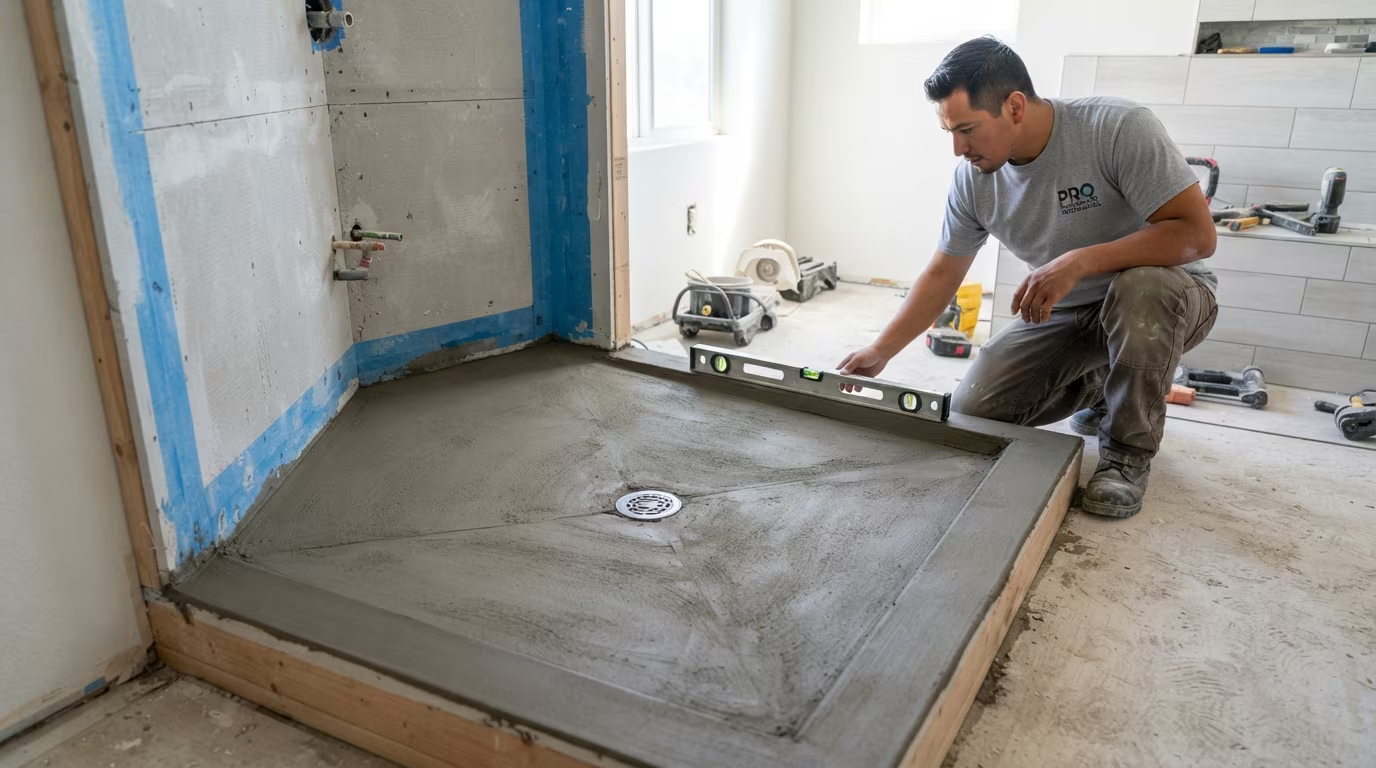
  3. Sloped tiled shower floor toward the drain 03

    Subfloor and floor slope

    The shower floor is sloped toward the drain using a mortar bed or prefabricated sloped base. This ensures water flows correctly without pooling at the edges.

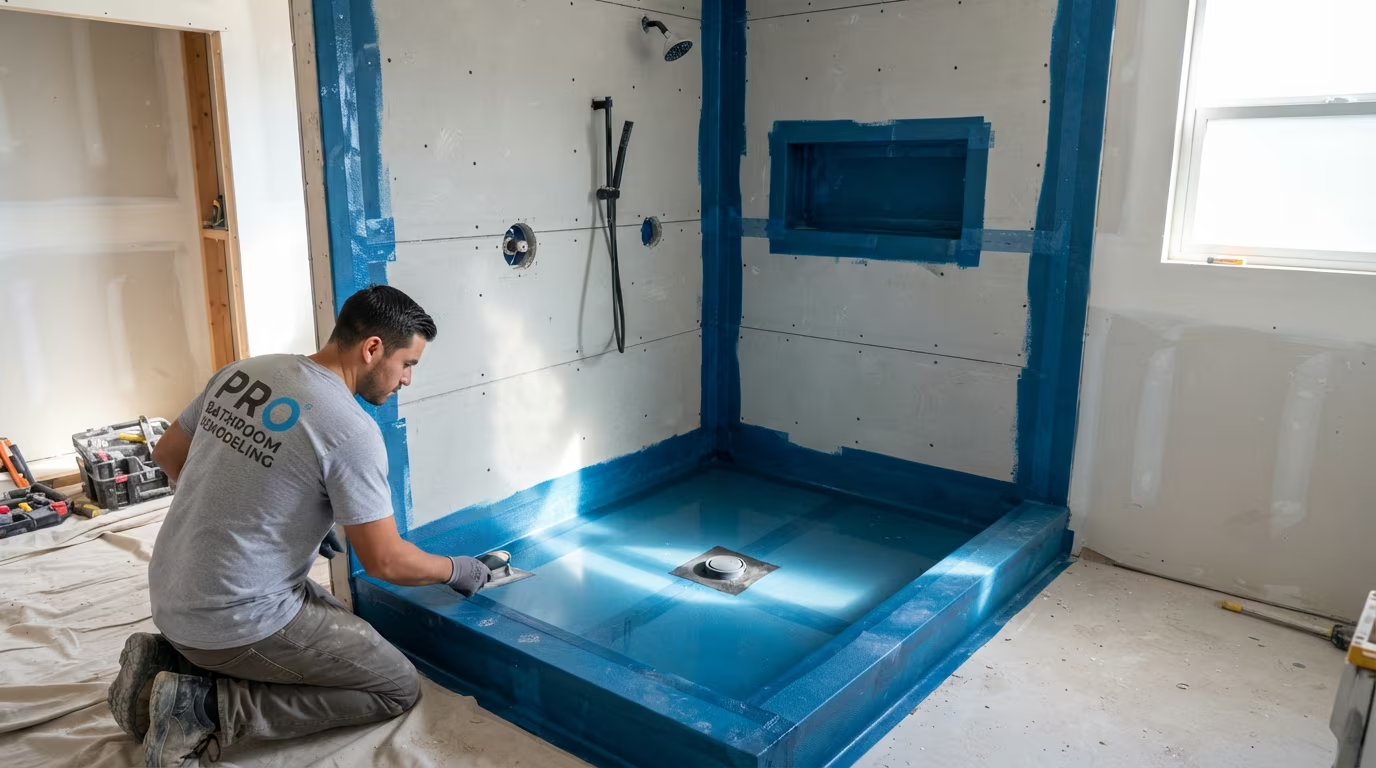
  4. Tiled shower wall after waterproofing and backer 04

    Backer and waterproofing

    Cement backer is installed on all walls. Waterproofing membrane is applied including corners, seams and the floor-to-wall transition. The pan is flood-tested before tile is installed.

  5. Glass shower panel and fixtures after tile 05

    Tile, glass and fixtures

    Floor and wall tile is installed and grouted. Glass entry panel or door is measured and ordered after tile is complete. Valve trim, showerhead, grab bars and accessories are installed last.

  6. Finished walk-in shower ready for walkthrough 06

    Final testing and walkthrough

    Drain flow, pressure, glass alignment and caulking are verified. A full walkthrough confirms every detail before project closeout.

Ready to Convert Your Tub to a Shower?

Request an estimate or call us to discuss suitability.

Notes

Tub-to-Shower Conversion FAQs

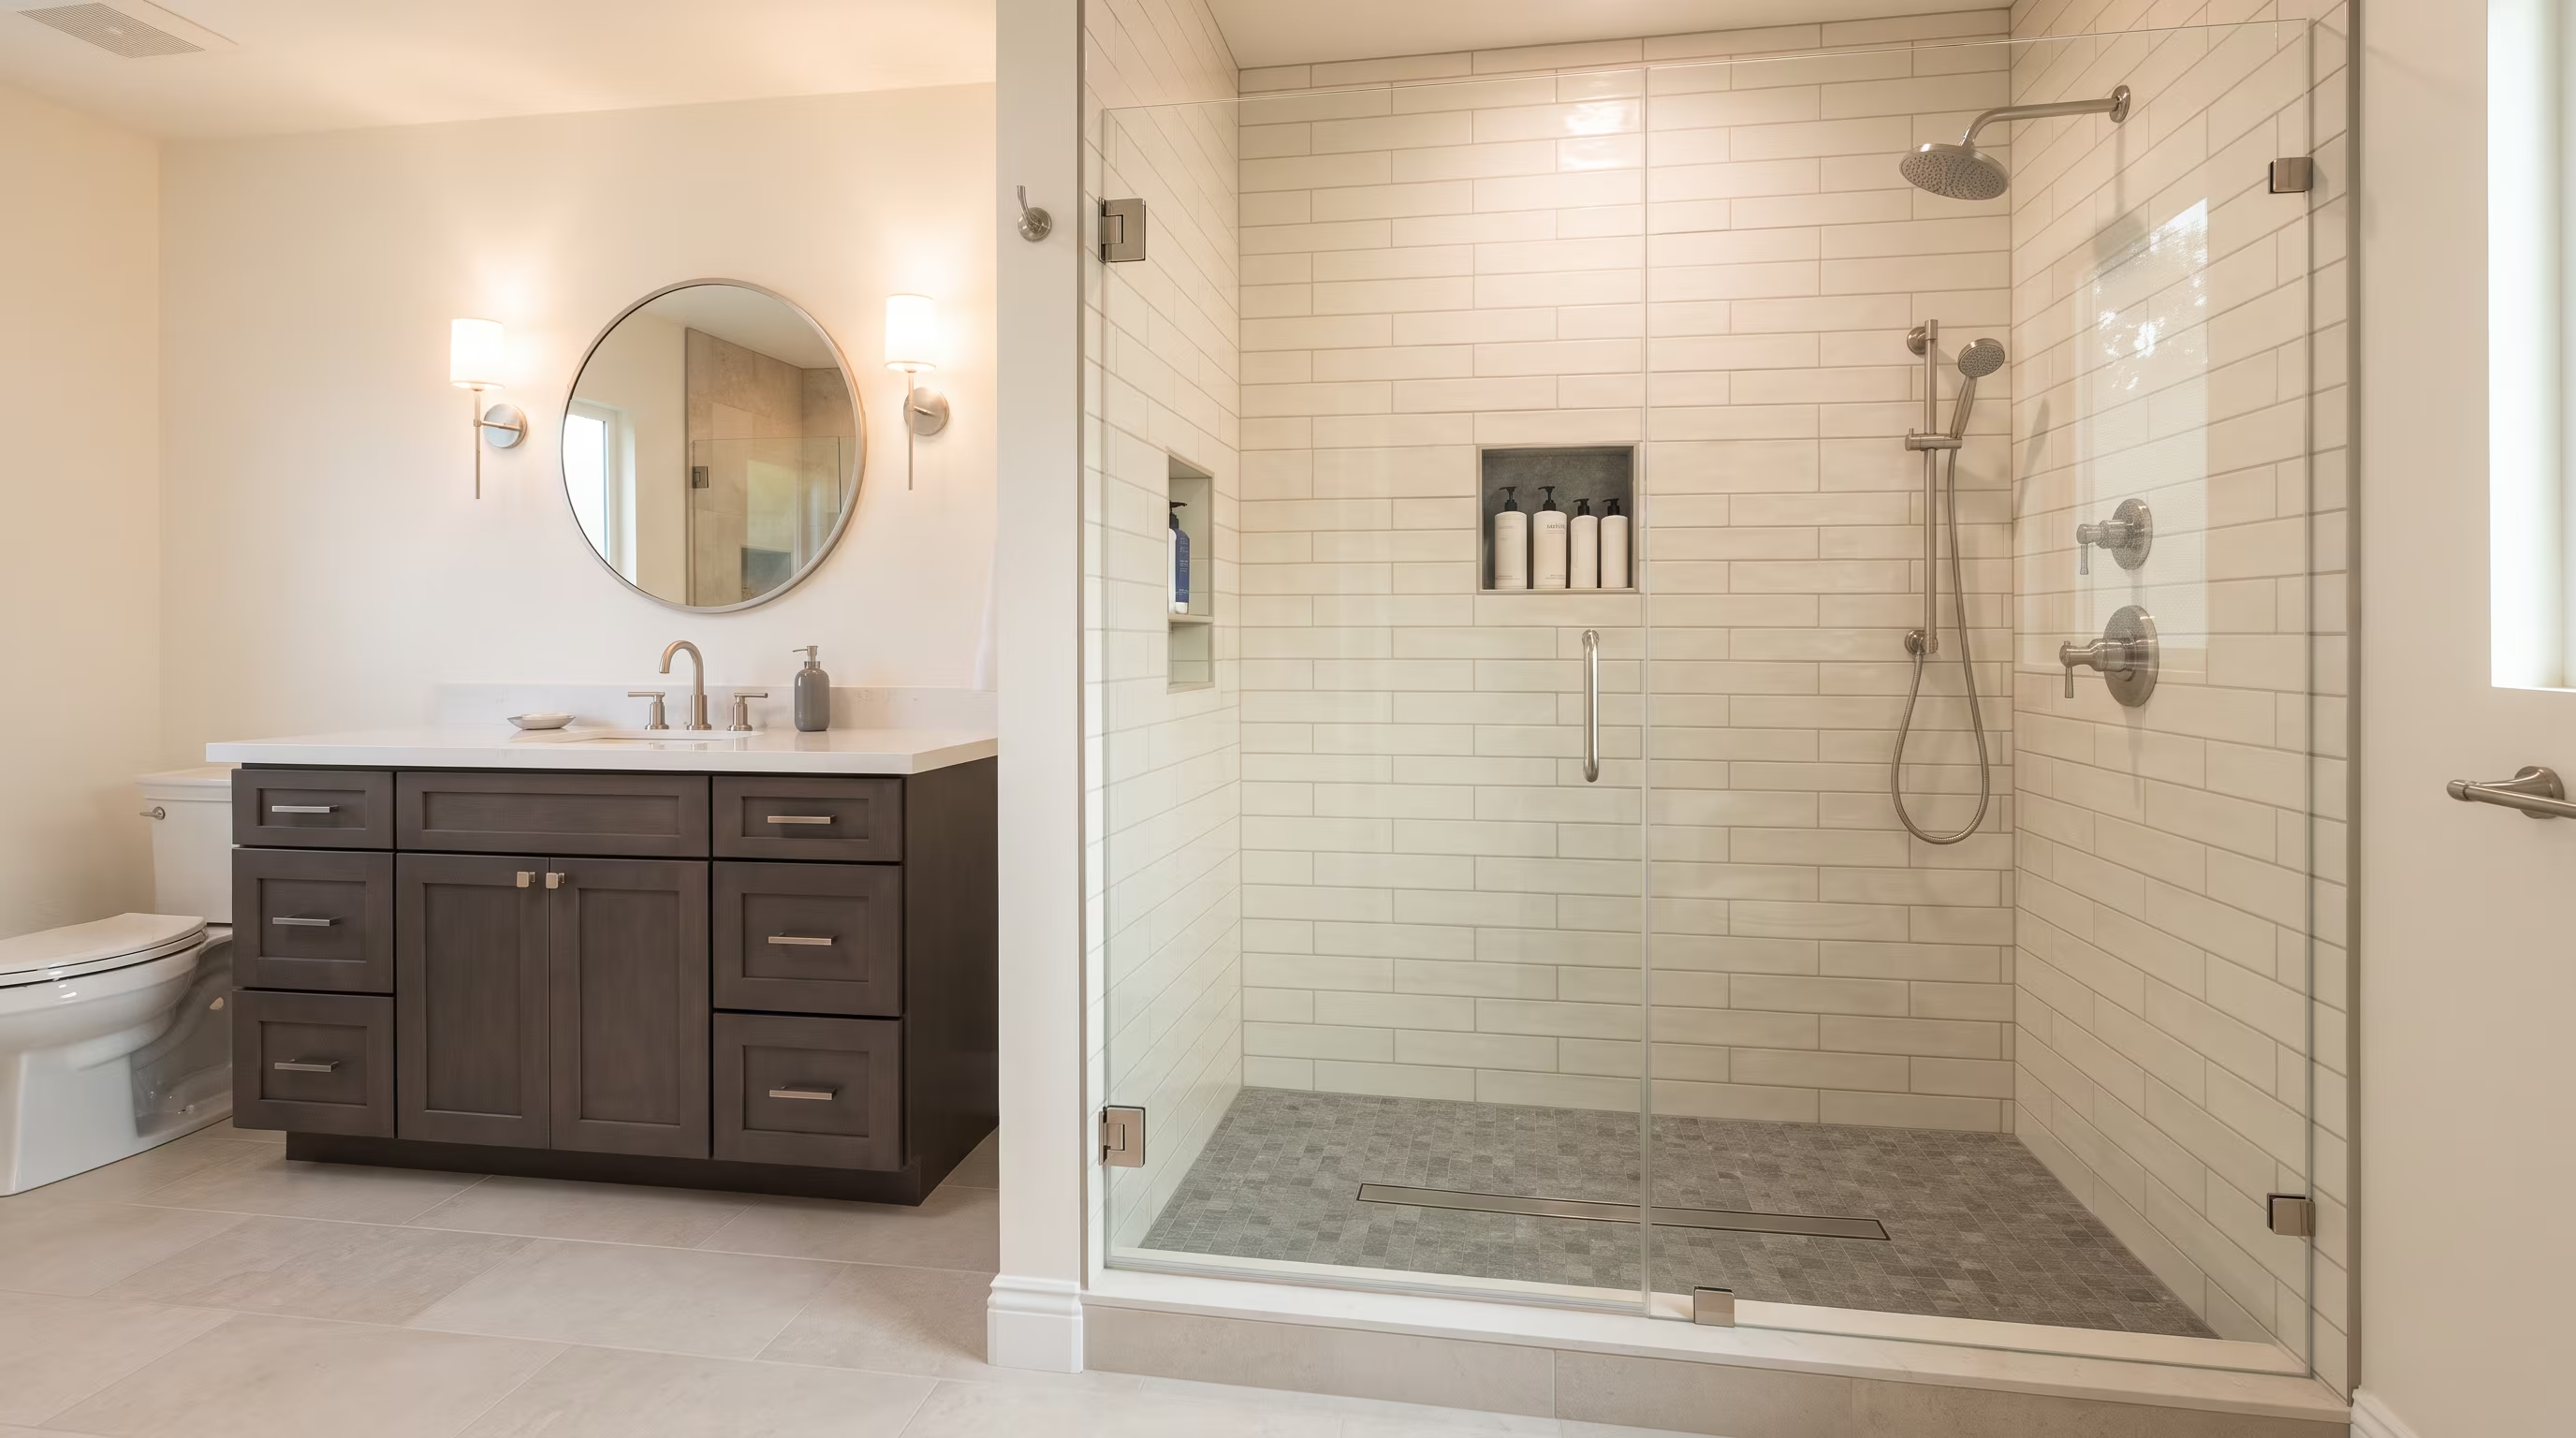
Finished bathroom with walk-in shower after conversion