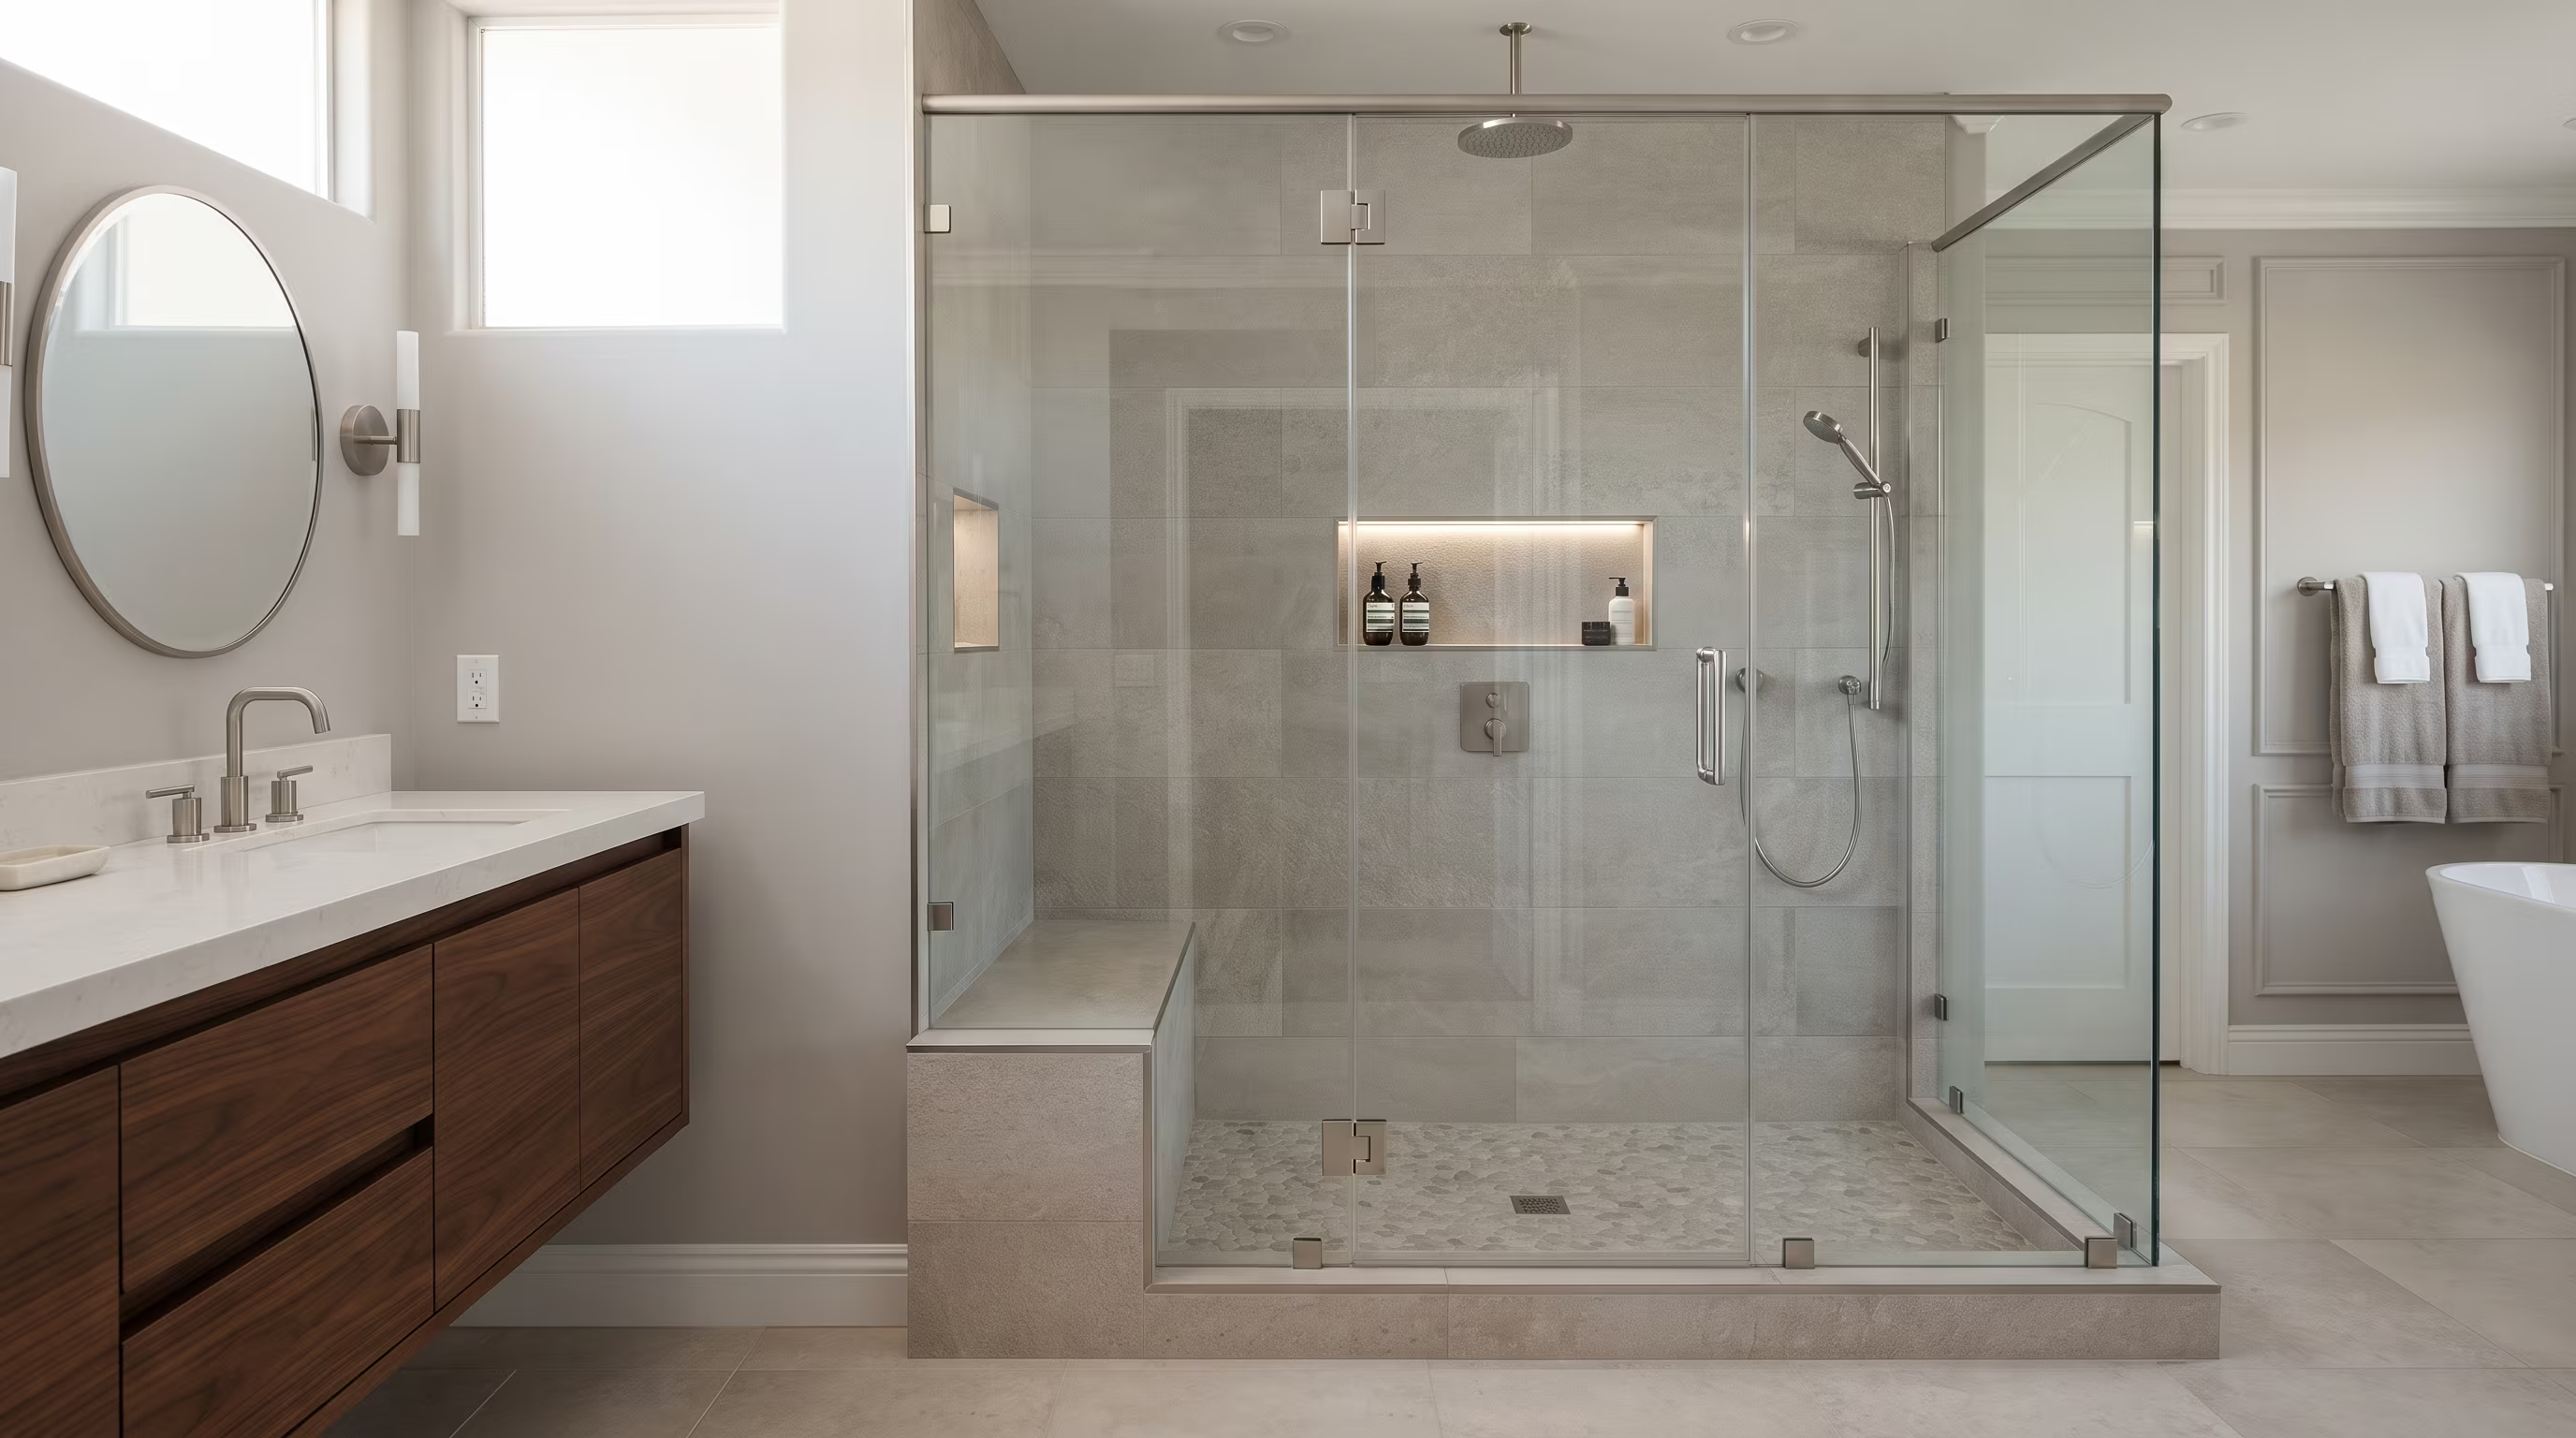
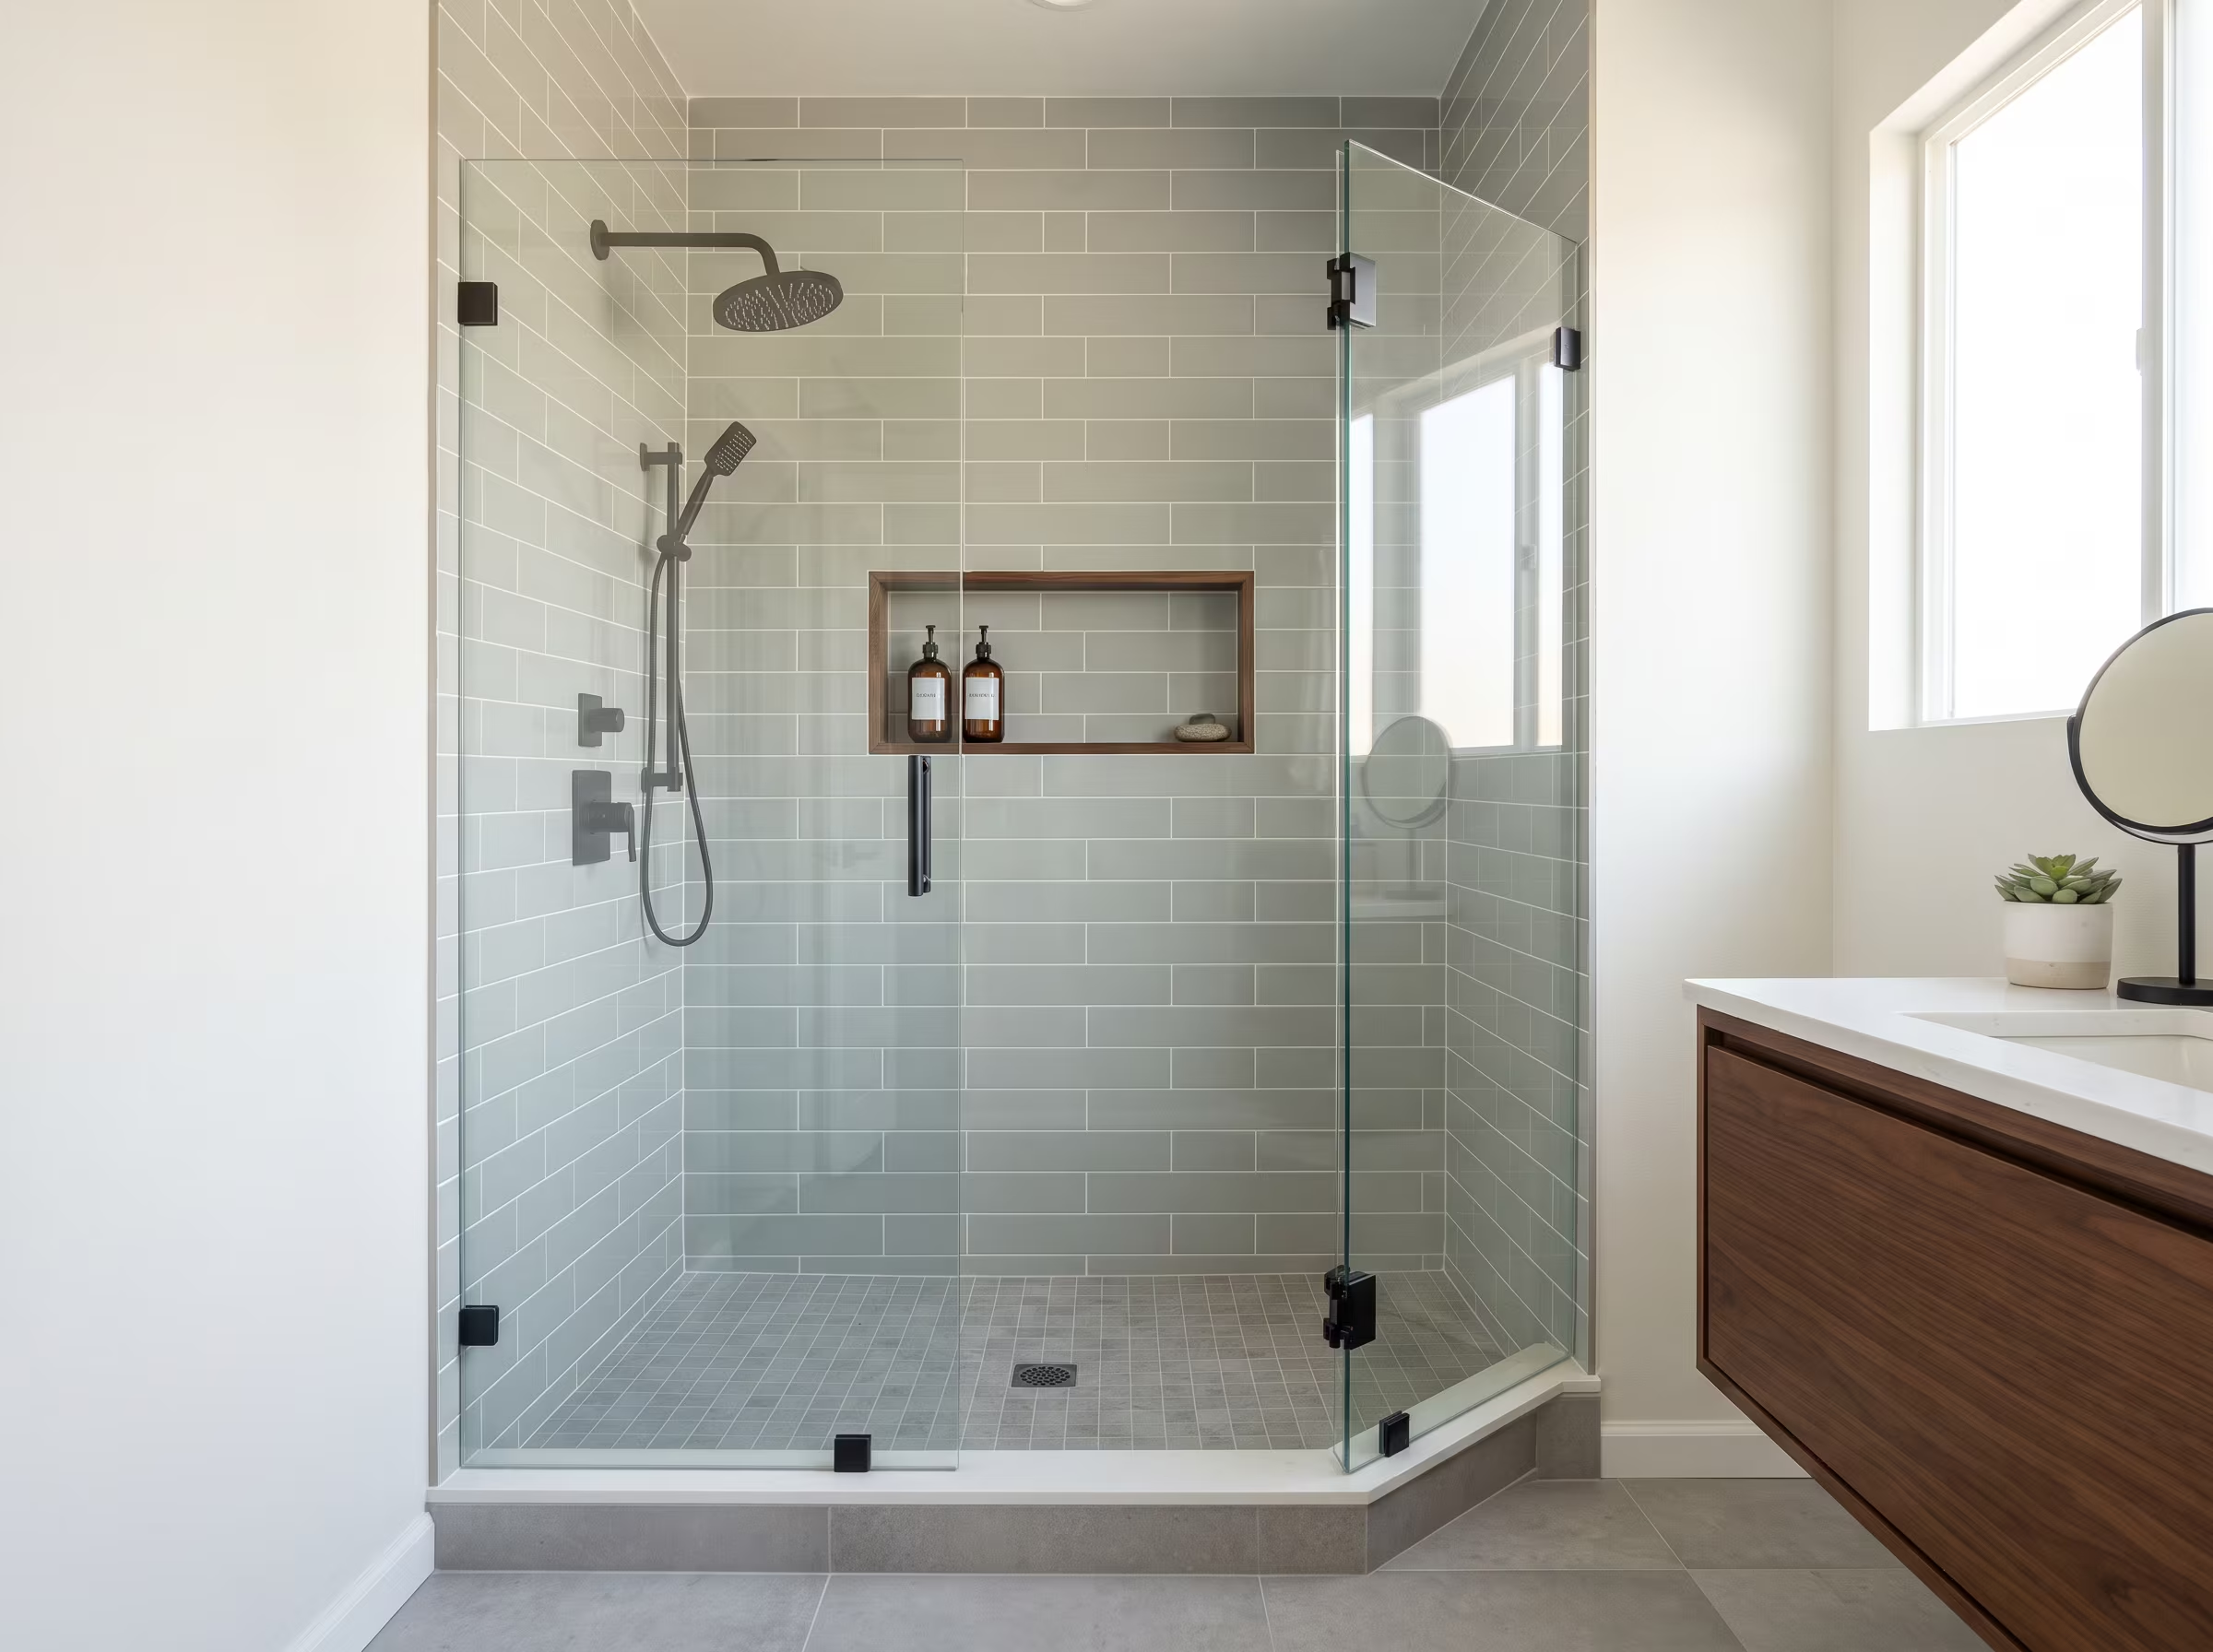
Shower RemodelingSan Diego

From a cosmetic surface refresh to a complete waterproofed rebuild, we handle every part of shower remodeling across San Diego County: tile, glass, valve, drainage and enclosure configuration.

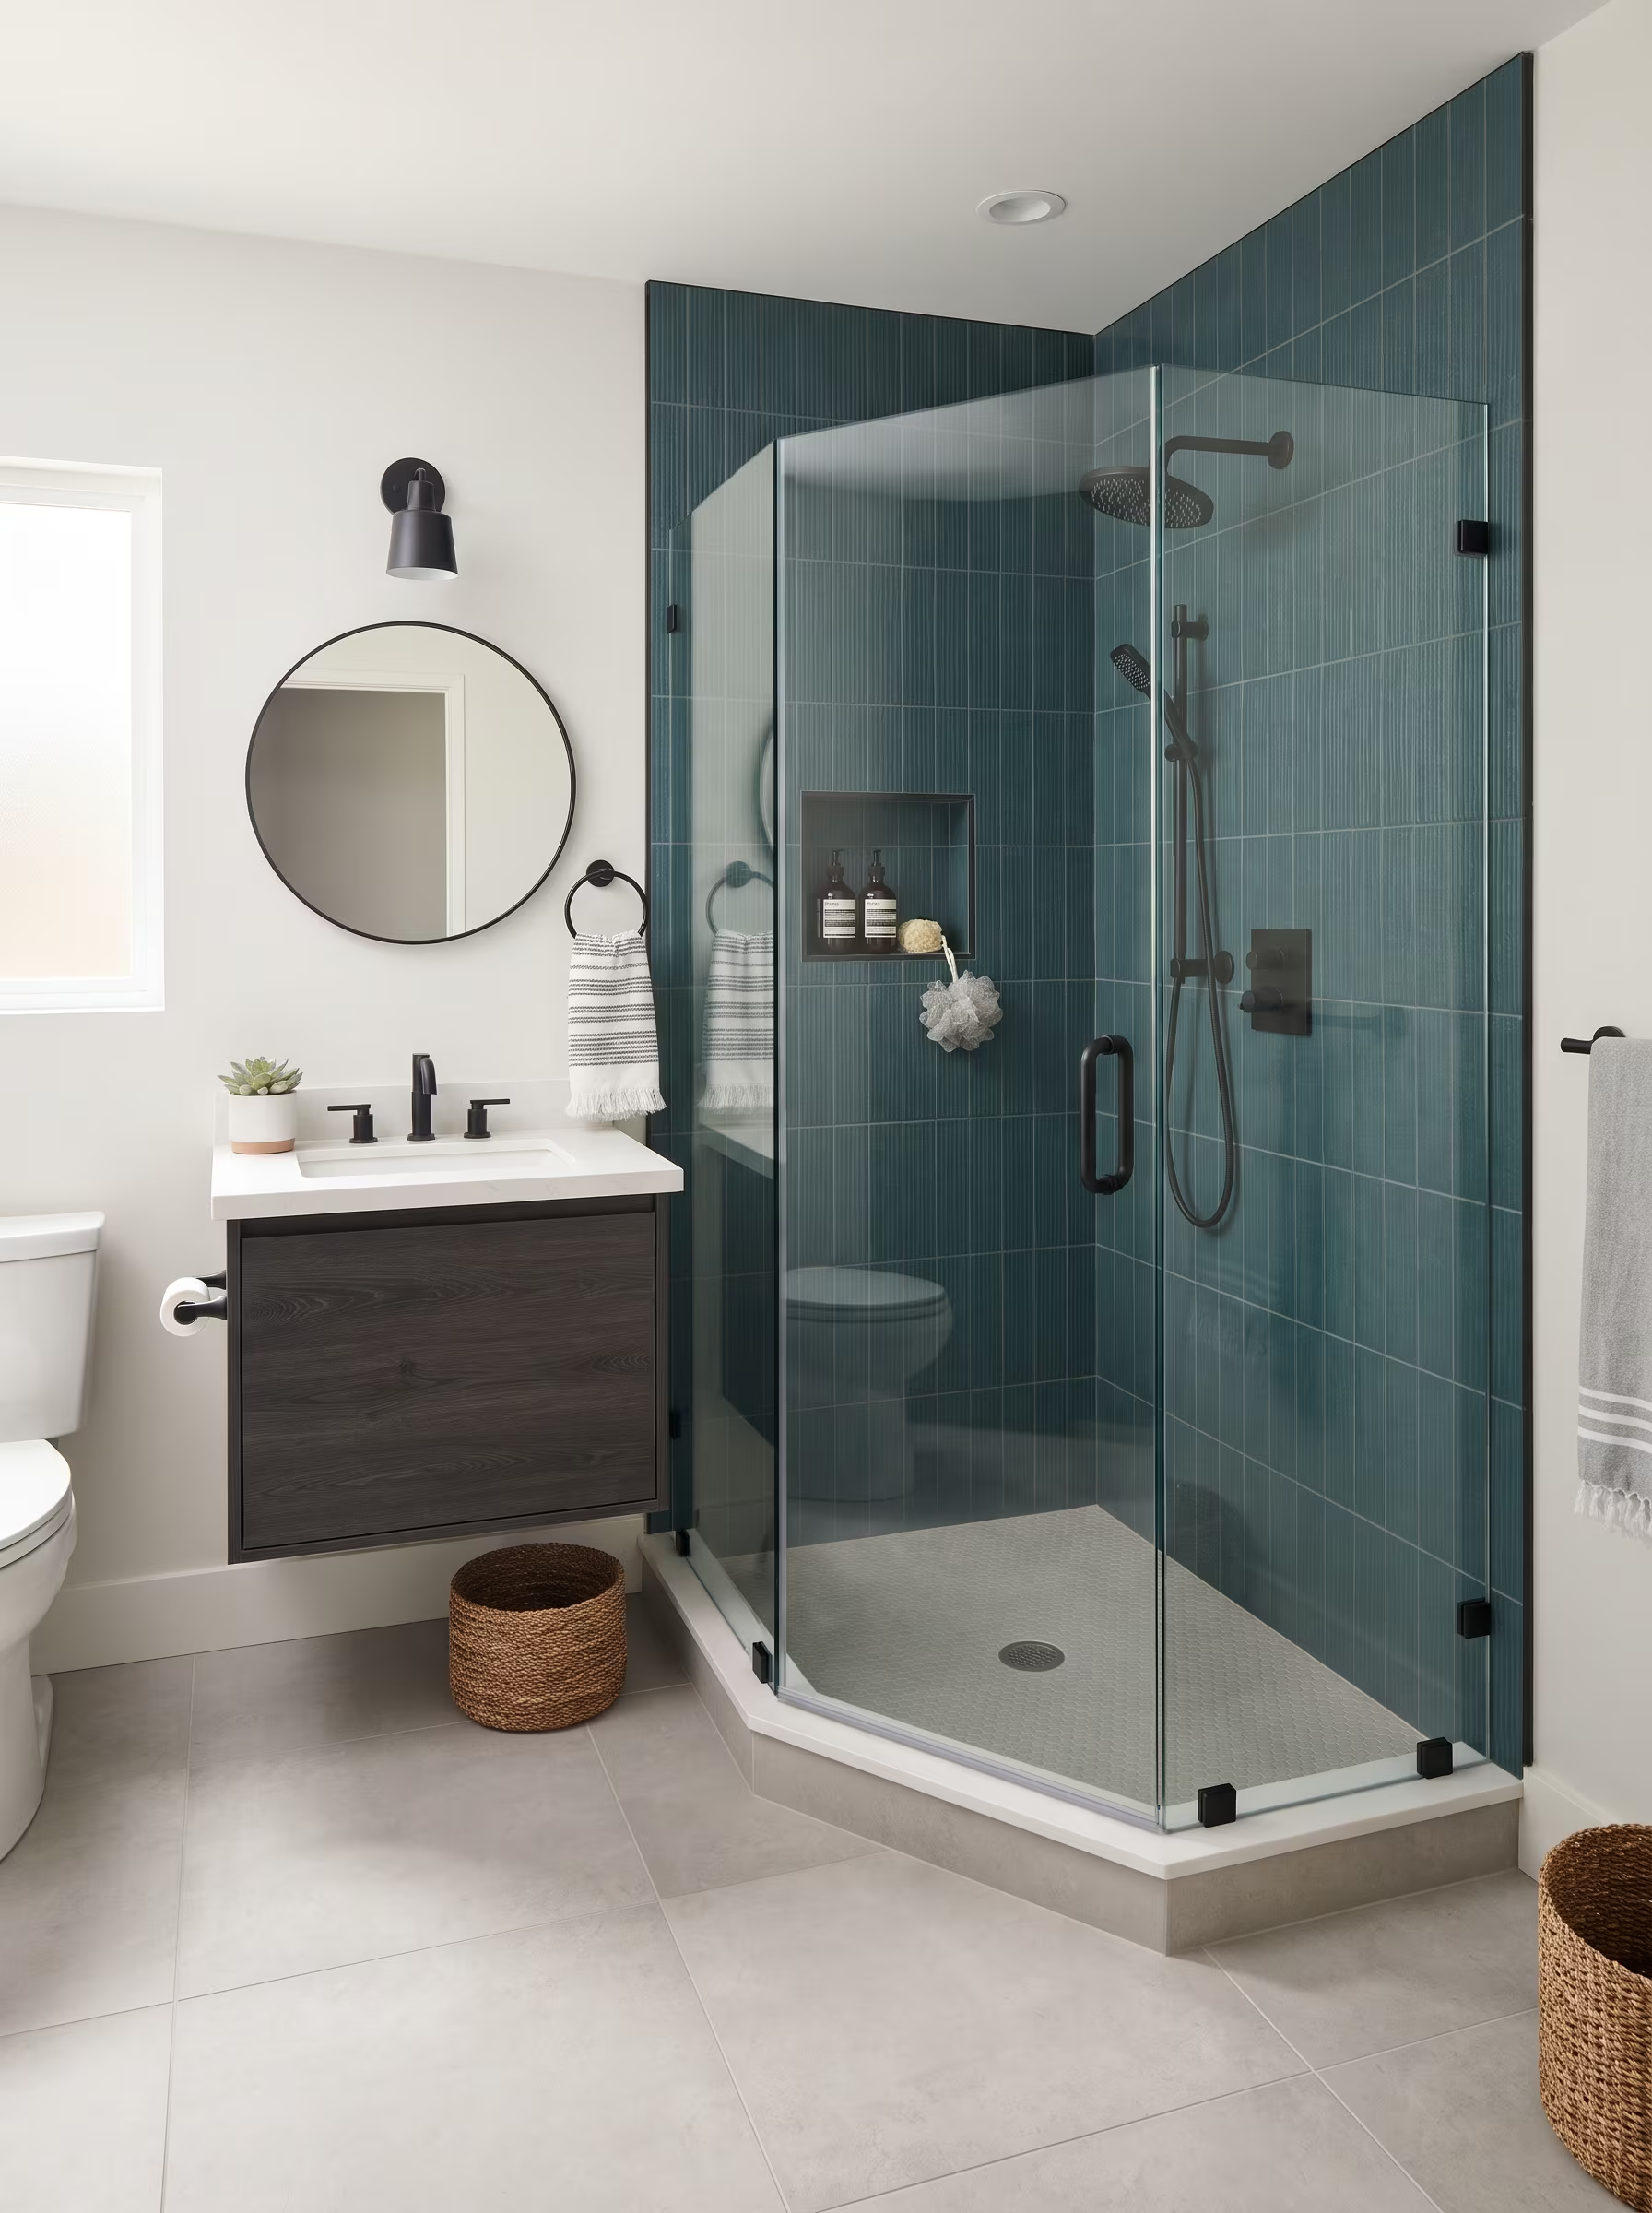
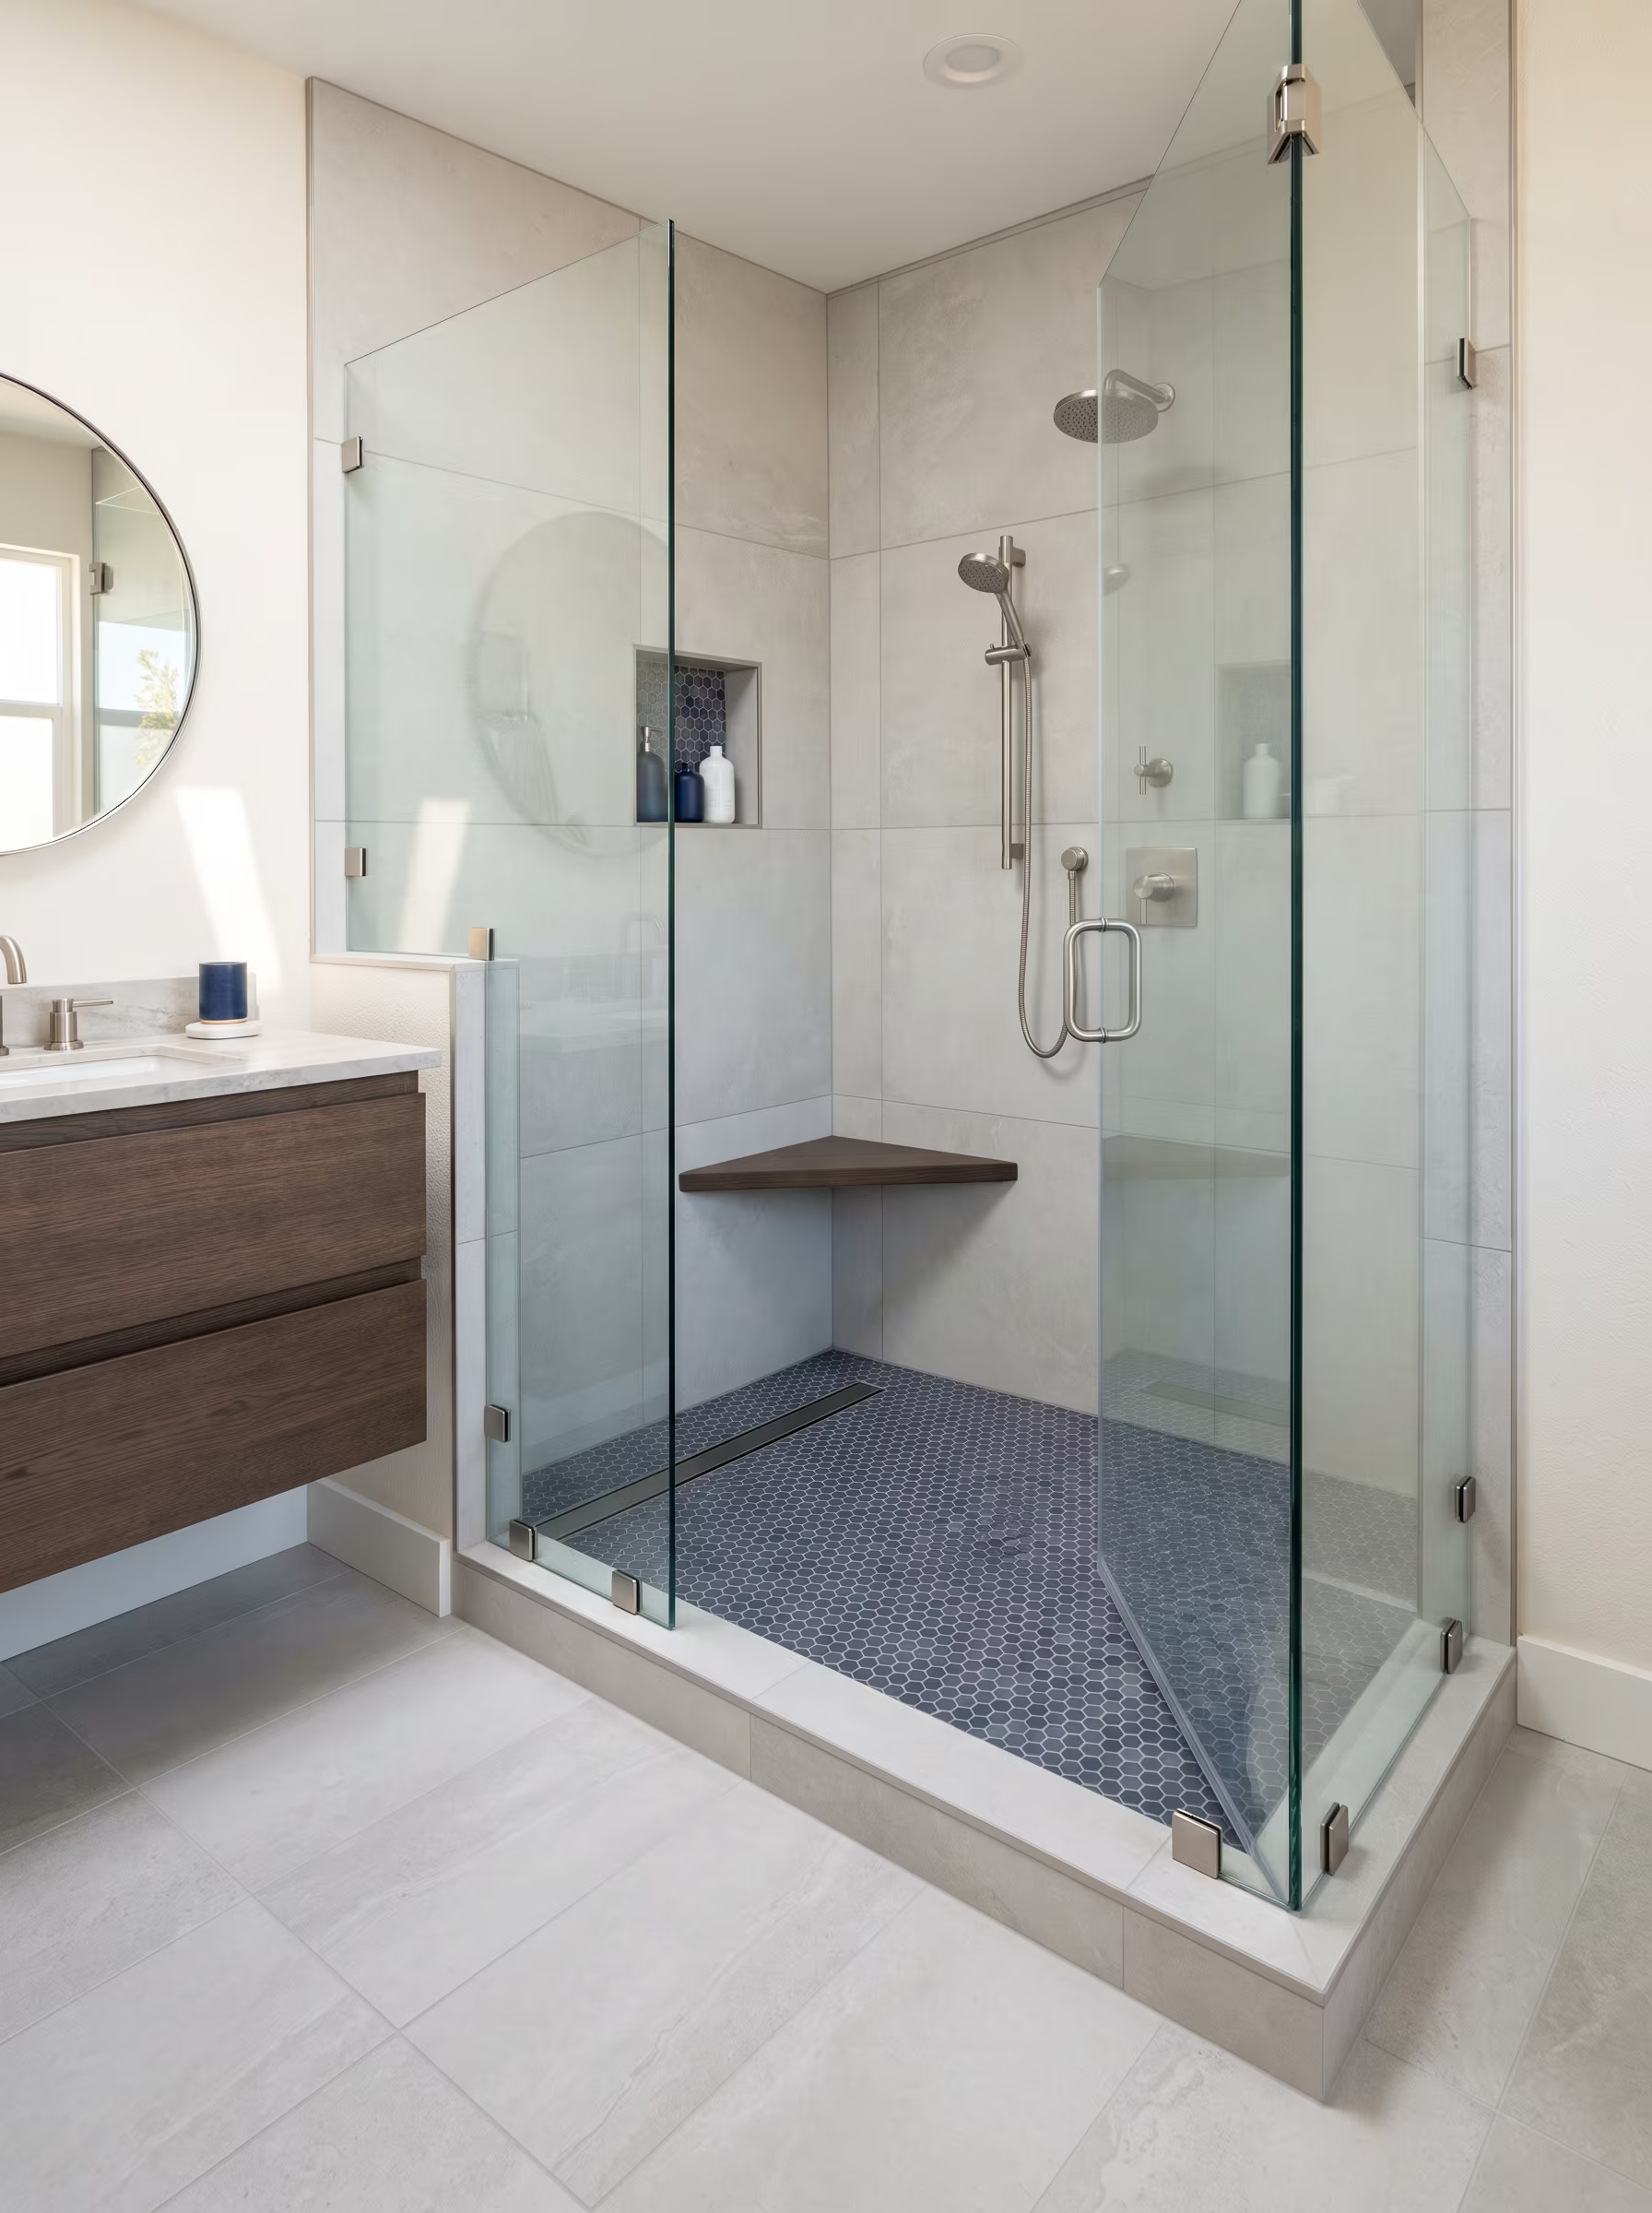
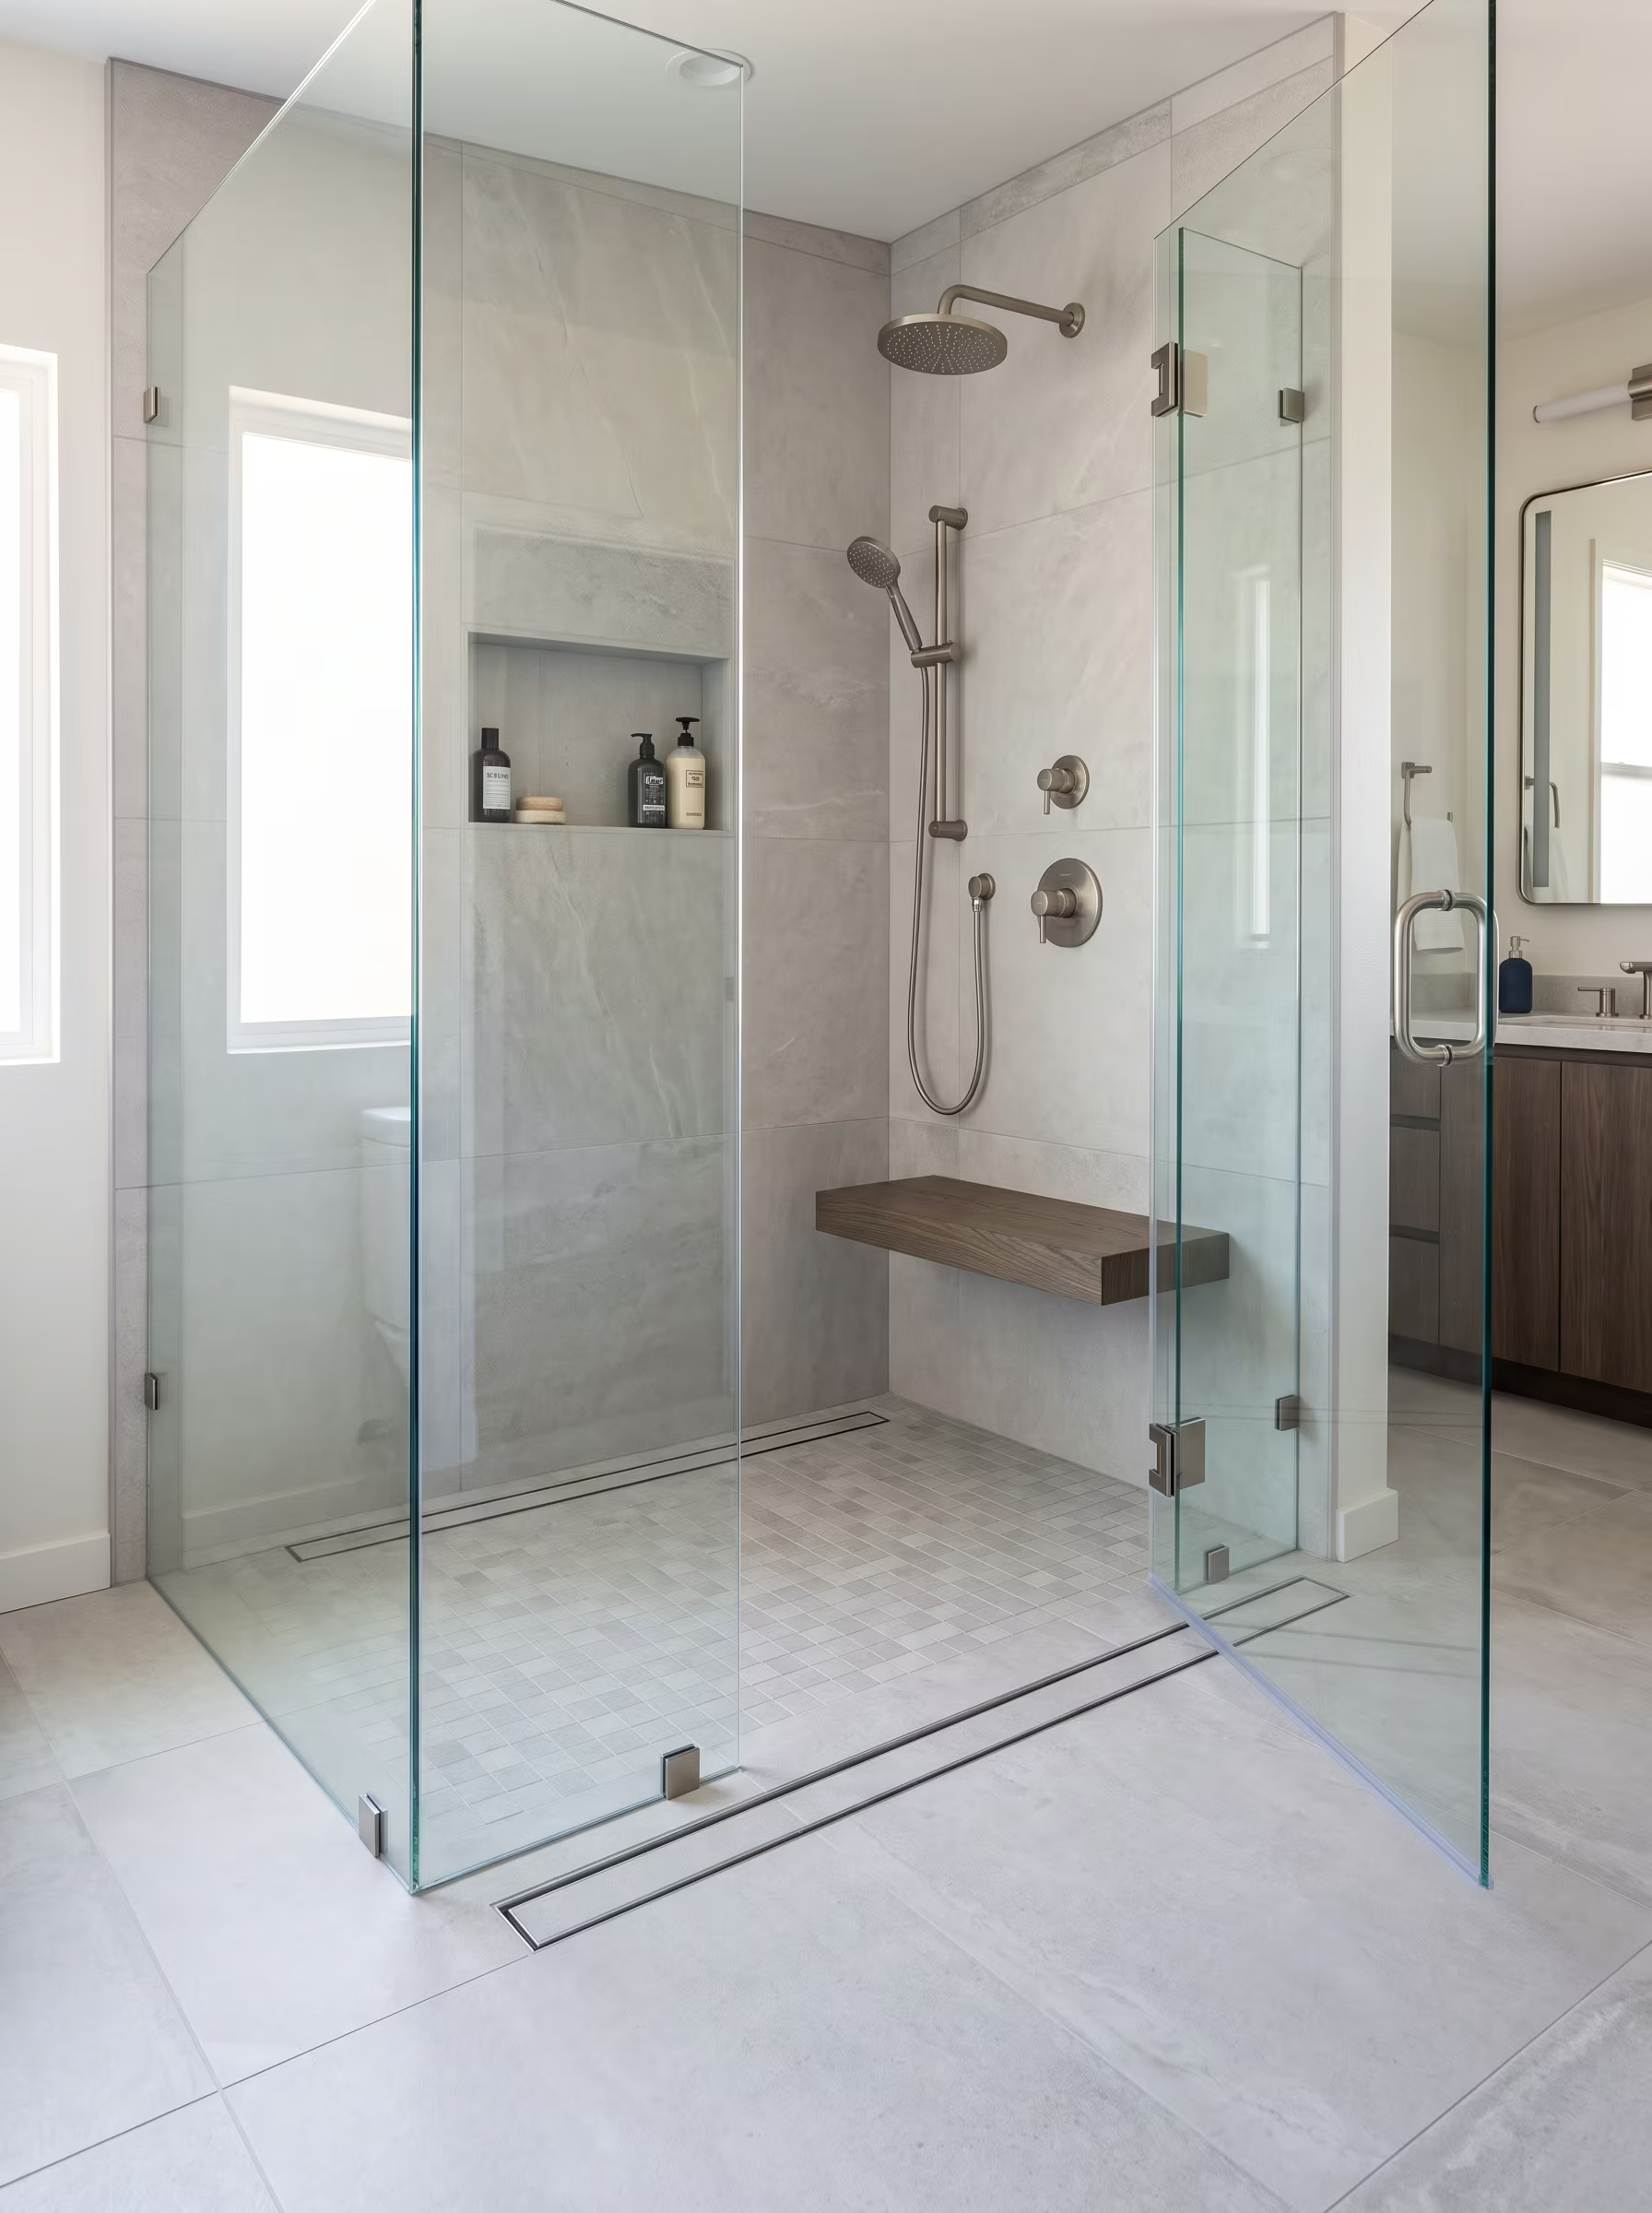
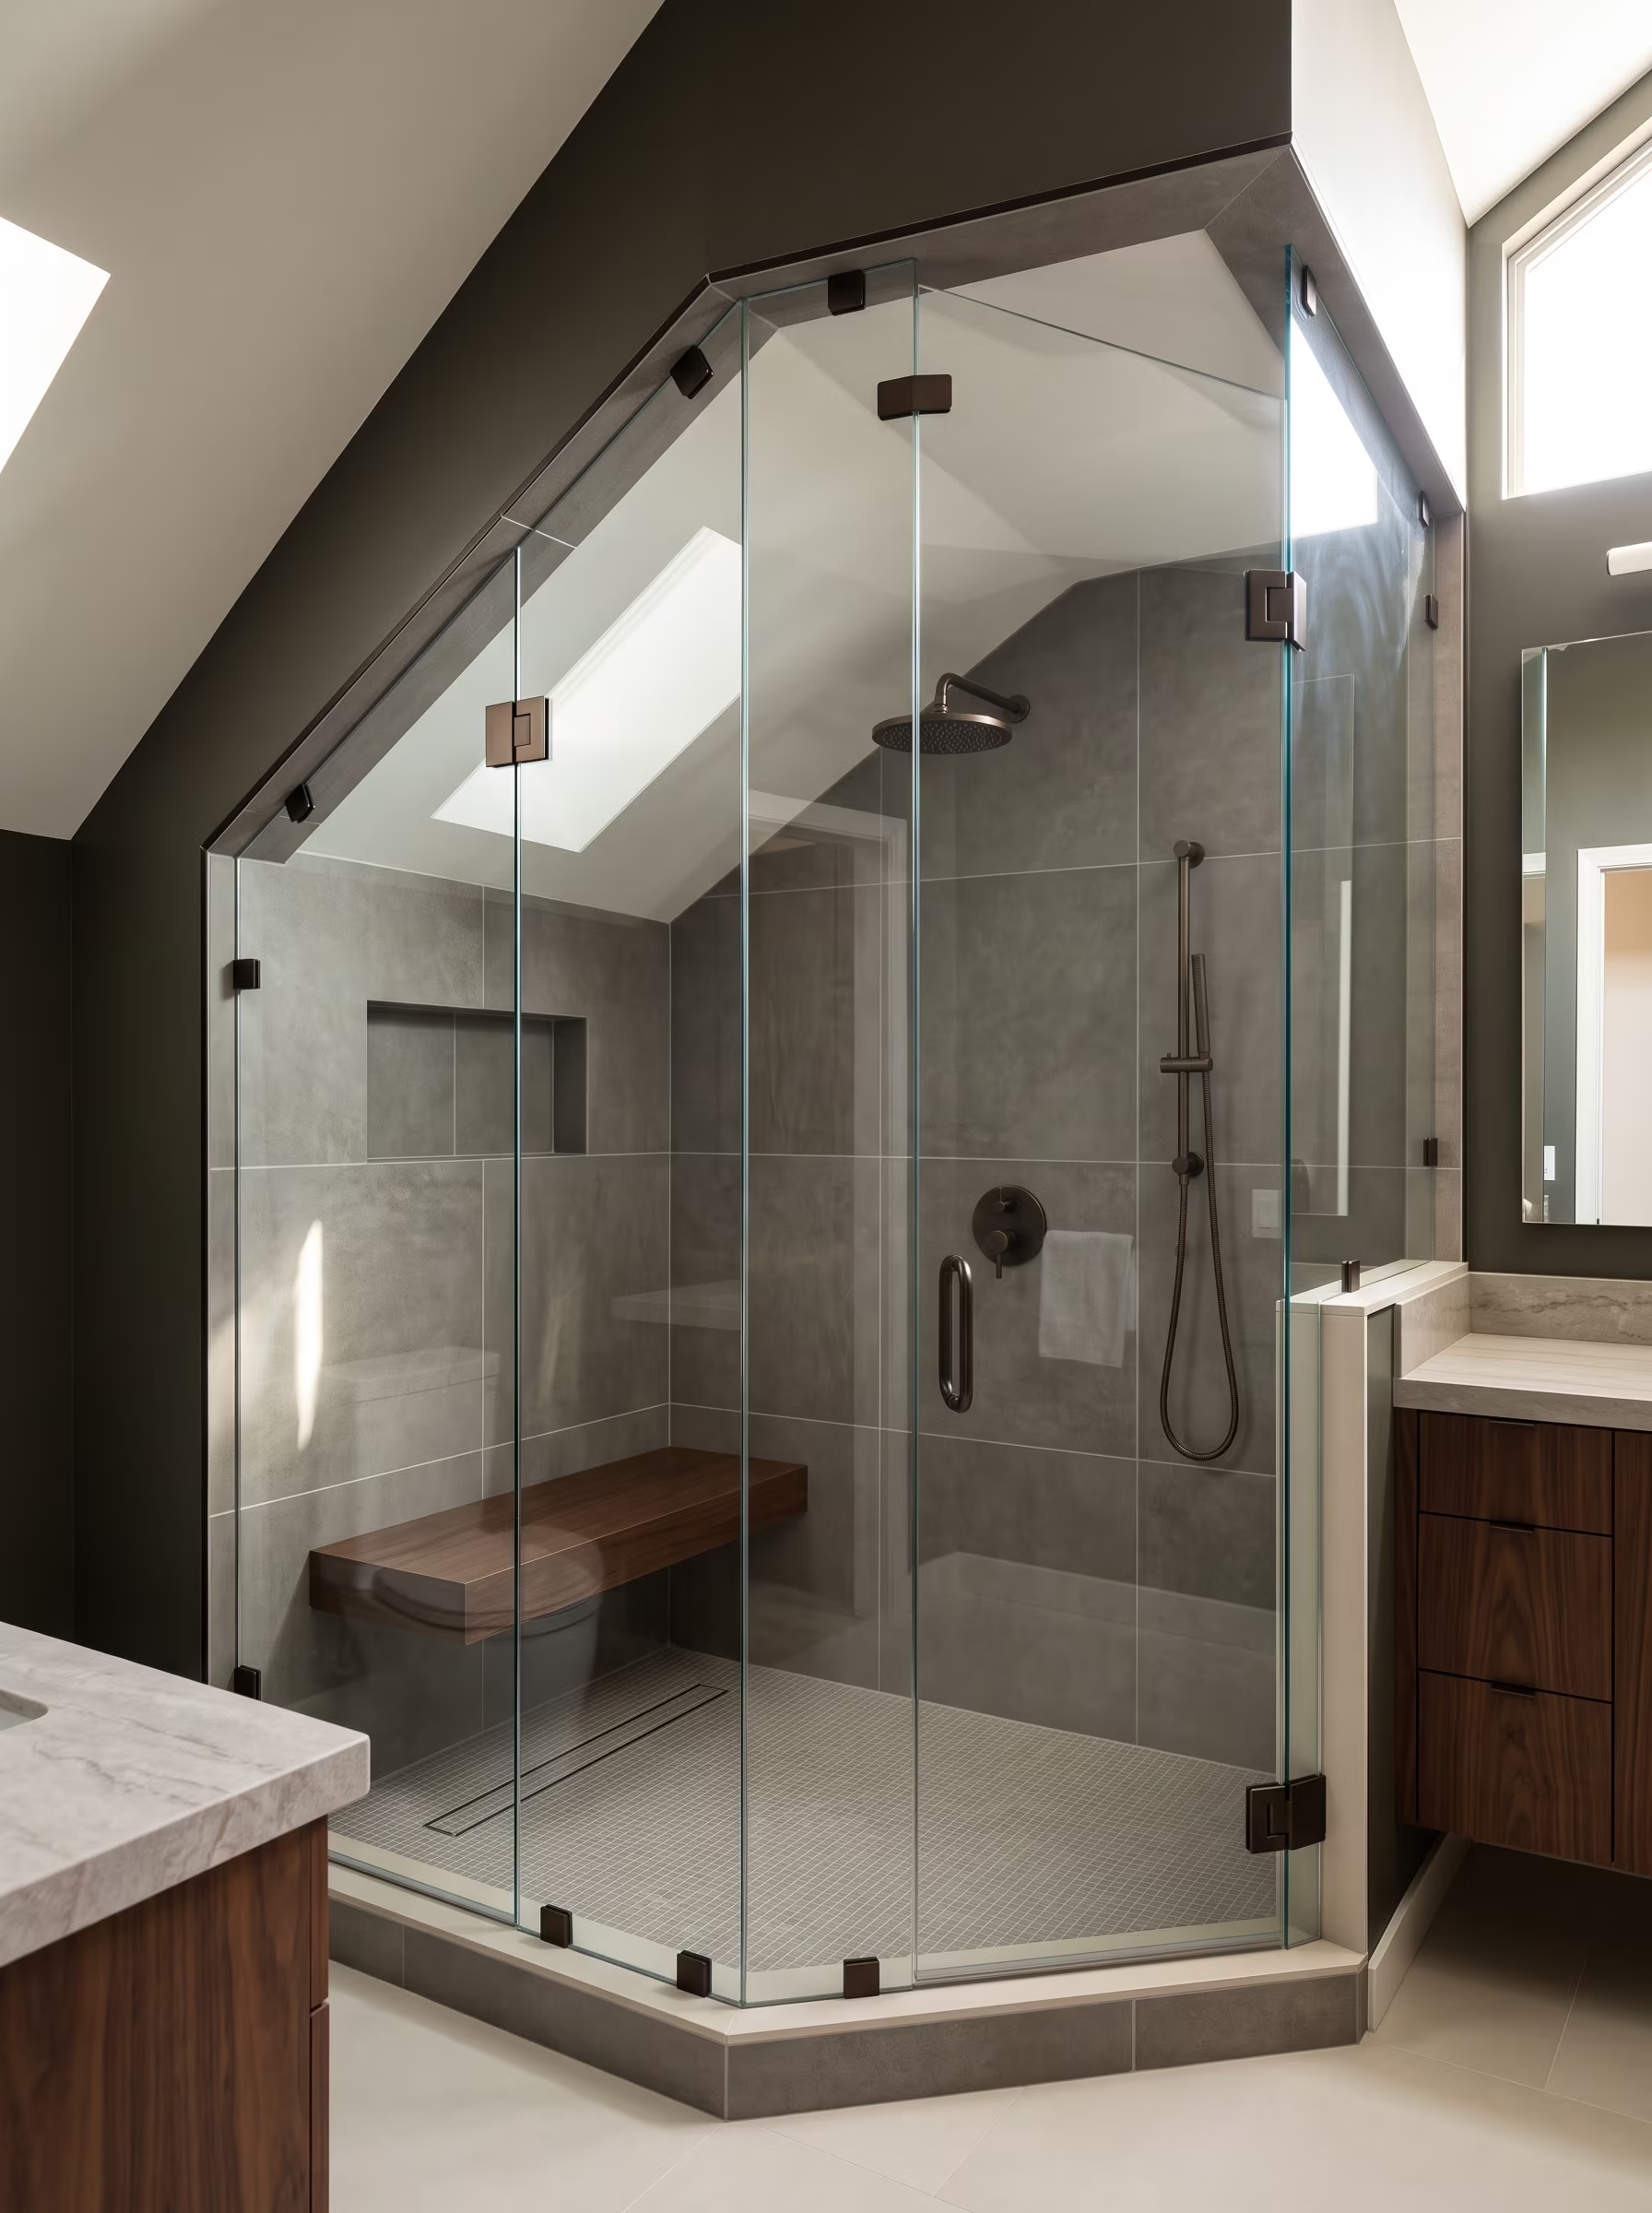
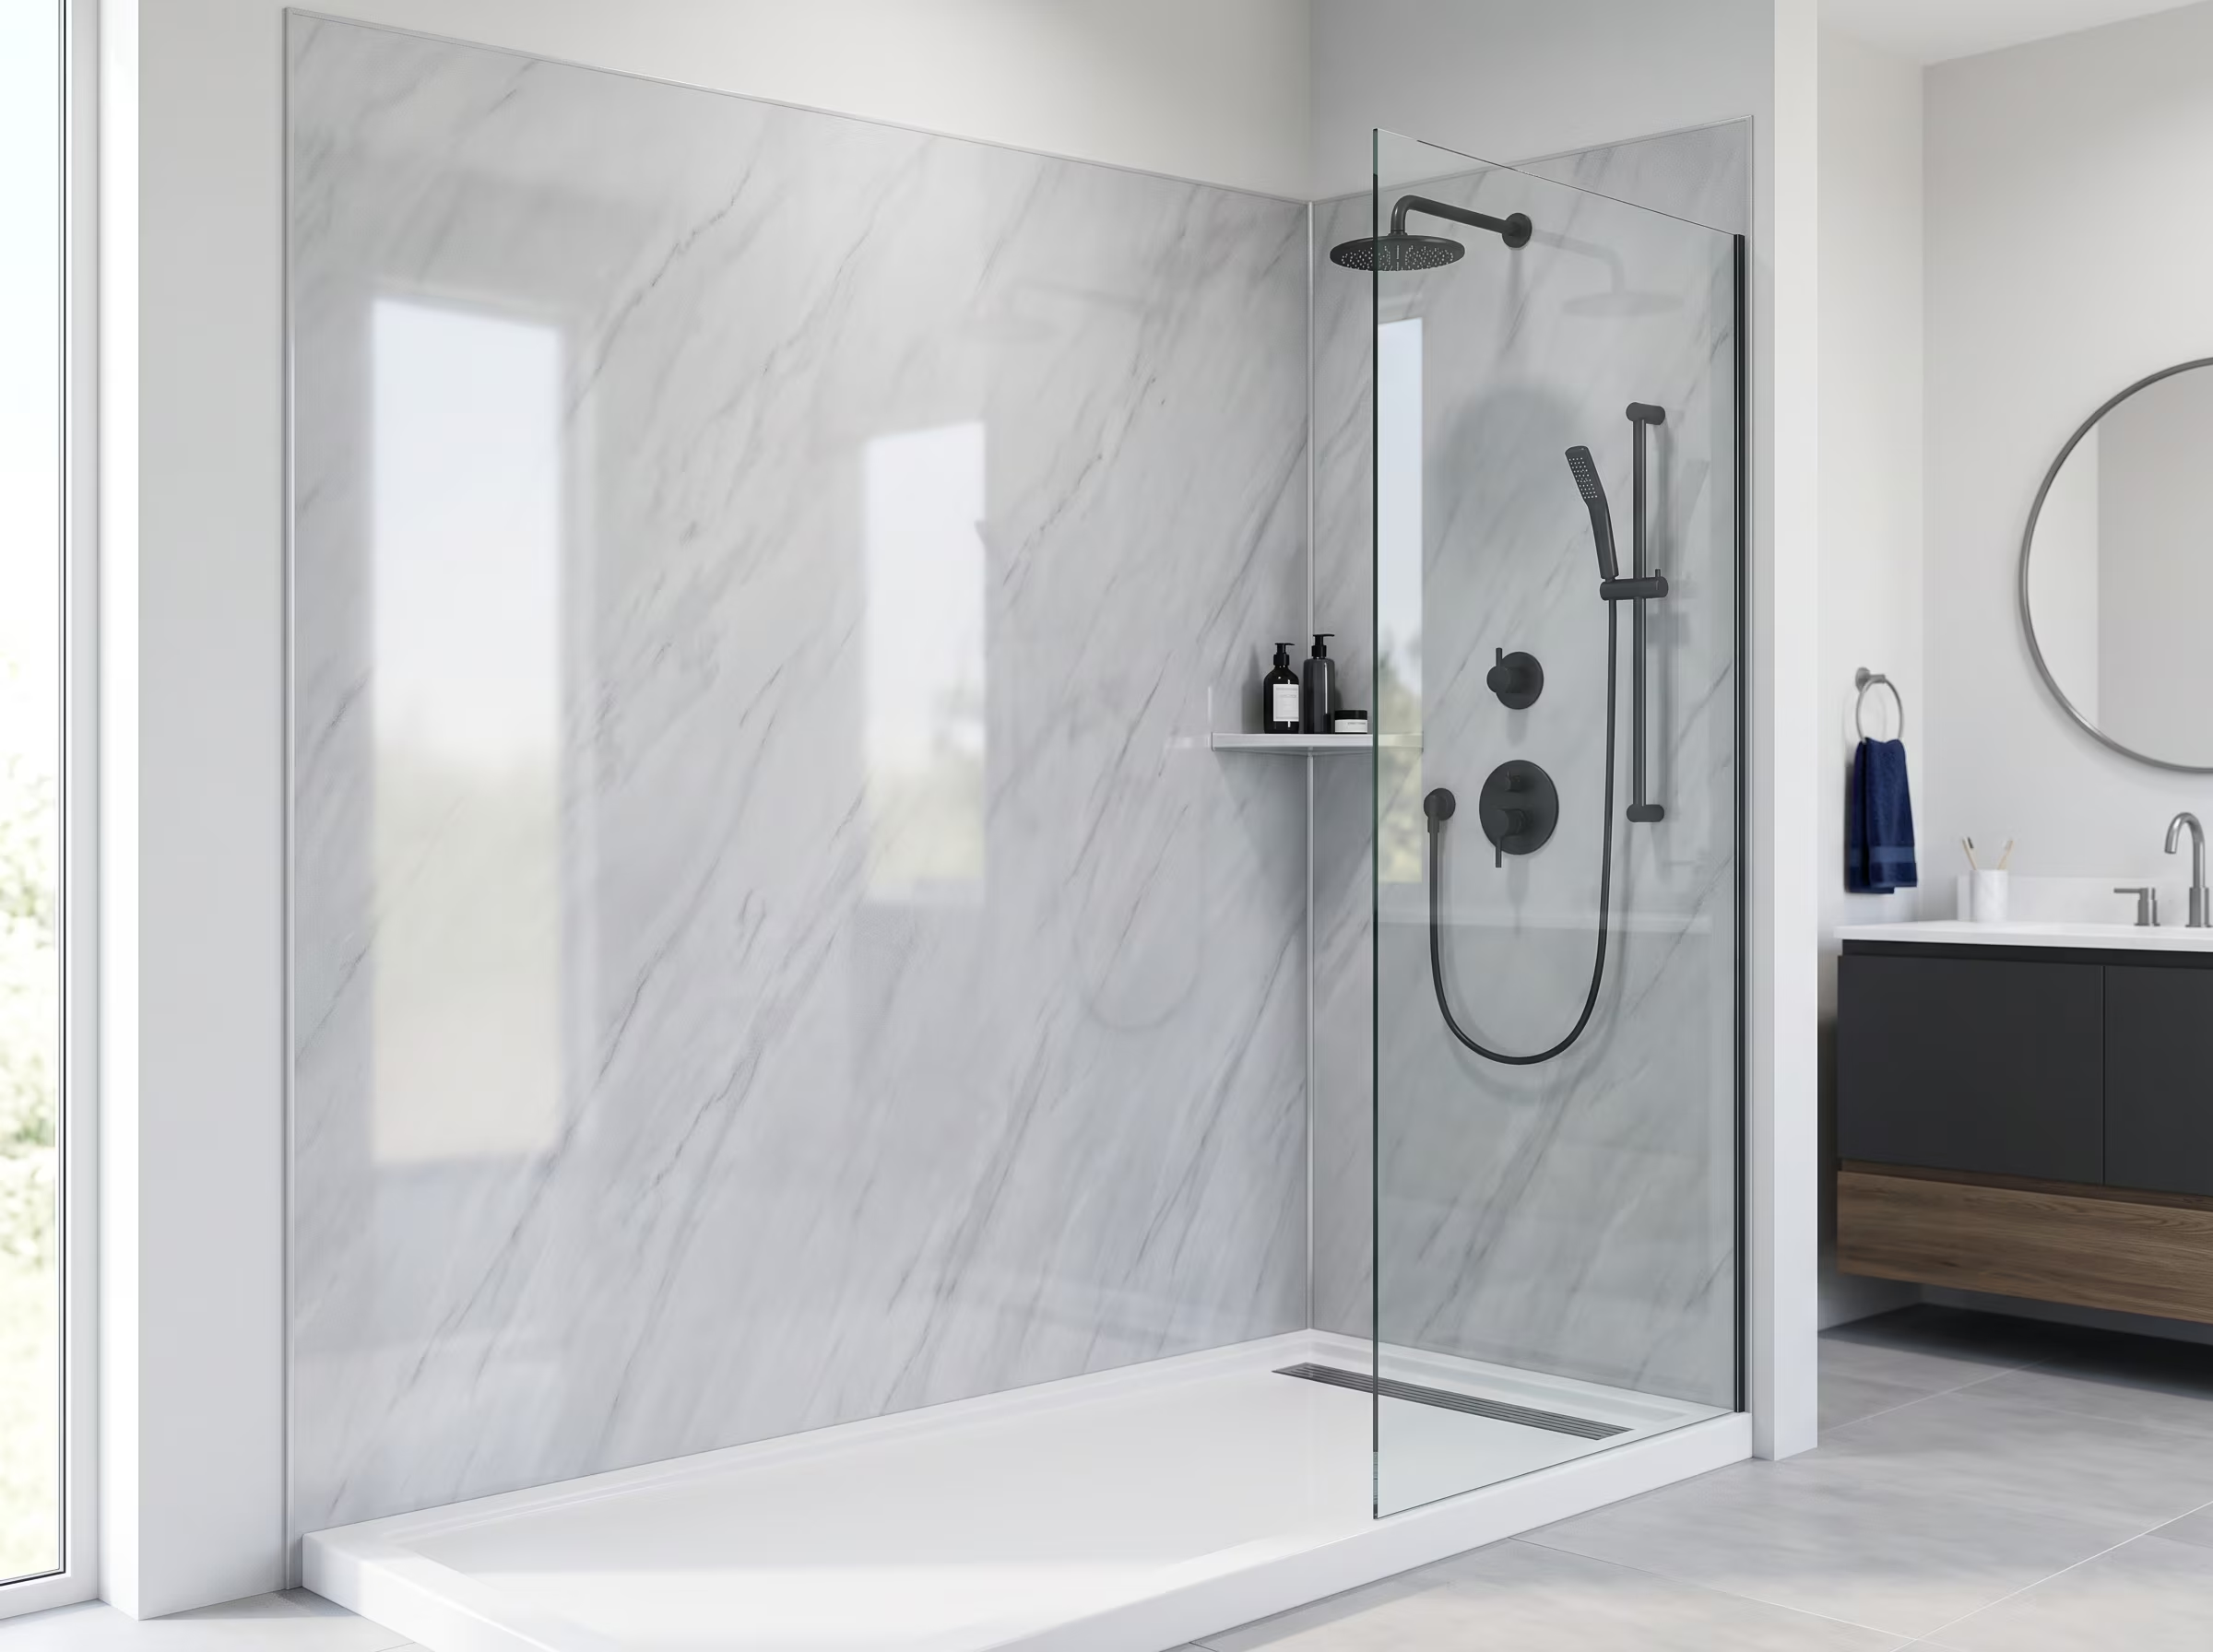
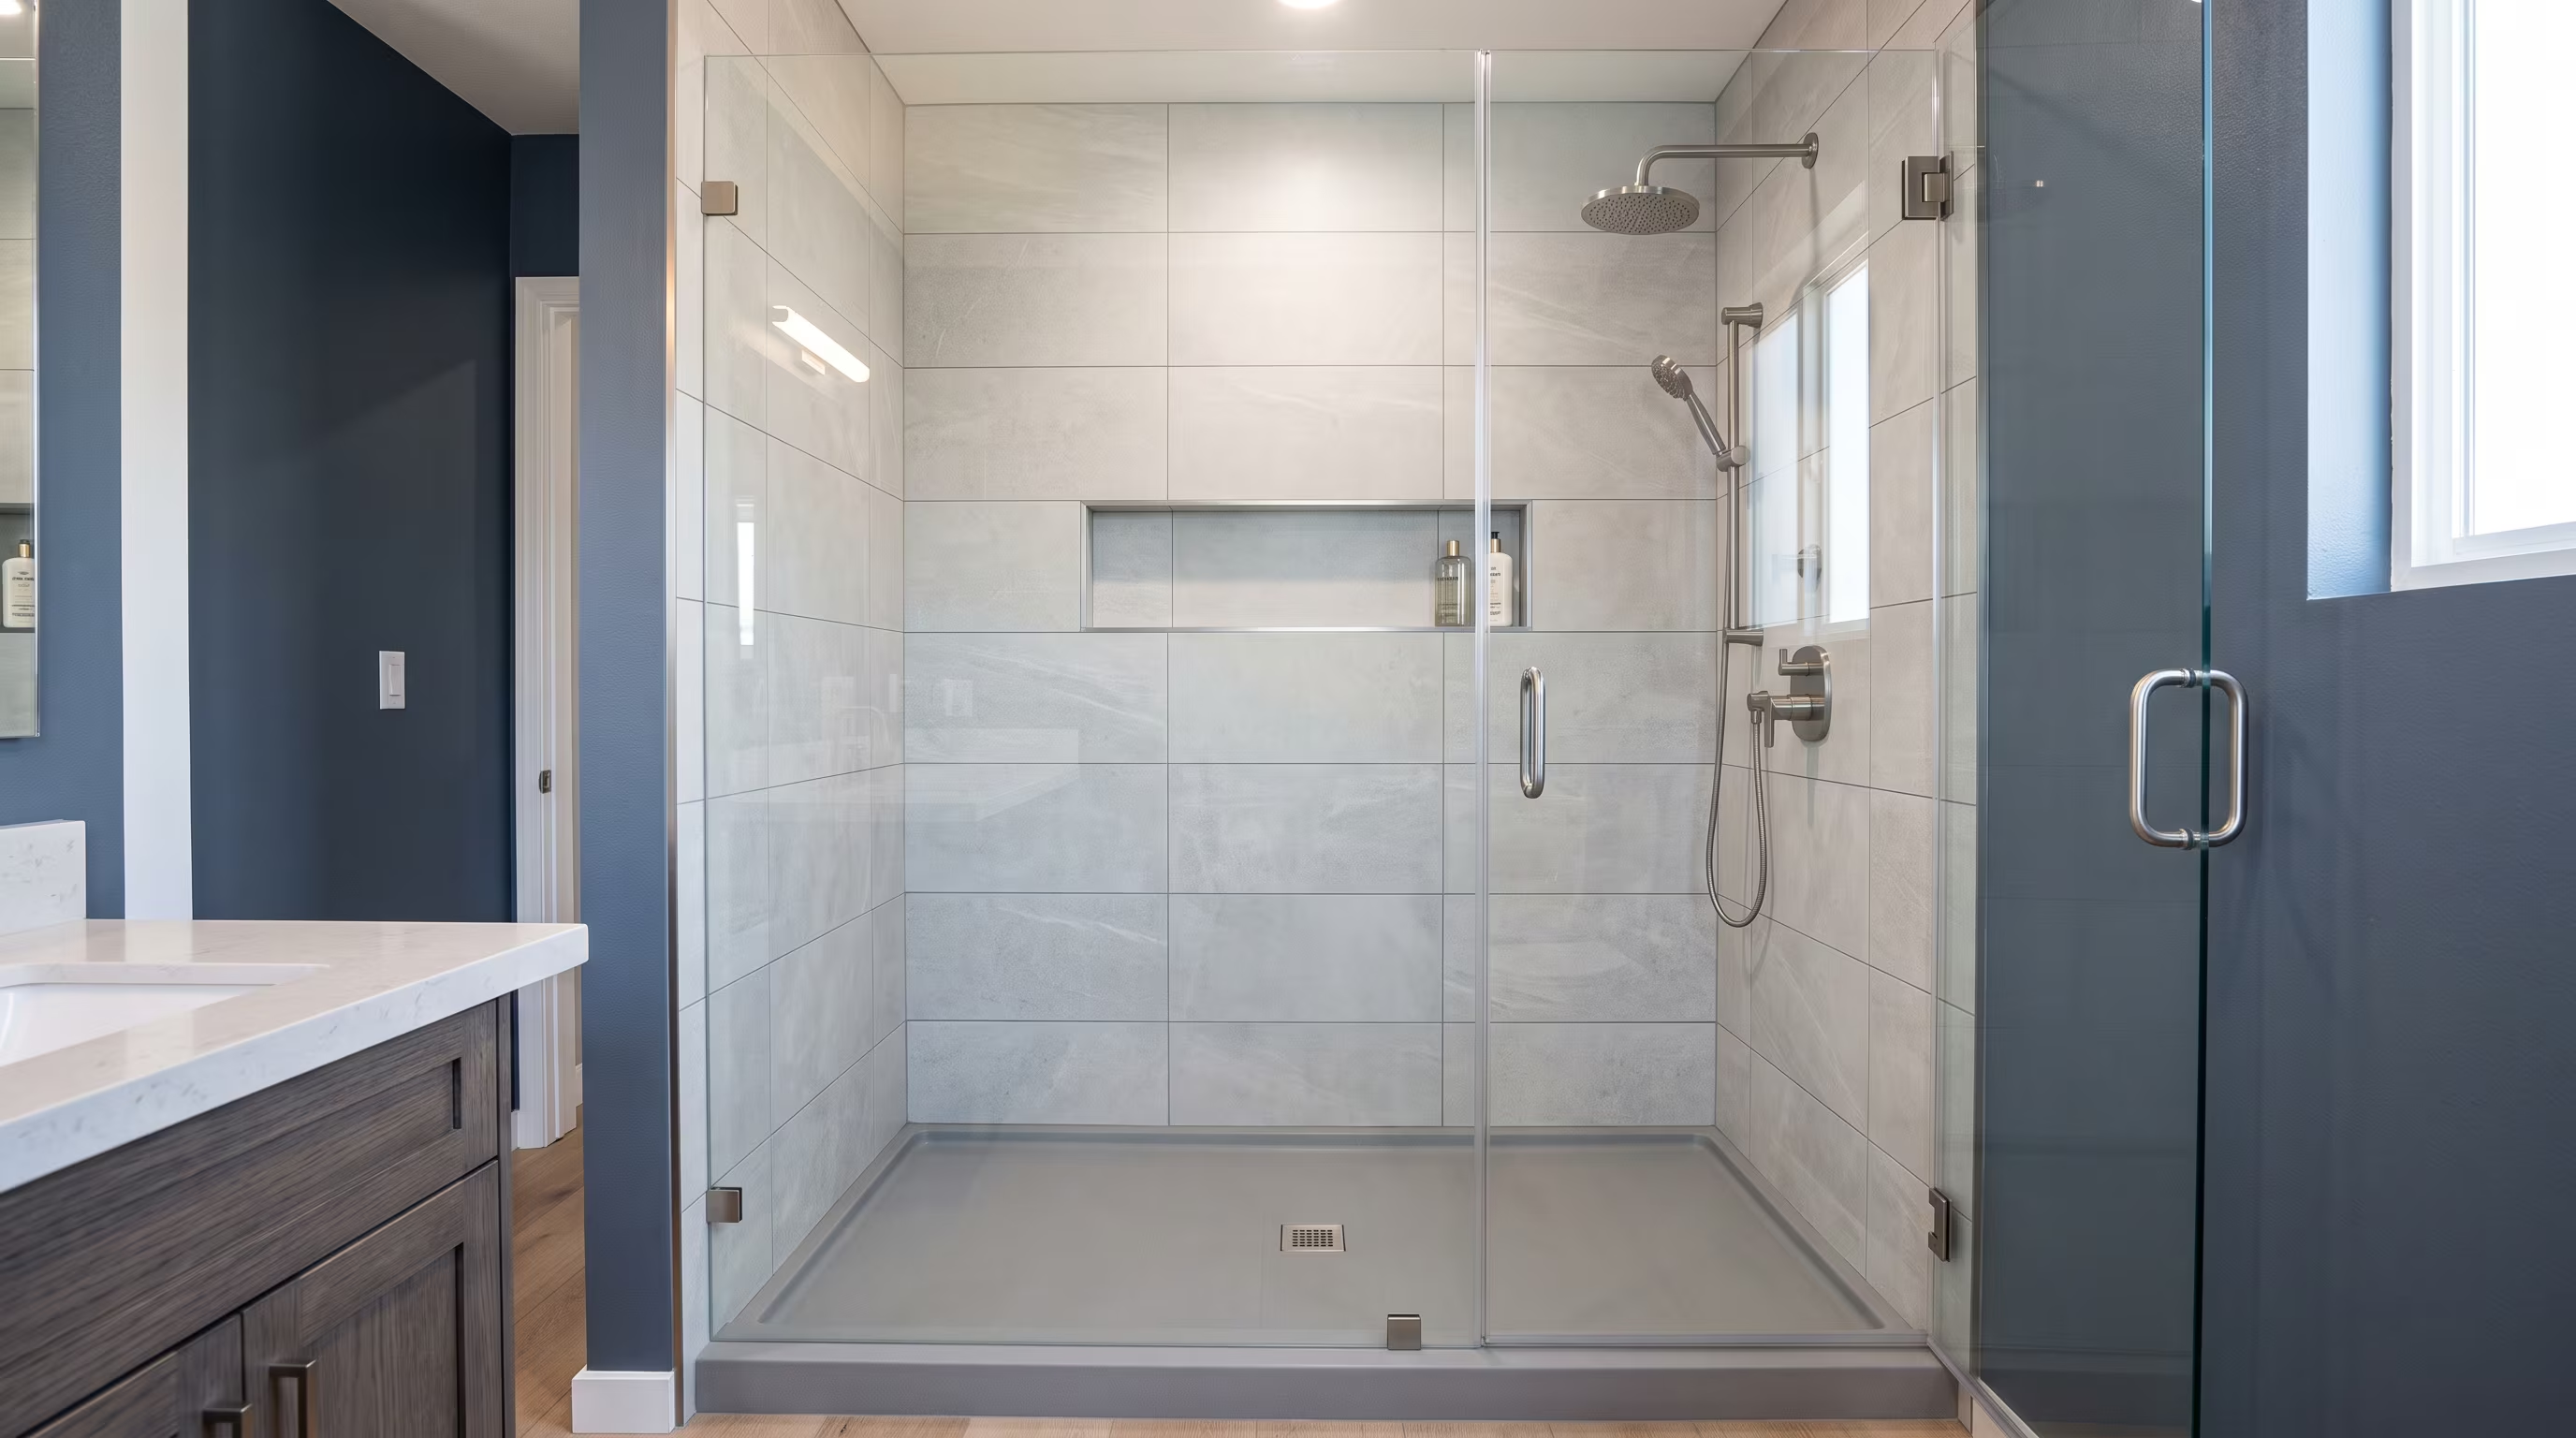
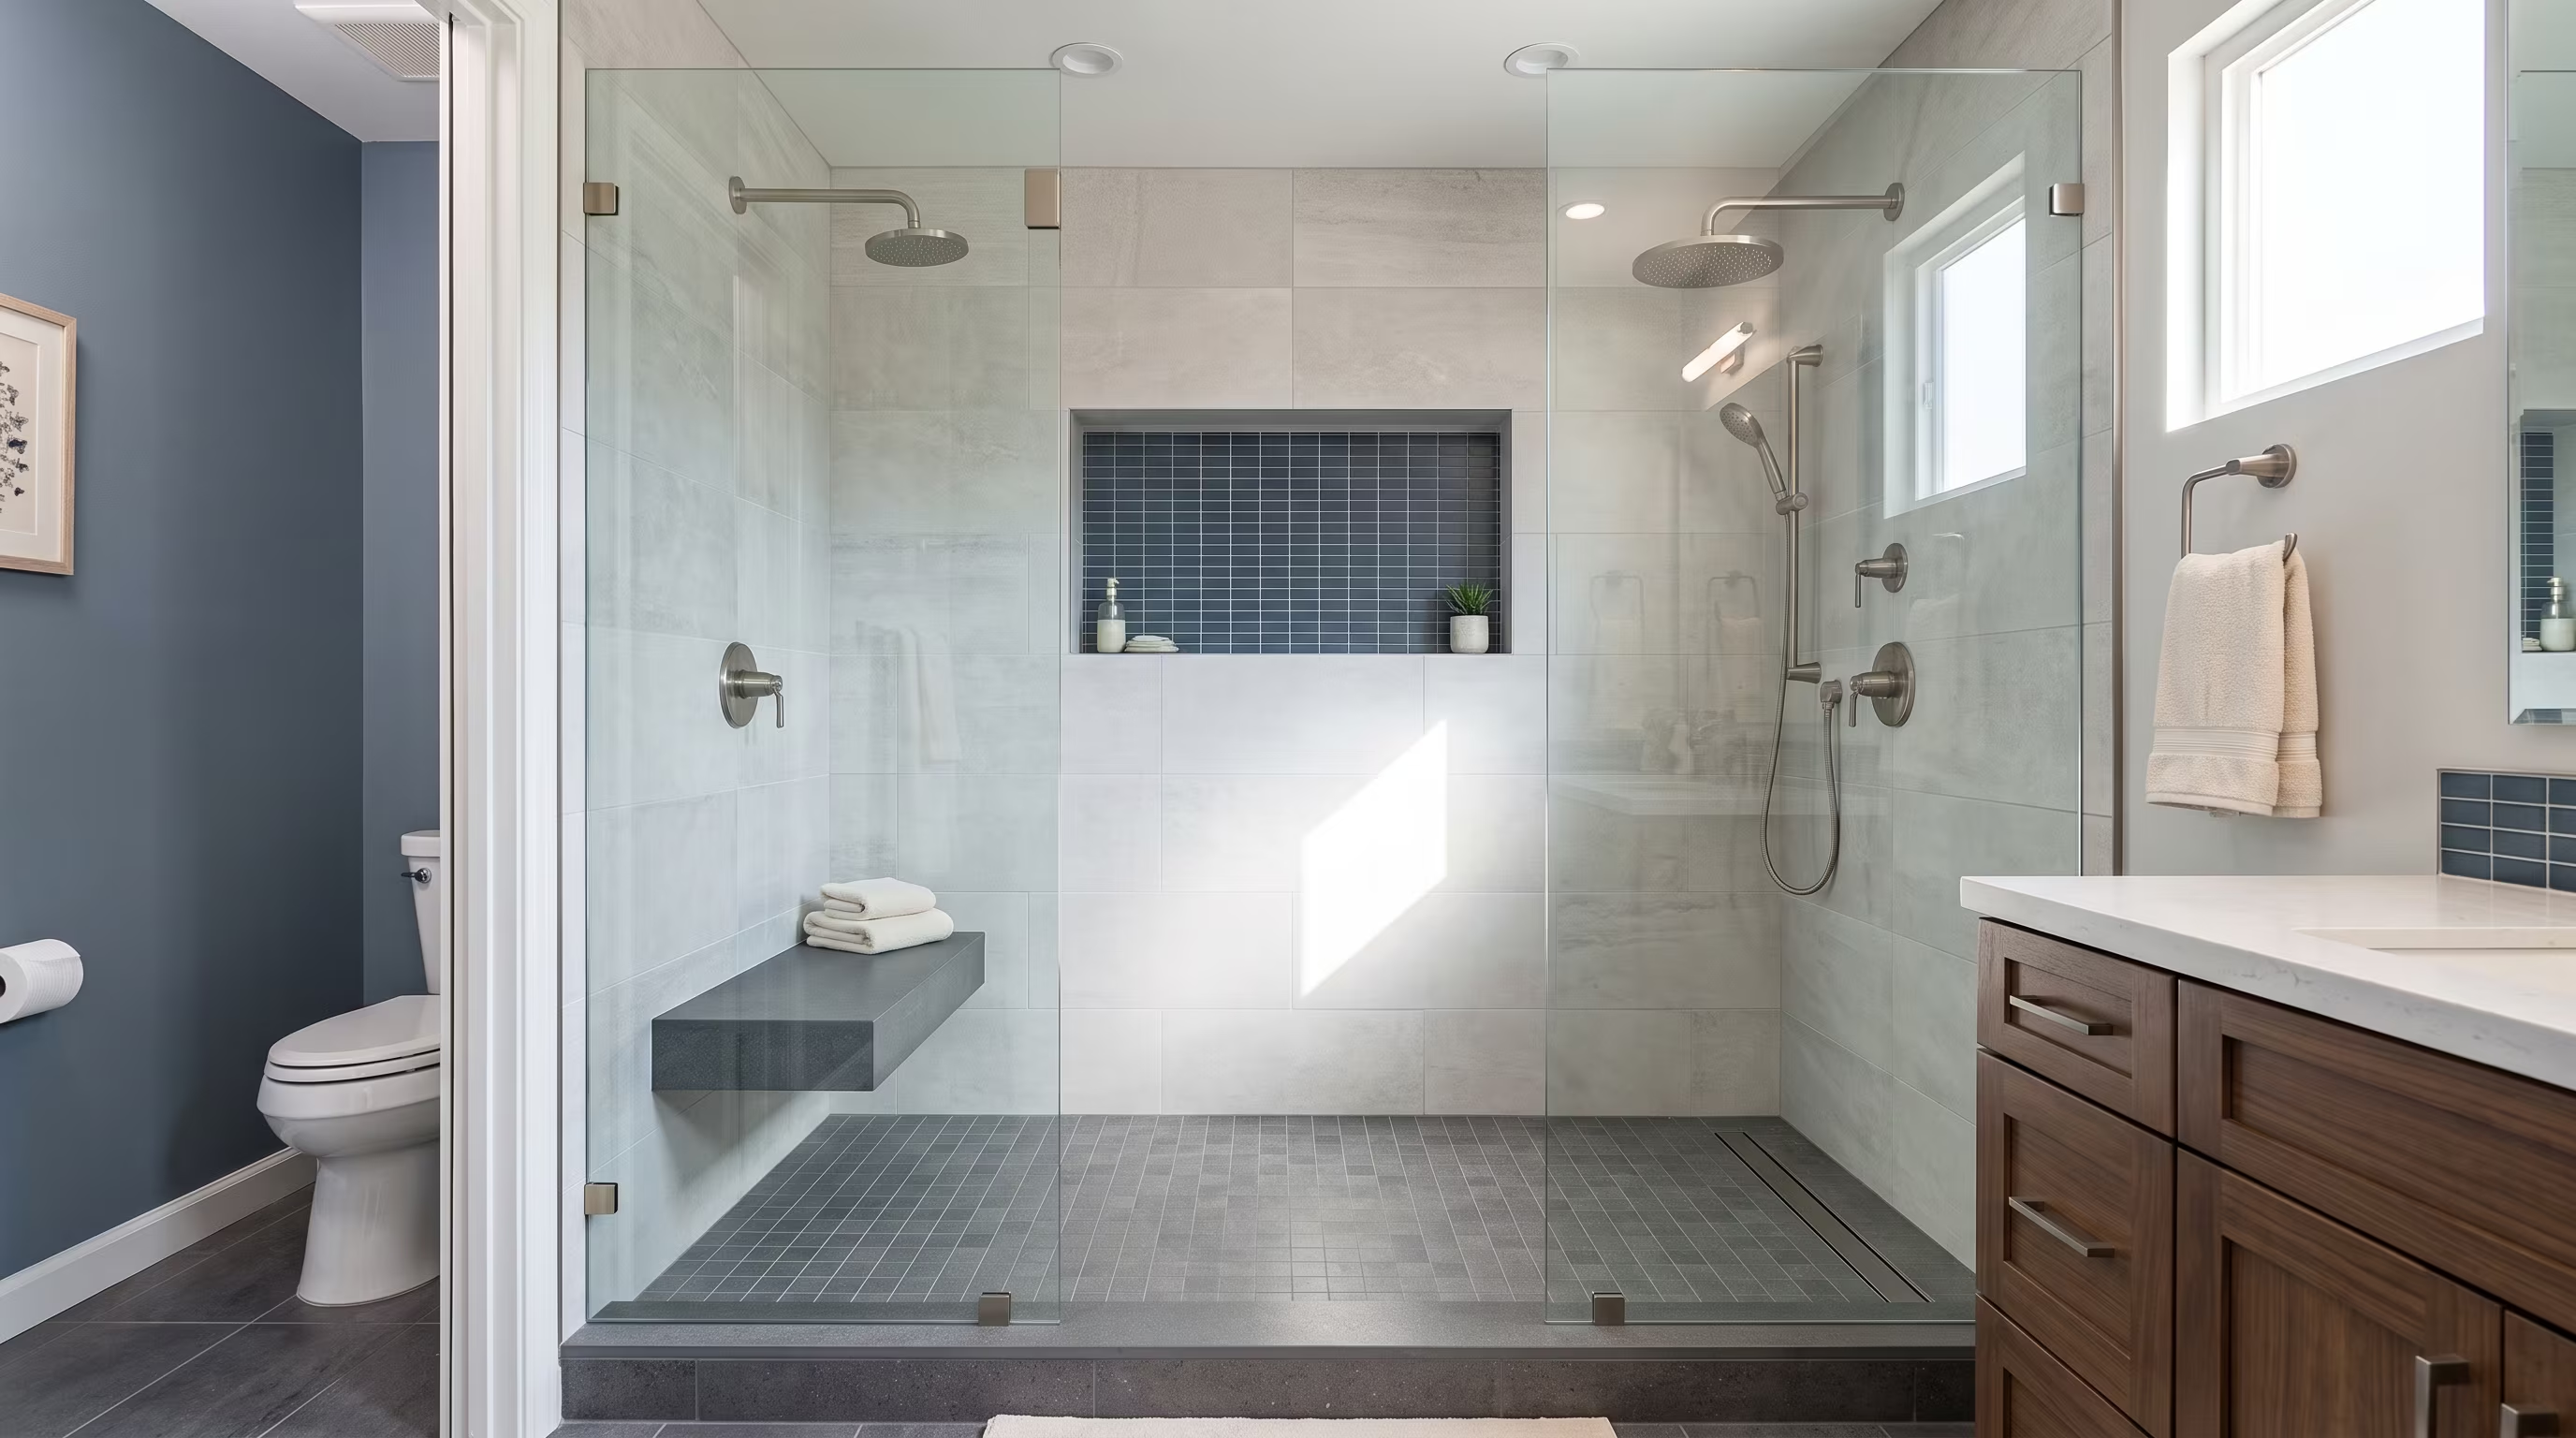
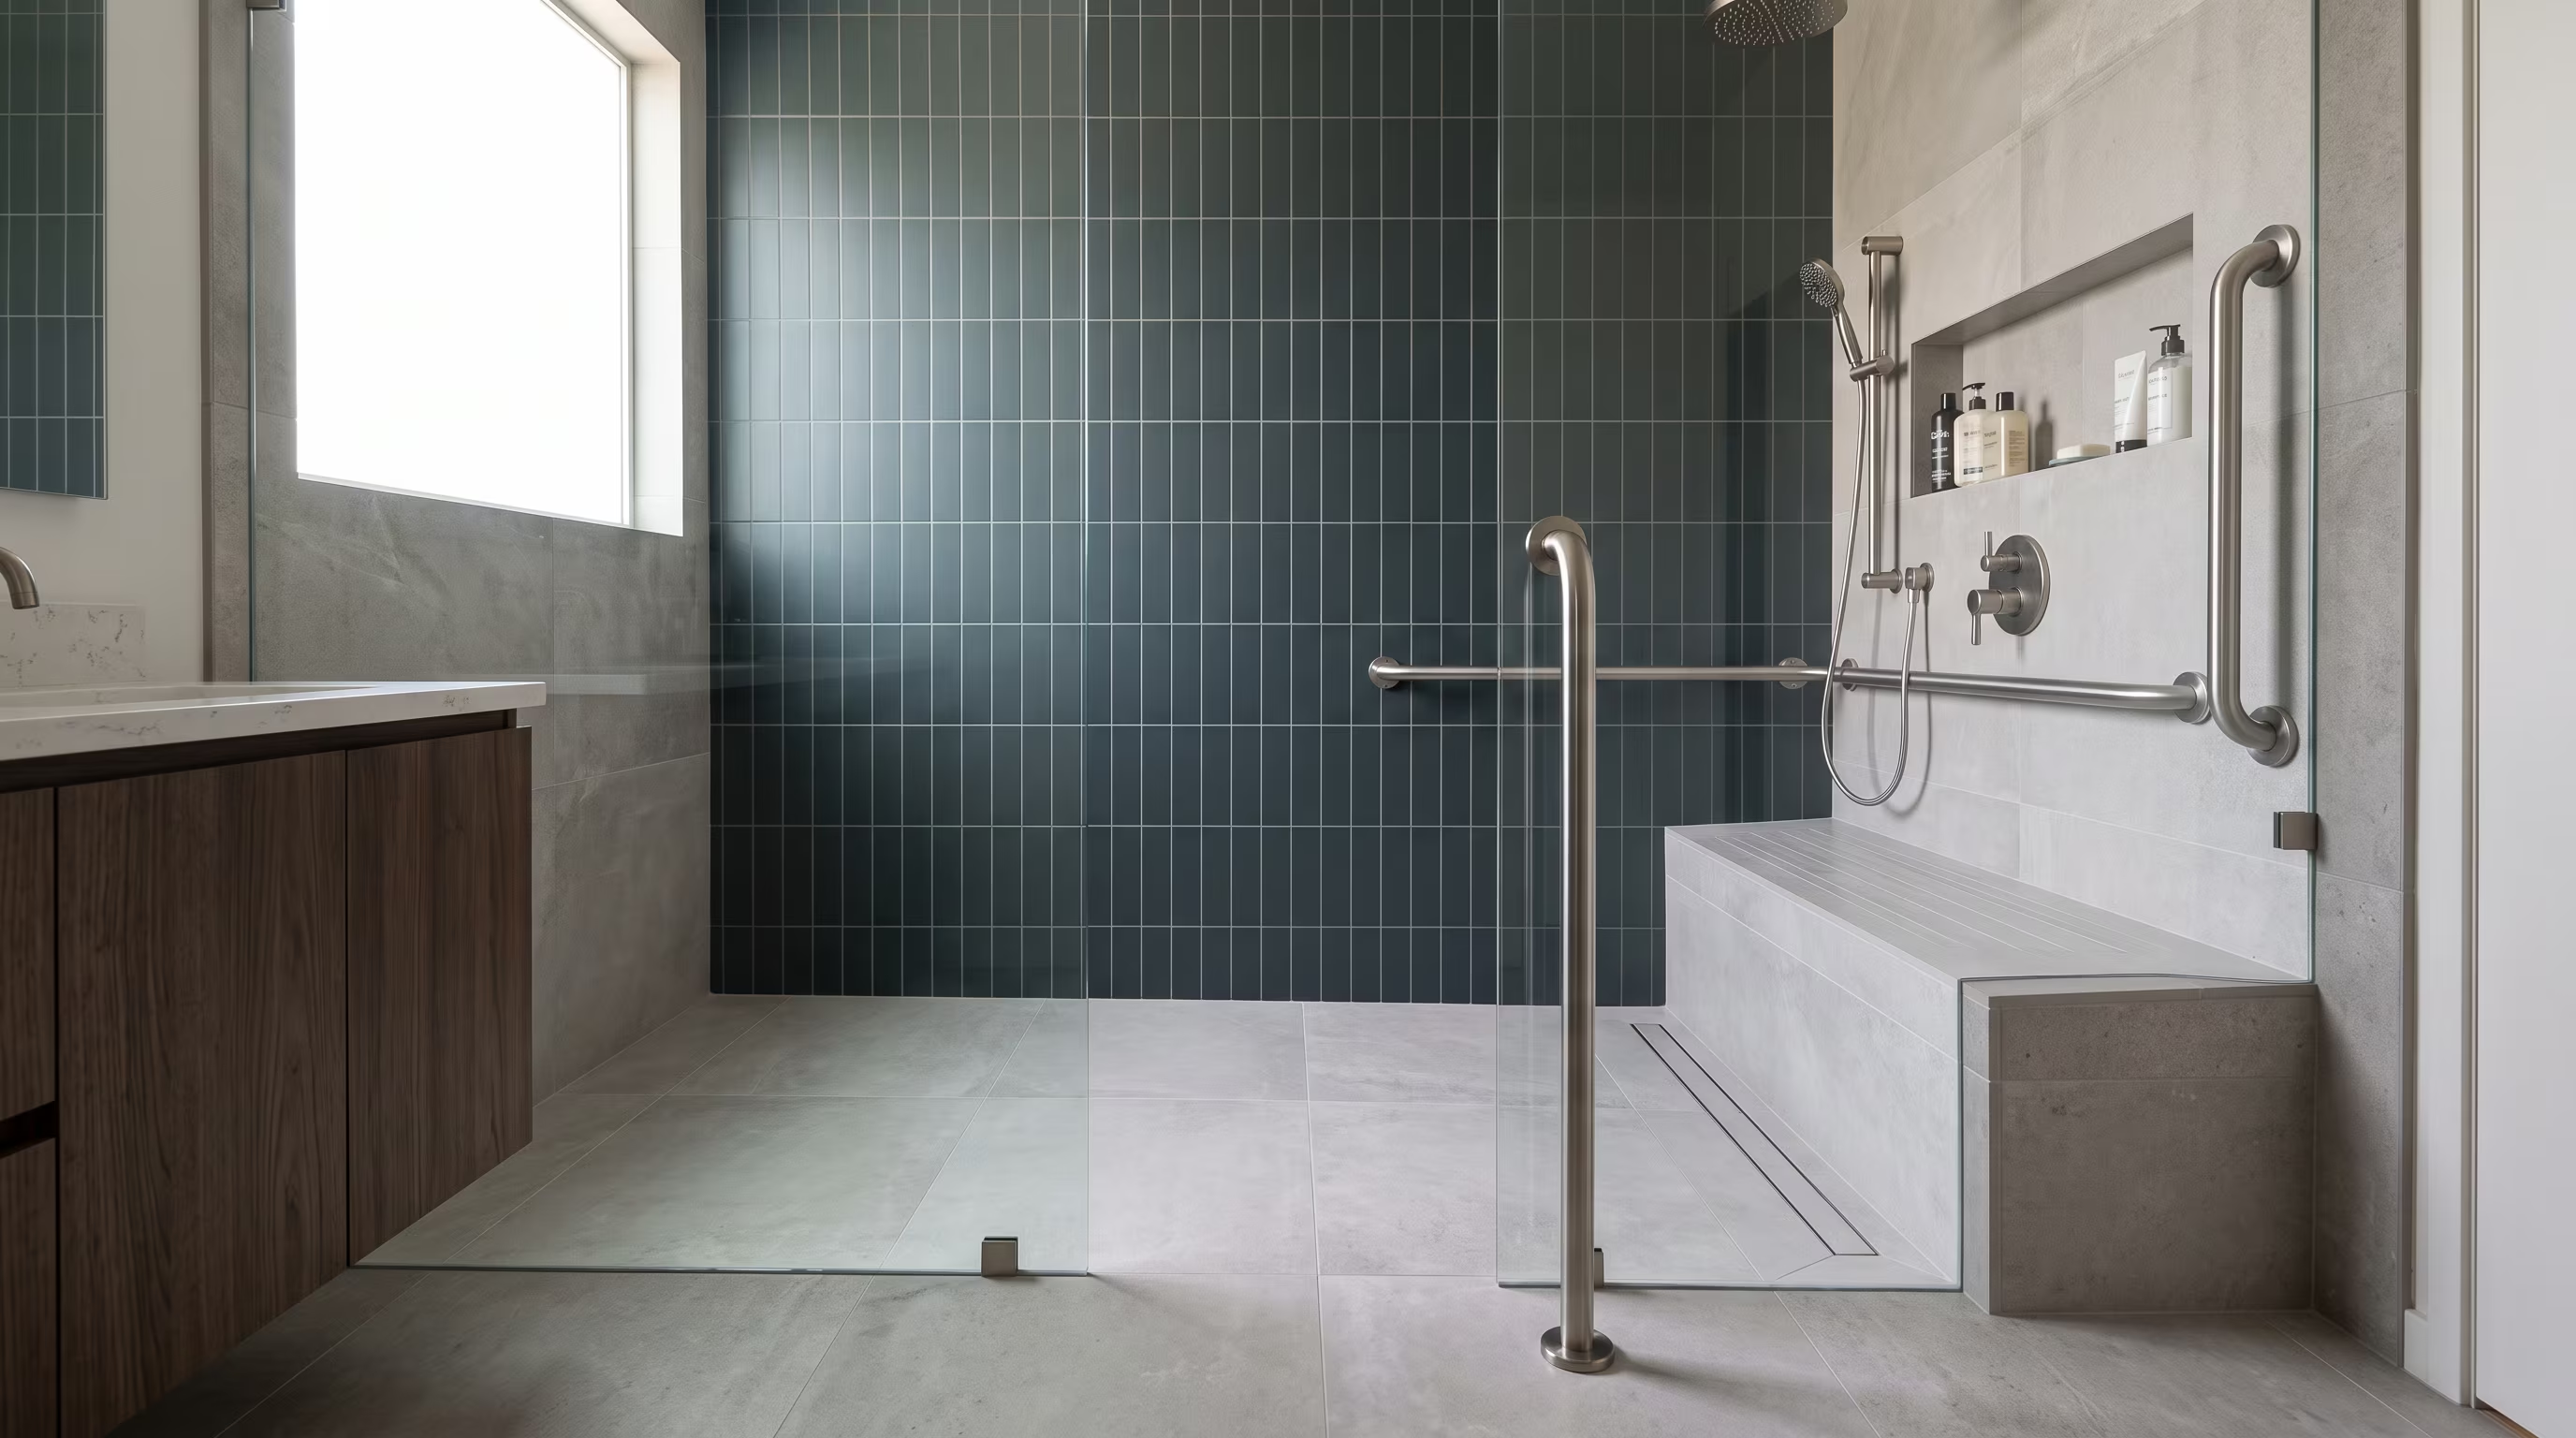
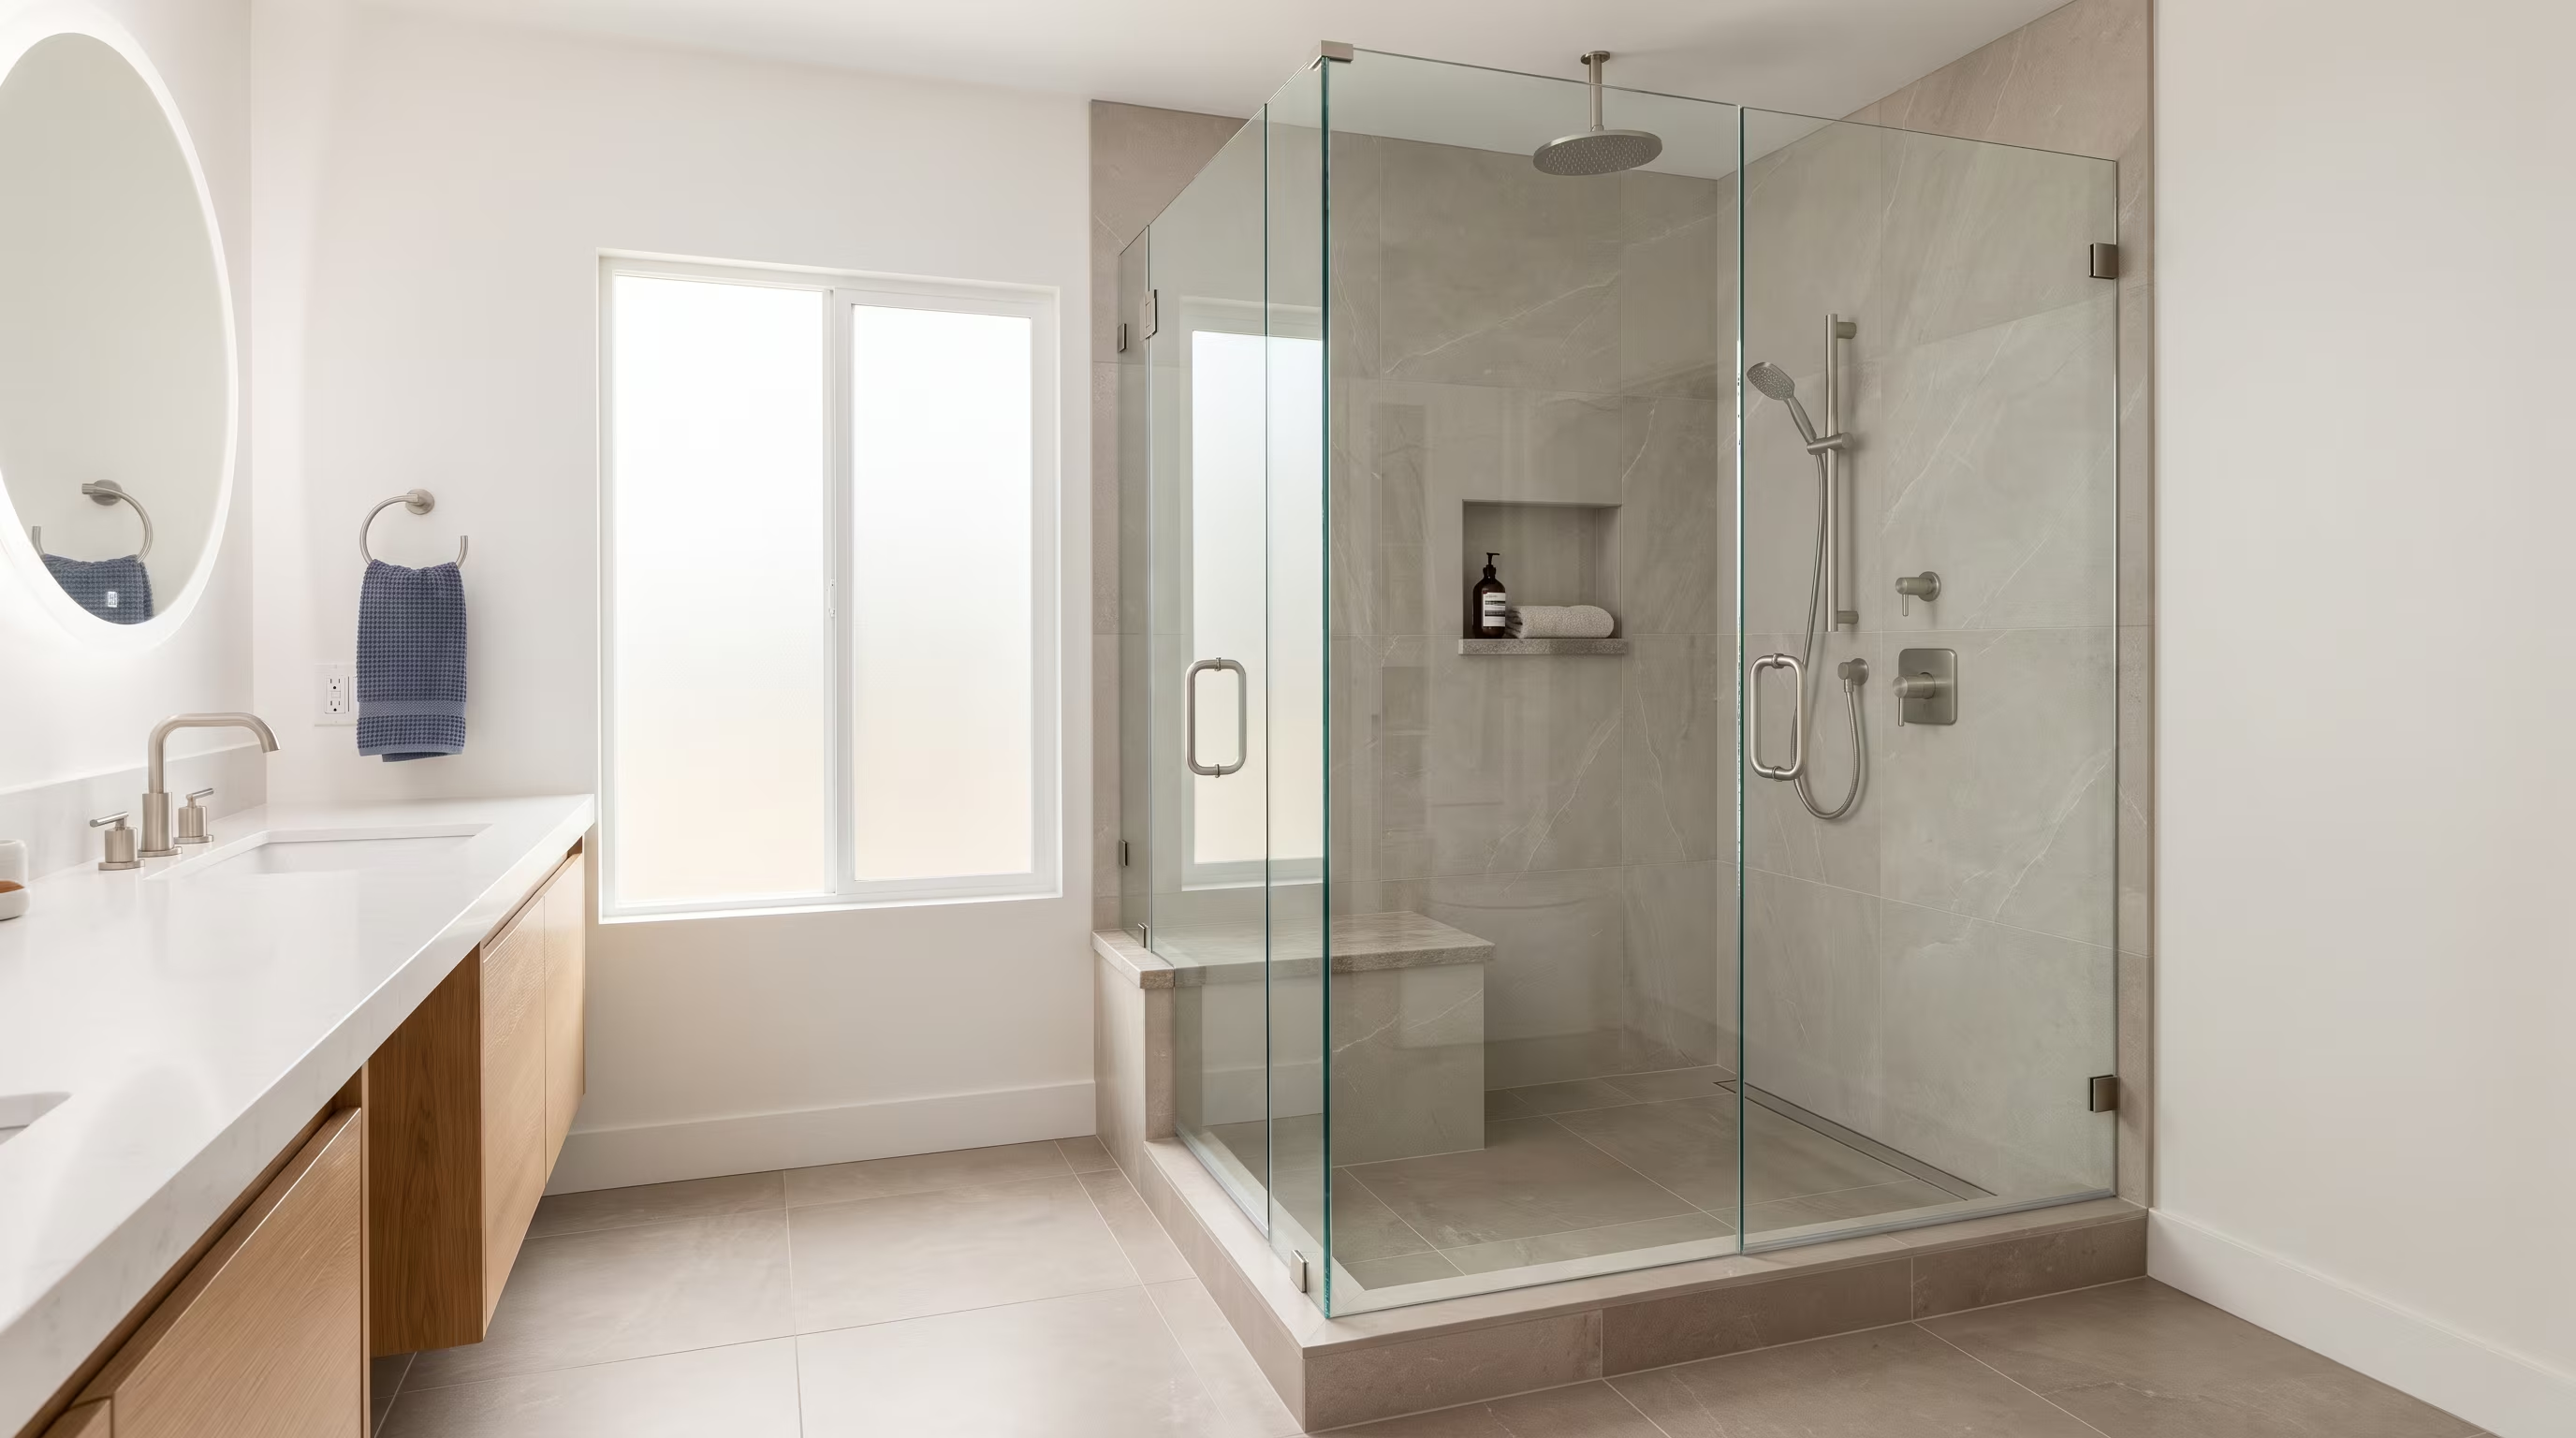
Frameless glass walk-in shower with tiled walls

About Us

What to expect from a shower consultation

We specialize in residential bathroom remodeling across San Diego County—showers, tubs, vanities, flooring, and full remodels planned around your home and schedule.

Every project starts with a clear conversation, a written scope, and a permit-aware plan so you know what to expect before work begins.

  • Licensed CA Contractor
  • Permit-First Process
  • Written Warranty
  • In-House Craftsmen

Get Your Free Bathroom Remodel Estimate

No obligation. A specialist contacts you within 1 hour.

Scope

Cosmetic Update or Full Rebuild: Which Shower Scope Fits?

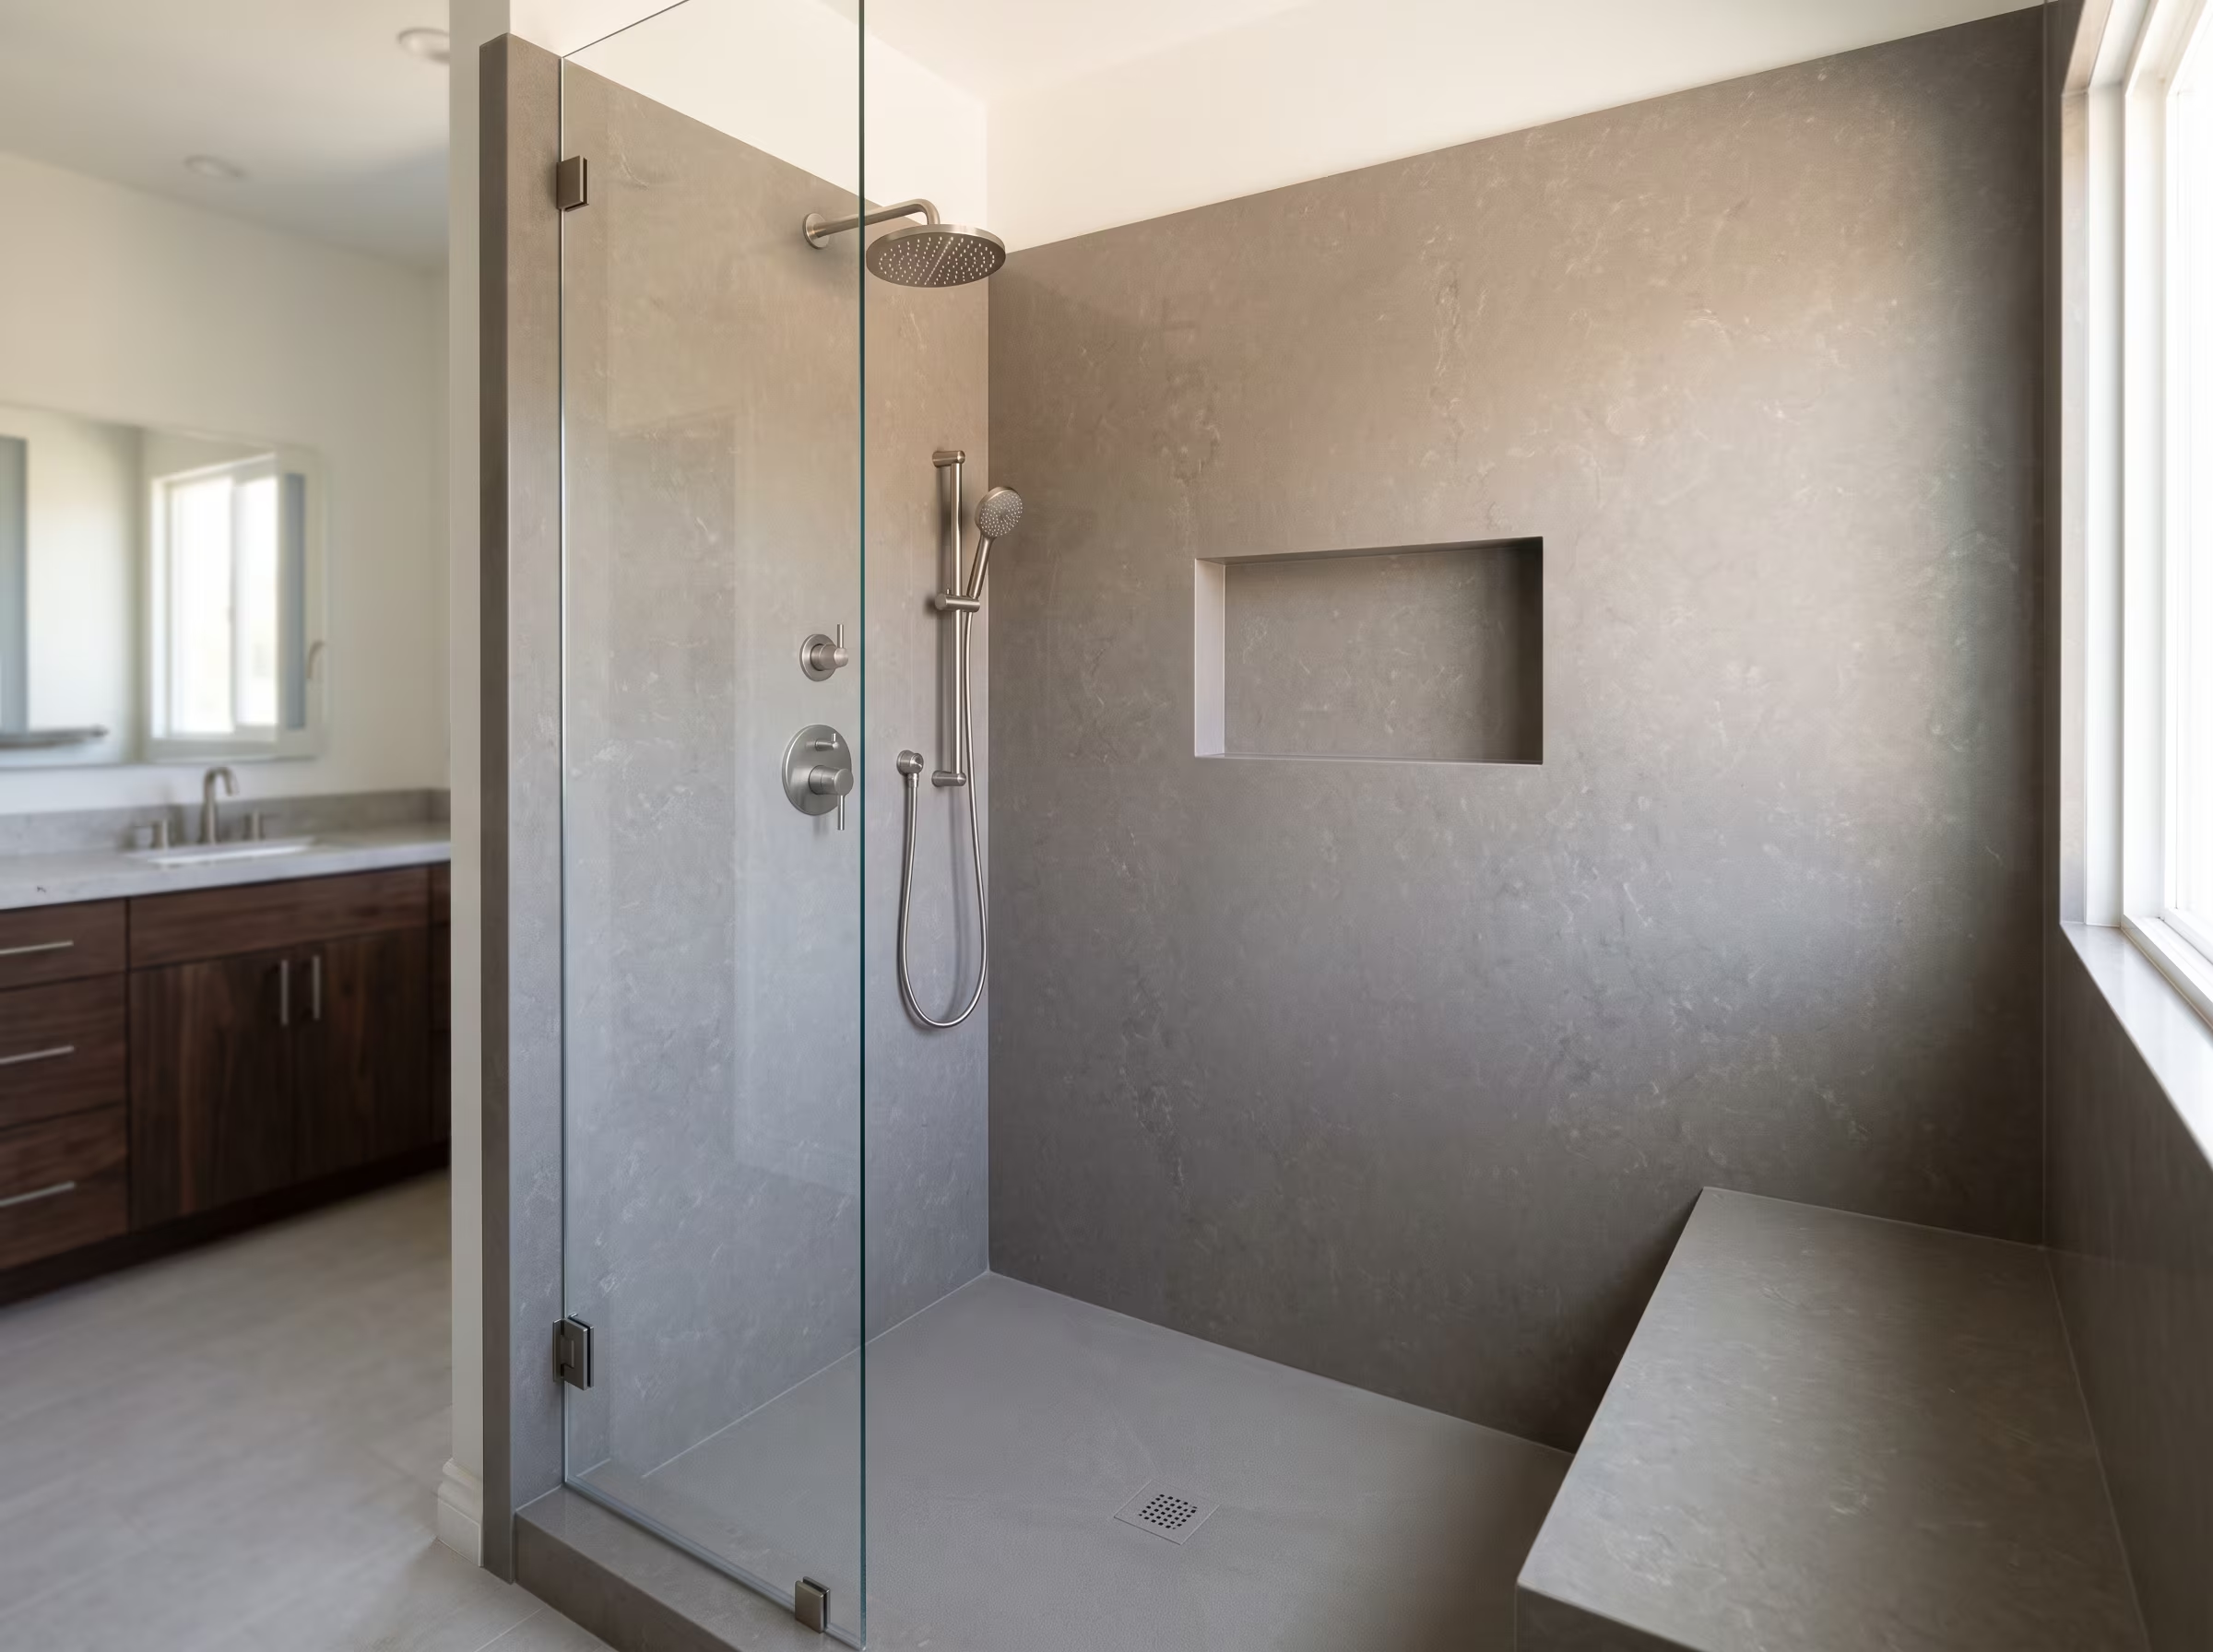
Finished alcove shower with glass door after a surface-level update Cosmetic

A cosmetic shower update replaces visible elements such as grout, caulk, showerheads and fixtures without opening walls or replacing the pan or drain assembly. This scope is appropriate when the underlying waterproofing is sound and surfaces are structurally intact.
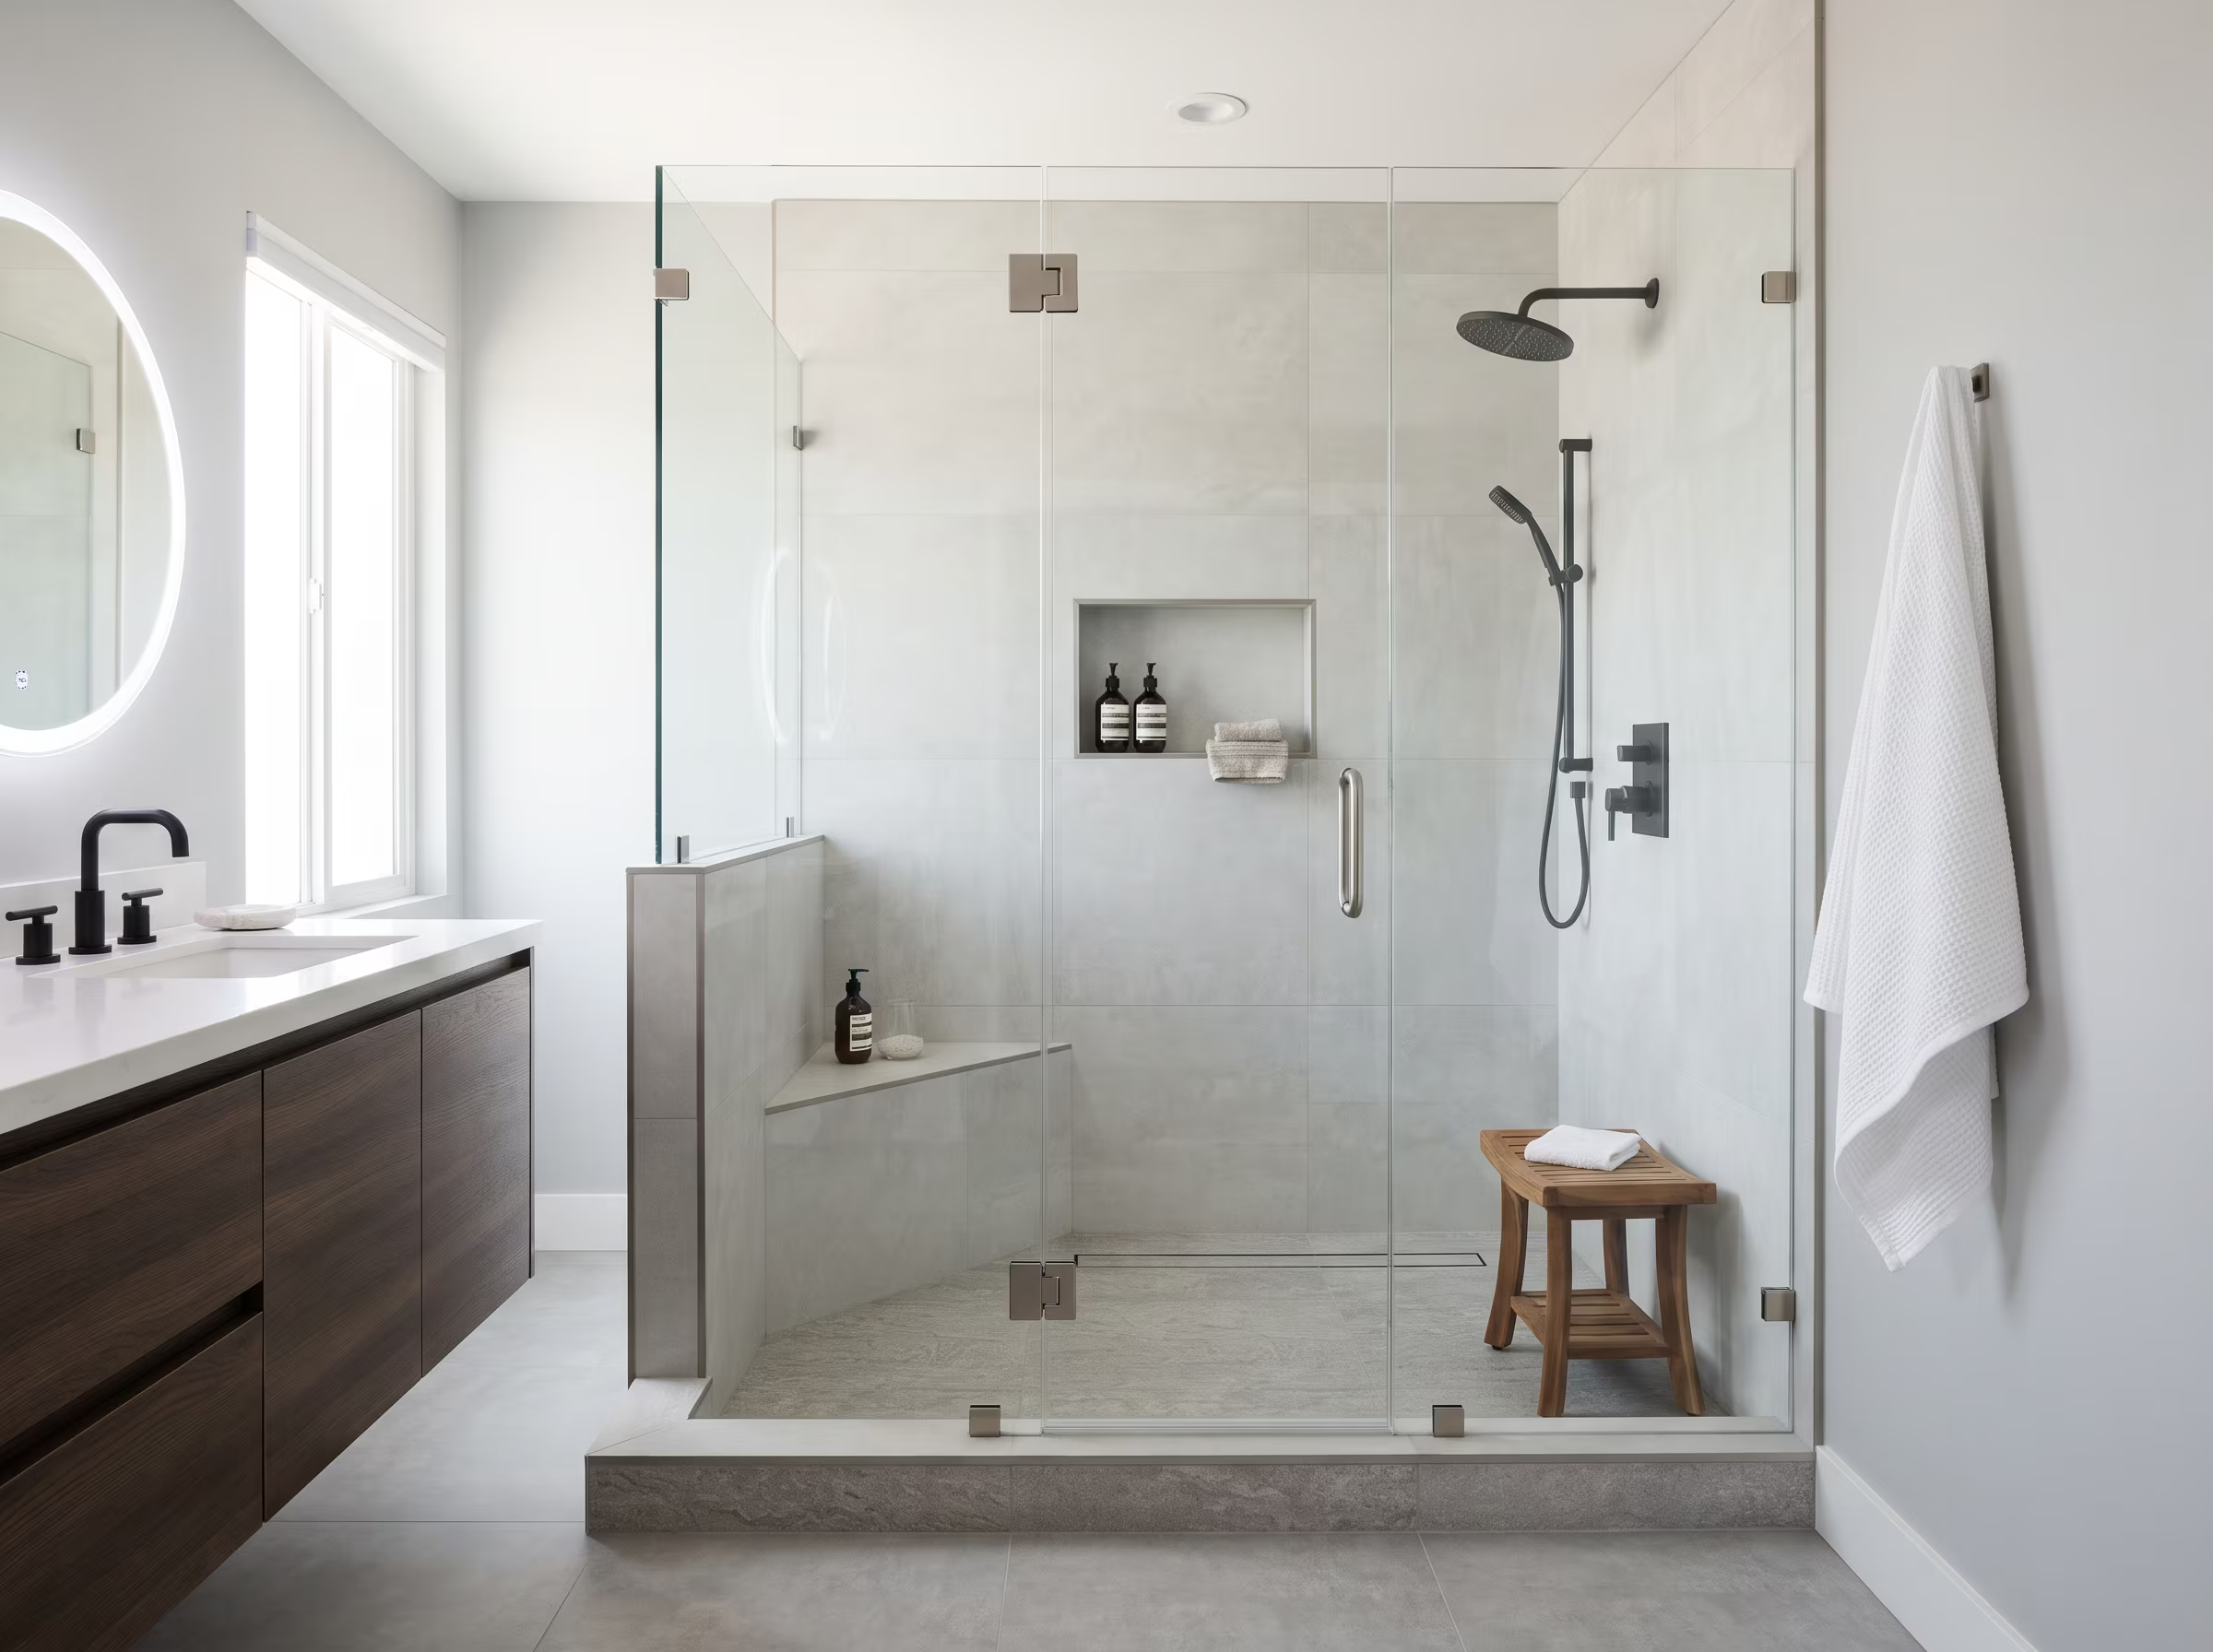
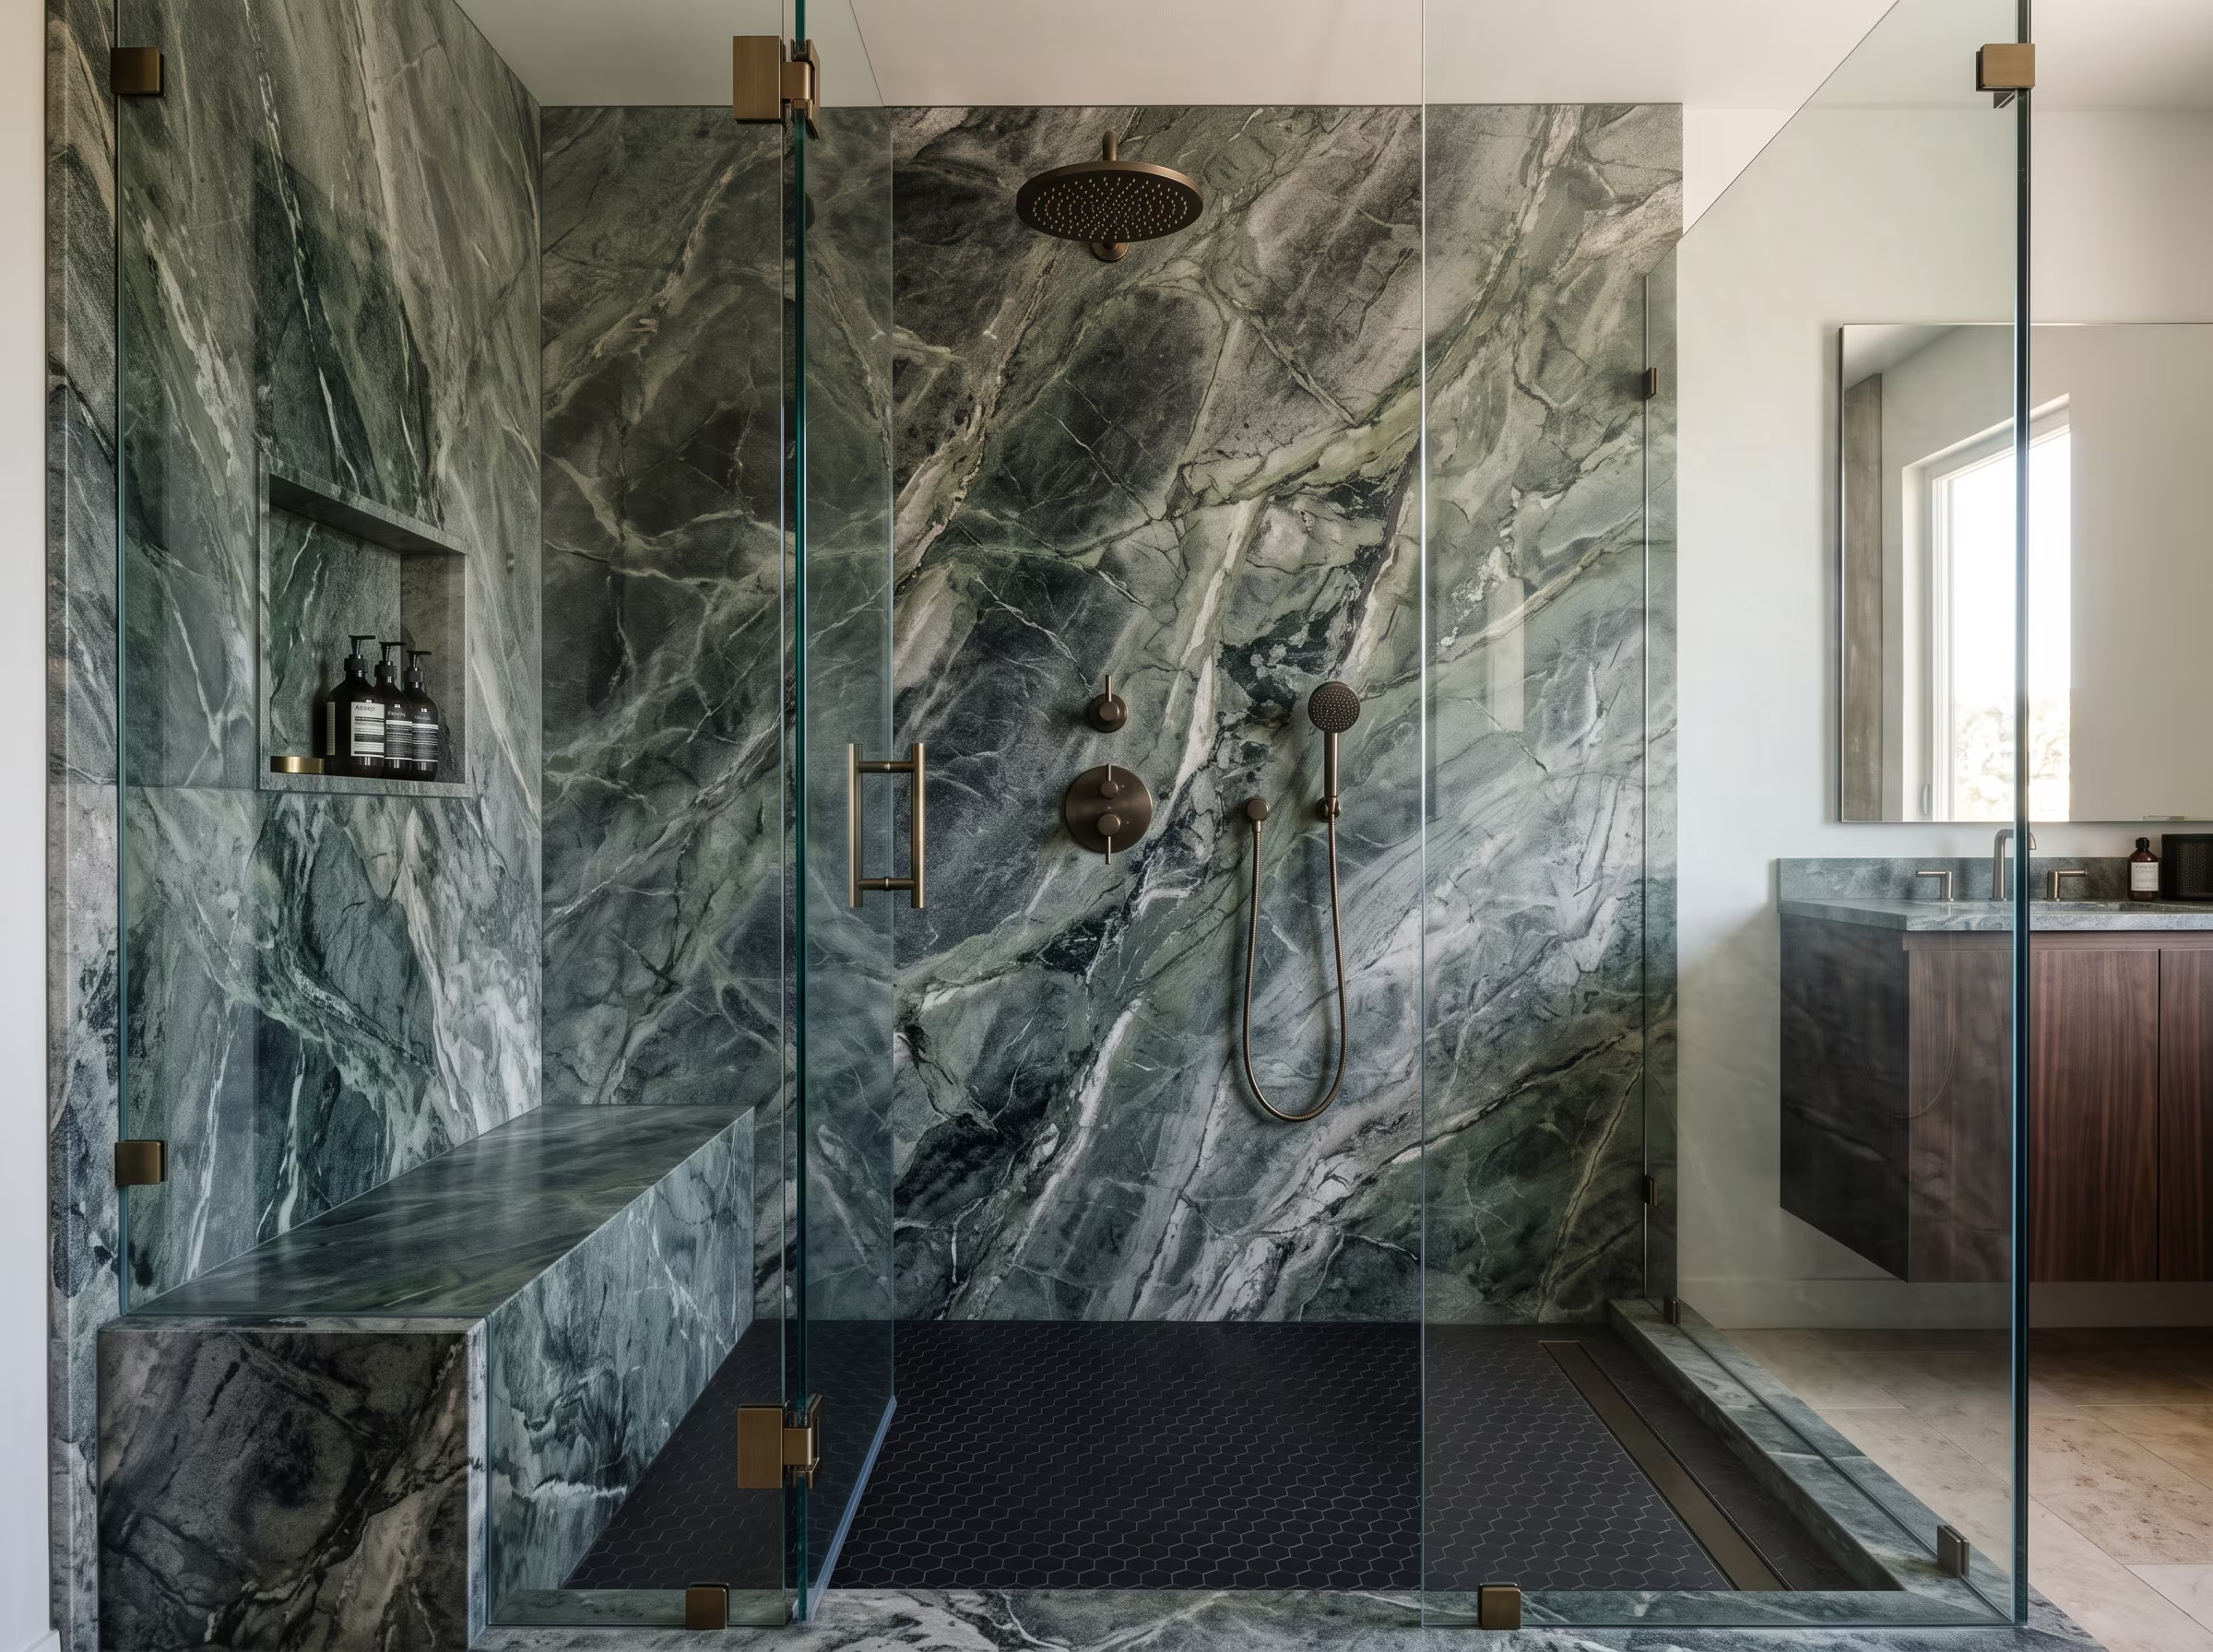
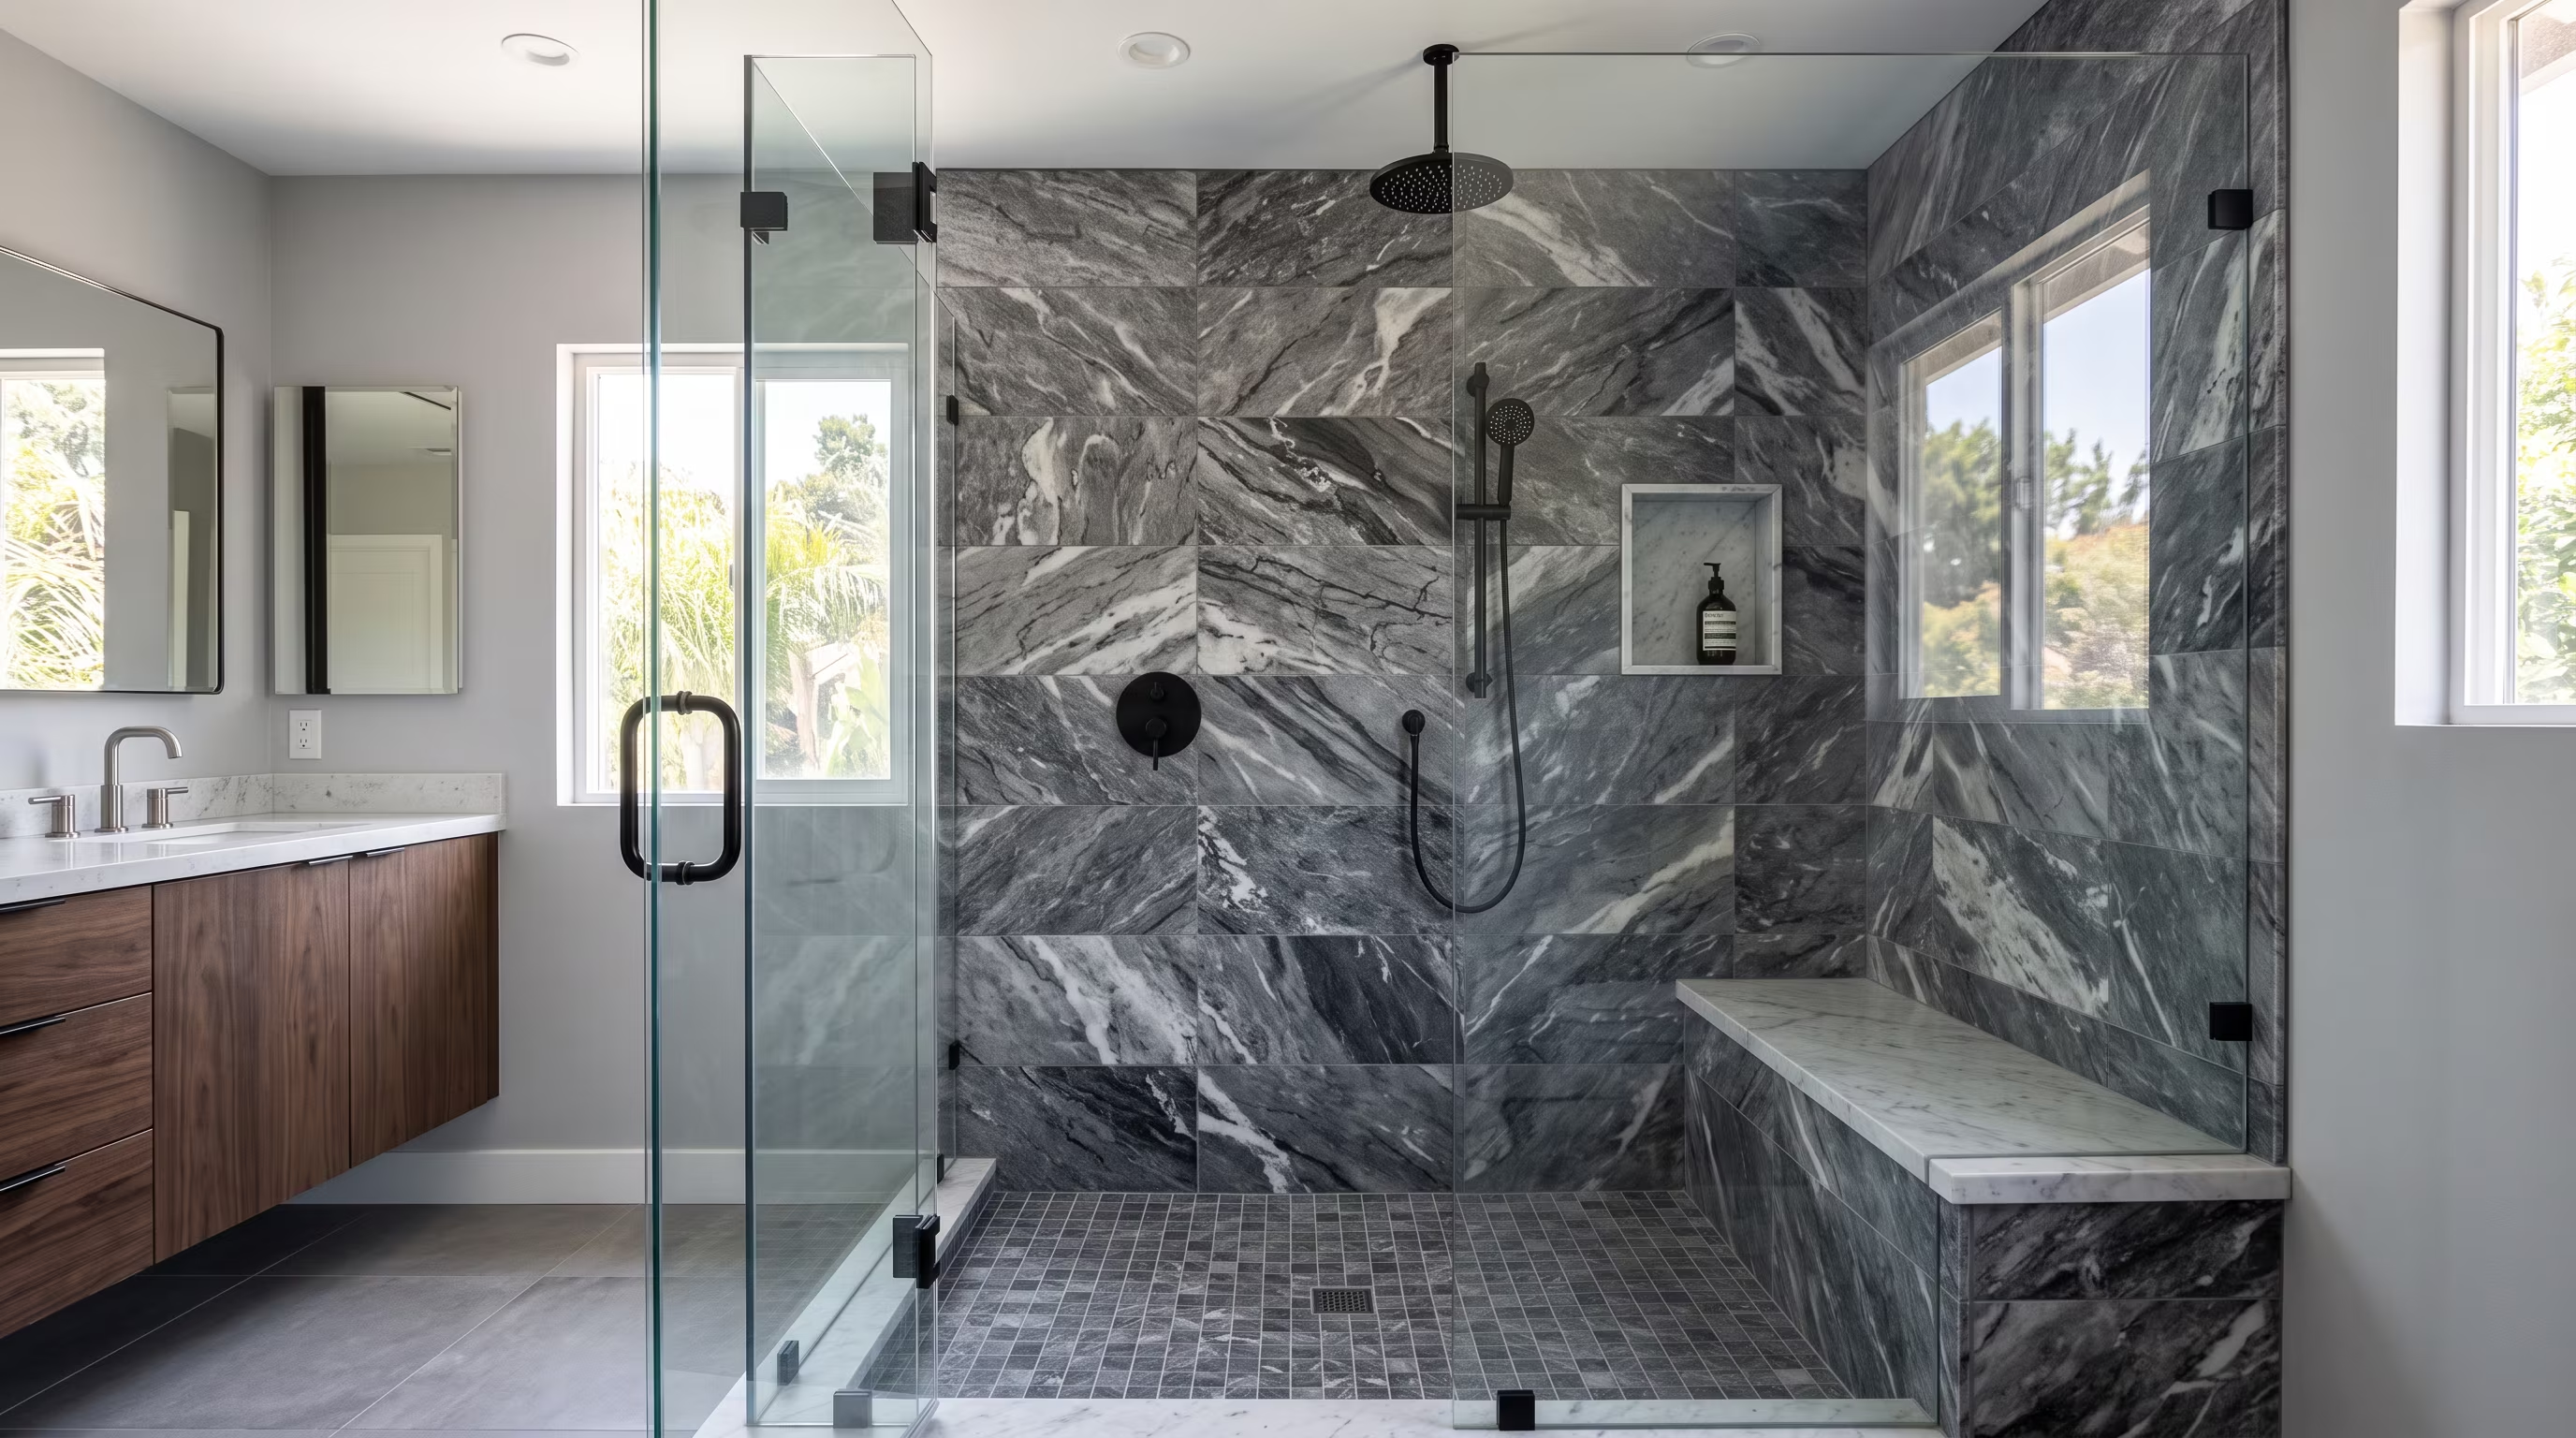
Marble walk-in shower with glass enclosure, tiled bench and niche after a full rebuild Rebuild

A full shower rebuild removes all surfaces down to the framing or concrete substrate, verifies or replaces the waterproofing membrane and drain assembly, prepares new backer, and installs tile or acrylic systems from scratch. This scope is appropriate when waterproofing is compromised, when tiles are cracked beyond surface repair, when the layout is changing or when moisture damage has reached the structure.

Shower scope comparison
FactorCosmetic UpdateFull Rebuild
Existing waterproofingIntact and verifiedReplaced or added
Pan and drainUnchangedAssessed and replaced if needed
Wall substrateIntactOpened and replaced
Layout changeNot possiblePossible with plumbing work
Typical timeline2 to 5 days1 to 3 weeks depending on scope
Permit likelihoodLowerHigher when relocating plumbing or electrical
Layouts

Shower Configurations for San Diego Homes

The right configuration depends on your available footprint, access path, household use patterns and aesthetic direction.

Alcove shower with a glass door in a residential bathroom

Alcove Shower

Three finished walls with a fourth entry side, typically in a 30x60 or 36x60 inch footprint. Most common in secondary bathrooms. Good for reuse of existing framing and plumbing positions.

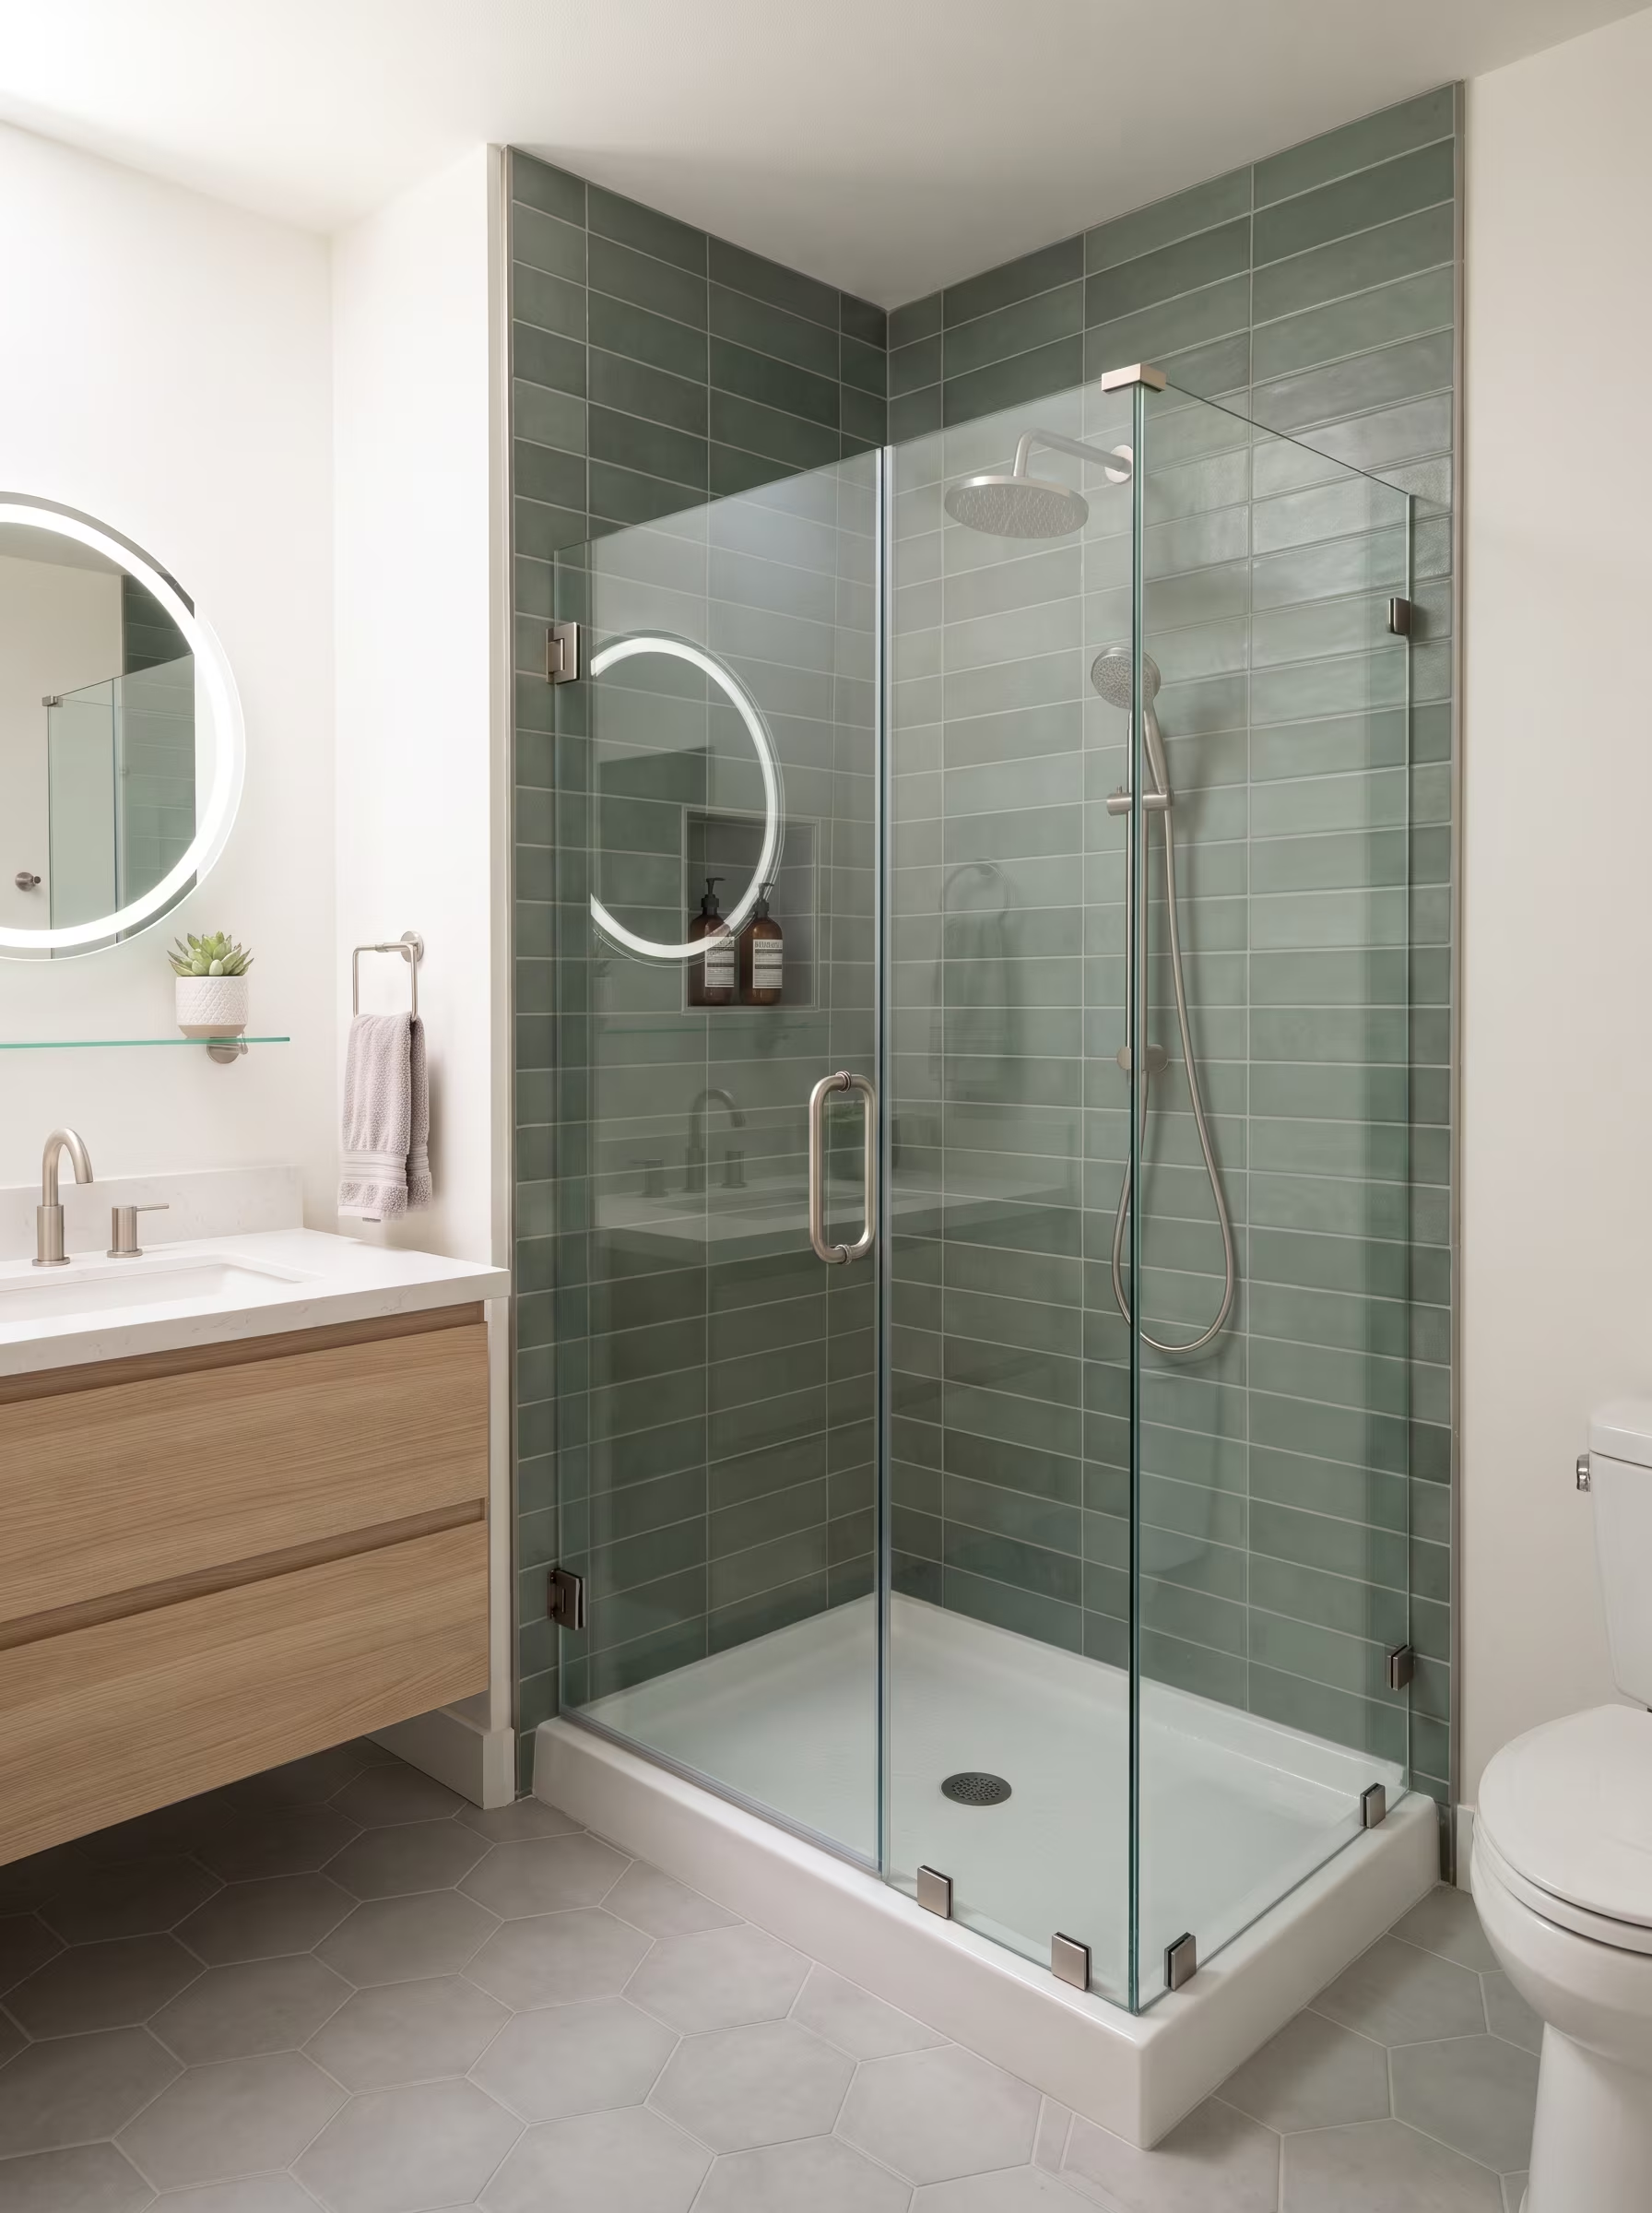
Corner walk-in shower with frameless glass, marble tile and a grab bar

Corner or Neo-Angle

Two finished walls with angled or straight glass panels, typically in a smaller footprint. Fits bathrooms where an alcove layout would be too narrow.

Open walk-in marble shower with frameless glass

Walk-in or Open

Large format showers with one or no glass panel, low or no curb, integrated bench or niche. Requires more floor area and careful water-containment design.

Walk-in shower with a low-profile acrylic pan and easy-entry opening

Low-Threshold Entry

A barrier-free or low-curb design that prioritizes entry ease and safety. Requires careful floor slope and drain placement to contain water effectively.

Custom walk-in shower with marble walls, glass panel and a tiled bench

Custom Enclosure

Non-standard dimensions, unusual angles or unique architectural integration. Requires precise framing, custom-order glass and detailed drain placement planning.

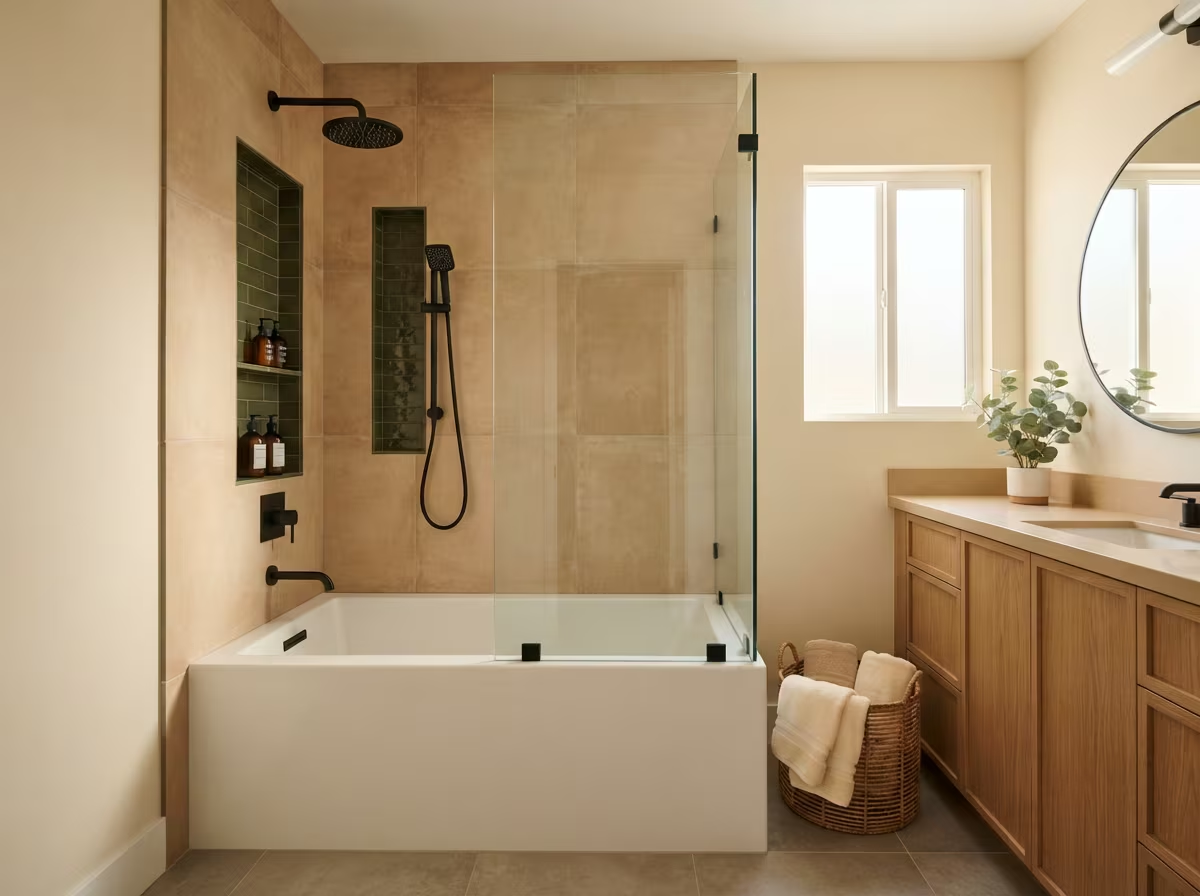
Alcove bathtub with an over-tub shower, tiled surround and showerhead

Tub and Shower Combination

Alcove tub with a shower valve and over-tub showerhead or enclosure. Retains bathing flexibility while adding a functional shower position.

Membrane

Why Waterproofing Is the Most Important Part of a Shower Remodel

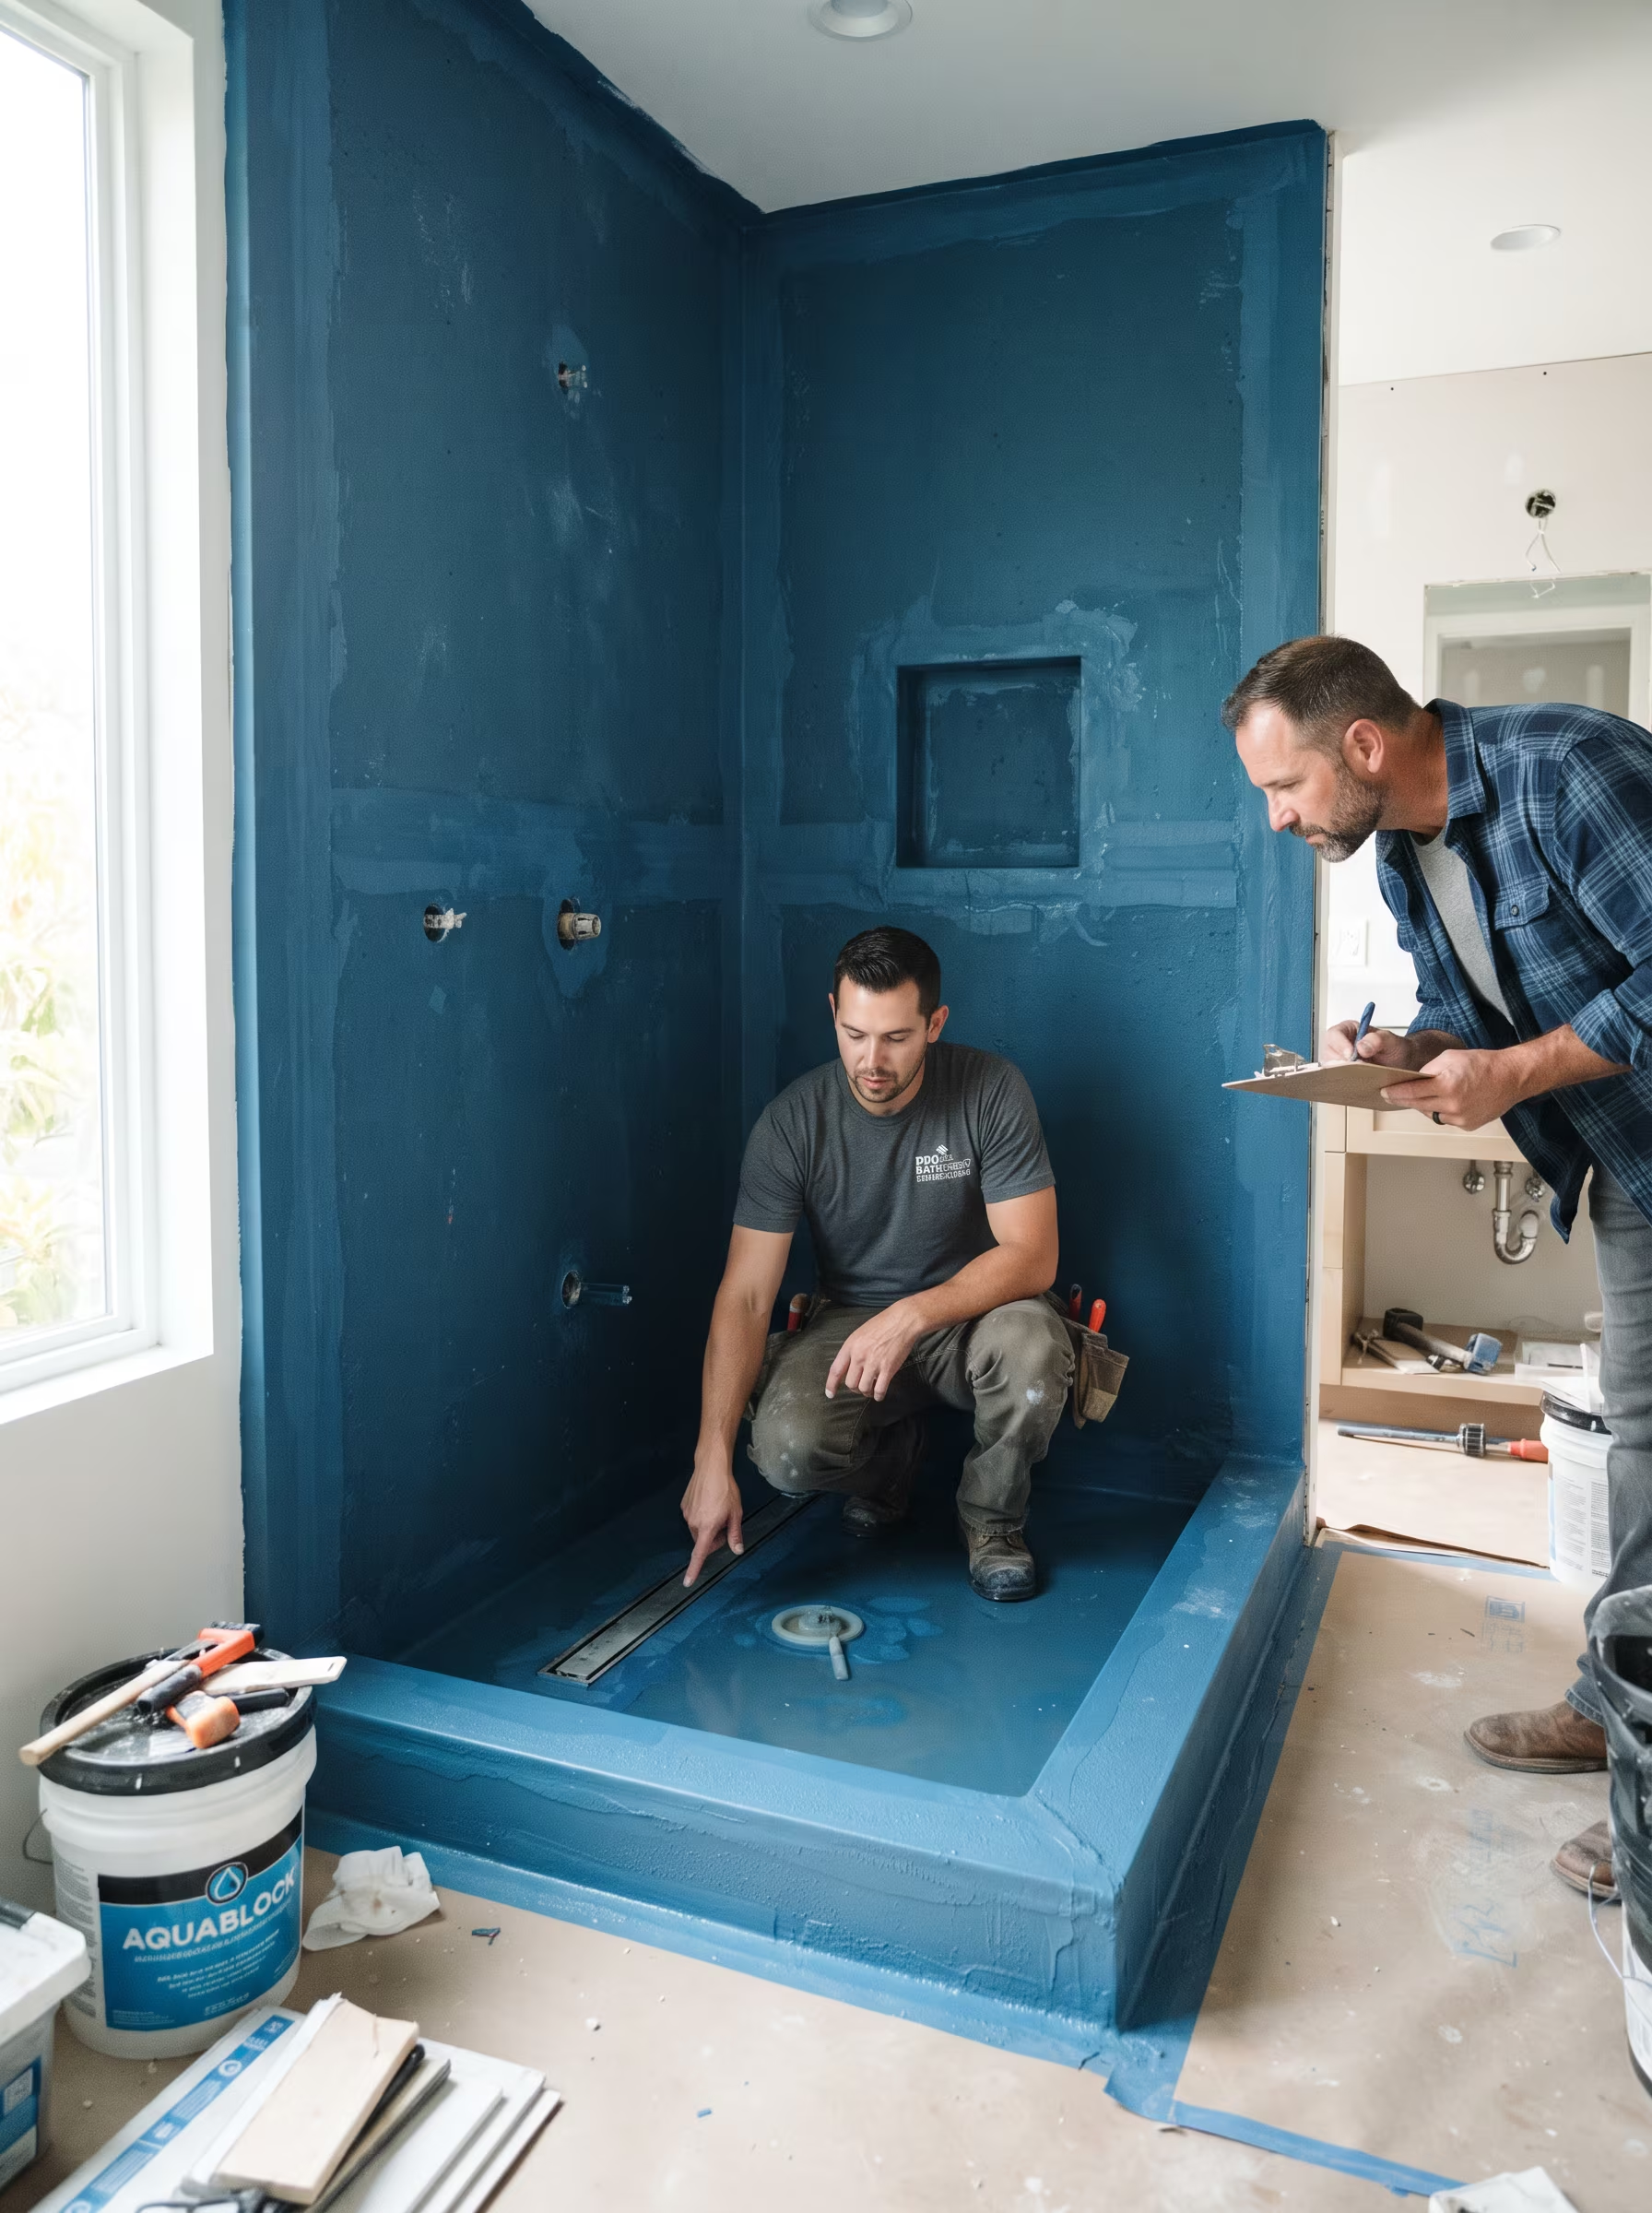
A shower that looks beautiful but has compromised waterproofing will allow moisture into the wall cavity, framing and subfloor. Damage from a failed shower membrane often stays hidden for months before becoming visible as staining, mold or soft flooring.

Every full shower rebuild we coordinate includes:

  • Pan liner or liquid membrane appropriate for the base type
  • Cementitious or foam backer on walls
  • Seam and corner waterproofing treatment
  • Flood testing of the pan before tile or acrylic installation
  • Wet-set drain assembly matched to the waterproofing system
  • Proper transition and penetration sealing
Tiled shower wall showing the finished surface that conceals waterproofing layers

Shower Cutaway: What's Behind the Tile

Shower wall waterproofing layers Cross-section diagram showing shower wall layers from exterior to interior: framing studs, moisture barrier, cement backer board, waterproofing membrane, tile adhesive, and ceramic tile on the surface. Finished tile surface Tile adhesive Waterproofing membrane Cement backer board Moisture barrier Wall framing
Finishes

Wall Material Choices for San Diego Showers

The wall material you choose affects maintenance, durability, visual character and the waterproofing system required beneath it.

Porcelain tile shower wall with a broad visual range

Porcelain tile

Maintenance
Grout lines require periodic sealing
Durability
High with proper substrate
Visual Range
Very broad
Notes
Most common for full rebuilds
Ceramic tile shower surround in a contemporary bathroom

Ceramic tile

Maintenance
Similar to porcelain
Durability
Good for lower-traffic walls
Visual Range
Broad
Notes
Lower hardness than porcelain
Shower with a grout-free acrylic pan and a faster panel-style install

Acrylic panel

Maintenance
Very low, no grout
Durability
Good with proper installation
Visual Range
Limited patterns
Notes
Faster install, grout-free advantage
Shower with large-format slab-style walls and minimal grout lines

Solid surface

Maintenance
Low, seamless or minimal seams
Durability
Good
Visual Range
Moderate
Notes
Custom-cut panels, no grout lines
Natural stone tiled shower with distinctive variation and a pebble floor

Natural stone

Maintenance
High, must be sealed regularly
Durability
High if sealed
Visual Range
Distinctive natural variation
Notes
Heavier, higher substrate demands
Hardware

Glass, Fixtures and Functional Decisions

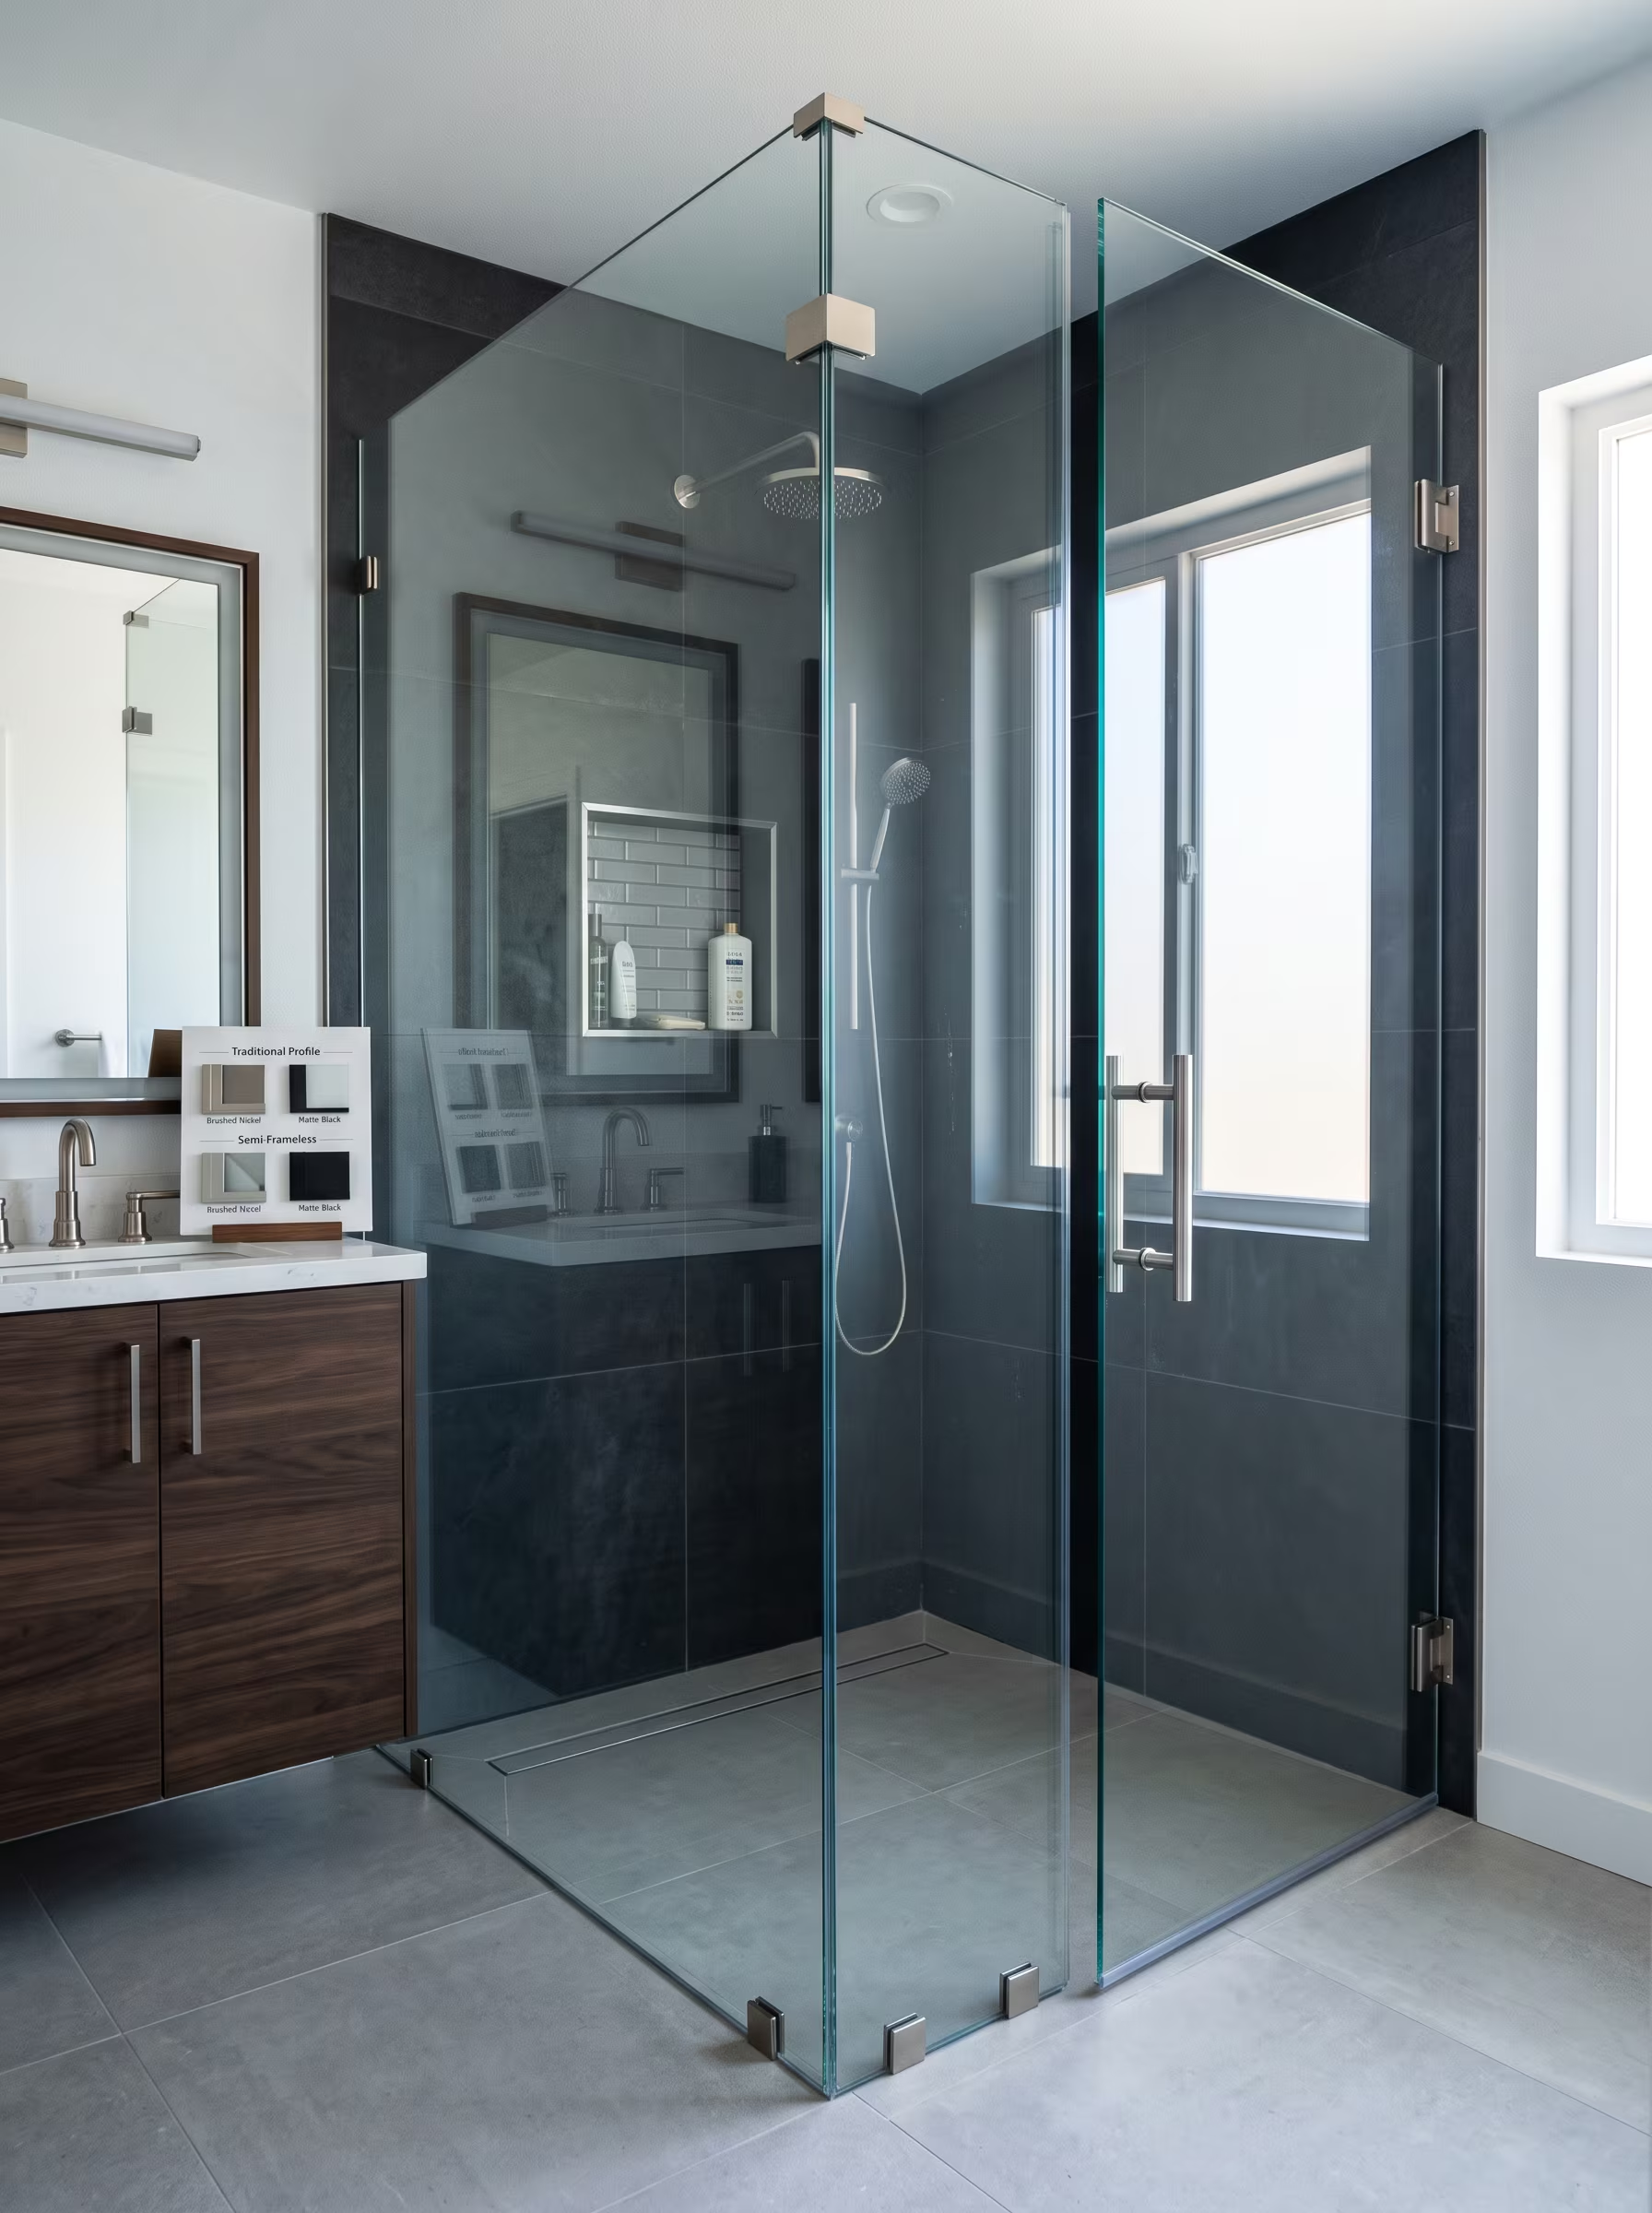
Tempered glass shower enclosure with minimal hardware

Glass and enclosure options

Framed enclosures use aluminum channels around tempered glass and are the most common in standard-size alcove showers. Frameless enclosures use thick tempered glass with minimal hardware for a cleaner visual. Semi-frameless is an intermediate option. Each requires precise opening dimensions and appropriate hardware that does not trap moisture.

Shower valve, handheld showerhead and grab bar on a tiled wall

Valve and showerhead coordination

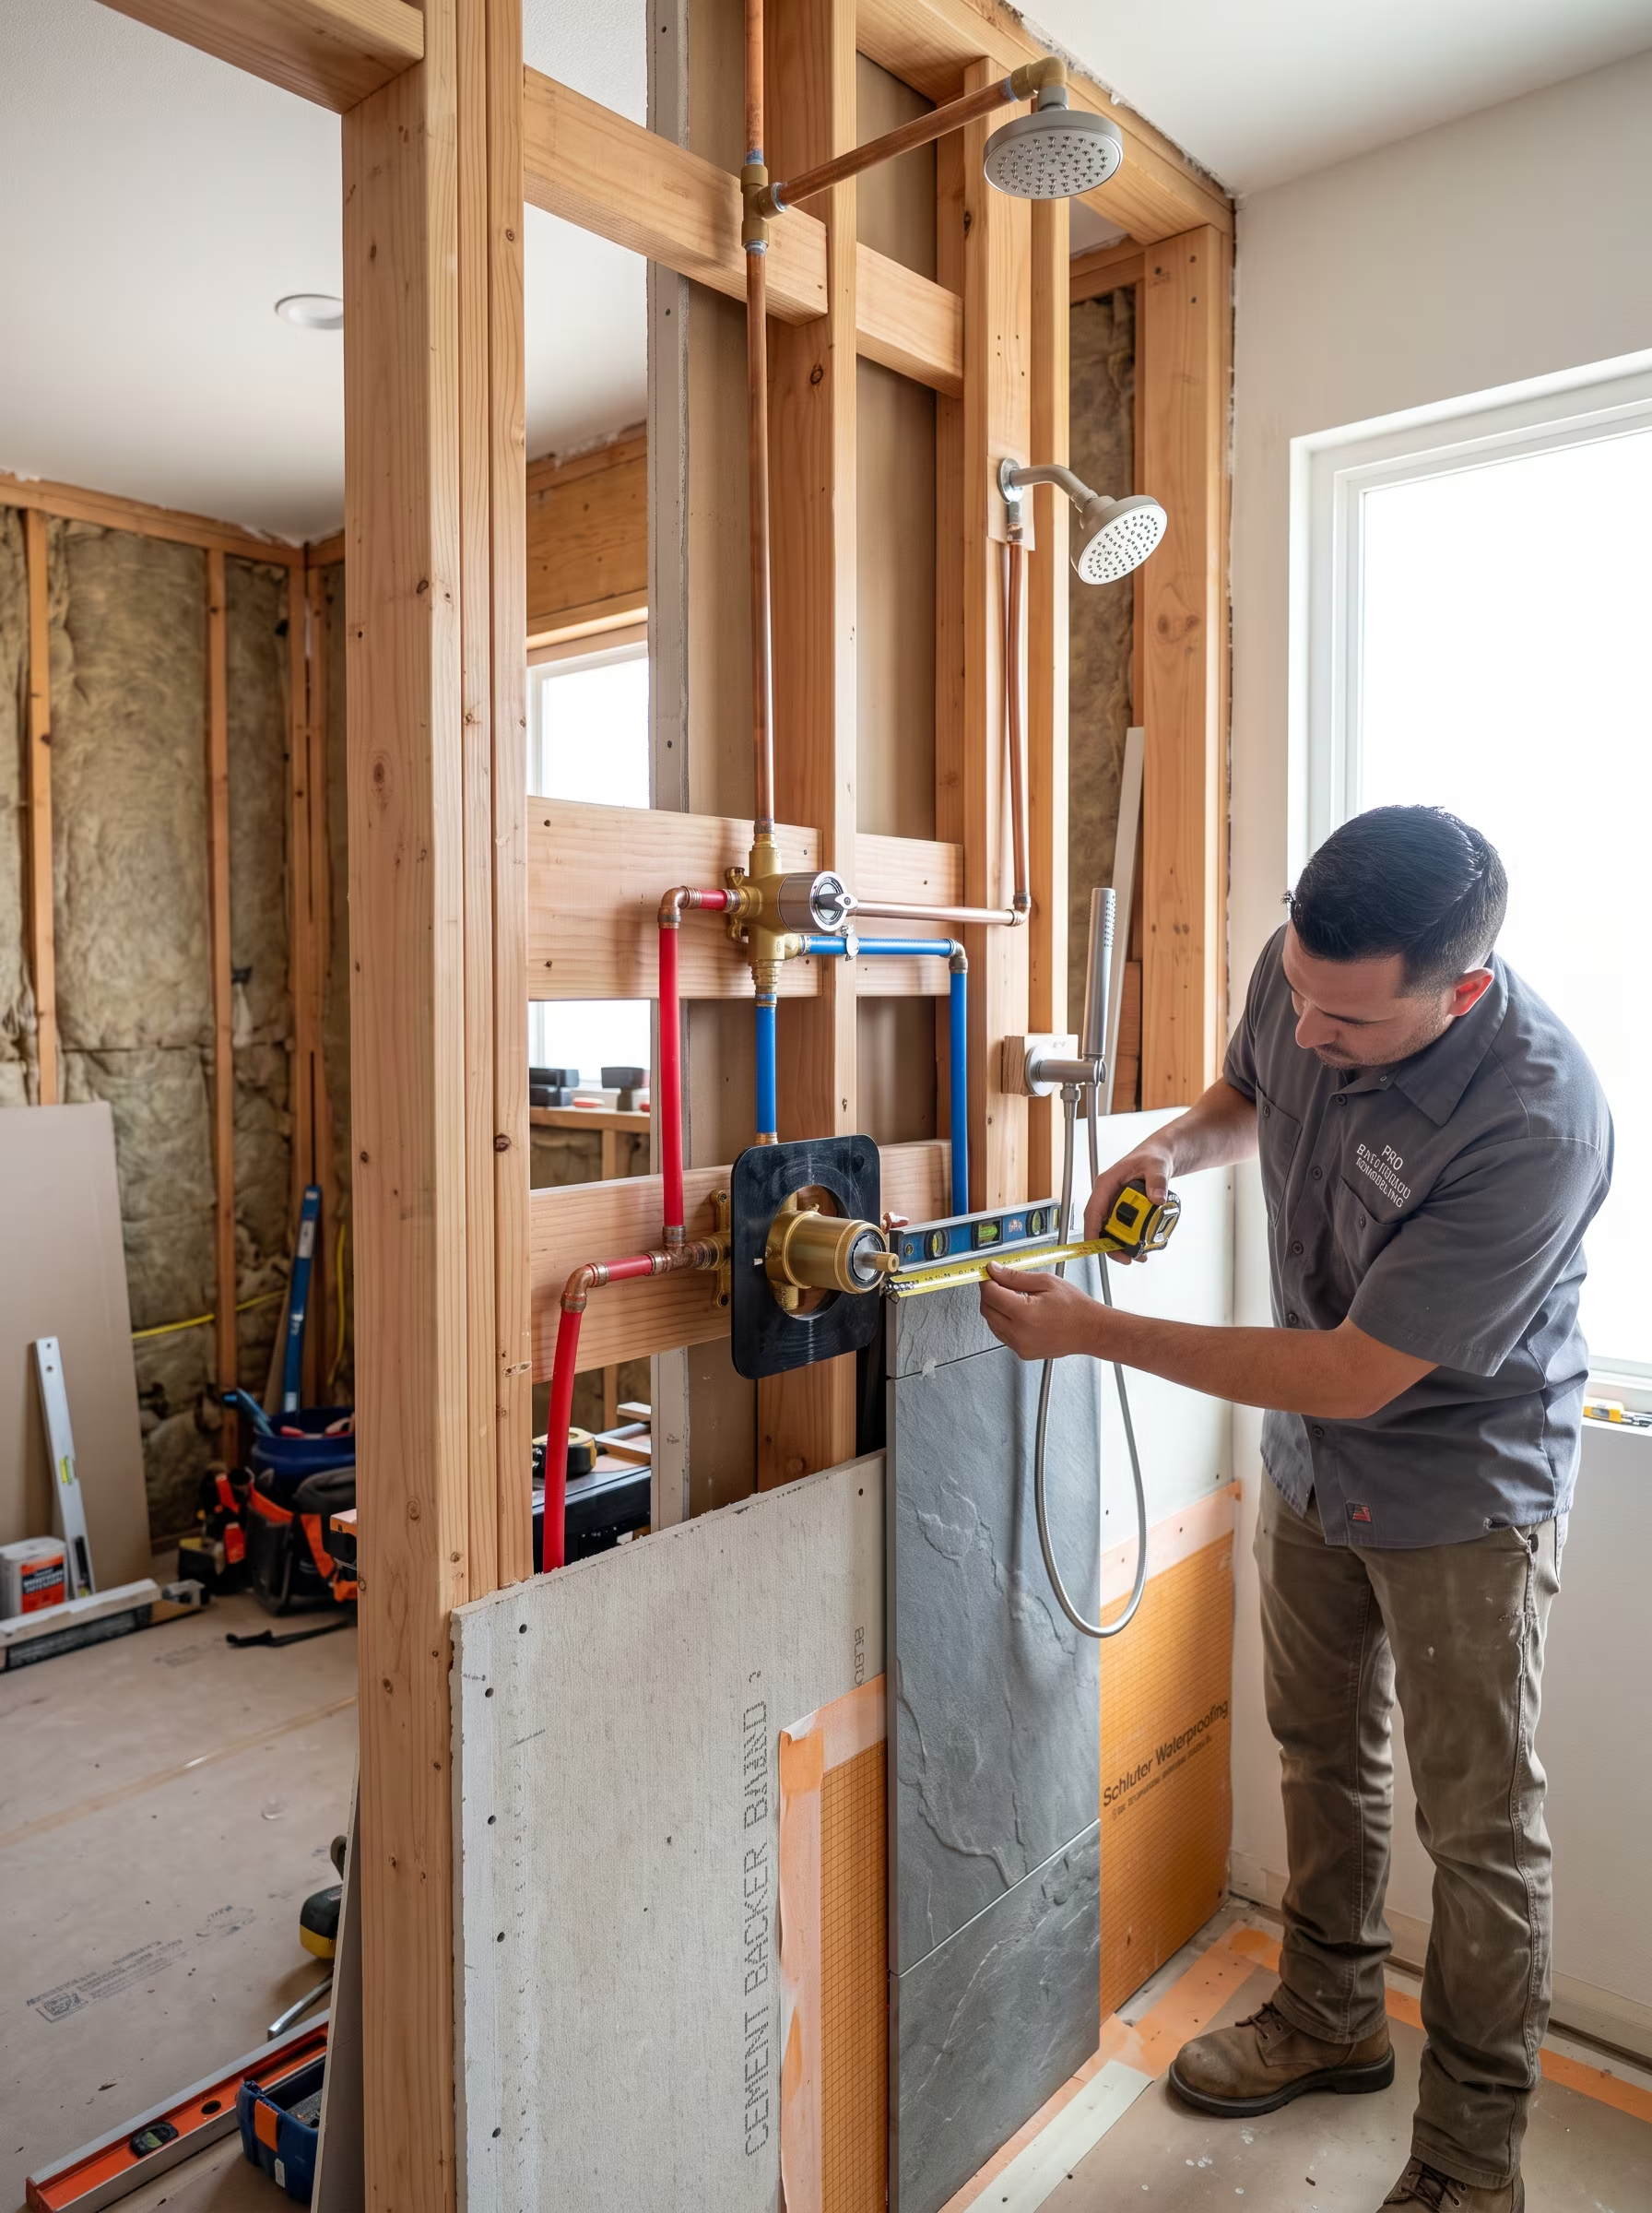
Valve selection involves pressure-balancing versus thermostatic control, number of outlets and rough-in depth compatibility with new wall thickness. We identify valve requirements as part of the initial scope so plumbing rough-in aligns correctly with the finished wall surface.

Walk-in shower with a tiled bench and recessed niche

Niche, bench and grab bar planning

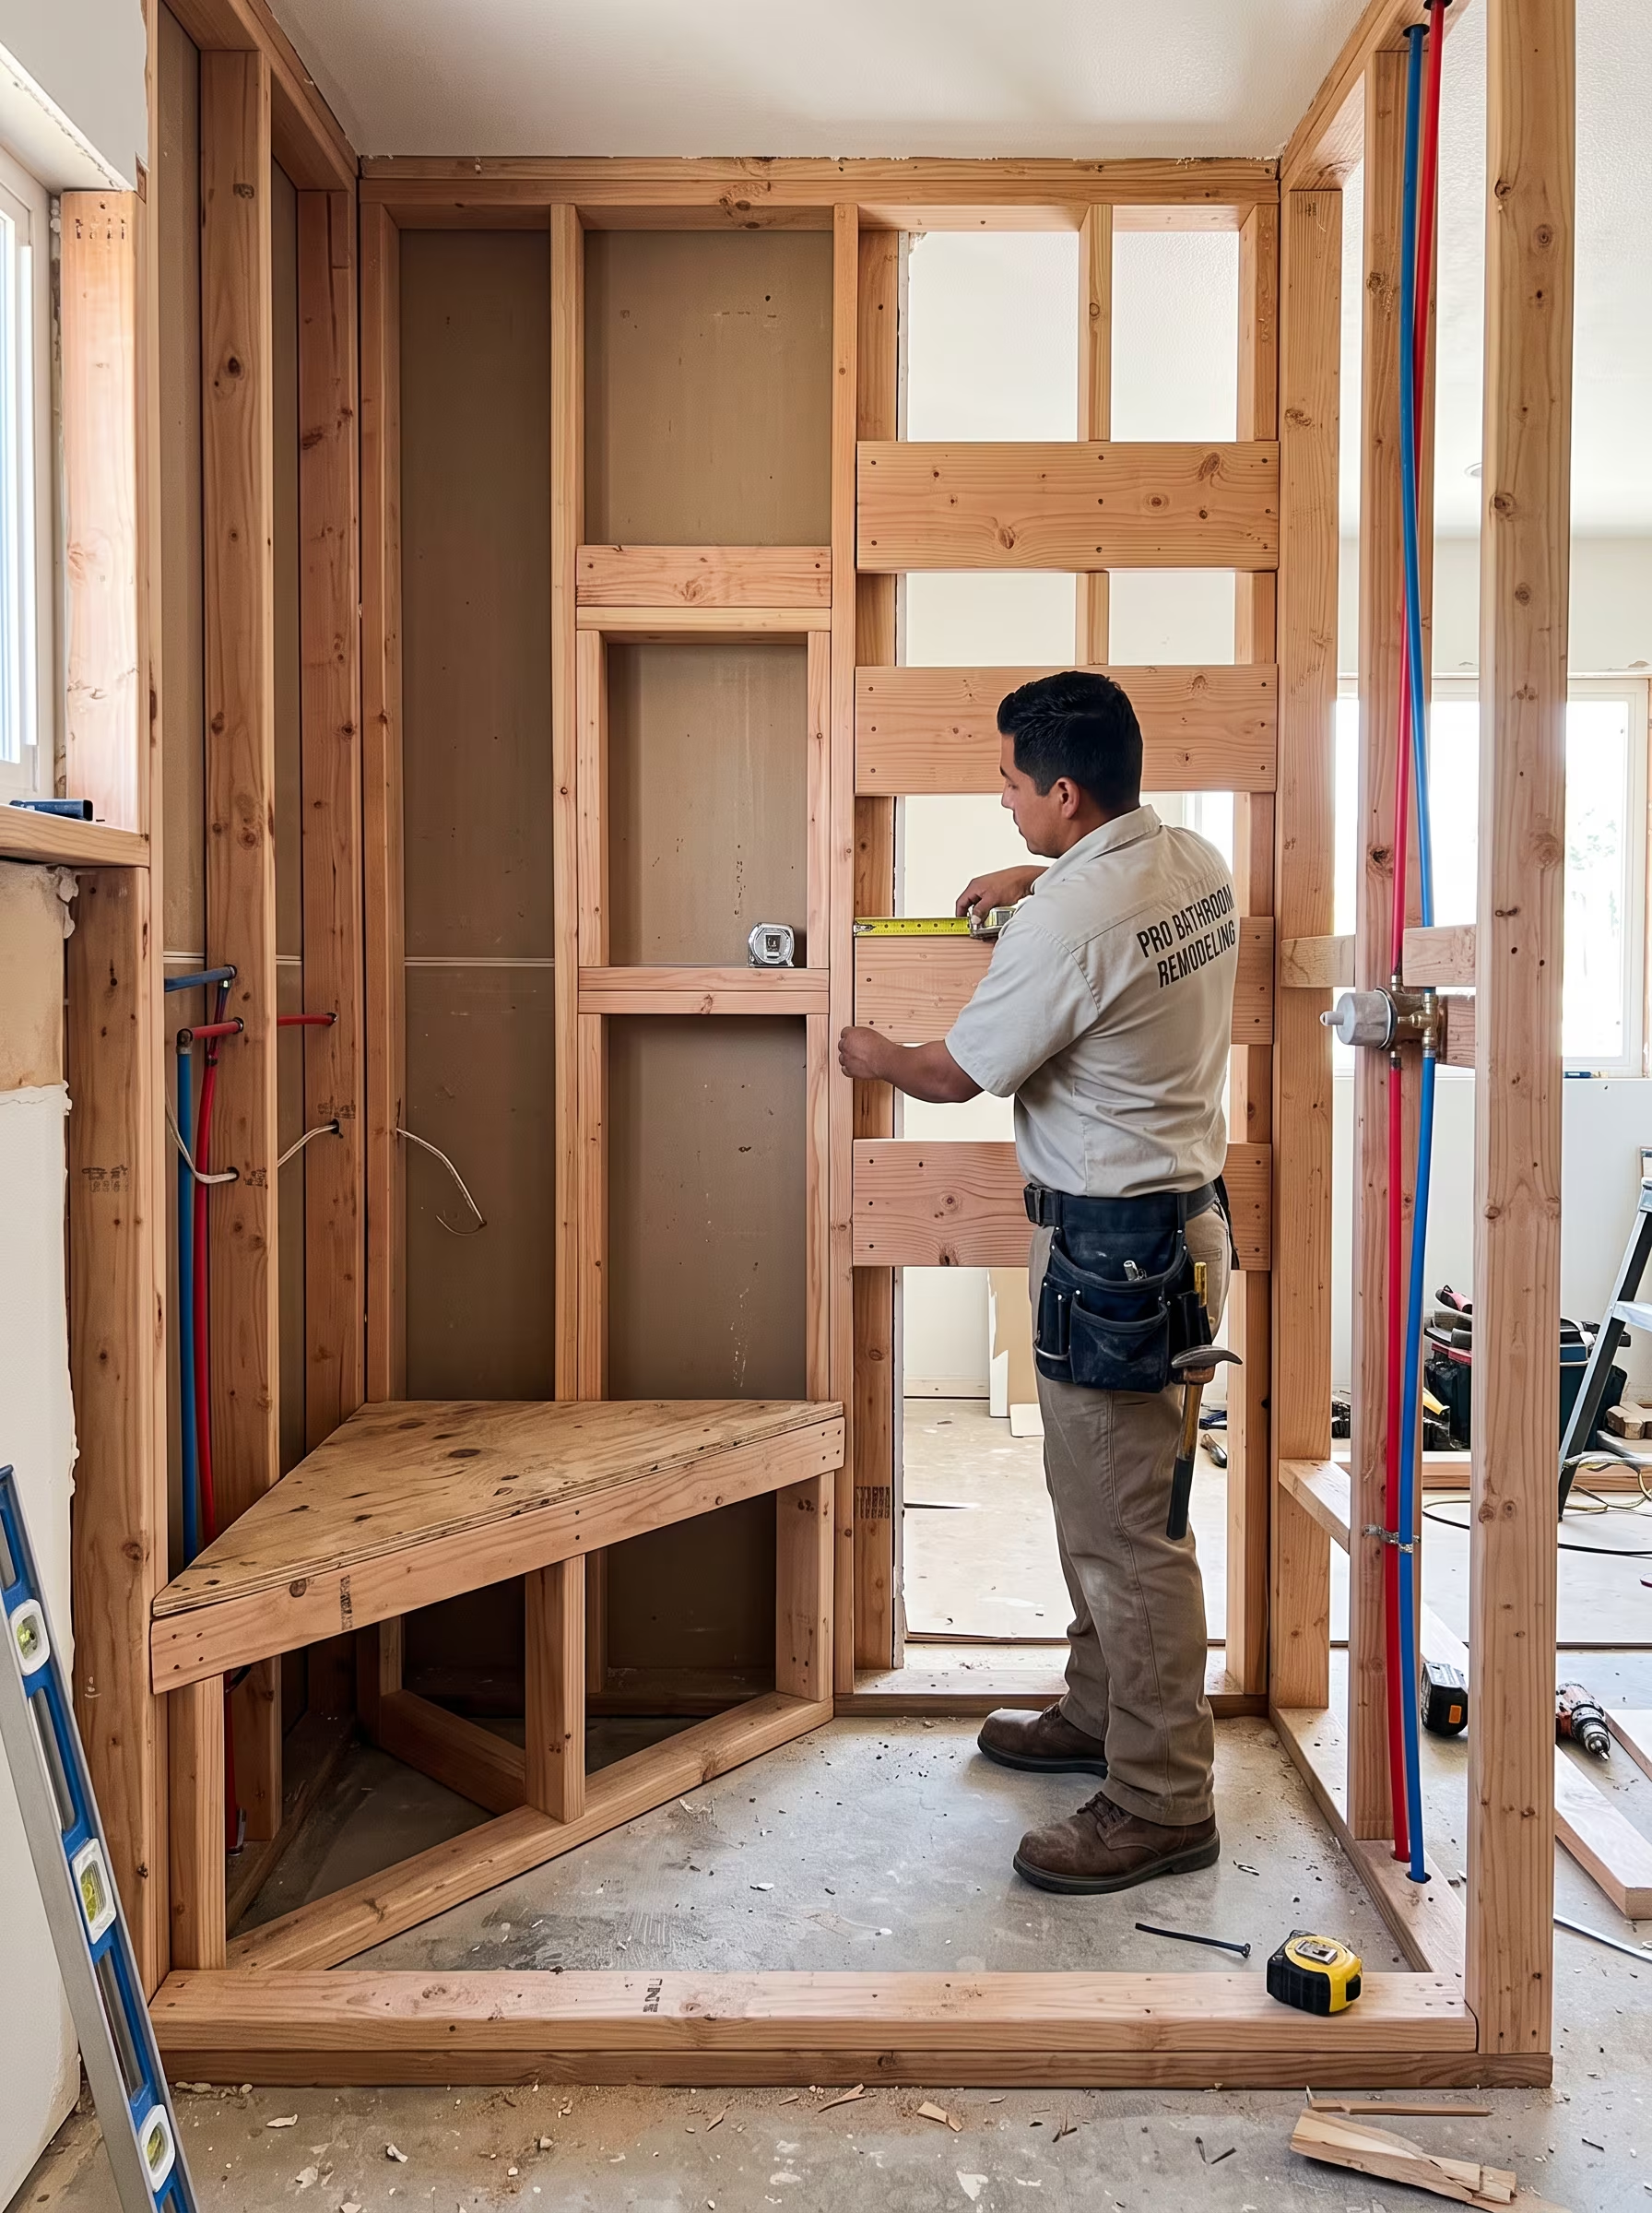
Built-in niches require framing between studs before the waterproofing layer goes in. A tiled bench requires structural blocking, proper slope for drainage and waterproofing continuity at the seat surface. Grab bars require blocking in the wall during the backer phase. All three need to be planned before any wall work closes up.

Bright, well-ventilated walk-in shower with glass and marble finishes

Ventilation coordination

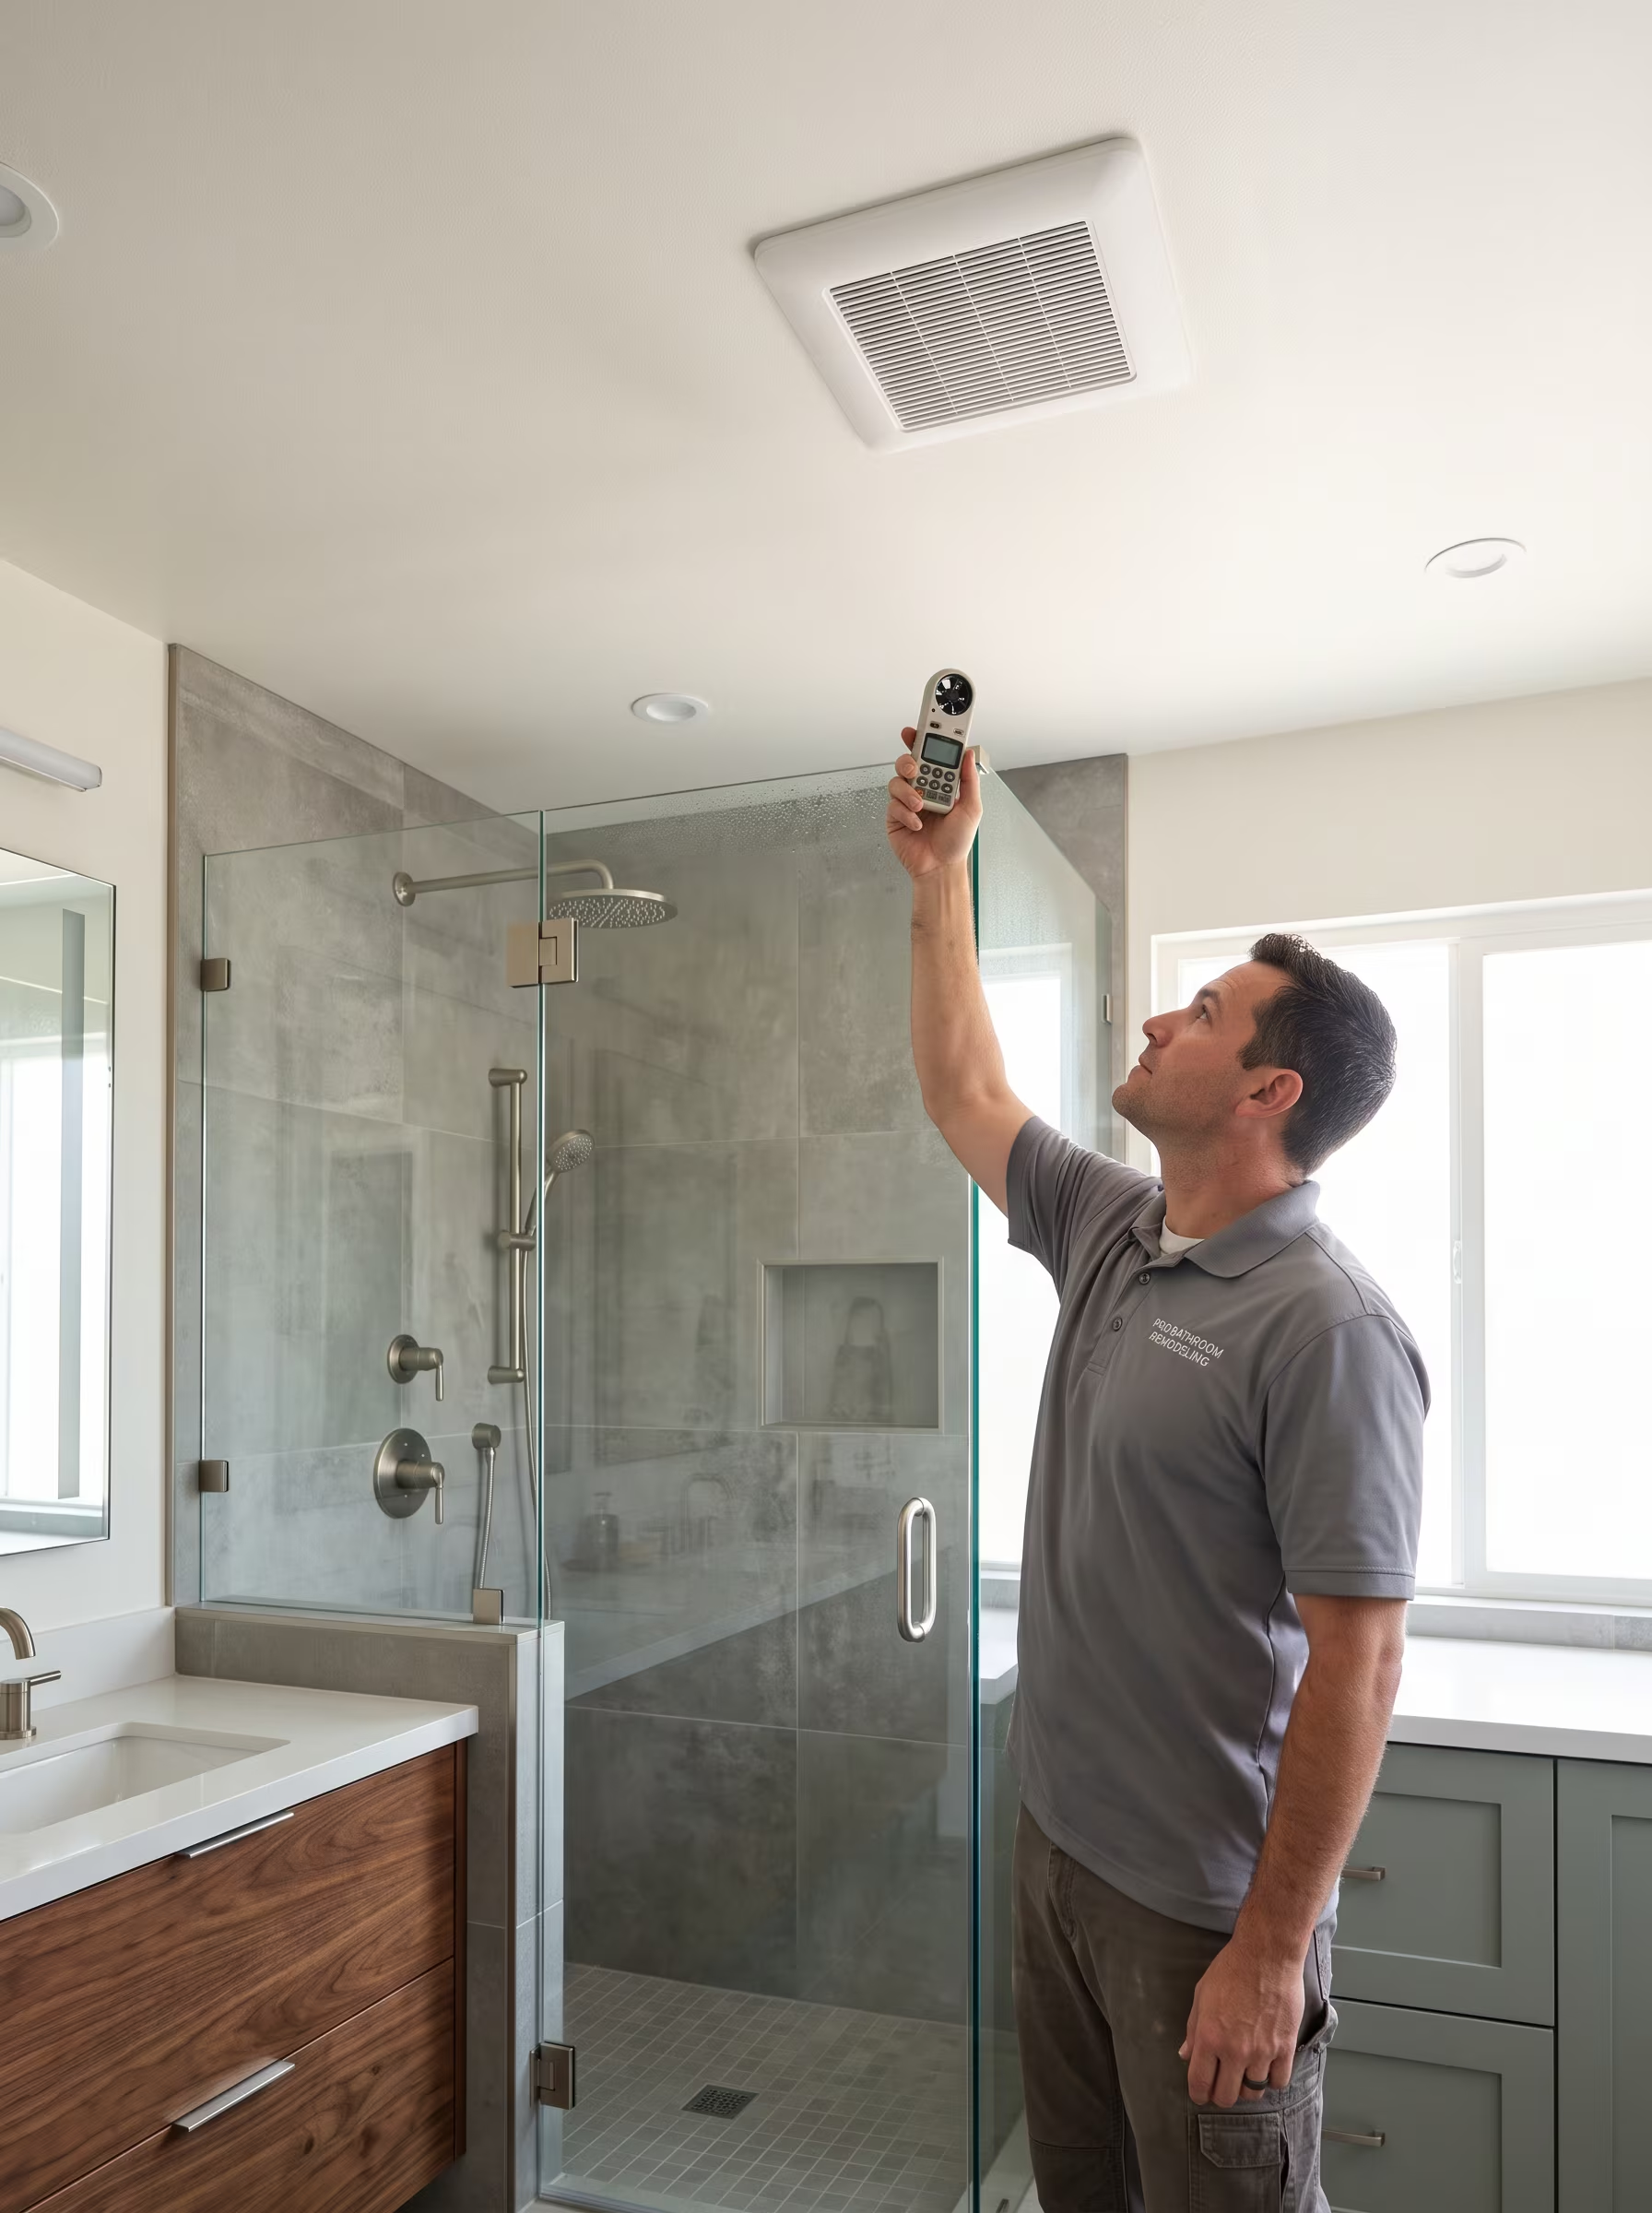
Adequate exhaust ventilation reduces moisture accumulation on shower surfaces and in the wall cavity. We coordinate exhaust fan installation or verification as part of the shower scope where the existing ventilation is insufficient. Fan electrical work is subject to local permit requirements.

Sequence

Shower Remodel Timeline and Process

A realistic phase model for a full shower rebuild typically follows this sequence. Actual timelines depend on scope, permit requirements, inspection scheduling, material lead times and what is found after demolition.

  1. Protection and demolition

    Adjacent surfaces are protected. Old tile, backer and pan are removed carefully. Condition of framing, moisture barrier and drain assembly is assessed before any replacement work begins.

  2. Plumbing rough-in

    If valve, showerhead location or drain position is changing, plumbing rough-in occurs before backer or waterproofing. Inspections are scheduled as required by the jurisdiction.

  3. Backer and waterproofing

    Cement backer is installed and taped. Waterproofing membrane is applied to walls and pan, including corners and seams. The pan assembly is flood-tested before any tile goes down.

  4. Tile installation

    Wall and floor tile is set in the correct sequence with appropriate adhesive and grout. Cure time between setting and grouting is respected. Niche and bench tile is completed in this phase.

  5. Glass, fixtures and trim

    Glass enclosure is measured after tile is complete, ordered and installed. Valve trim, showerhead, grab bars and accessories are installed. Caulking at all change-of-plane joints is completed.

  6. Final testing and walkthrough

    Shower is tested for leaks, water pressure and drain performance. A full walkthrough confirms every detail matches the written scope before the project closes.

Ready to Plan Your Shower Remodel?

Request an estimate or call us directly. Both options reach our team equally.

Notes

Shower Remodeling FAQs