Bathroom FlooringSan Diego

Choosing bathroom flooring means balancing water resistance, slip resistance, subfloor condition and visual character. We help San Diego County homeowners navigate these decisions and install the result correctly.

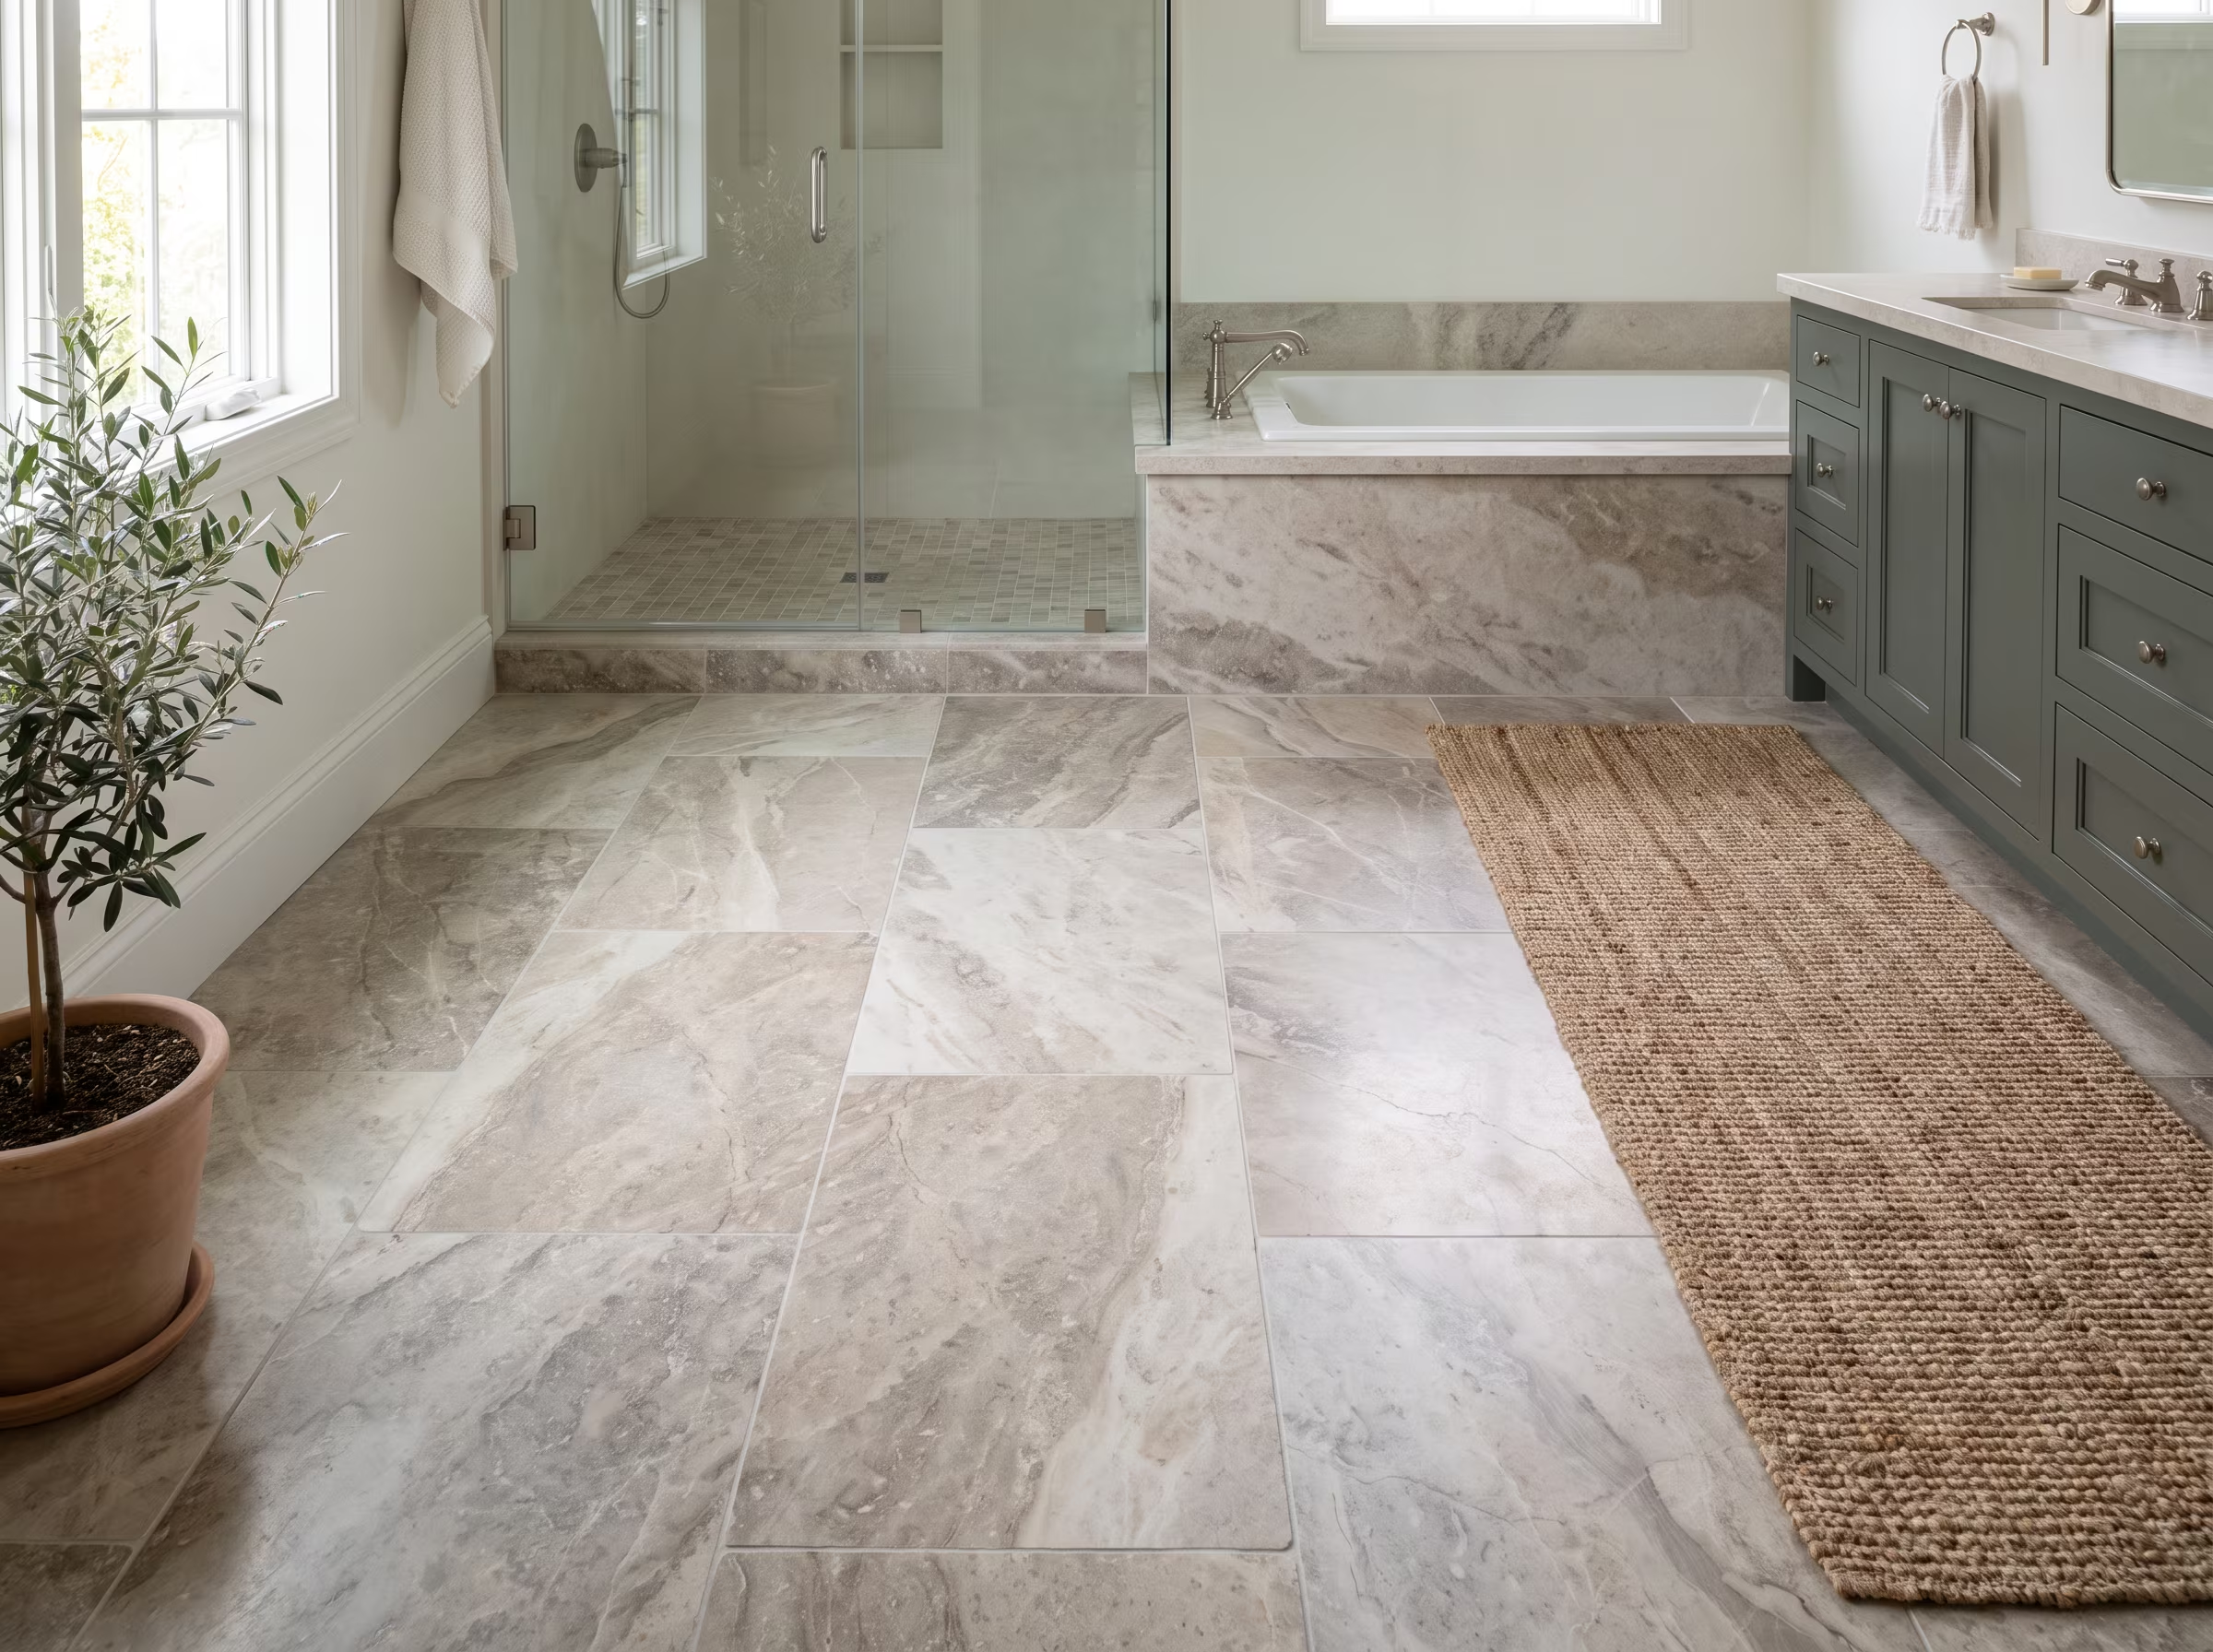
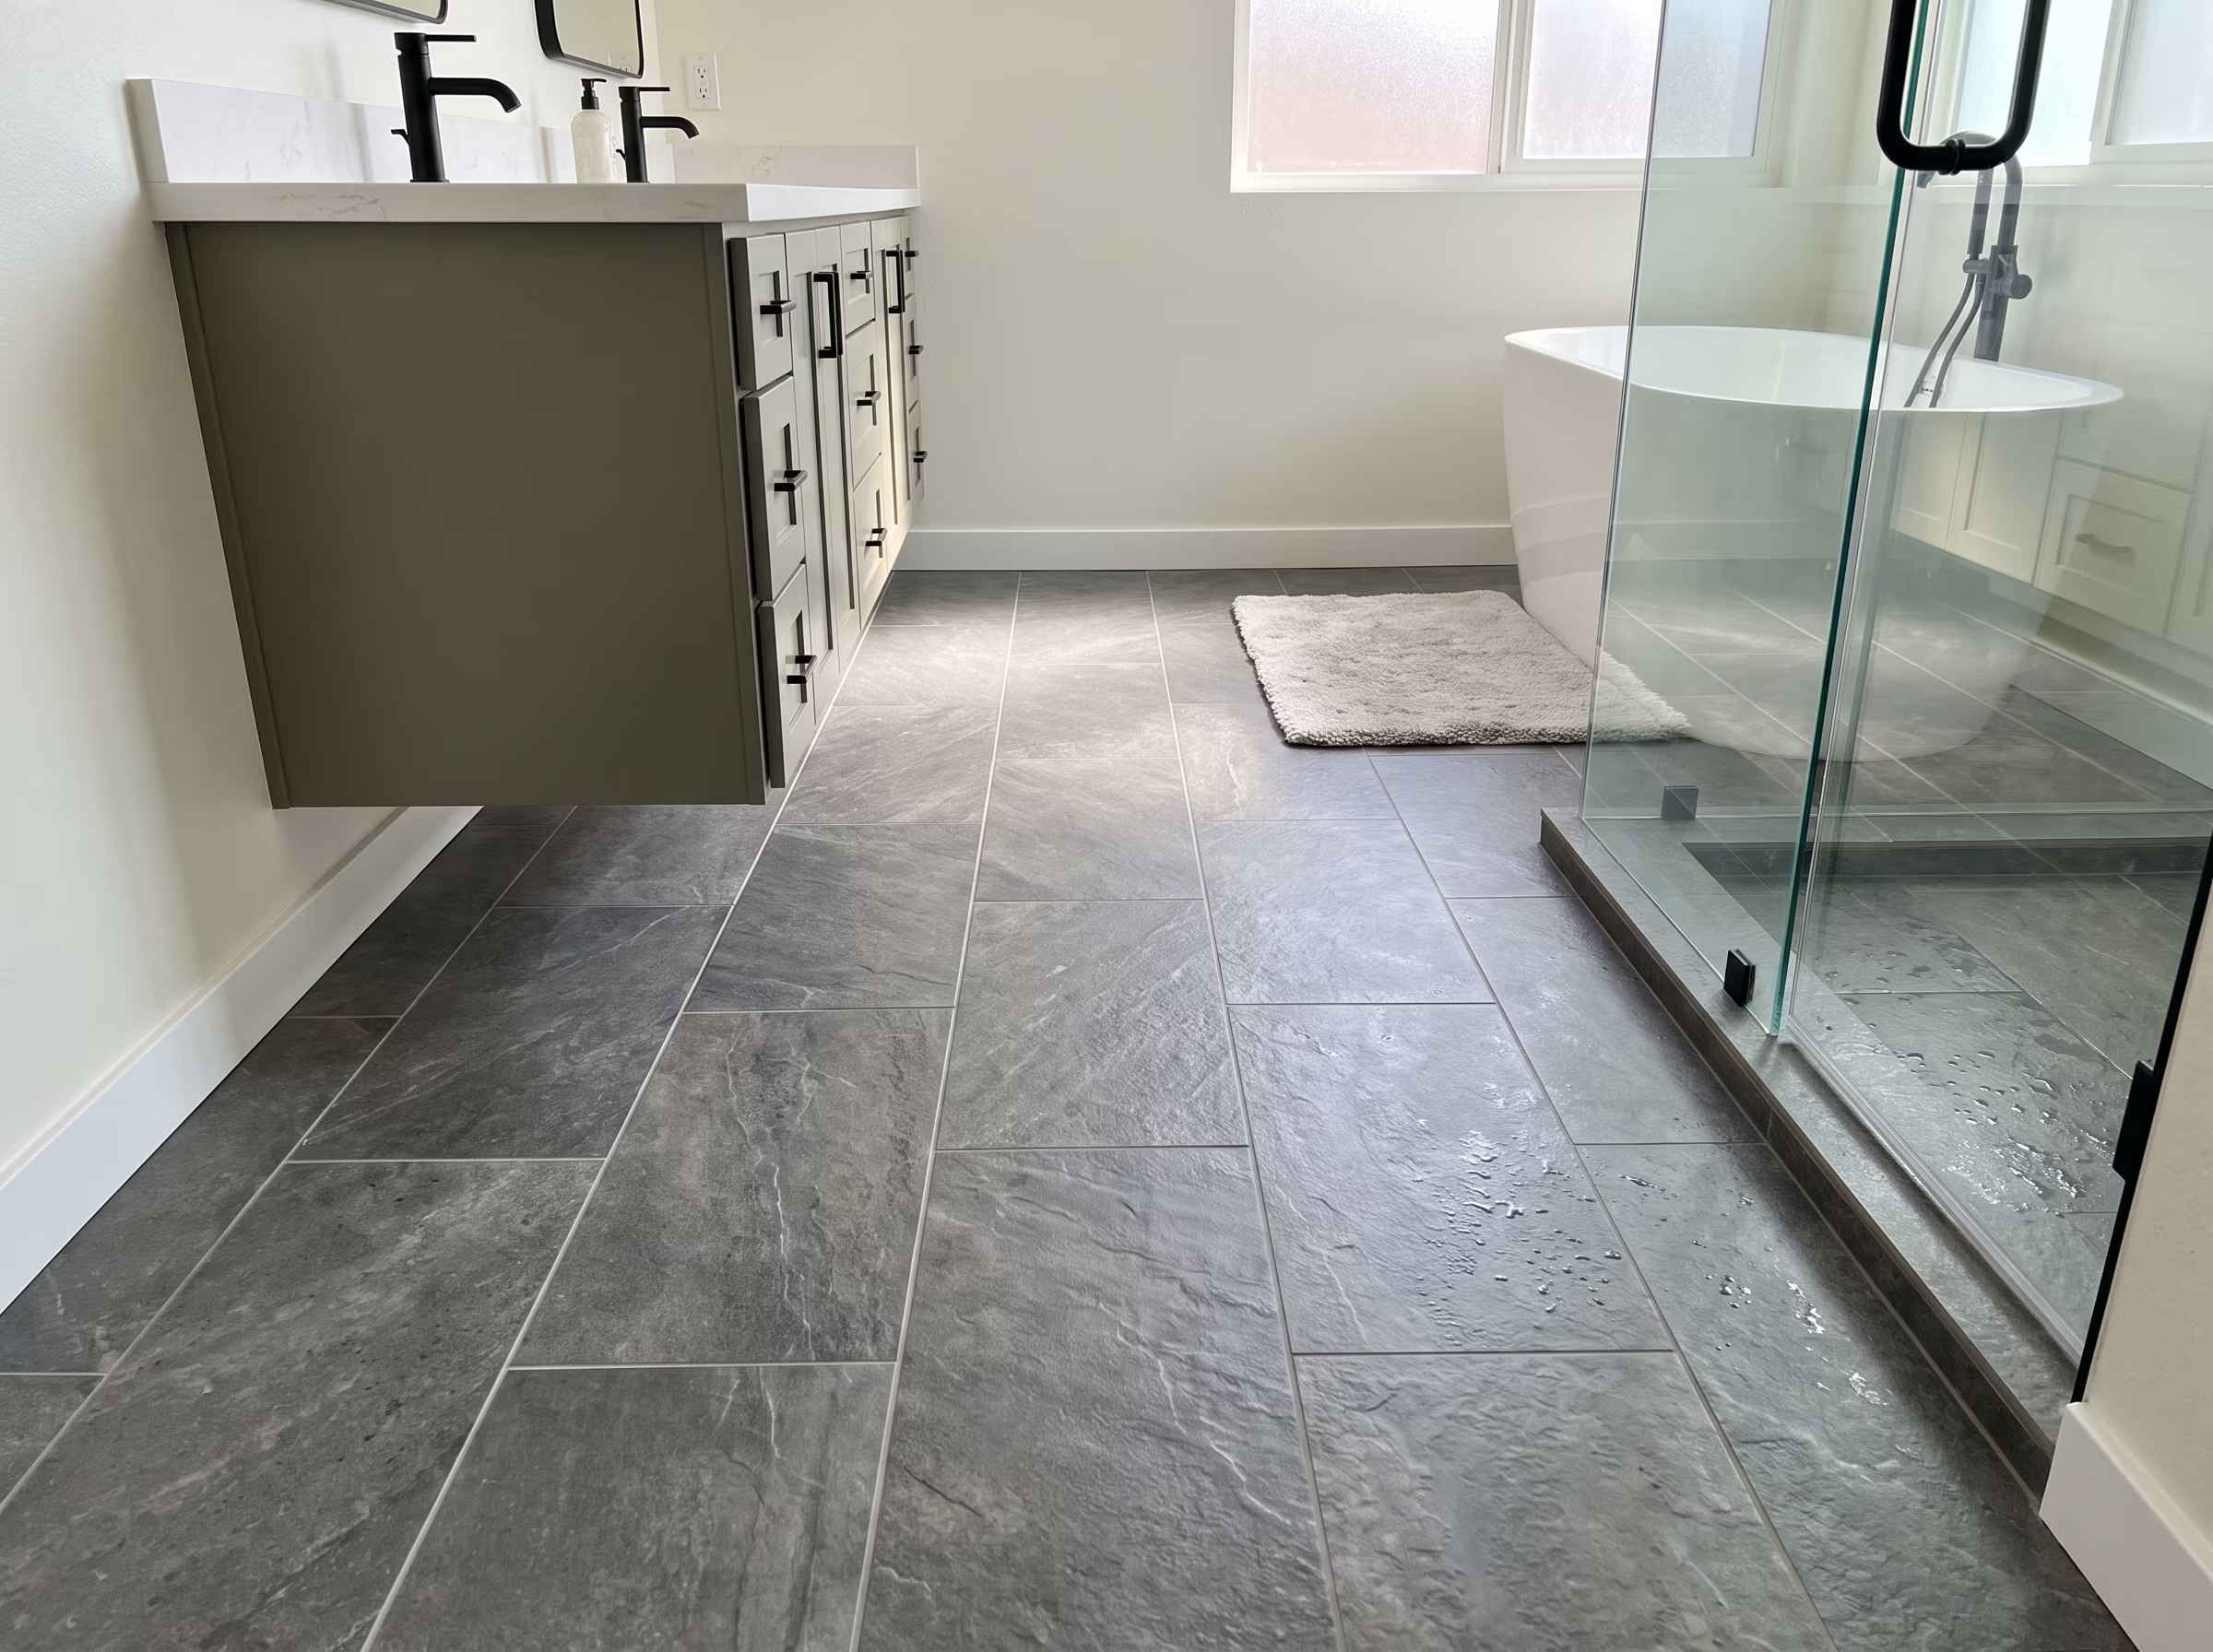
Spa-style bathroom with charcoal tile flooring and a freestanding tub
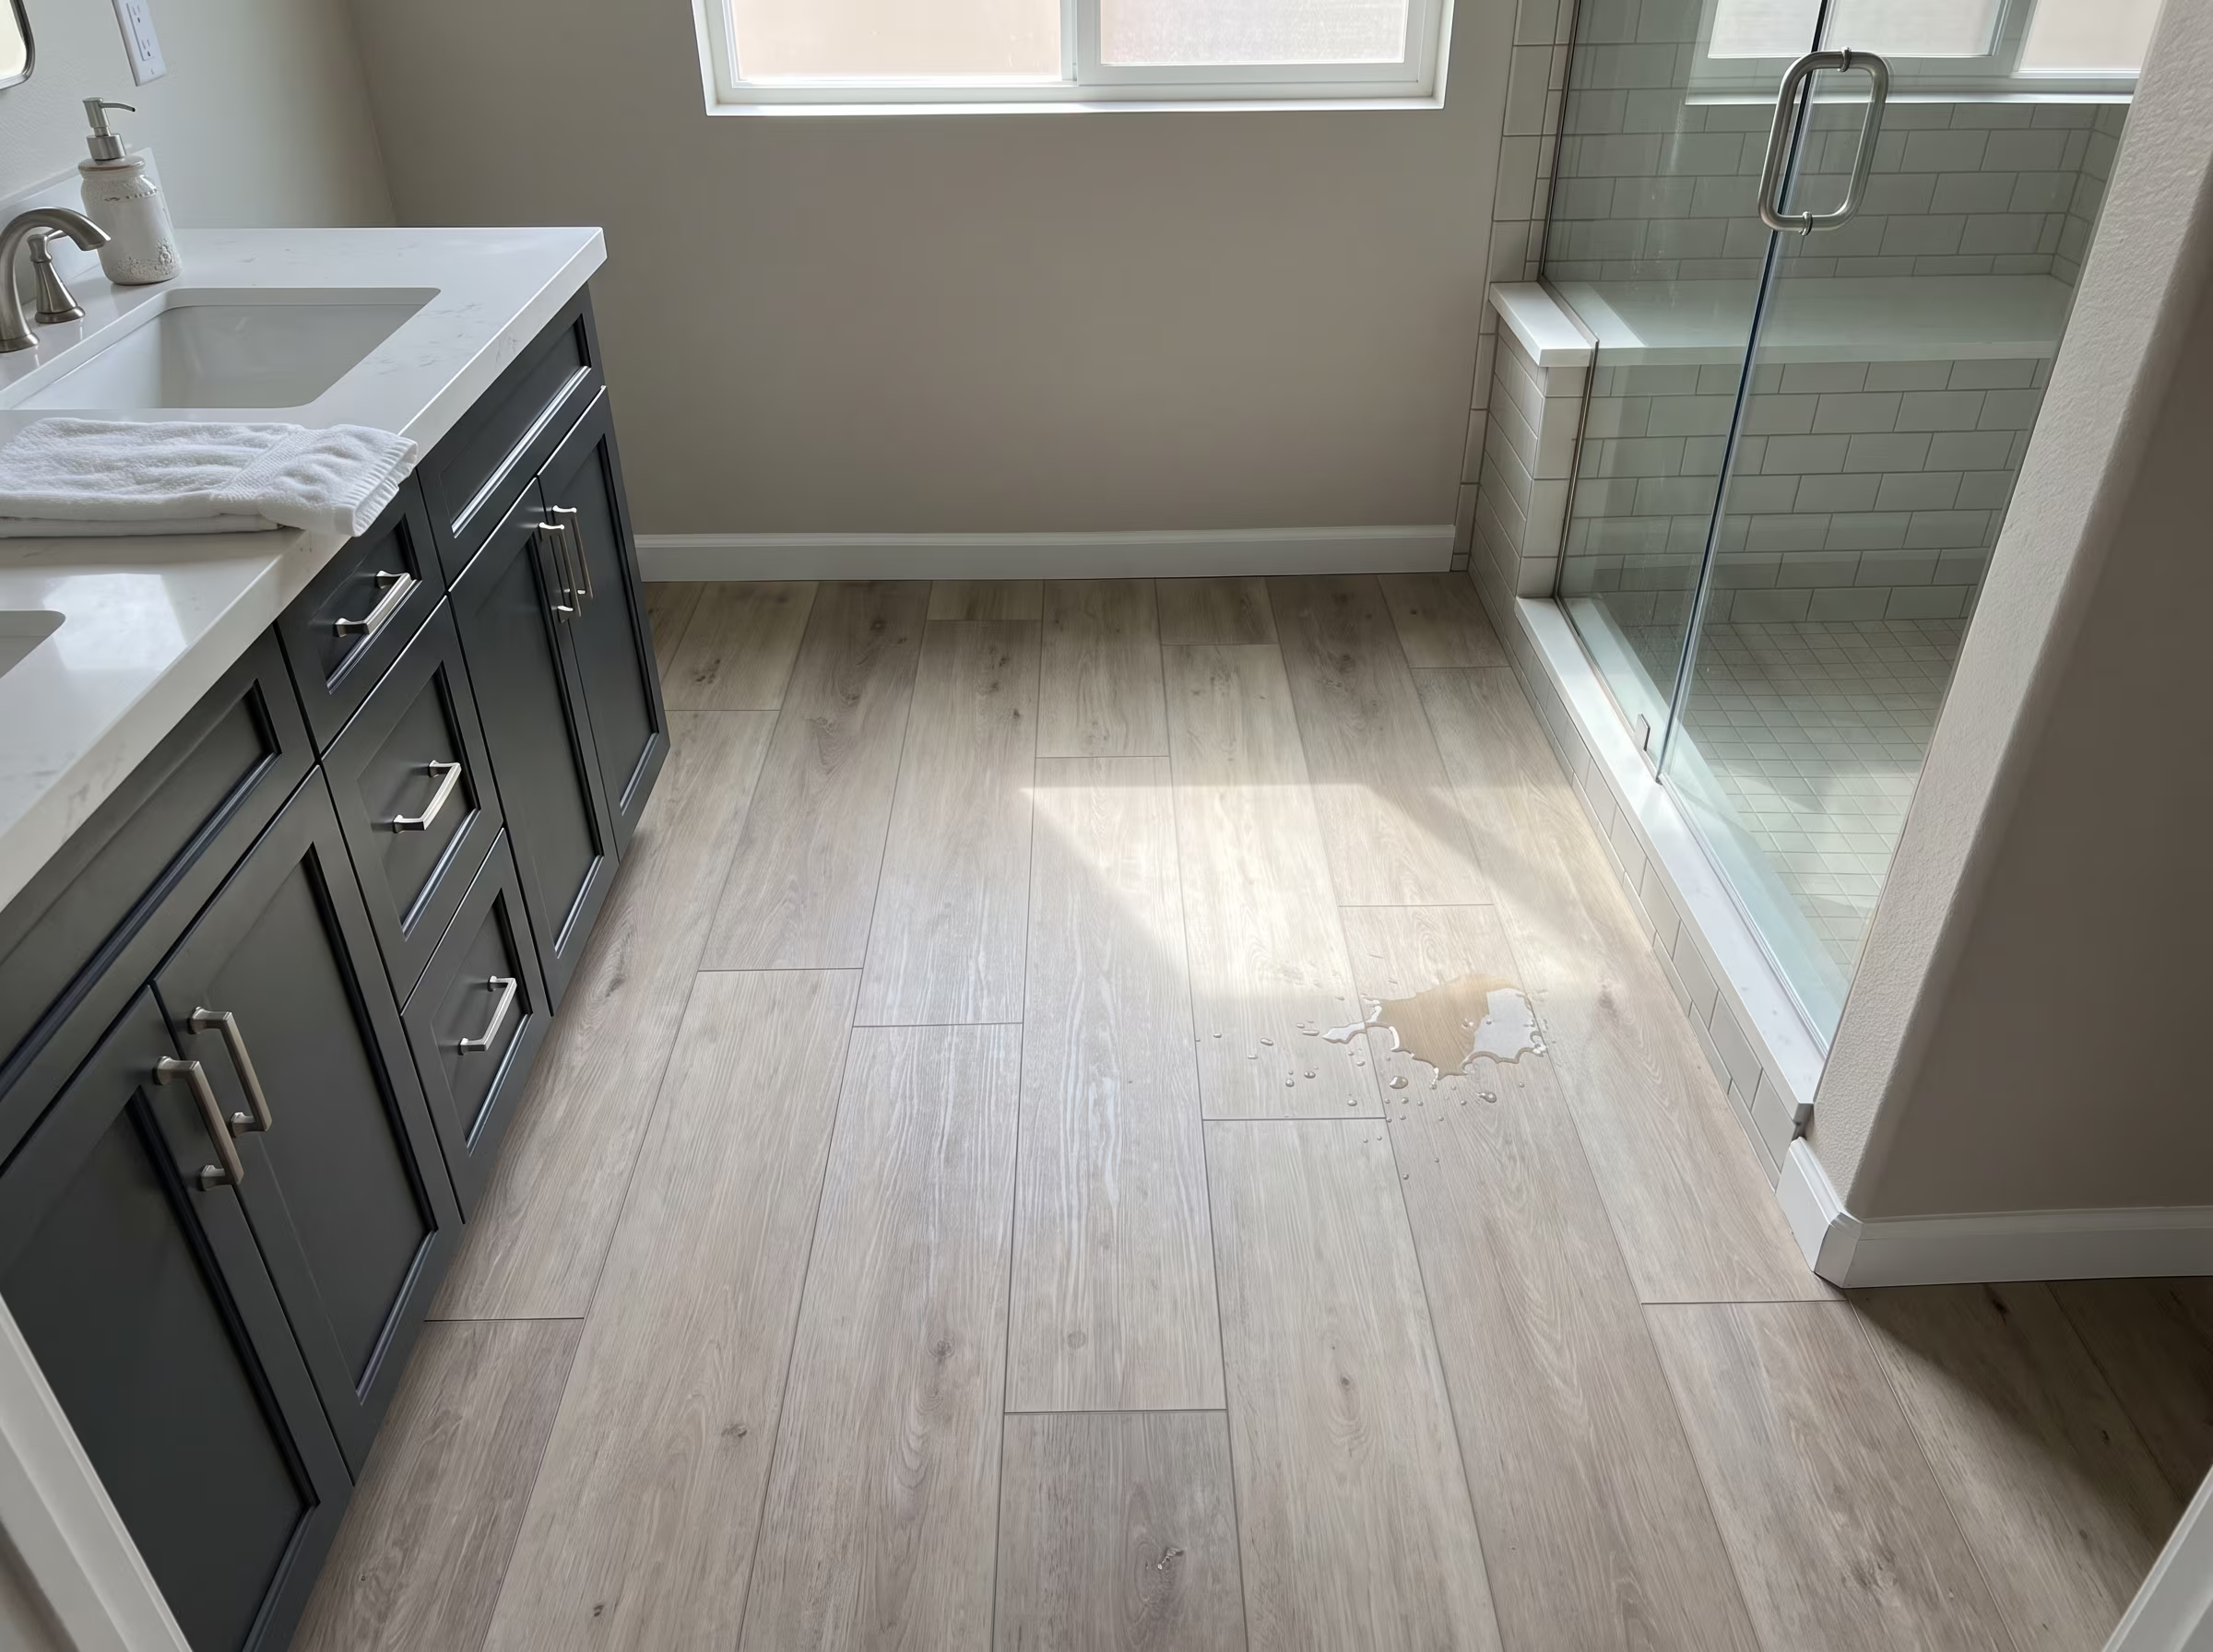
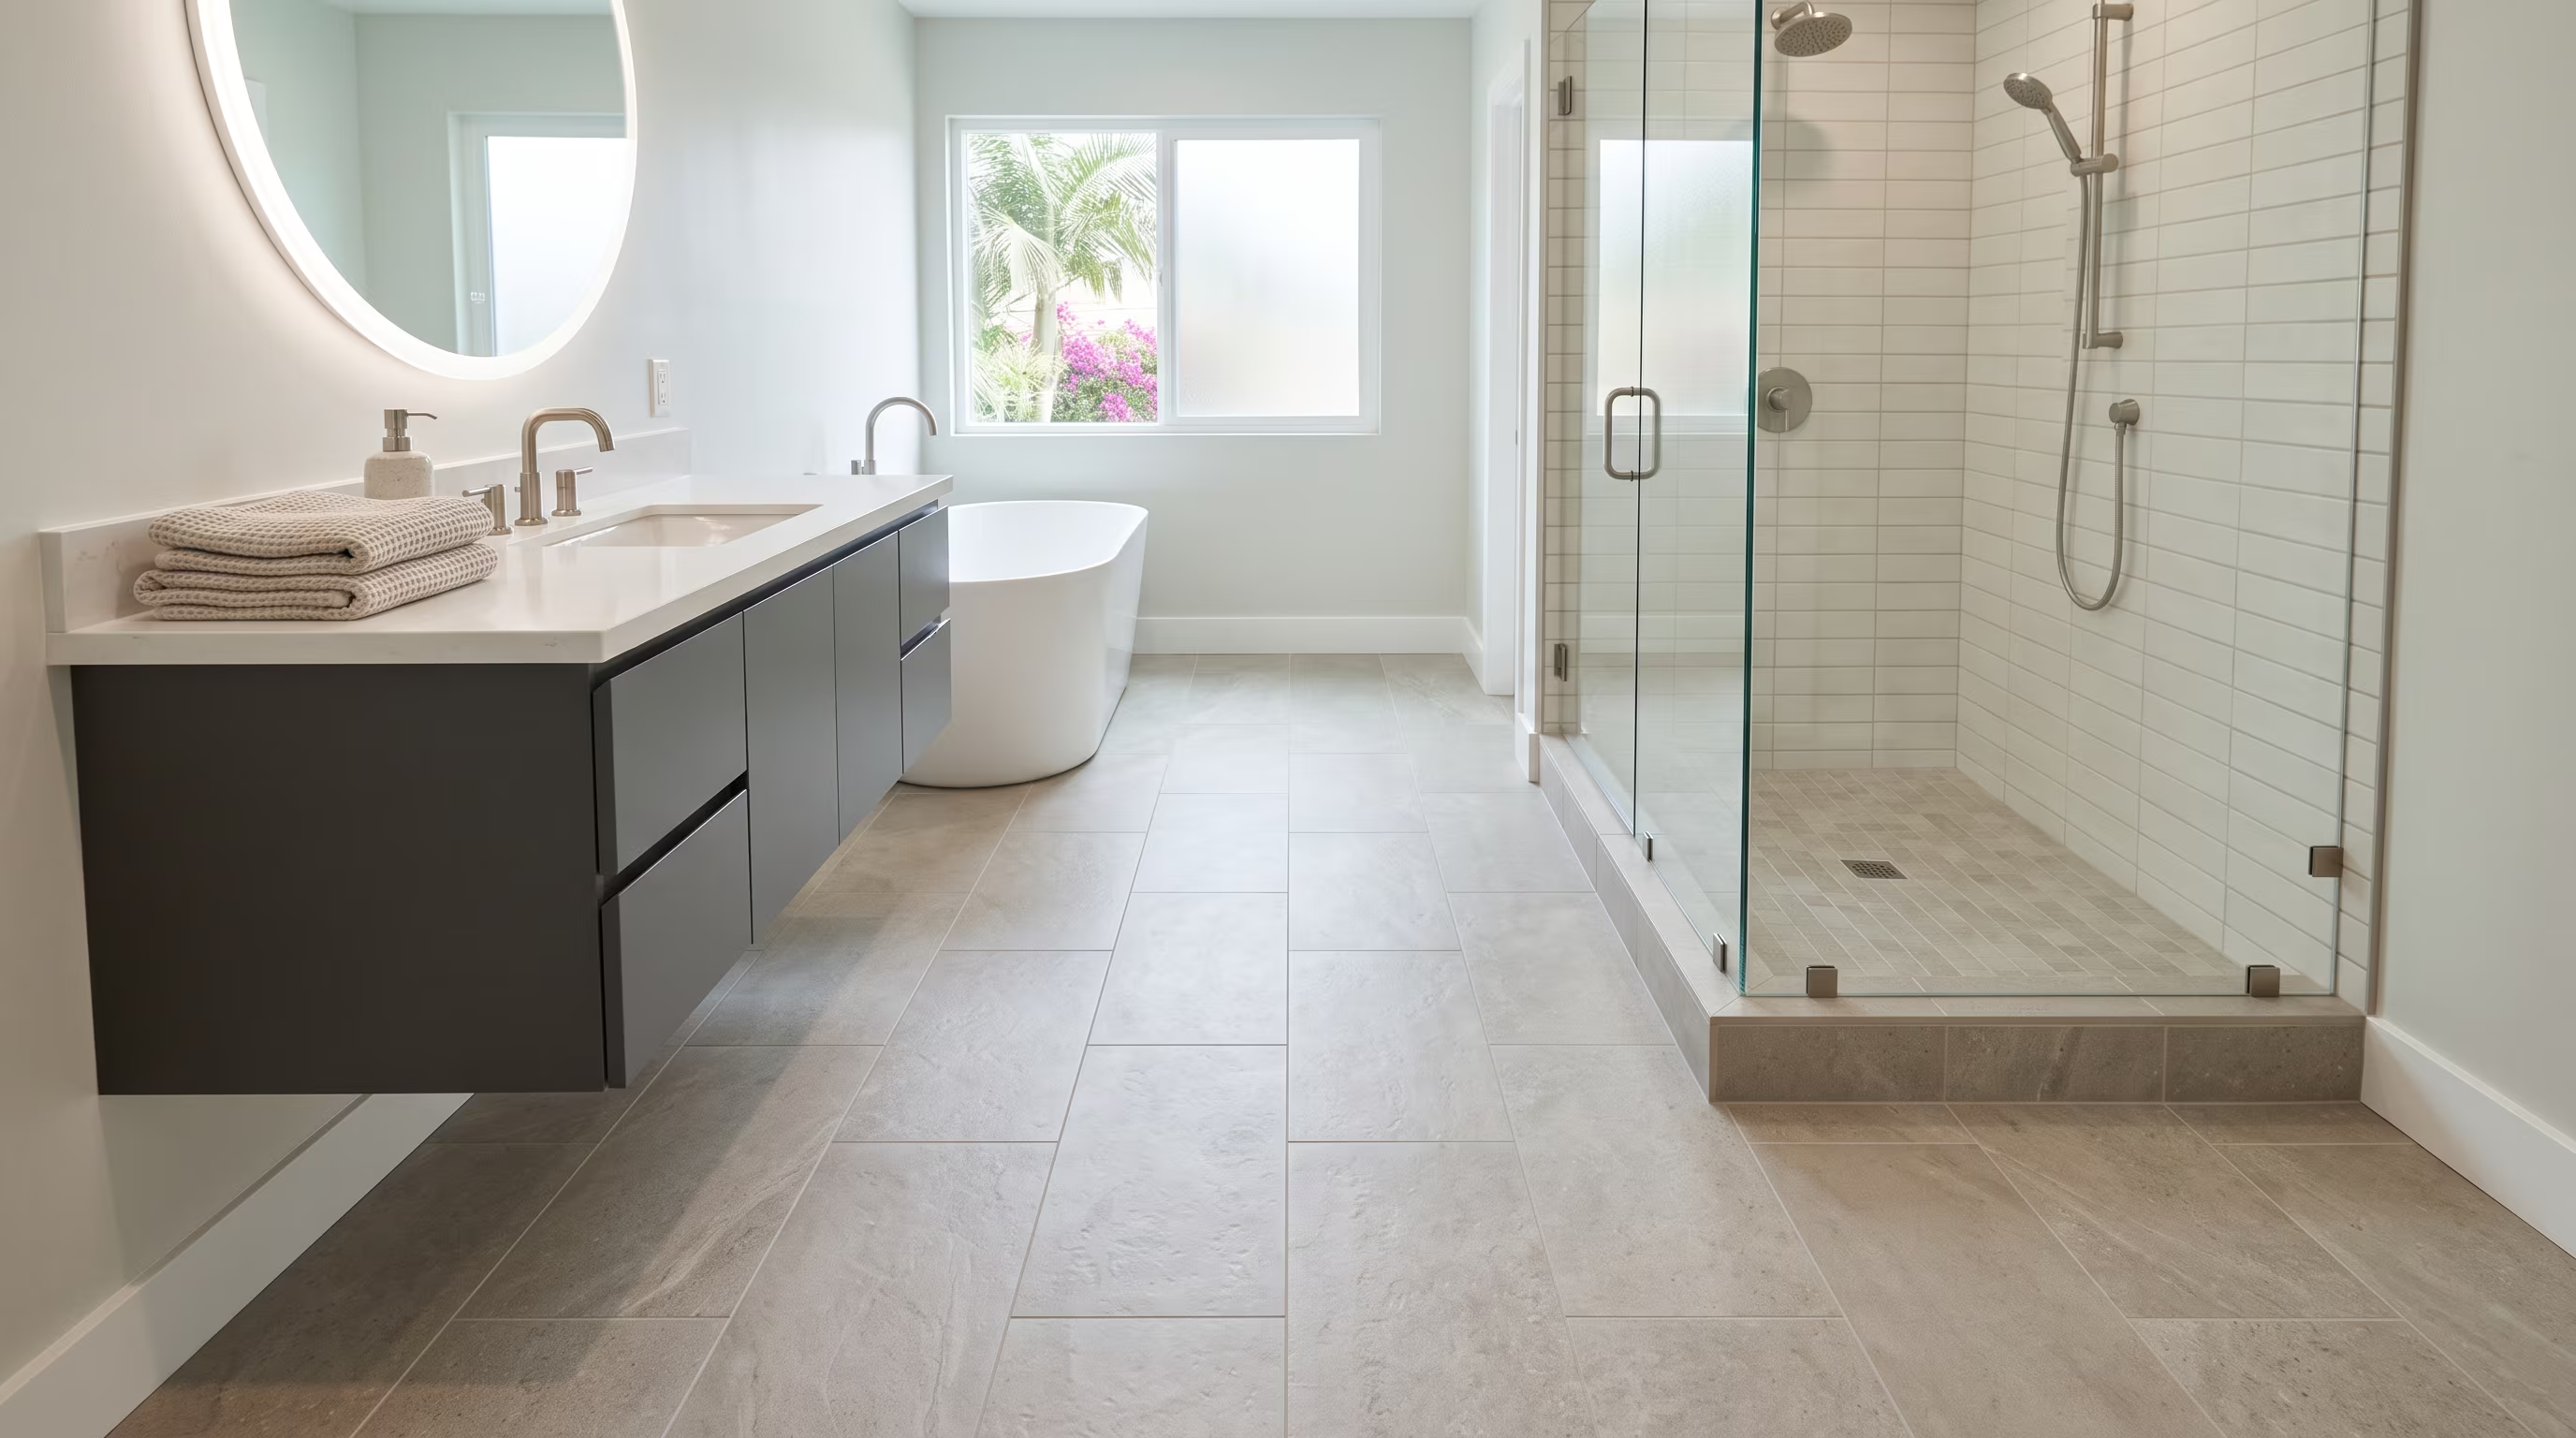
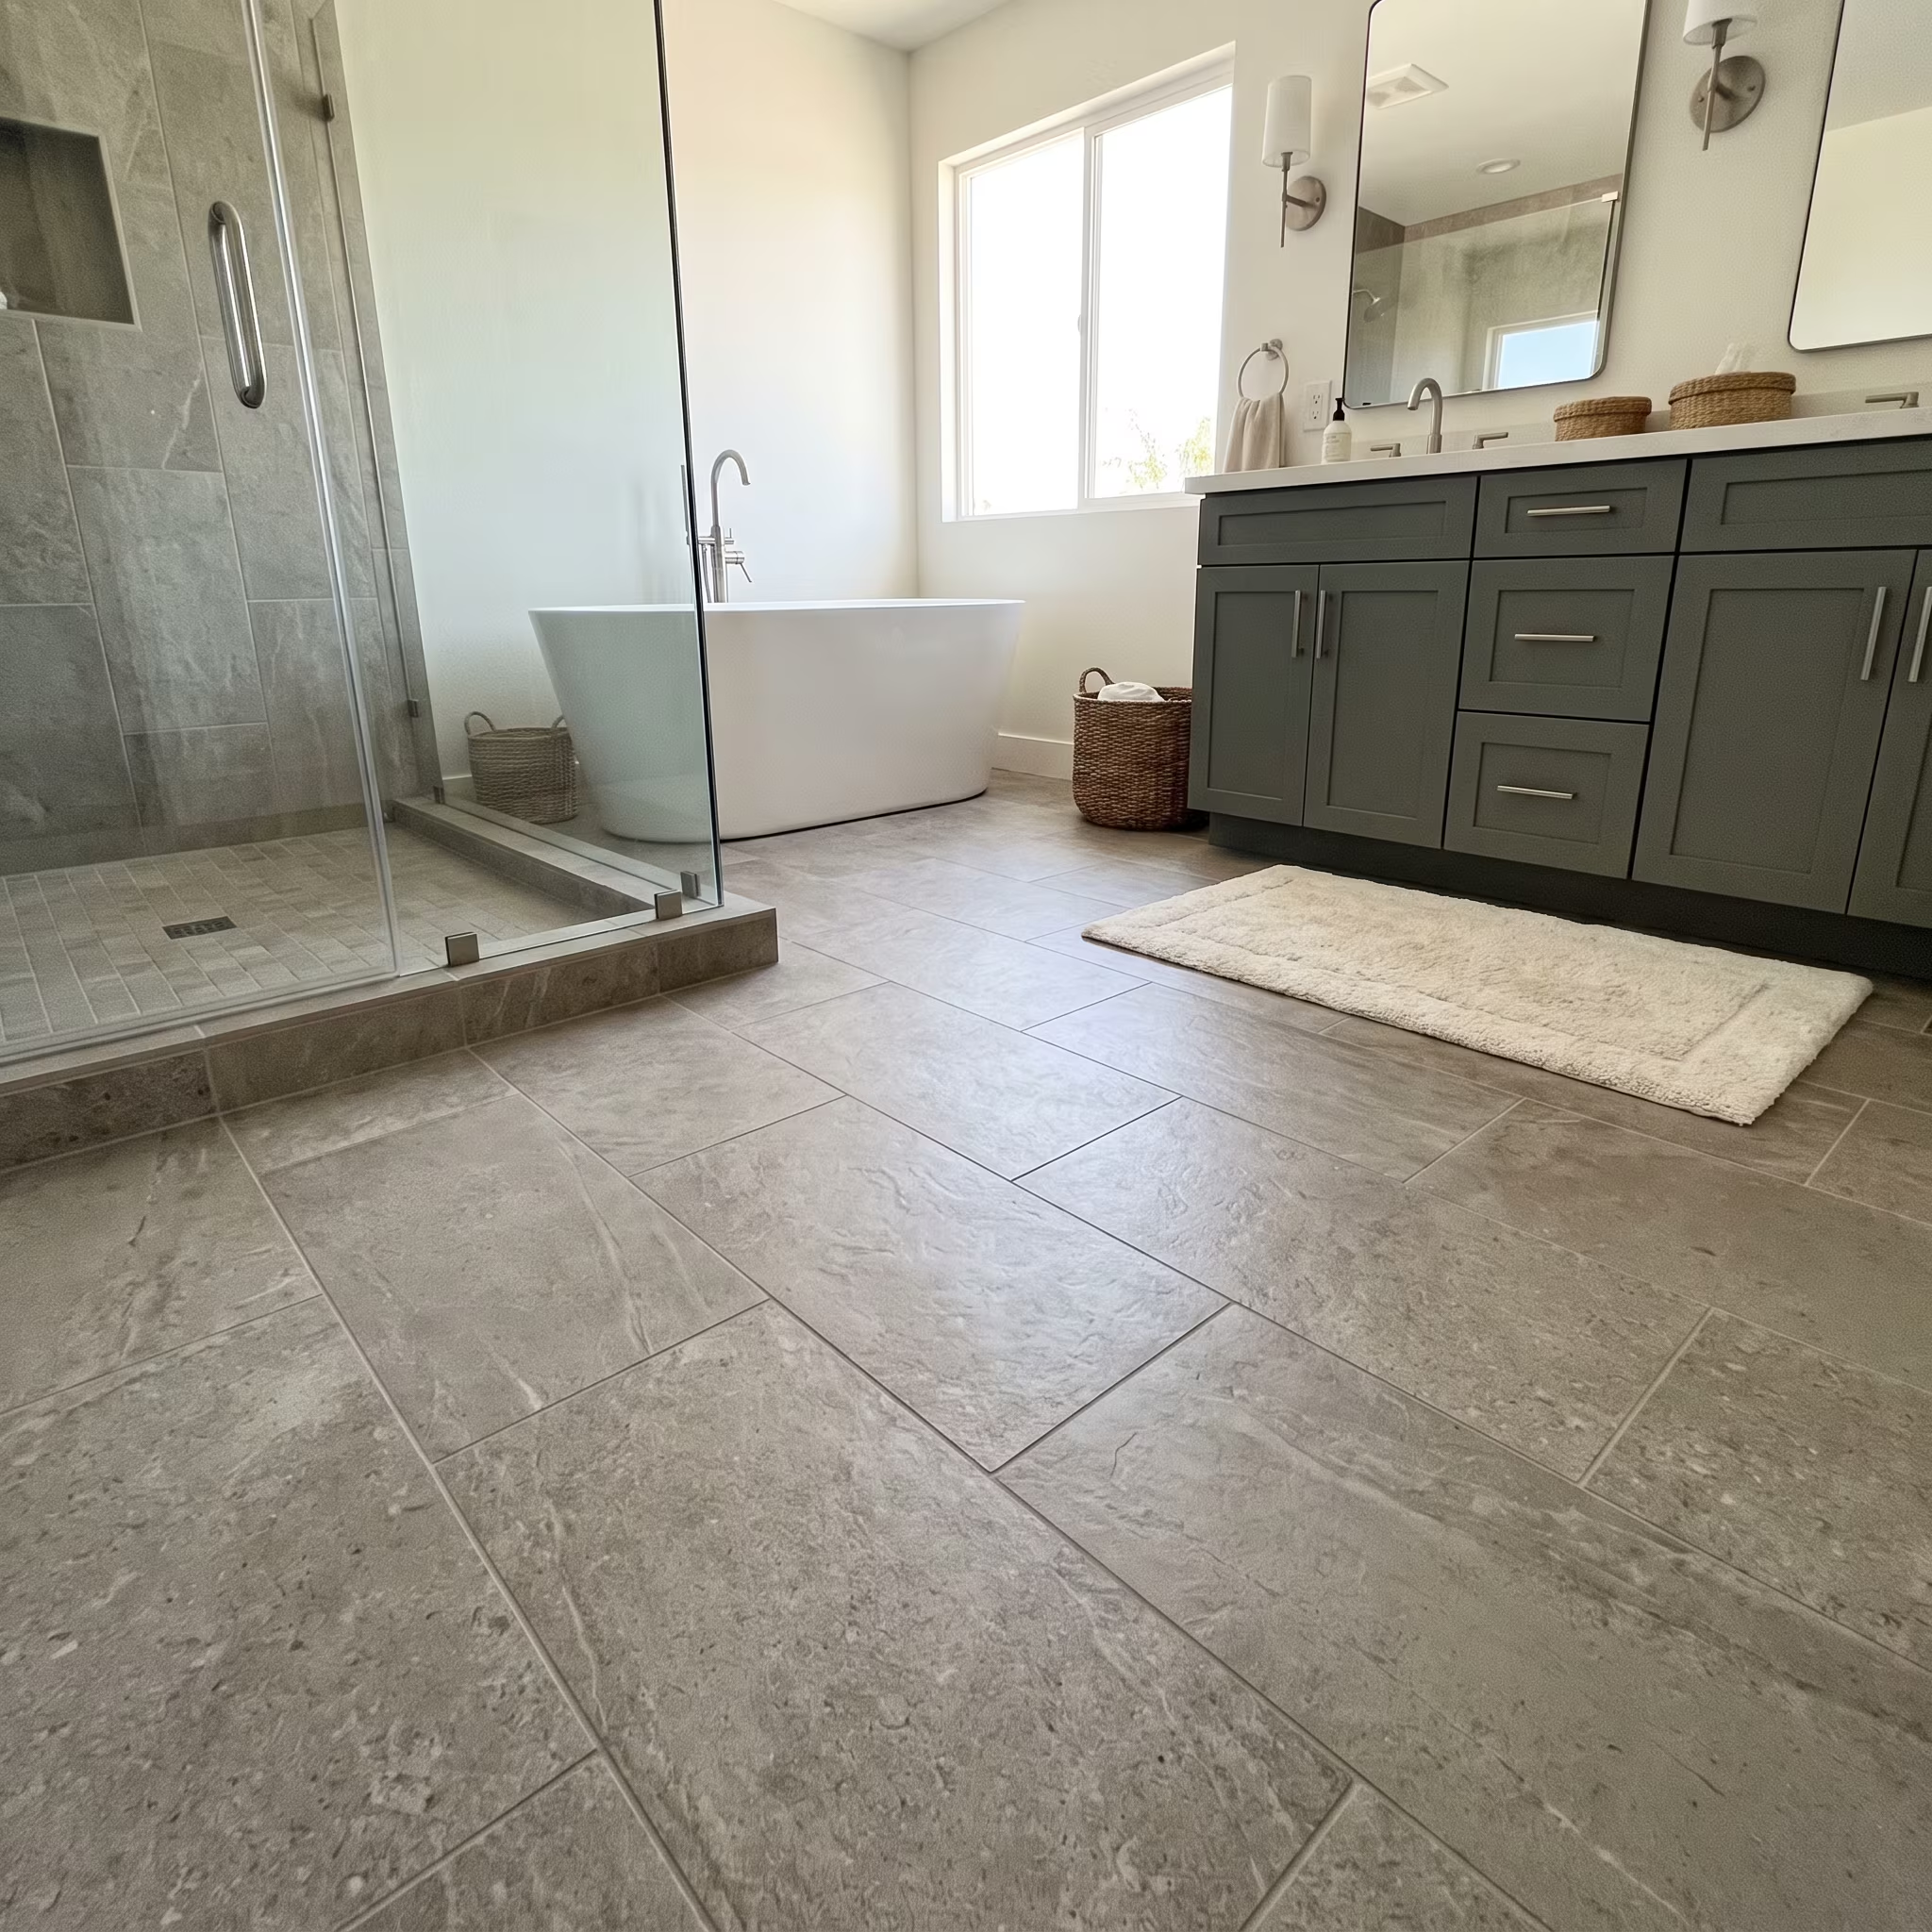
Bright bathroom with large-format light grey floor tile

About Us

What we assess before recommending a floor material

We specialize in residential bathroom remodeling across San Diego County—showers, tubs, vanities, flooring, and full remodels planned around your home and schedule.

Every project starts with a clear conversation, a written scope, and a permit-aware plan so you know what to expect before work begins.

  • Licensed CA Contractor
  • Permit-First Process
  • Written Warranty
  • In-House Craftsmen

Get Your Free Bathroom Remodel Estimate

No obligation. A specialist contacts you within 1 hour.

Bathroom with large-format charcoal porcelain floor tile
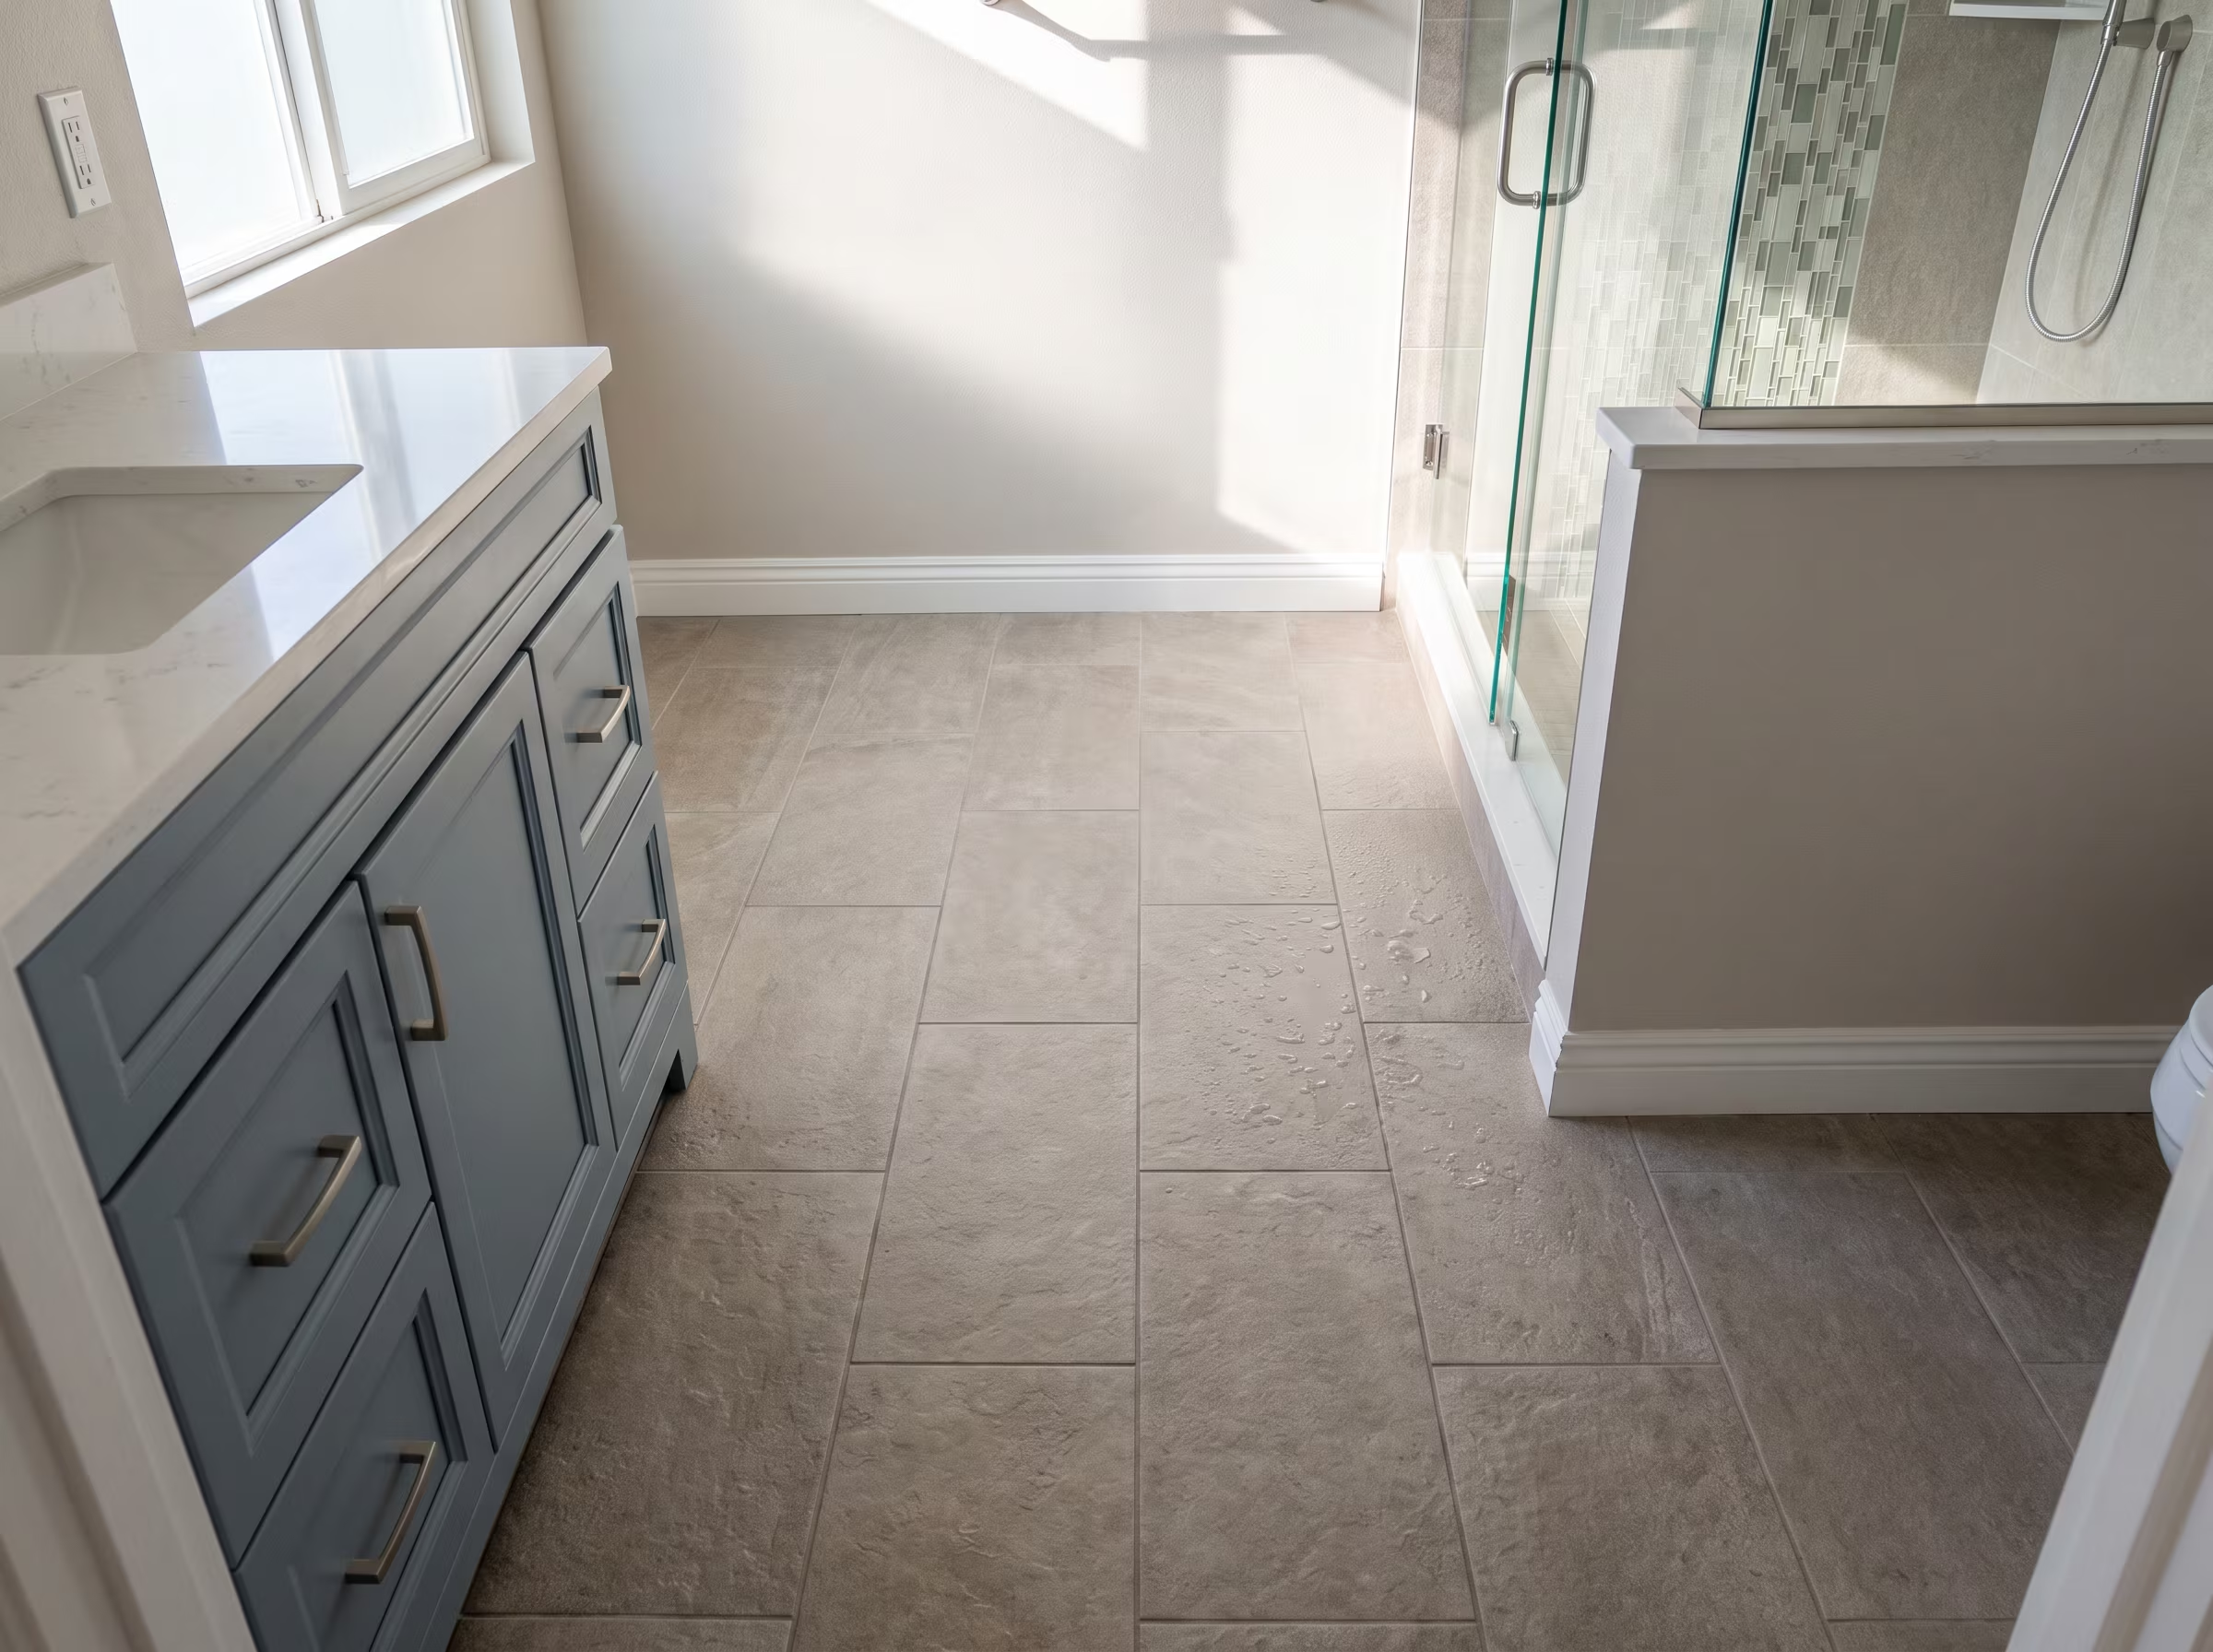
Textured matte bathroom floor tile with grout lines for grip underfoot

Slip Resistance, Grout and Texture

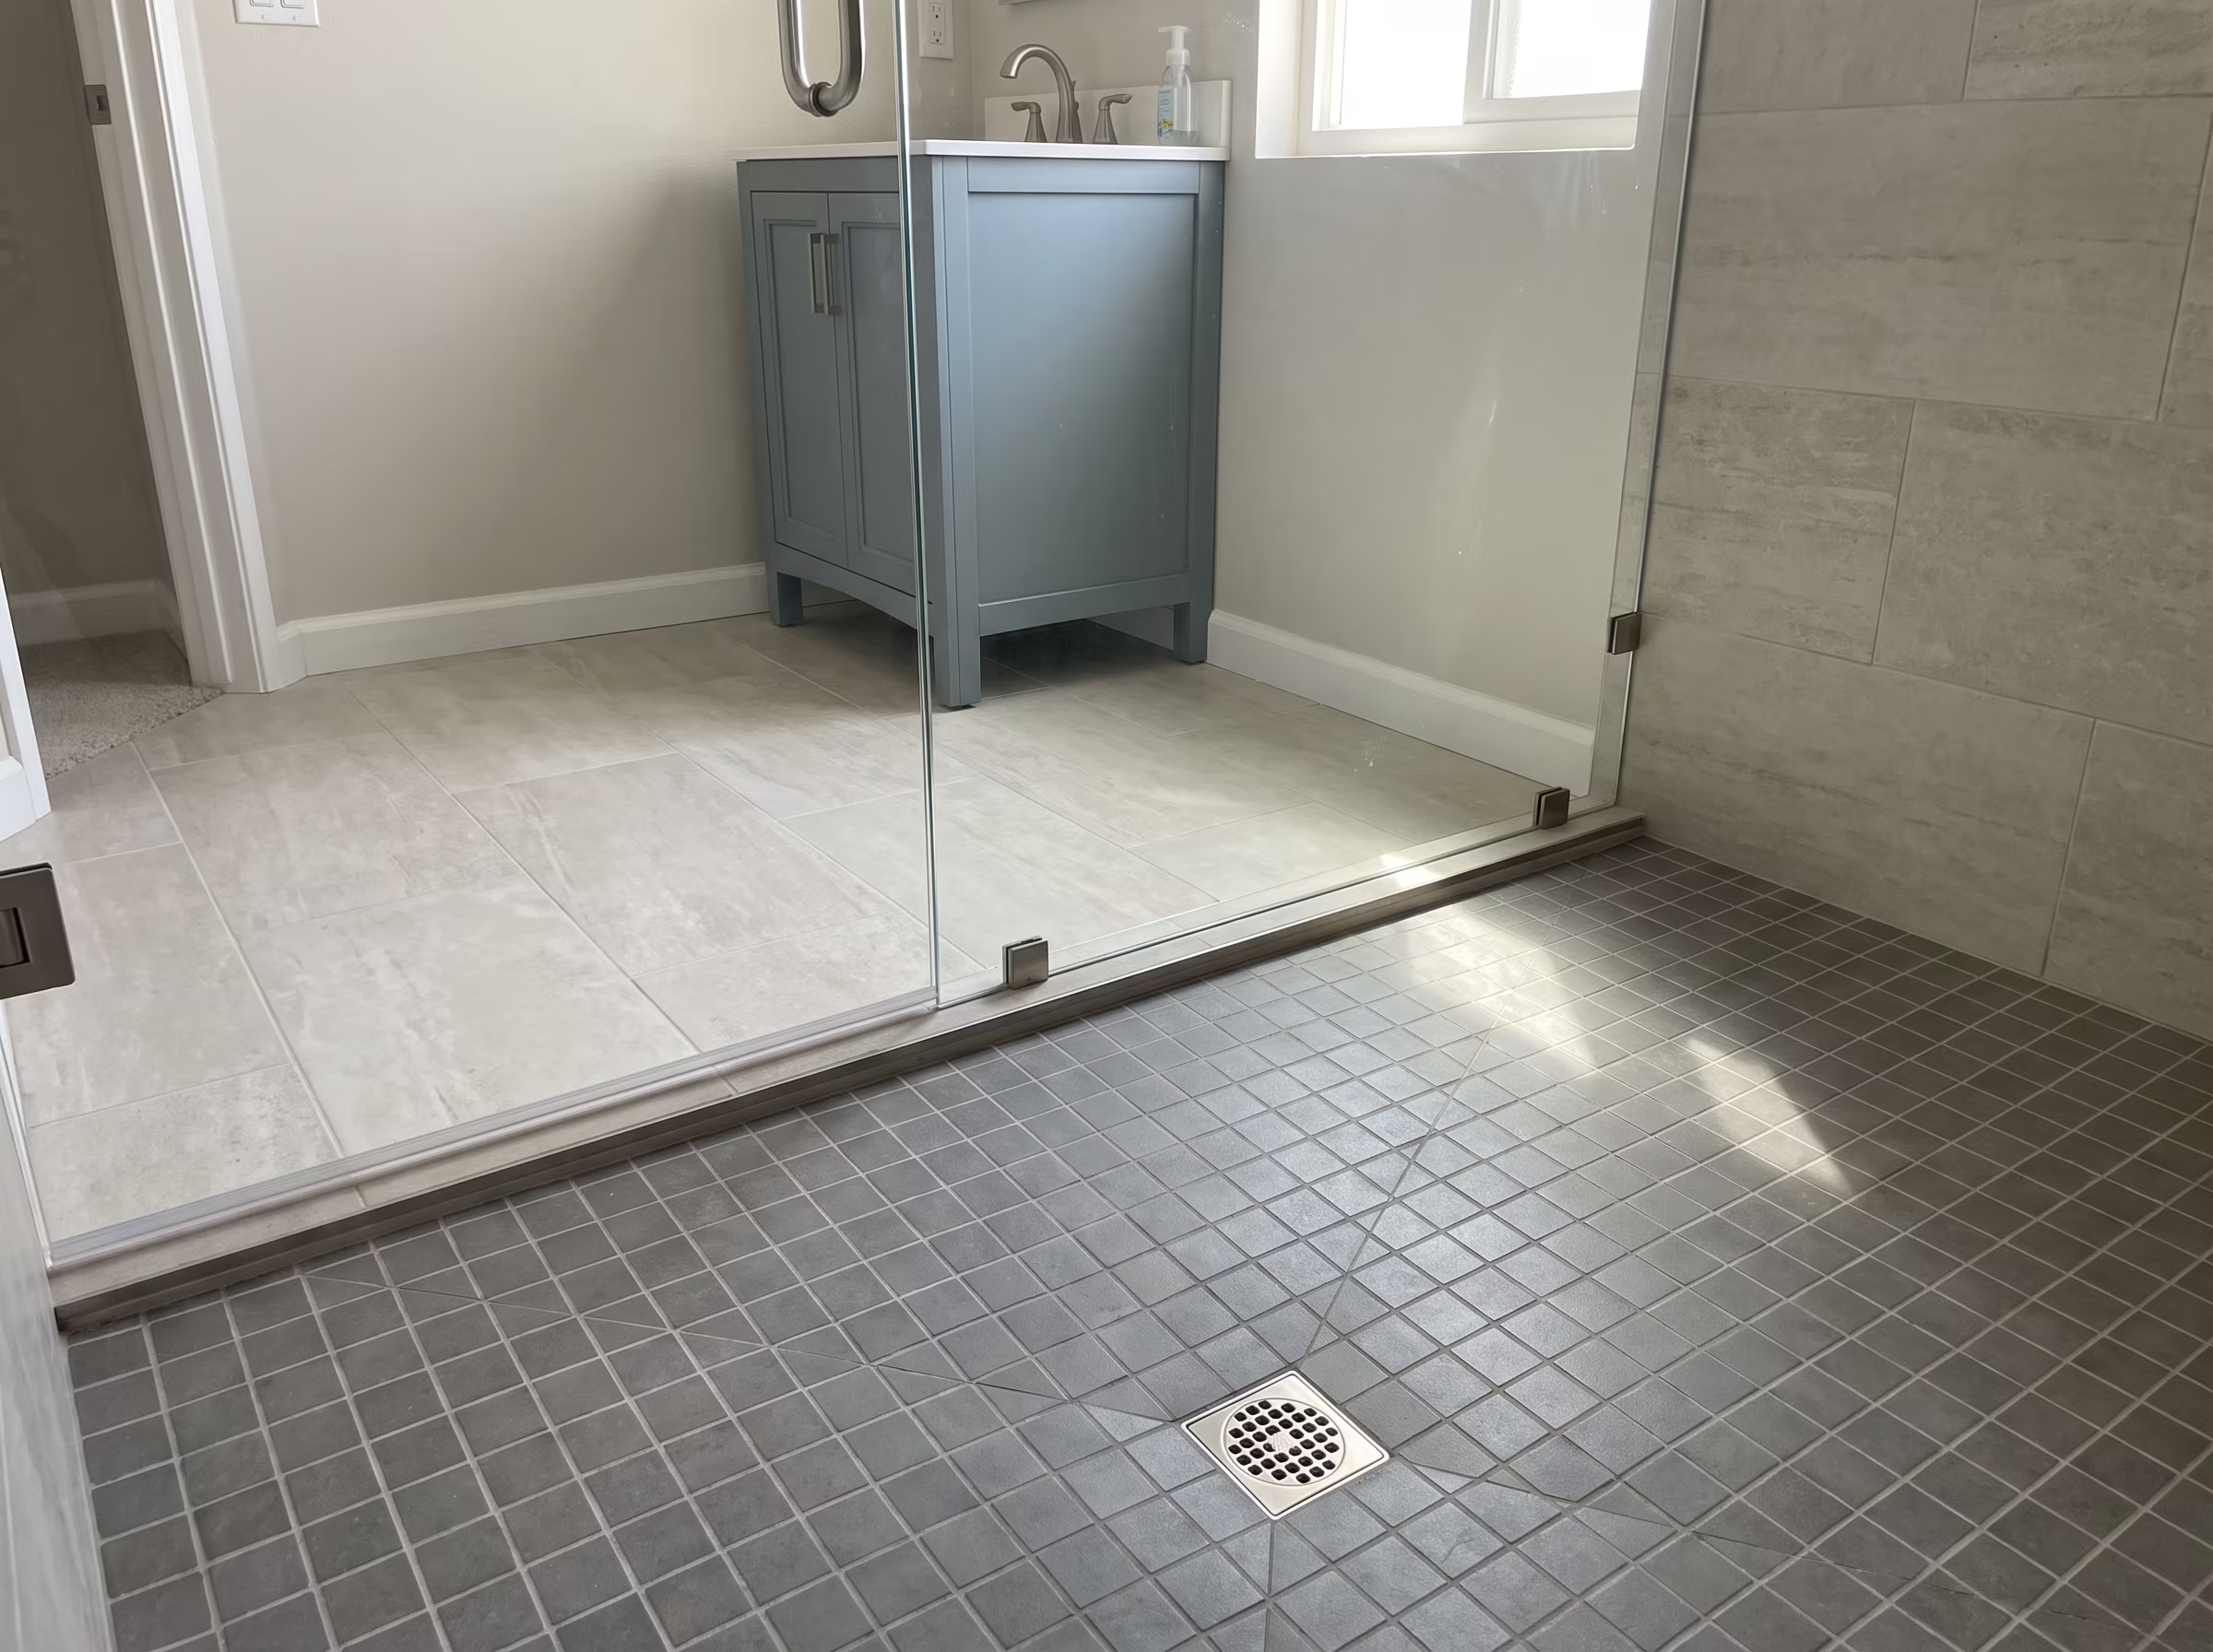
Slip resistance is measured by the Dynamic Coefficient of Friction (DCOF). For wet floor surfaces, a DCOF of 0.42 or higher is a common starting reference. In wet-zone floors such as open showers, smaller-format tile, textured surface finishes and mosaic patterns provide more grout lines and natural texture that improve grip underfoot.

Grout color affects both maintenance visibility and visual design. Darker grout shows less staining but may look dated faster. Lighter grout opens the room visually but requires more cleaning attention. Epoxy grout resists staining better than traditional cement grout but is harder to repair.

Subfloor and Underlayment Assessment

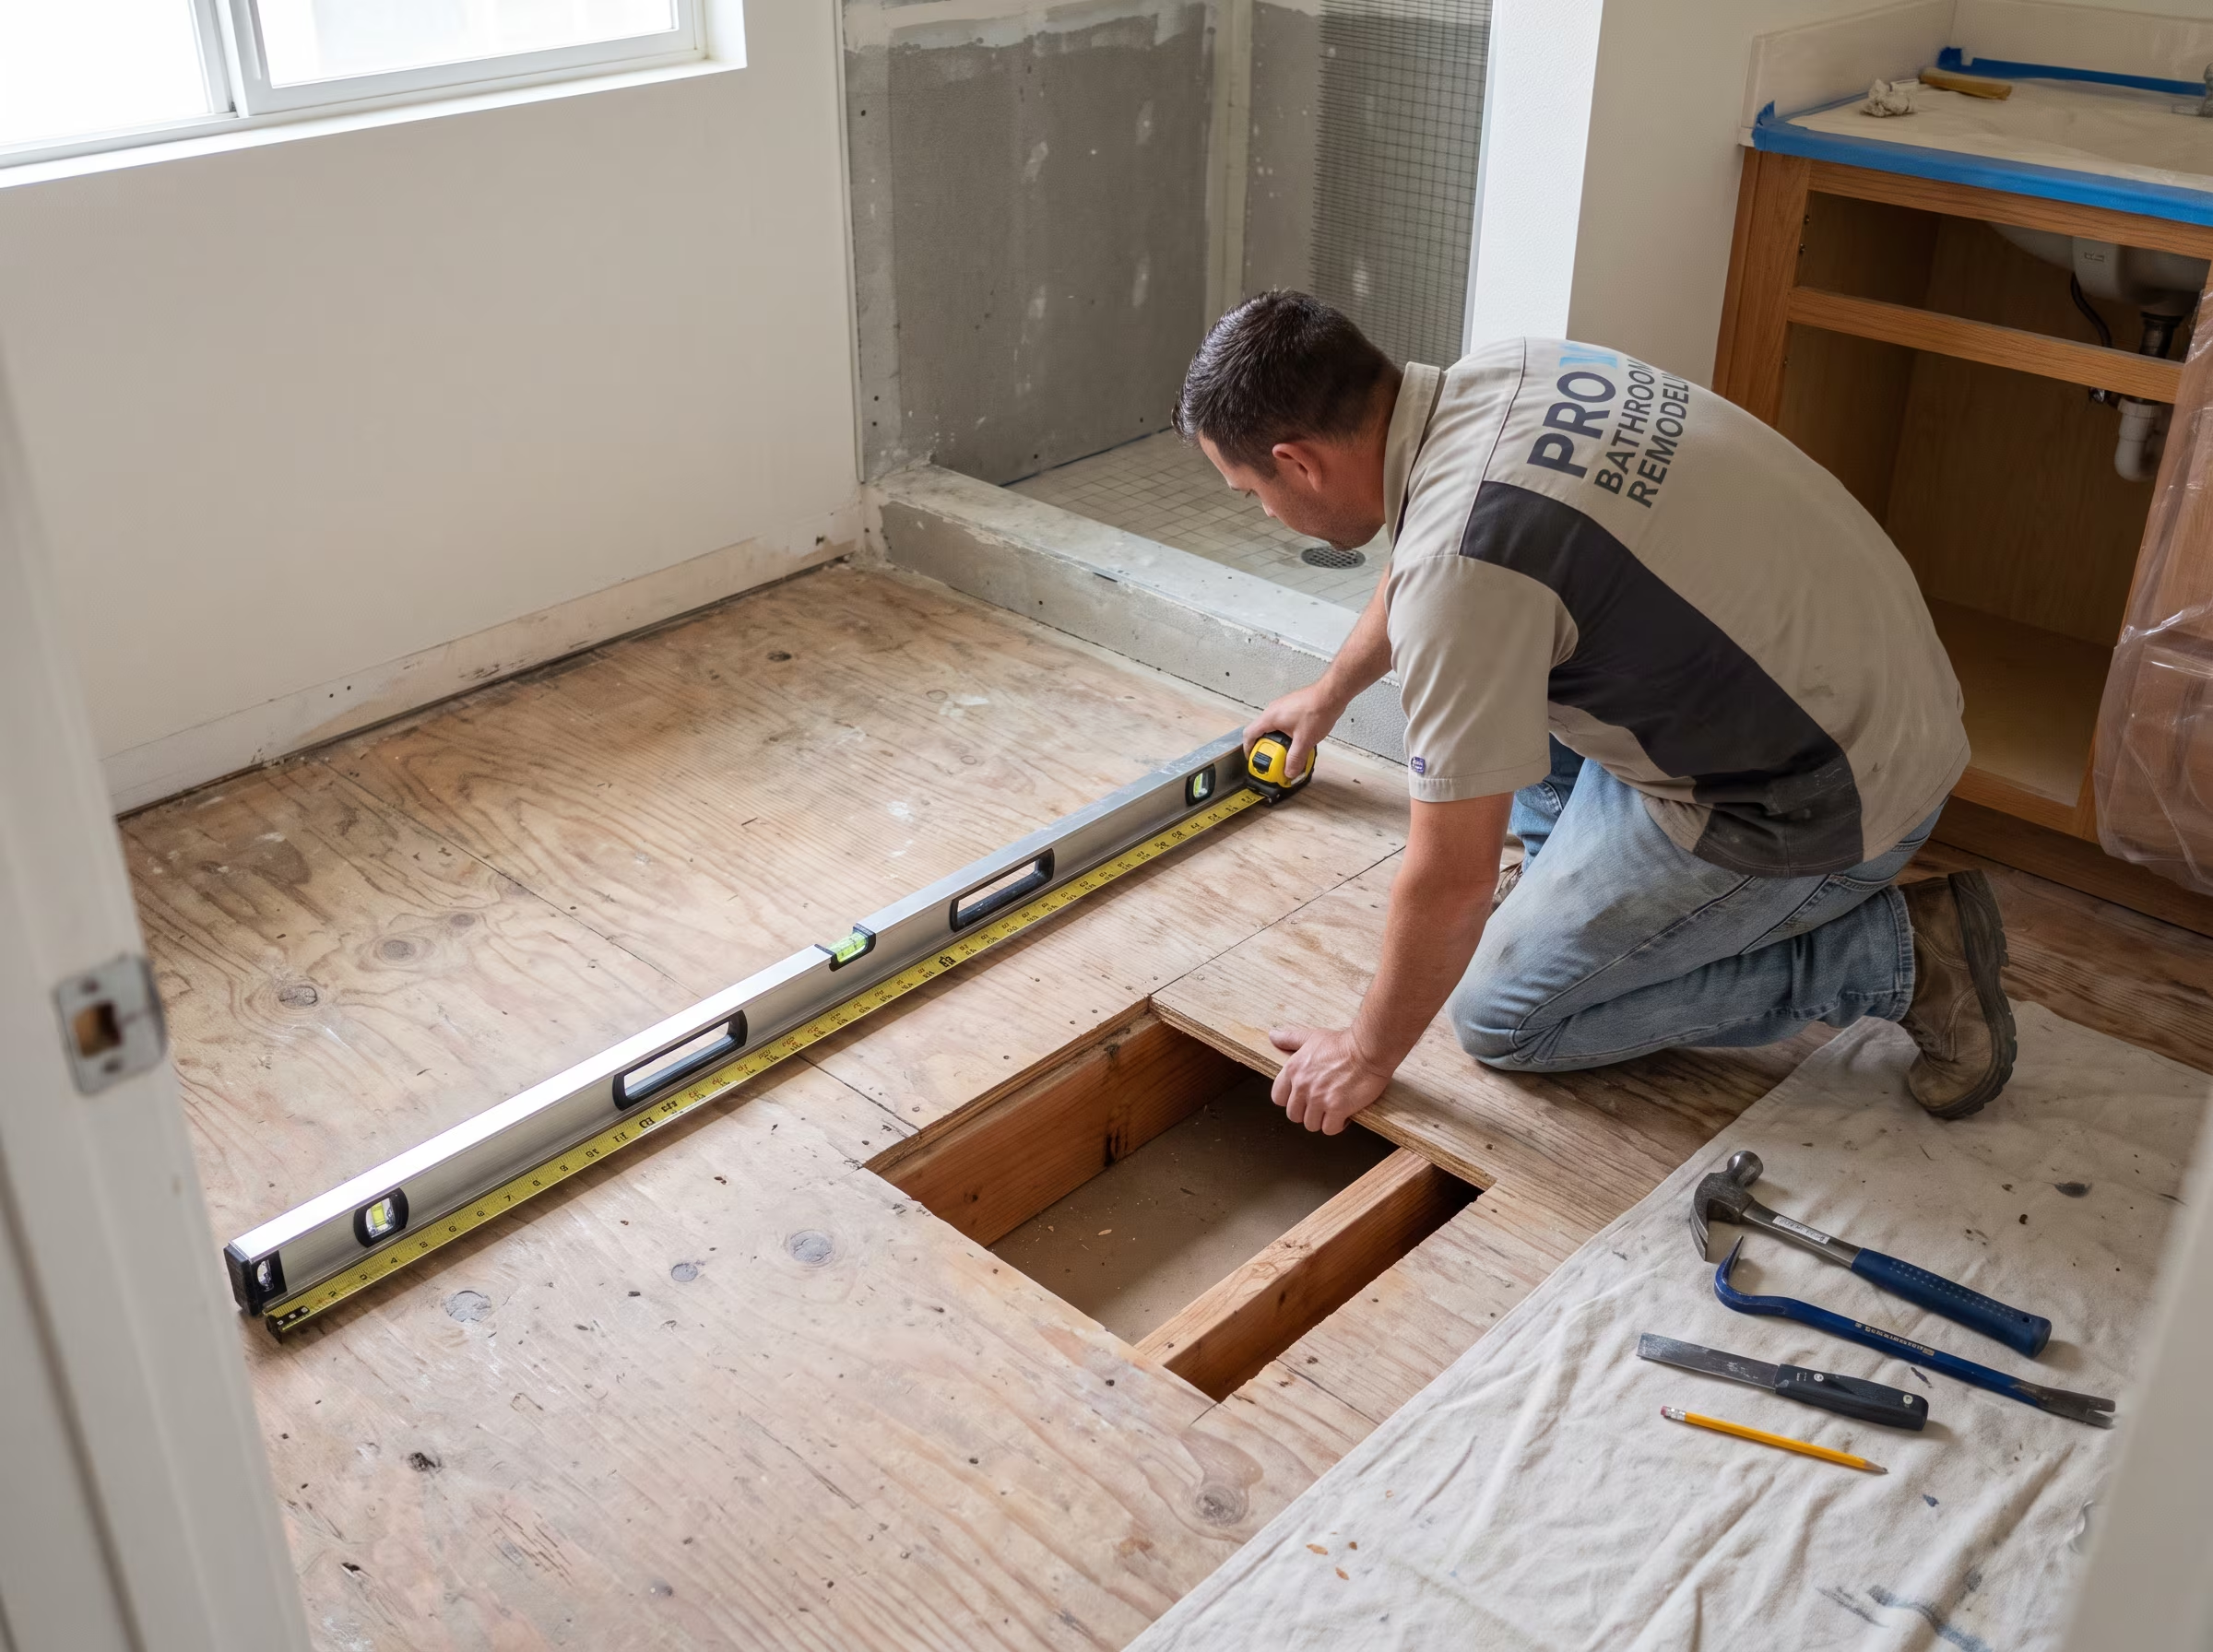
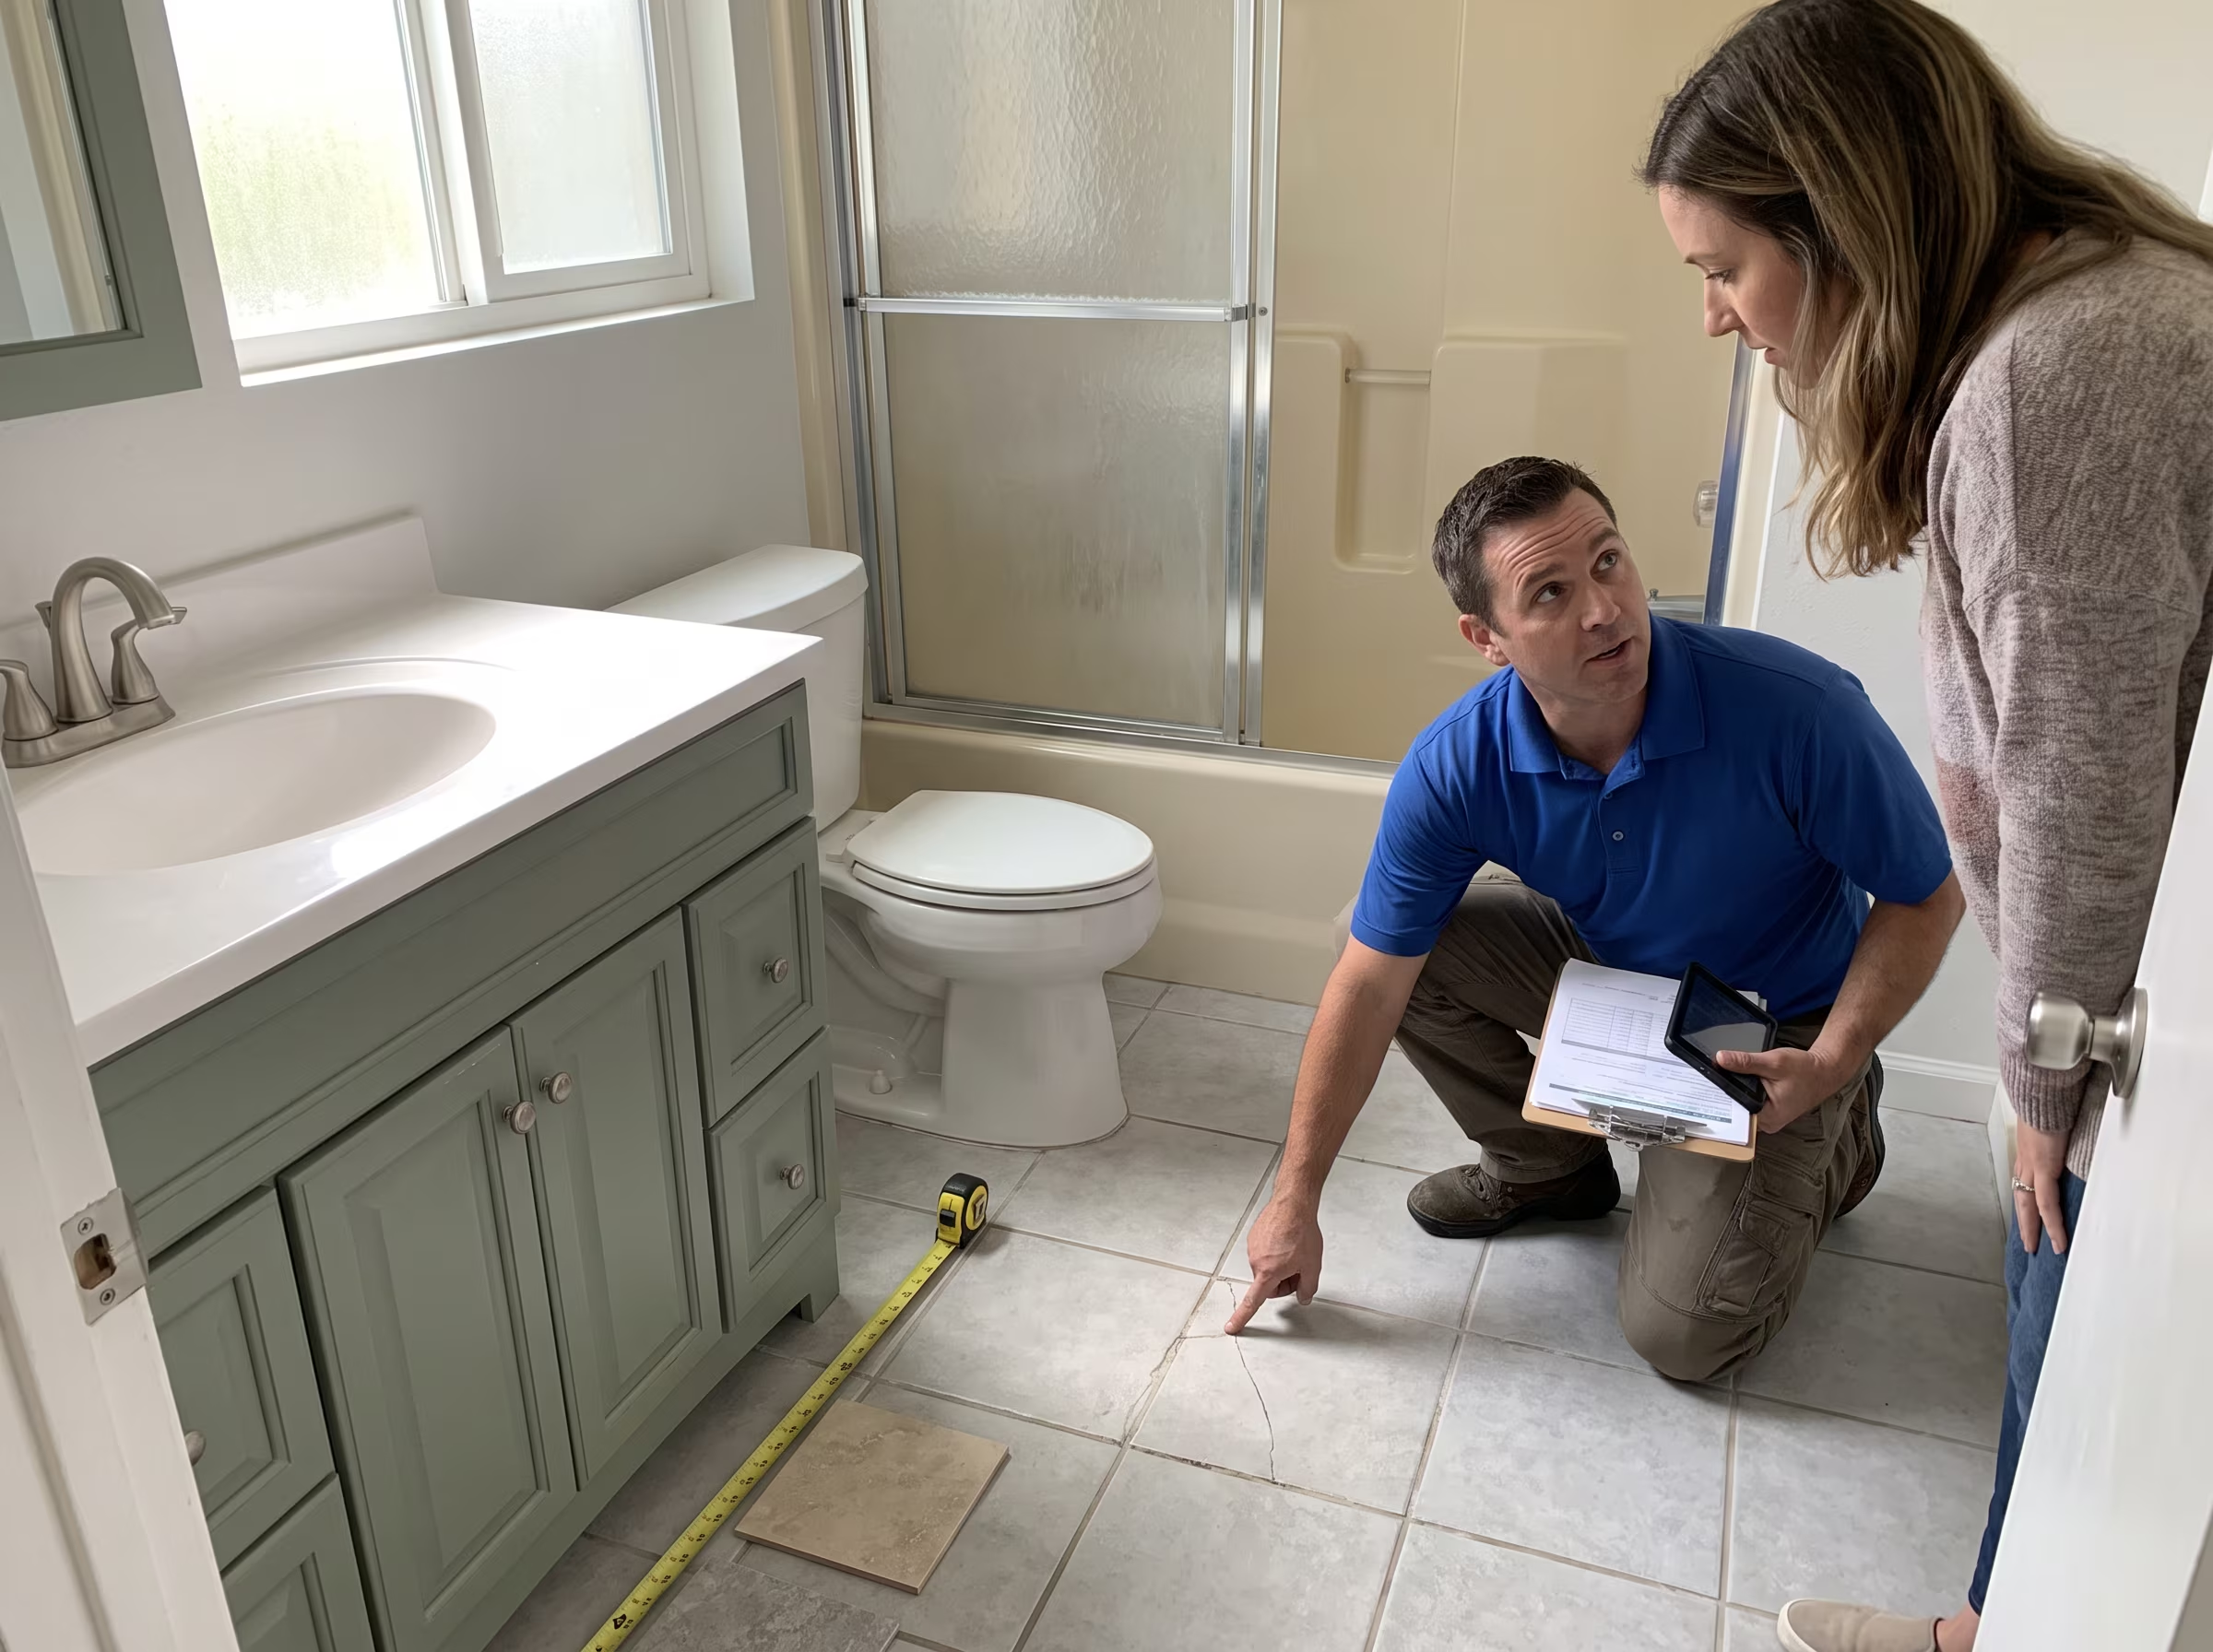
Bathroom floors placed over a subfloor with excessive deflection will crack. The industry standard for tile over wood framing is that deflection should not exceed L/360 of the span under load. We assess the existing subfloor condition, framing depth and deflection before finalizing the floor system.

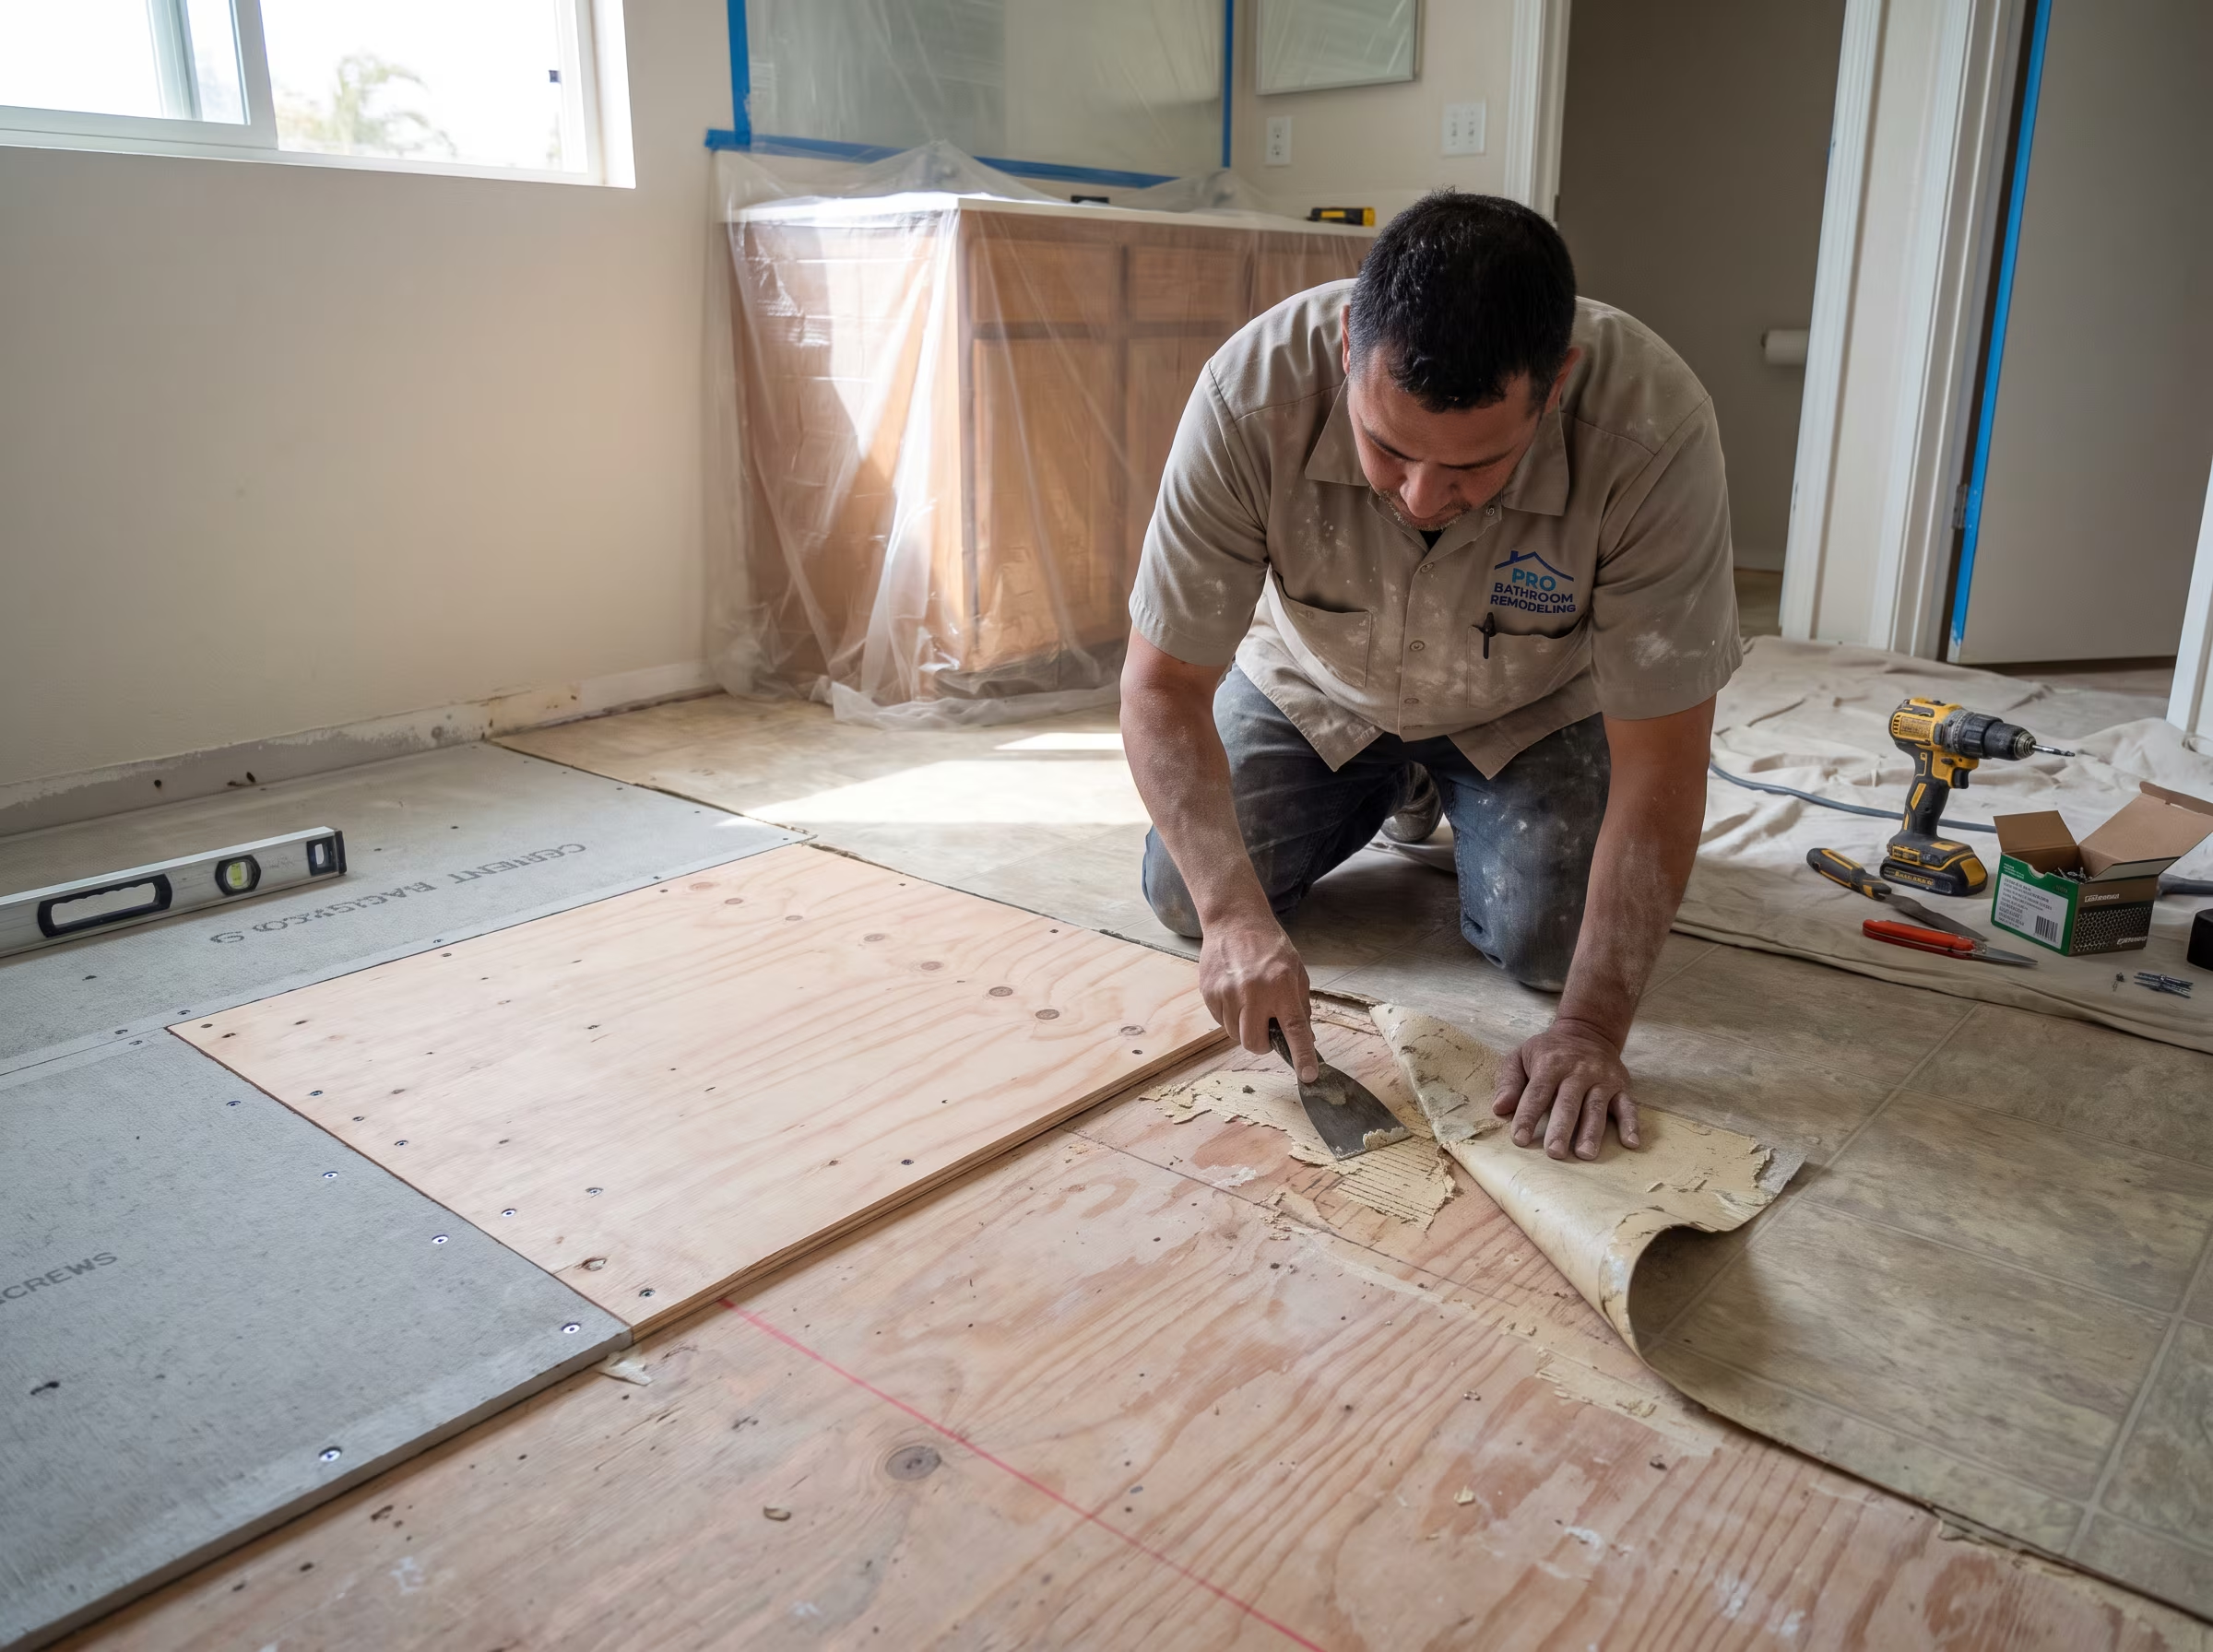
Where the subfloor needs reinforcement or repair, we address this before installing the flooring system. Existing vinyl or sheet goods that are adhesive-bonded may require additional prep steps before new tile can be installed without risk of bond failure.

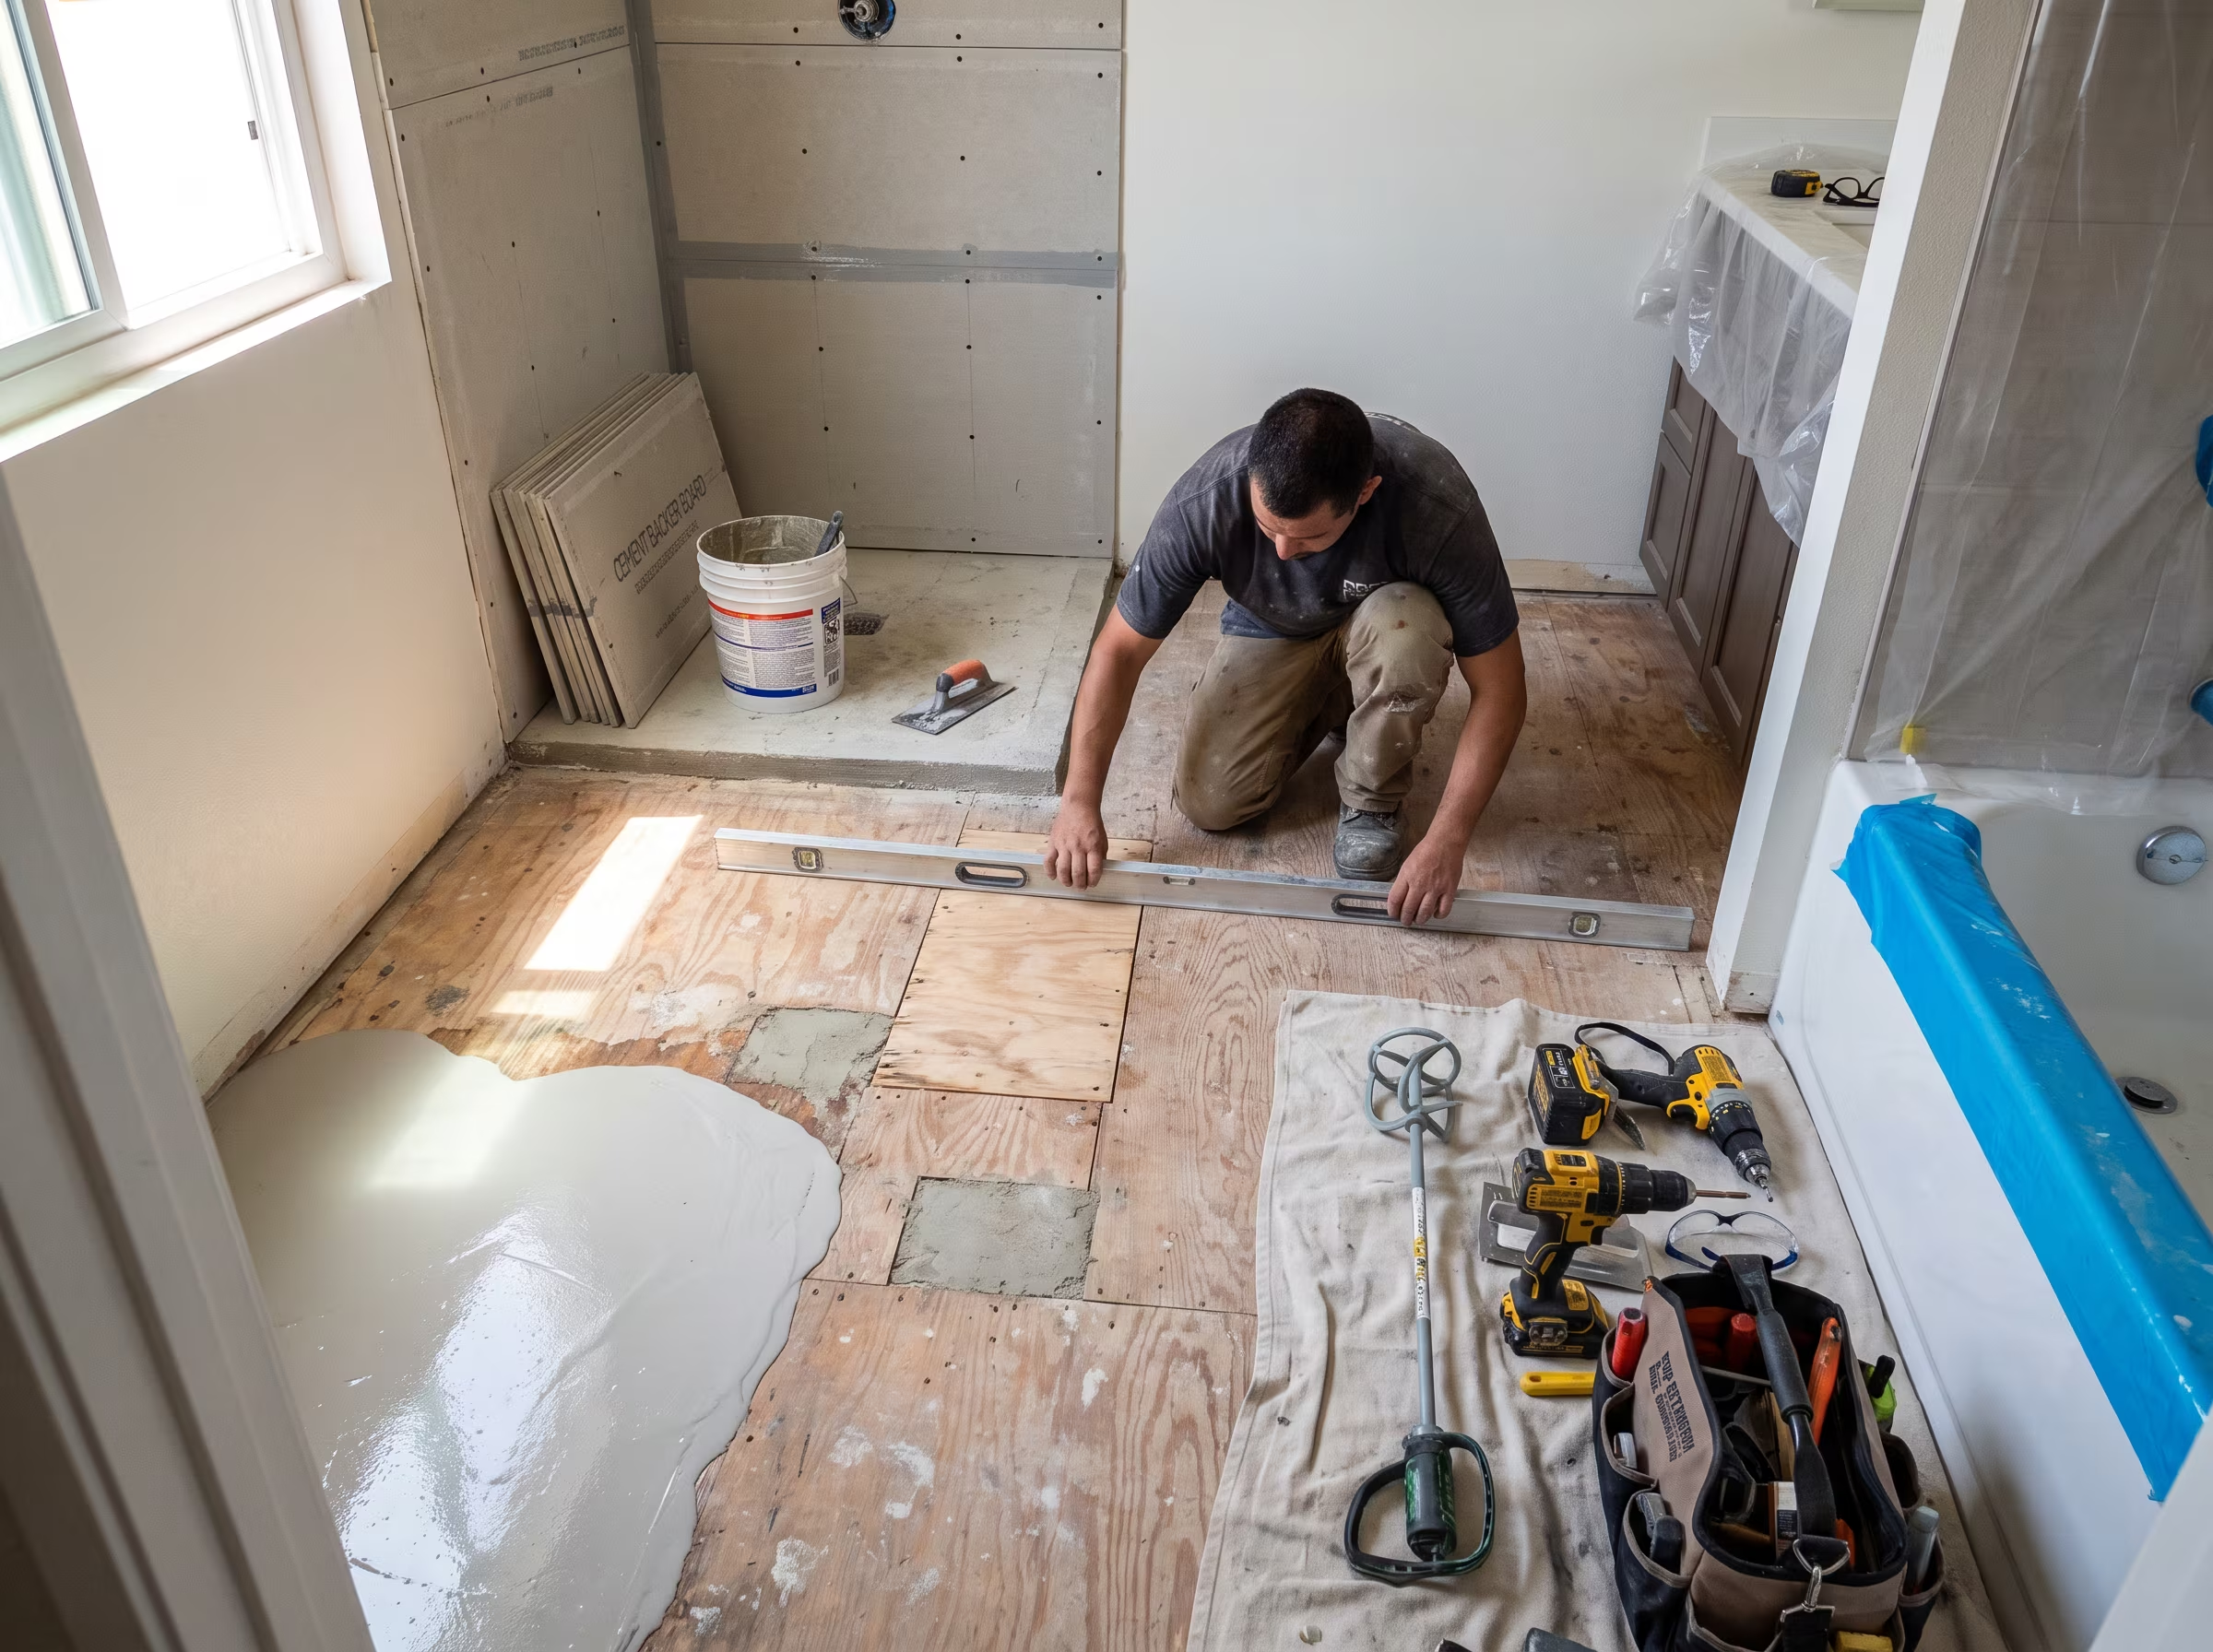
Subfloor being prepared before a new bathroom floor is installed
Finished bathroom floor after subfloor work and tile installation

Tile Size, Layout and Visual Continuity

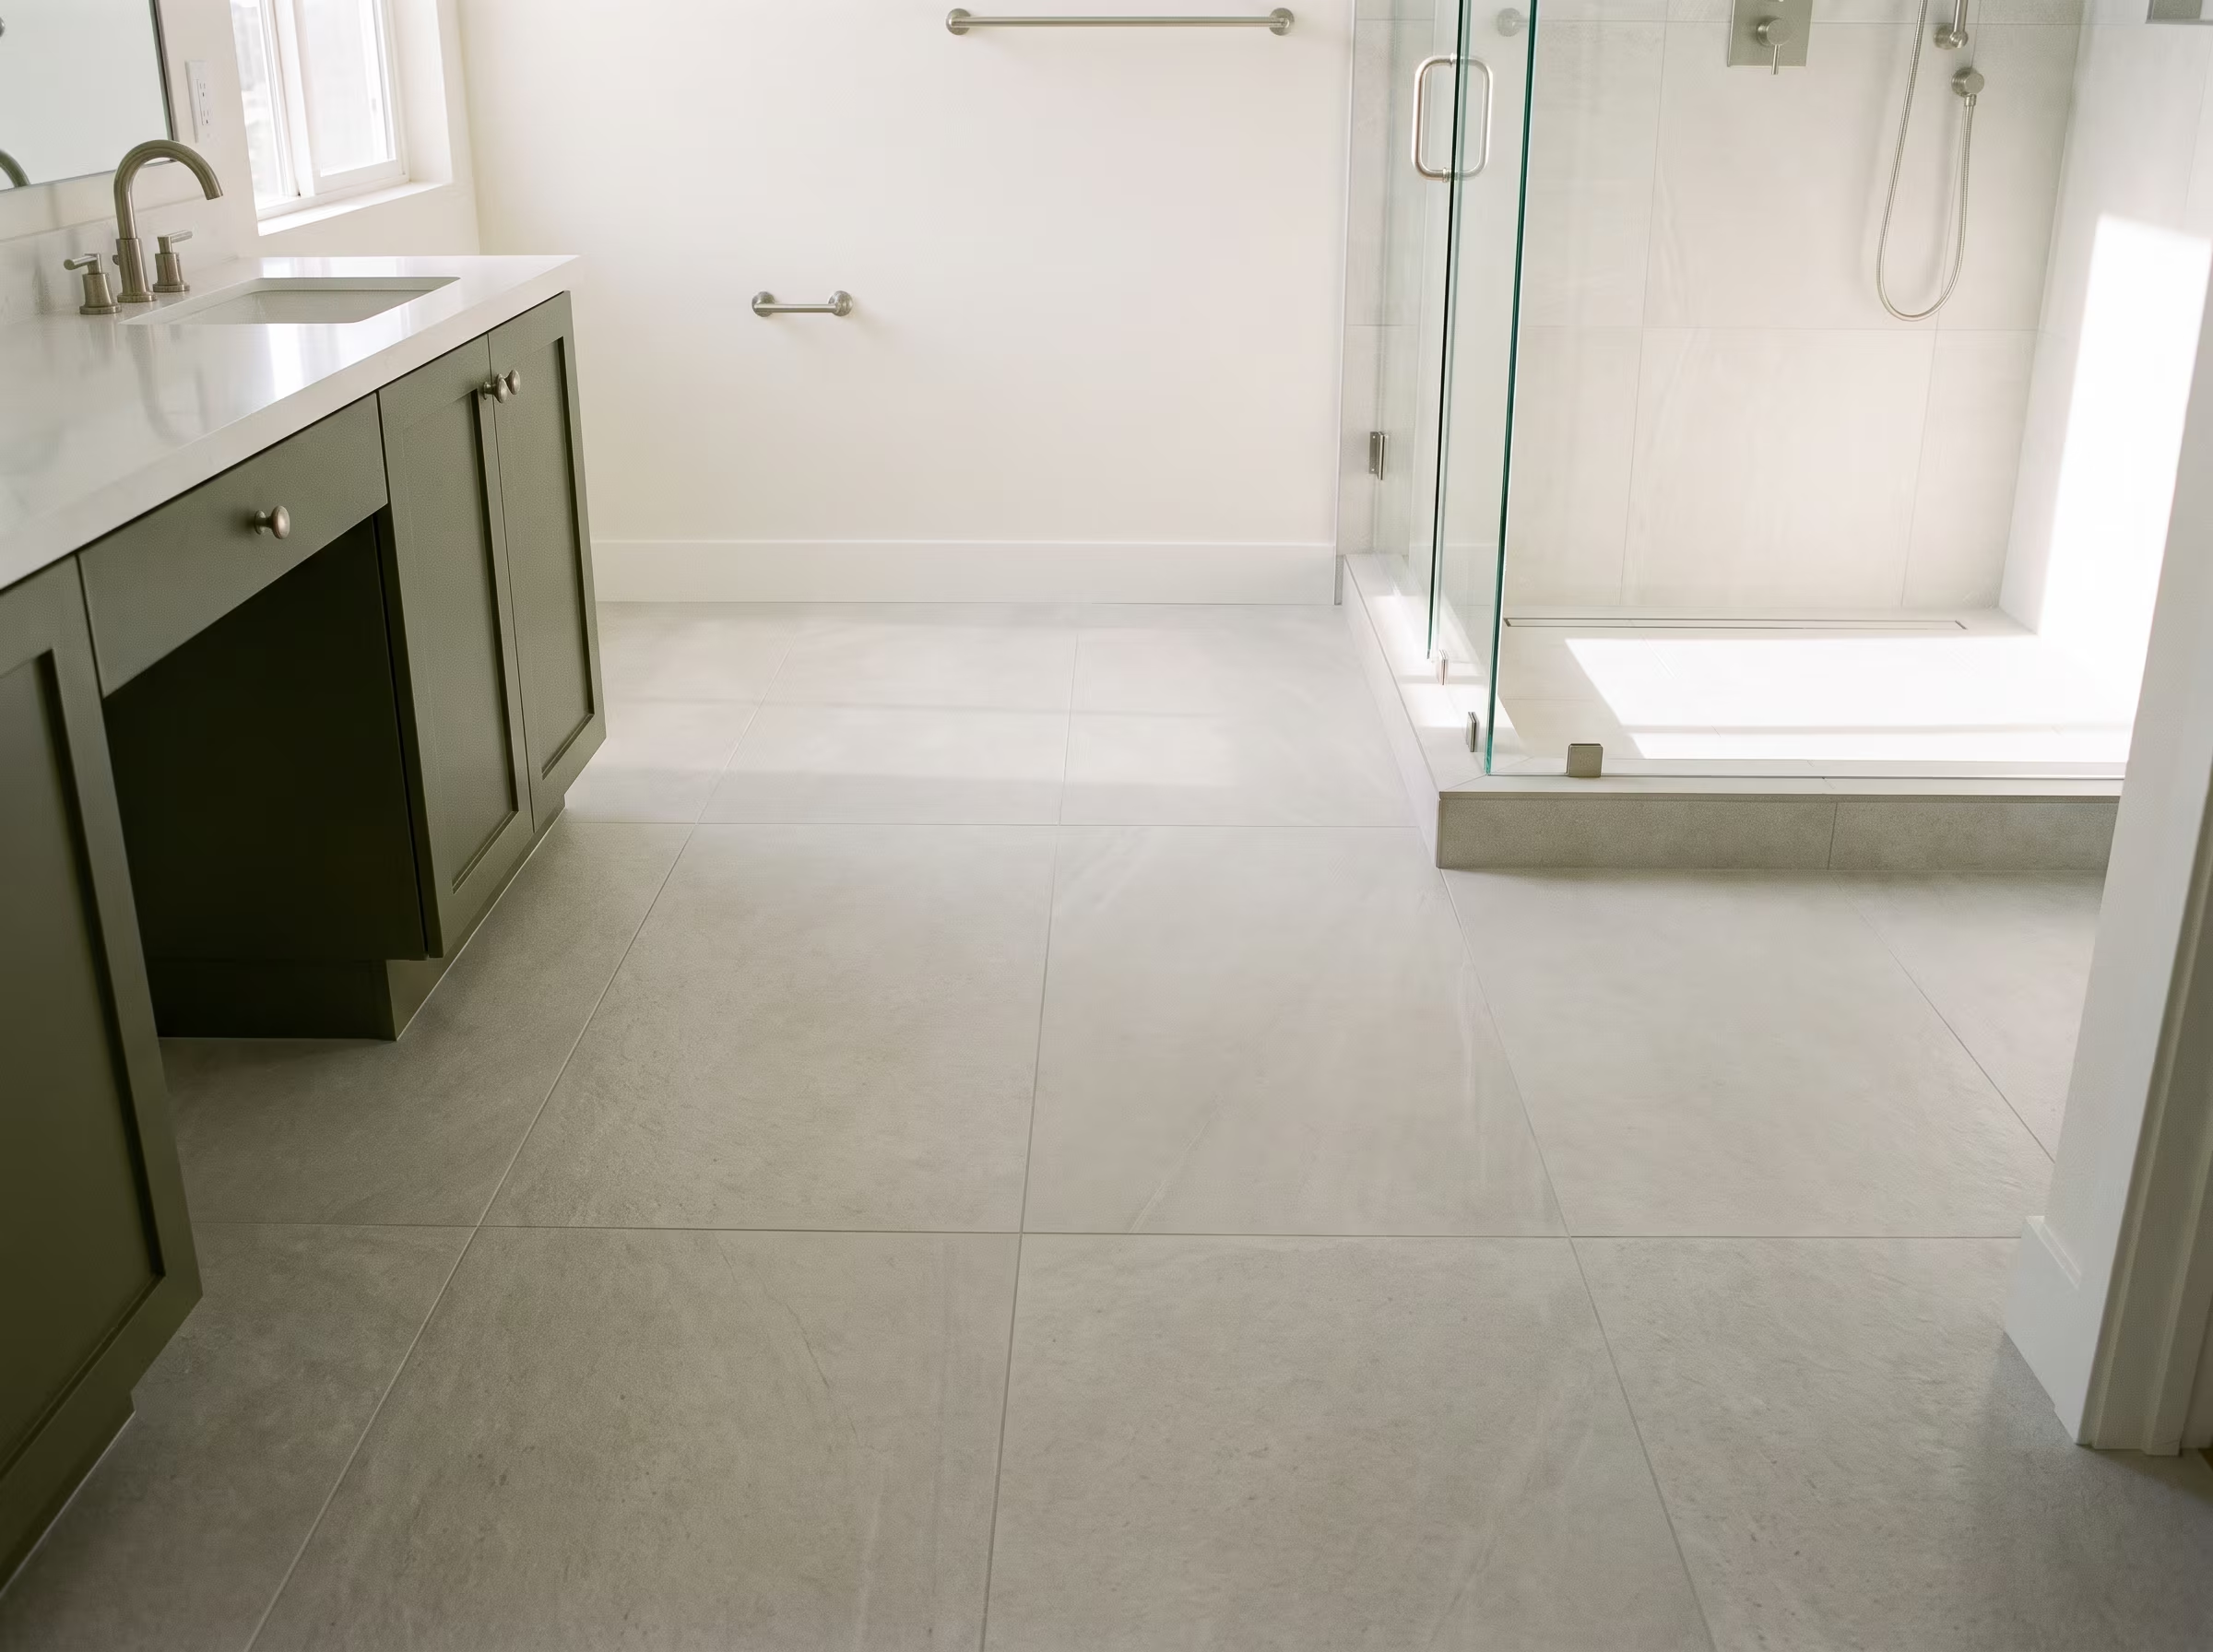
Large-format light grey bathroom floor tile with thin grout lines

Large-format tile, typically 24x24 inches or larger, creates fewer grout lines and can make a bathroom feel more open. It requires a flatter, more rigid substrate and more precise leveling during installation.

Smaller mosaic tile used for texture and wet-zone grip

Smaller mosaic tile works well in shower pans and curved areas where a single large tile would need excessive cuts. Running floor tile into the shower area in the same material creates visual continuity and reduces the number of transition strips needed.

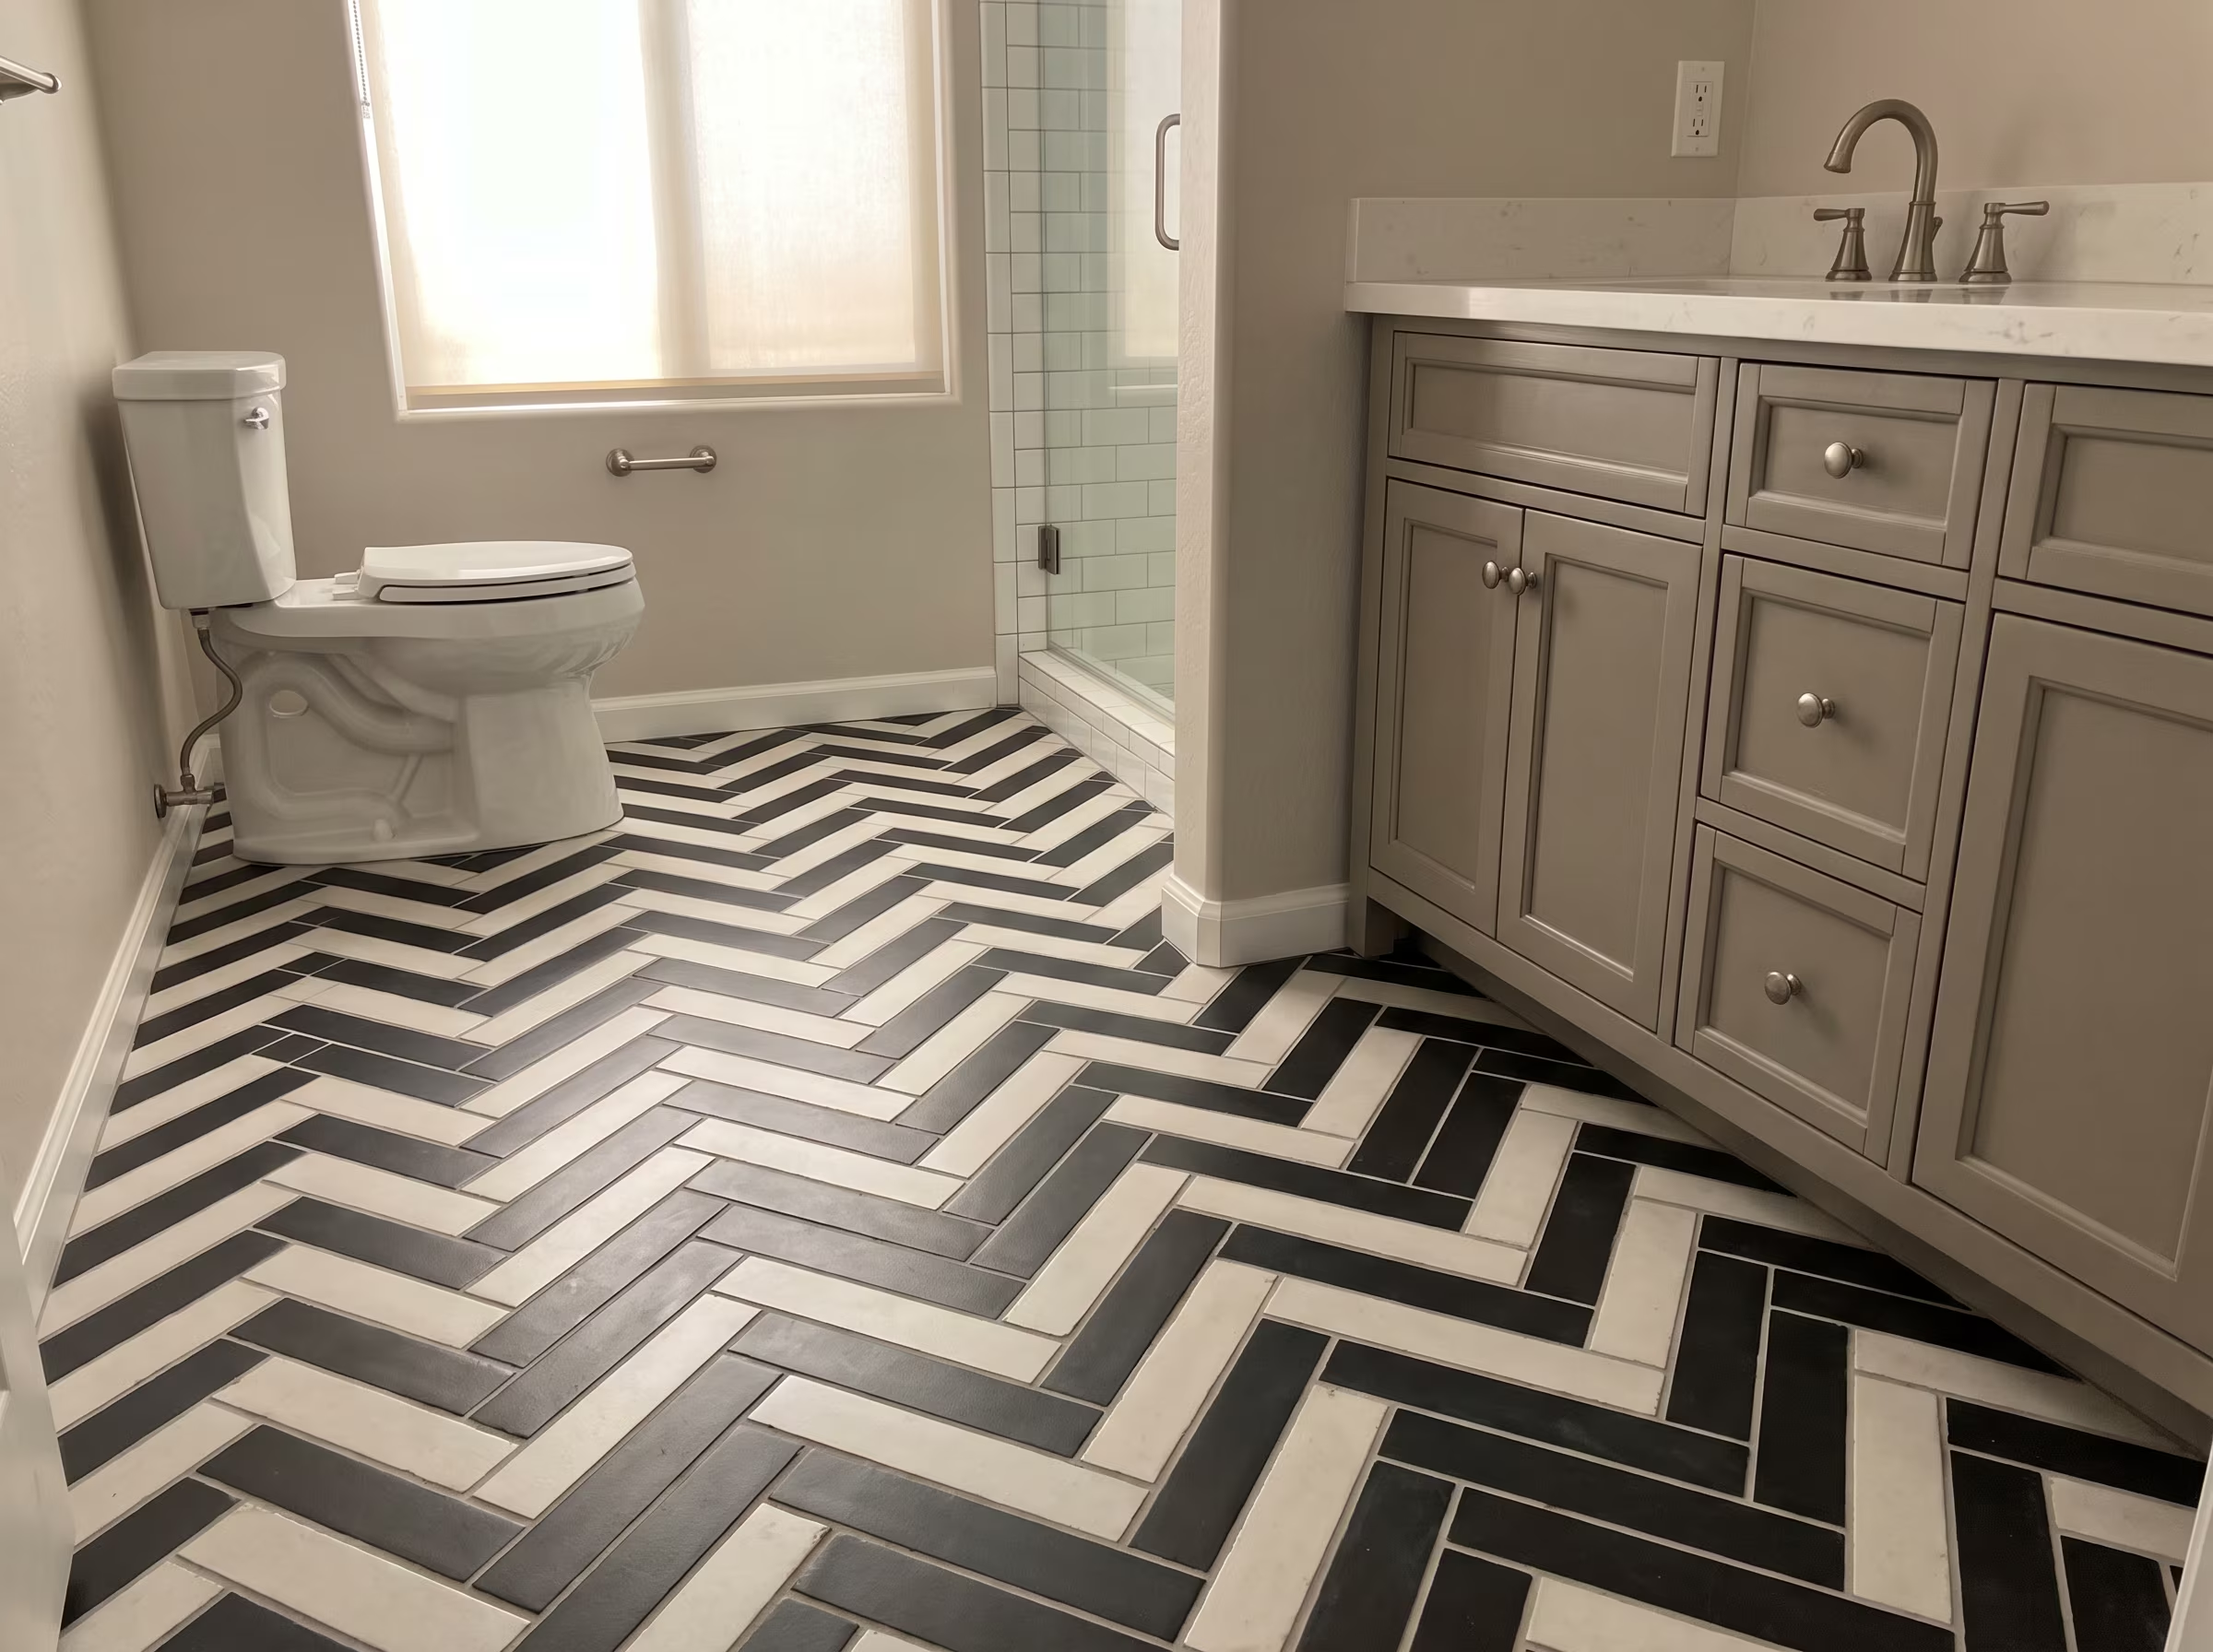
Patterned black and white bathroom floor tile layout

Layout patterns such as offset, diagonal or herringbone add visual interest but also add material waste and installation time. We discuss pattern options and their practical implications during the material selection stage.

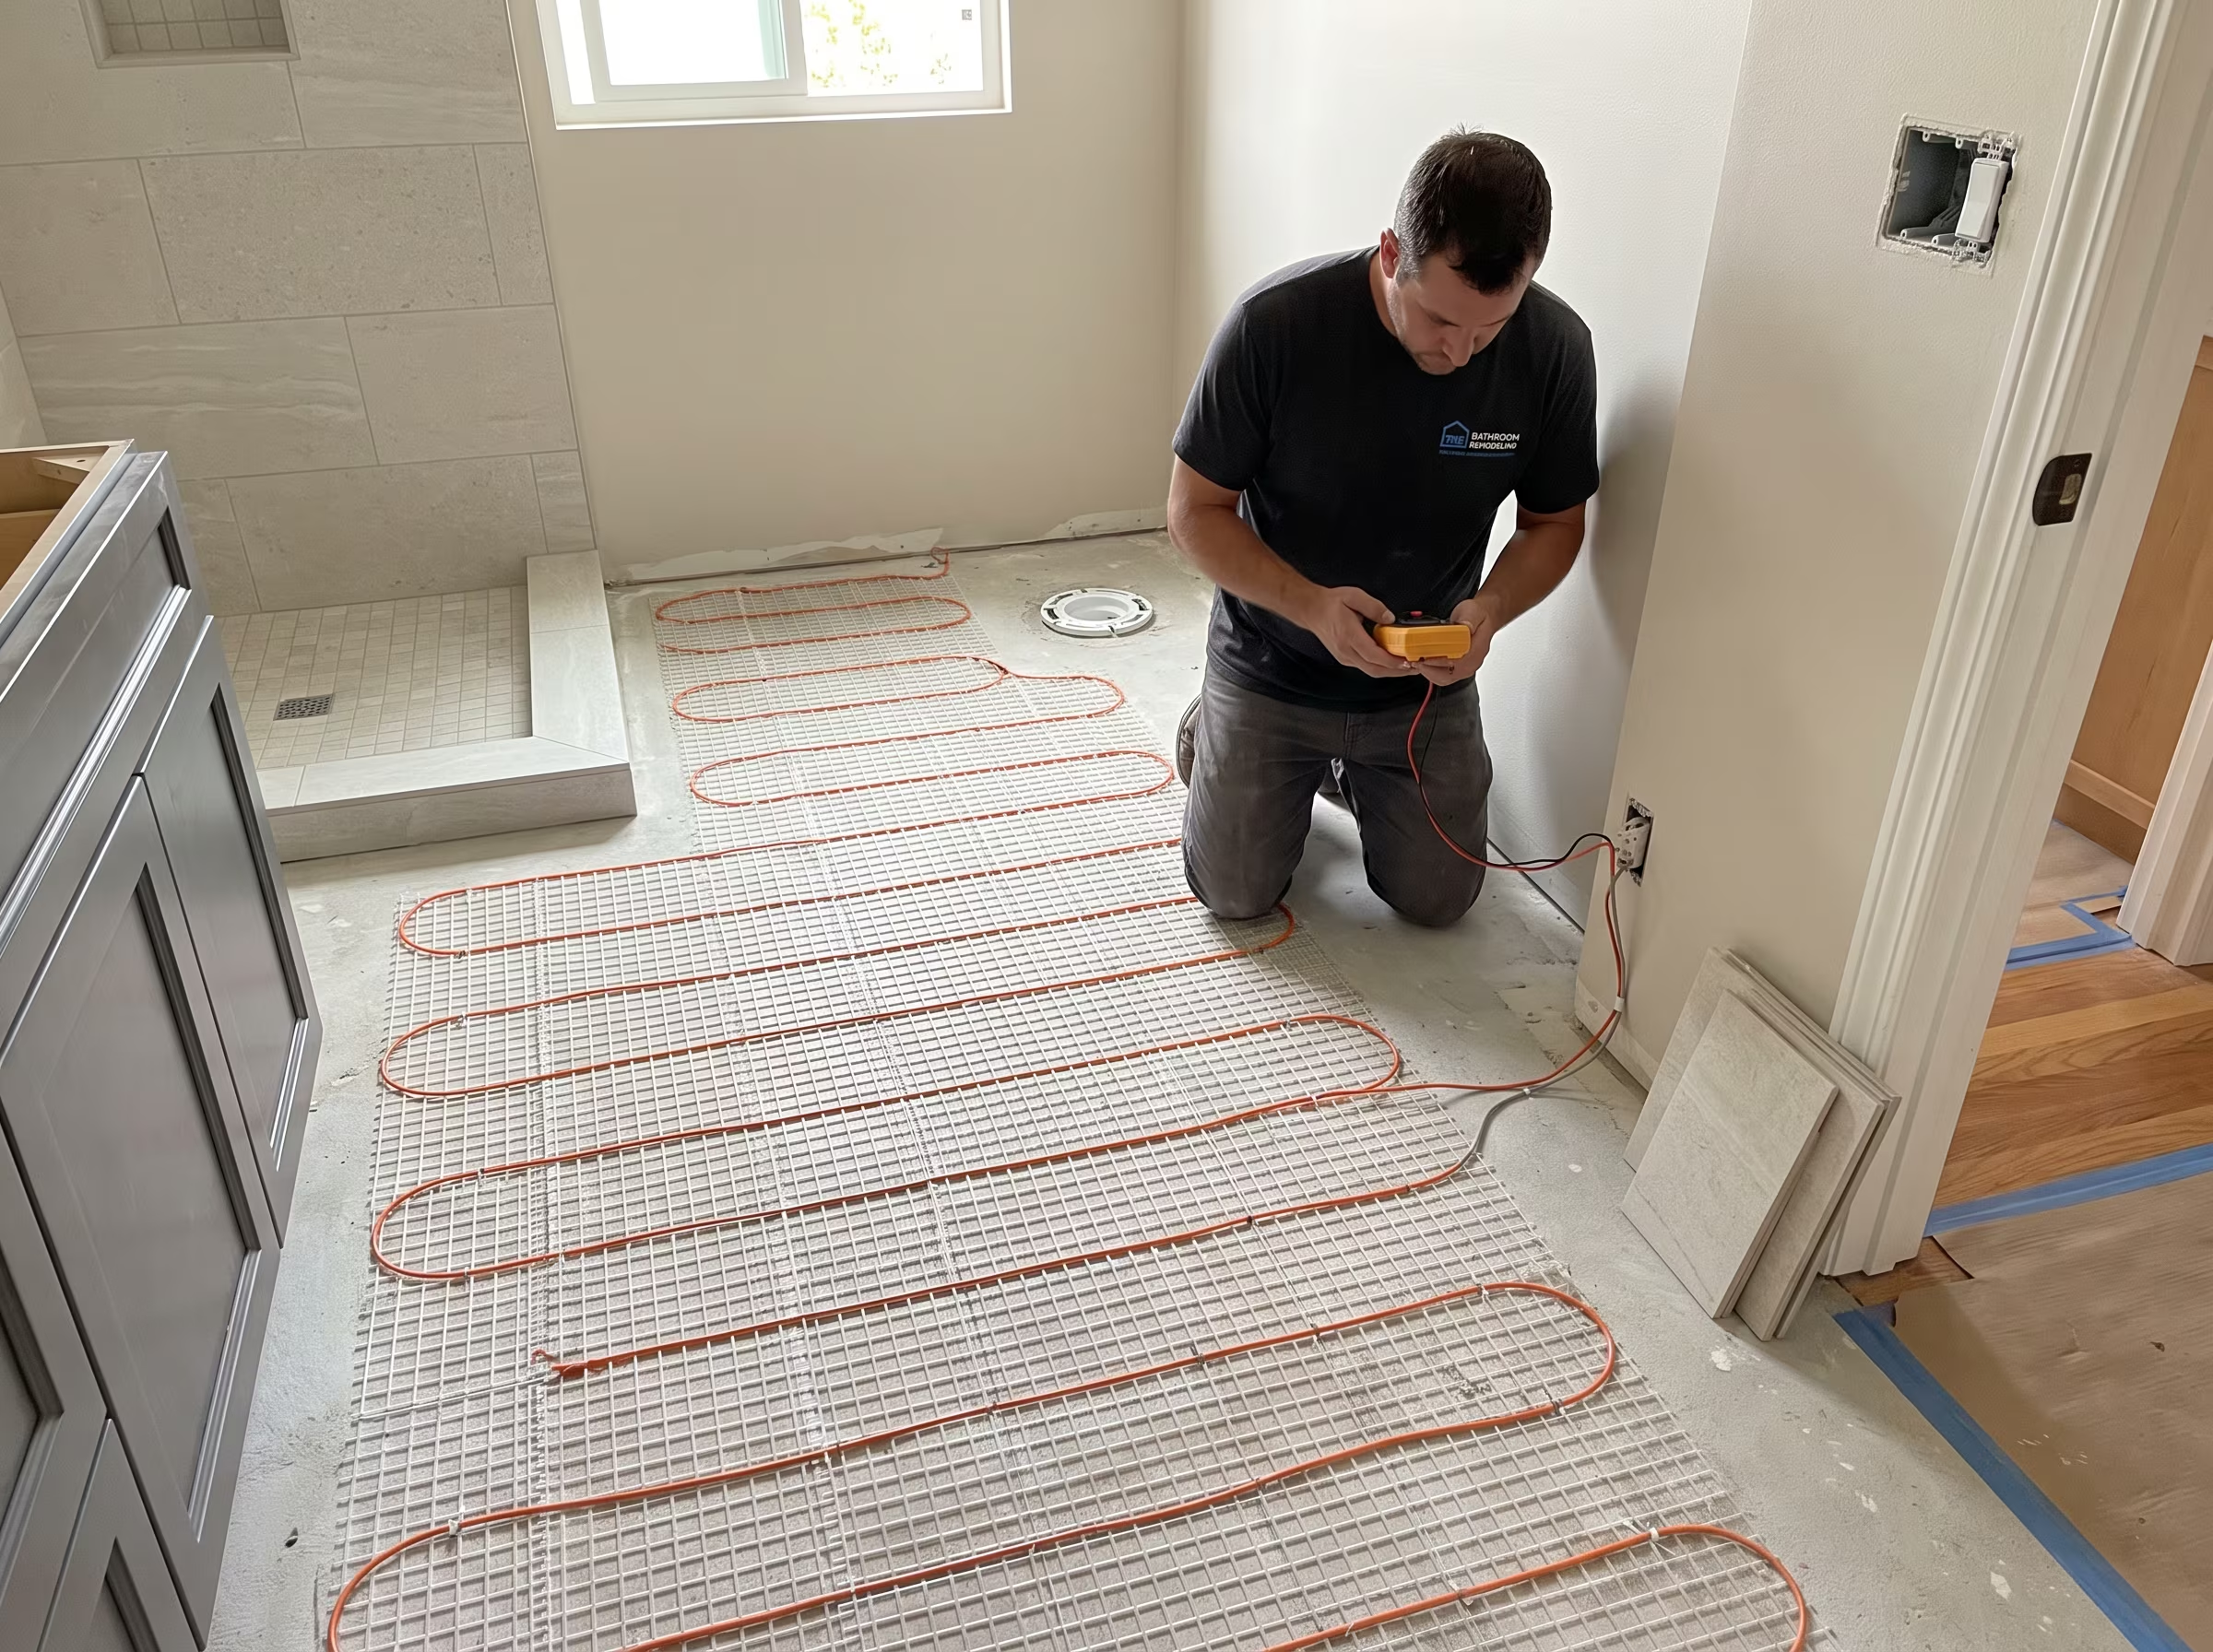
Finished bathroom floor ready for optional radiant heat coordination

Heated Floor Coordination

Radiant floor heating mats can be installed under tile in a bathroom as part of a flooring project. This is an electrical scope addition that affects project complexity and may require a permit depending on the jurisdiction and the extent of the electrical work.

Heated floors are a conditional addition, not a standard inclusion in a flooring project. If you're interested in this option, we discuss the electrical scope, thermostat placement, tile compatibility and permit considerations during the initial consultation. We do not offer heated floors as a default scope item on any project.

Bathroom Flooring Installation Process

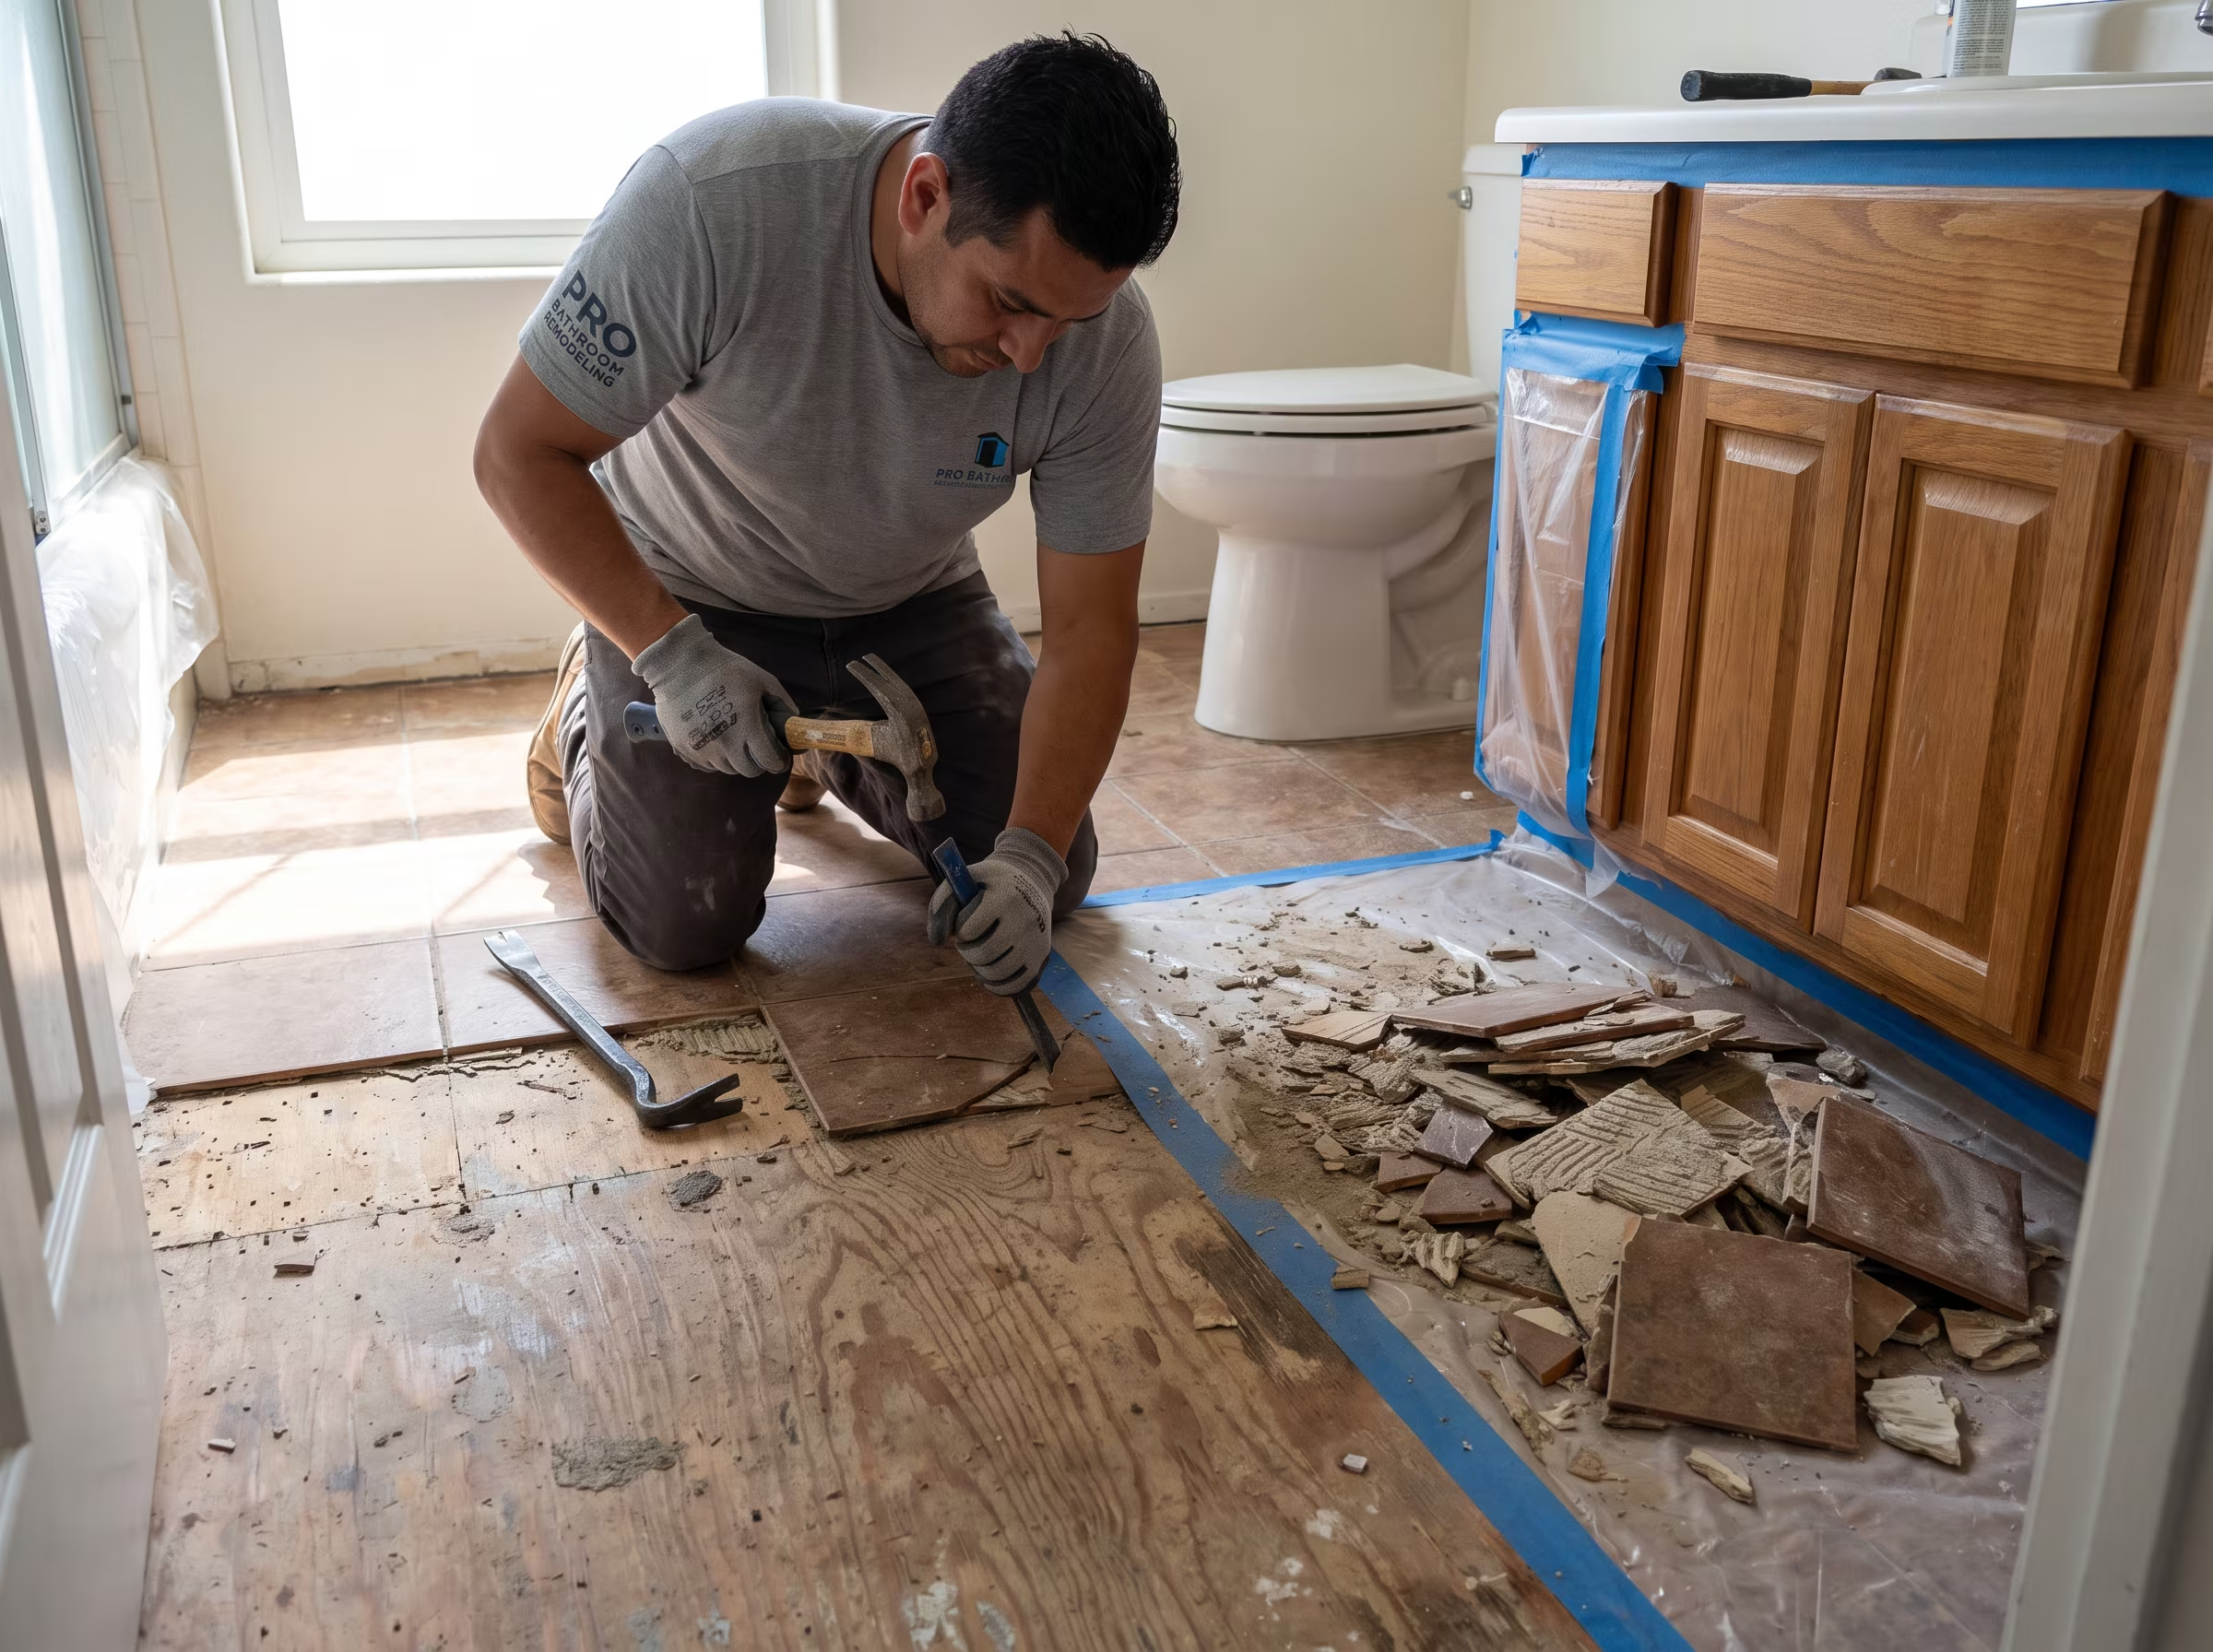
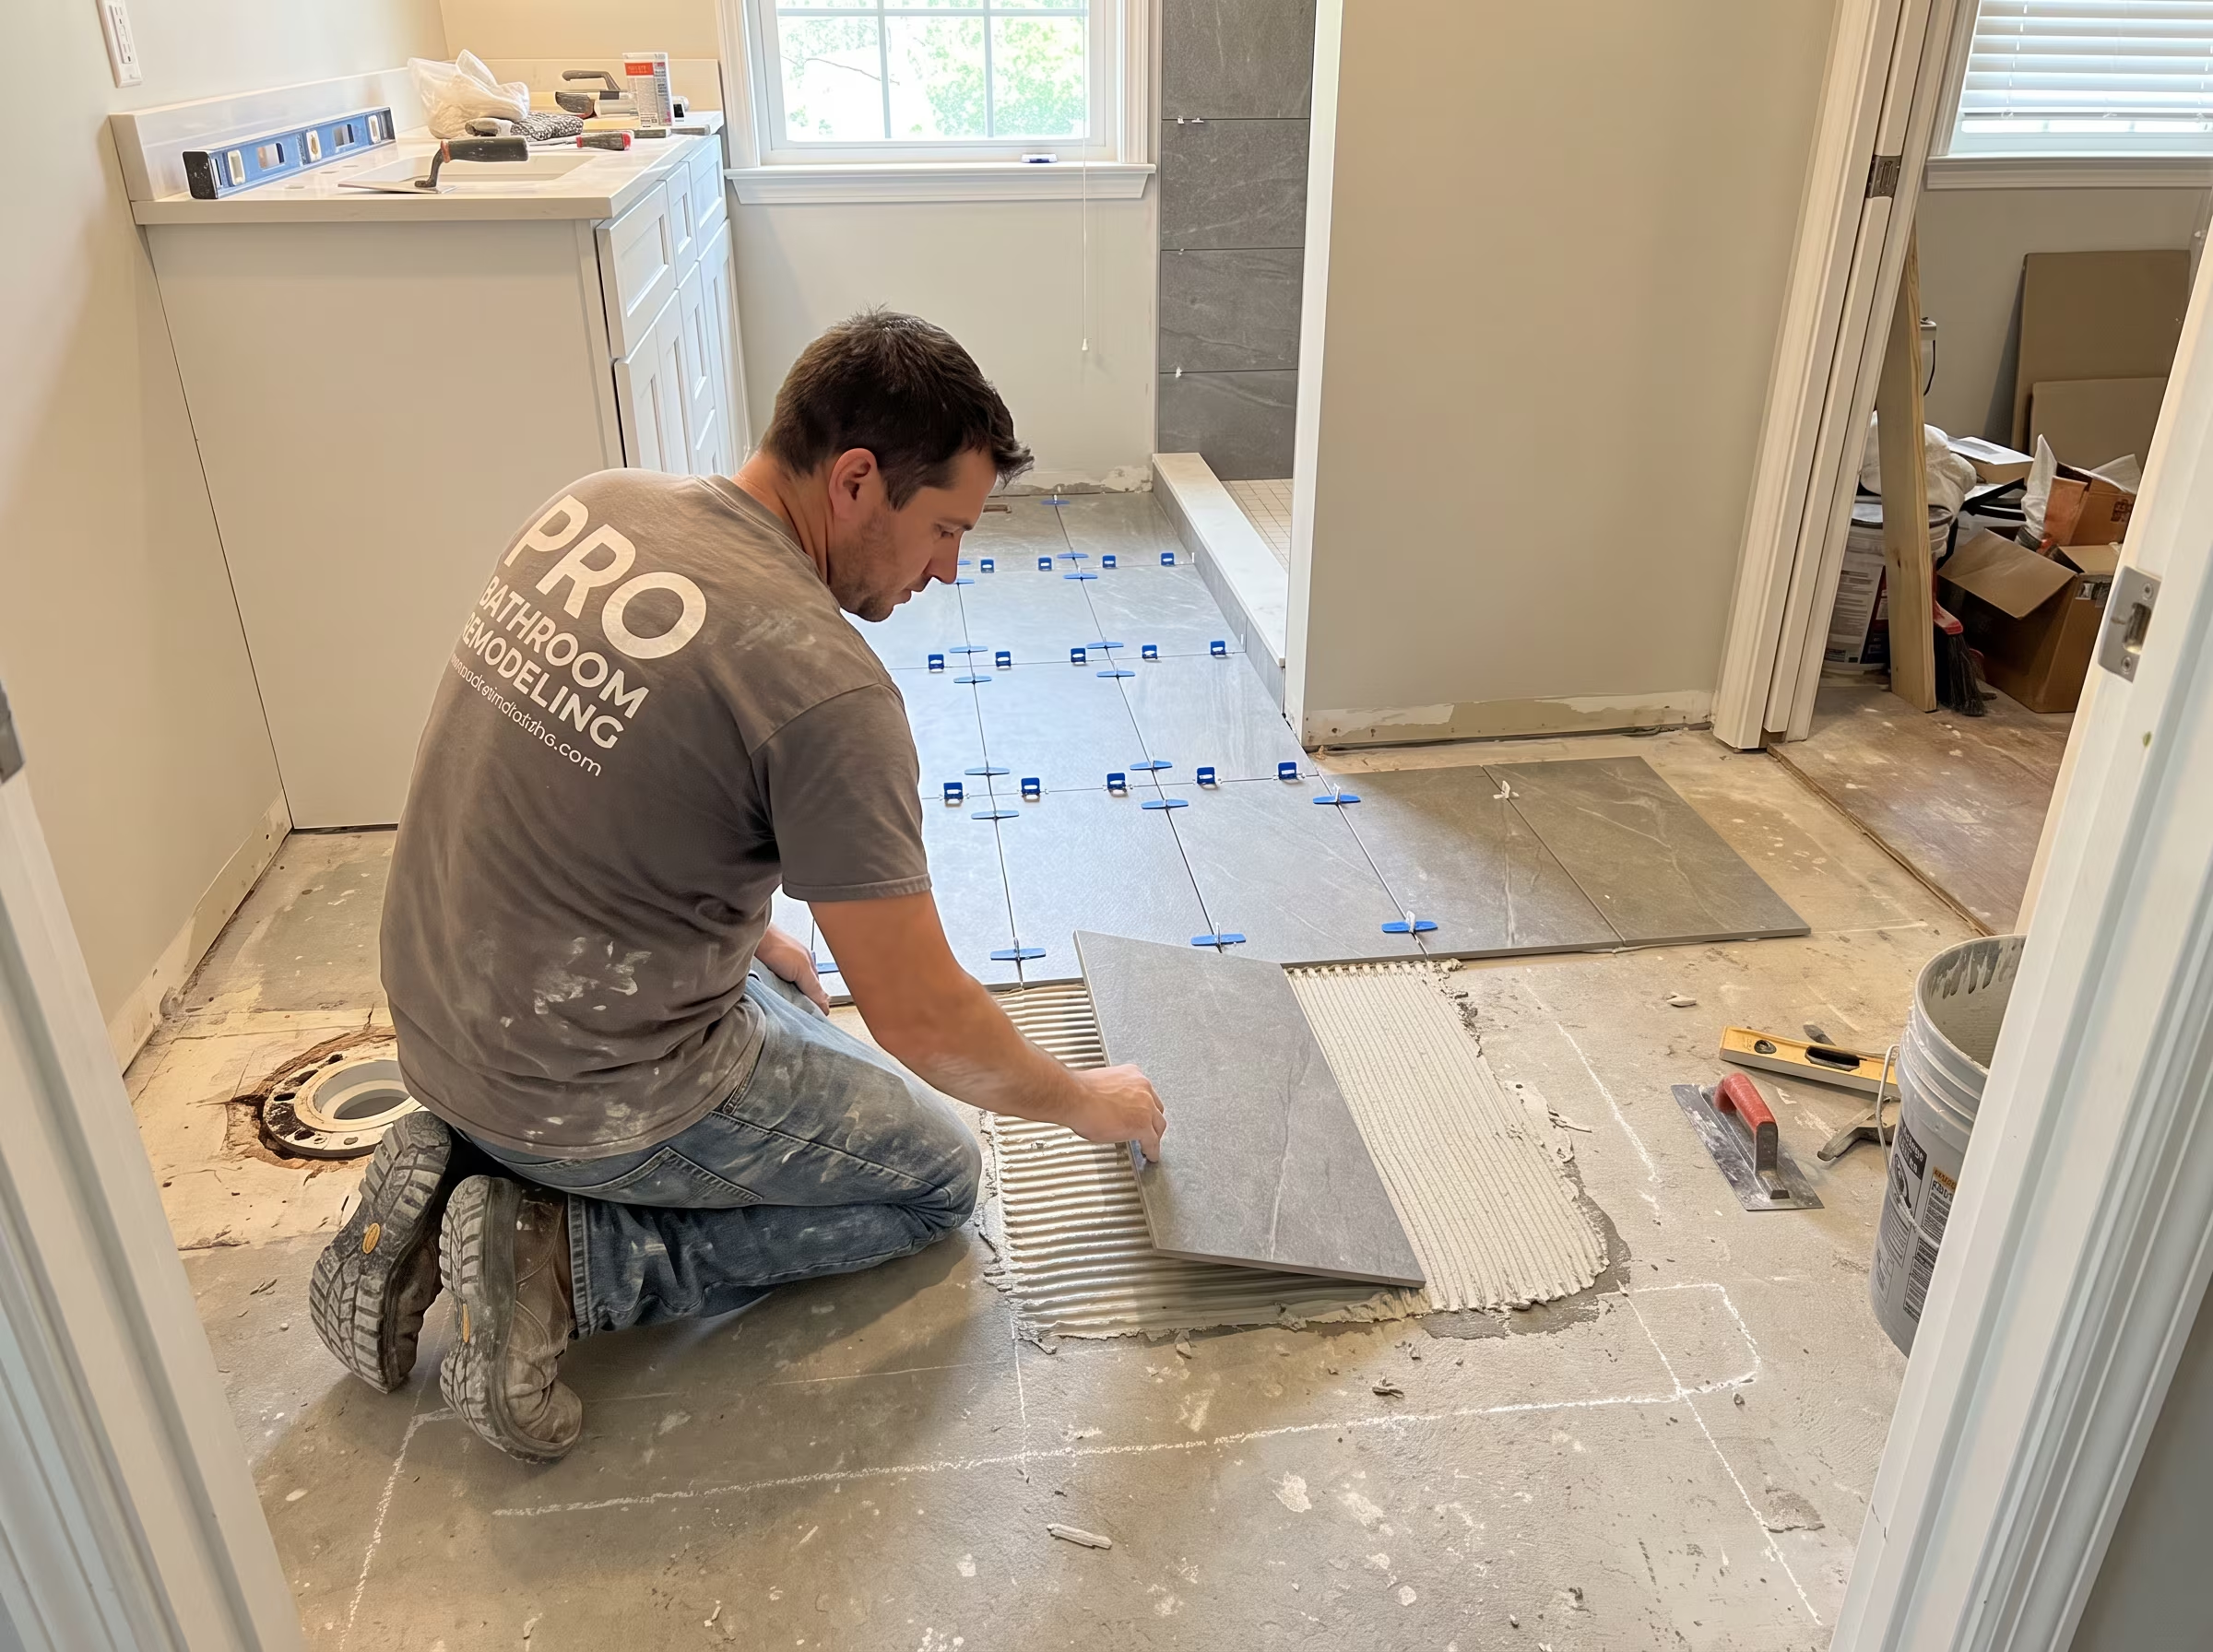
  1. Existing bathroom floor being prepared for removal
    01

    Existing floor removal

    Existing tile or flooring is removed and subfloor condition is assessed for moisture damage, soft spots and deflection before any new material is prepared.

  2. Subfloor being leveled and prepared for a new floor system
    02

    Subfloor preparation

    The subfloor is leveled, repaired where needed and prepared with the appropriate underlayment or backer for the tile system specified.

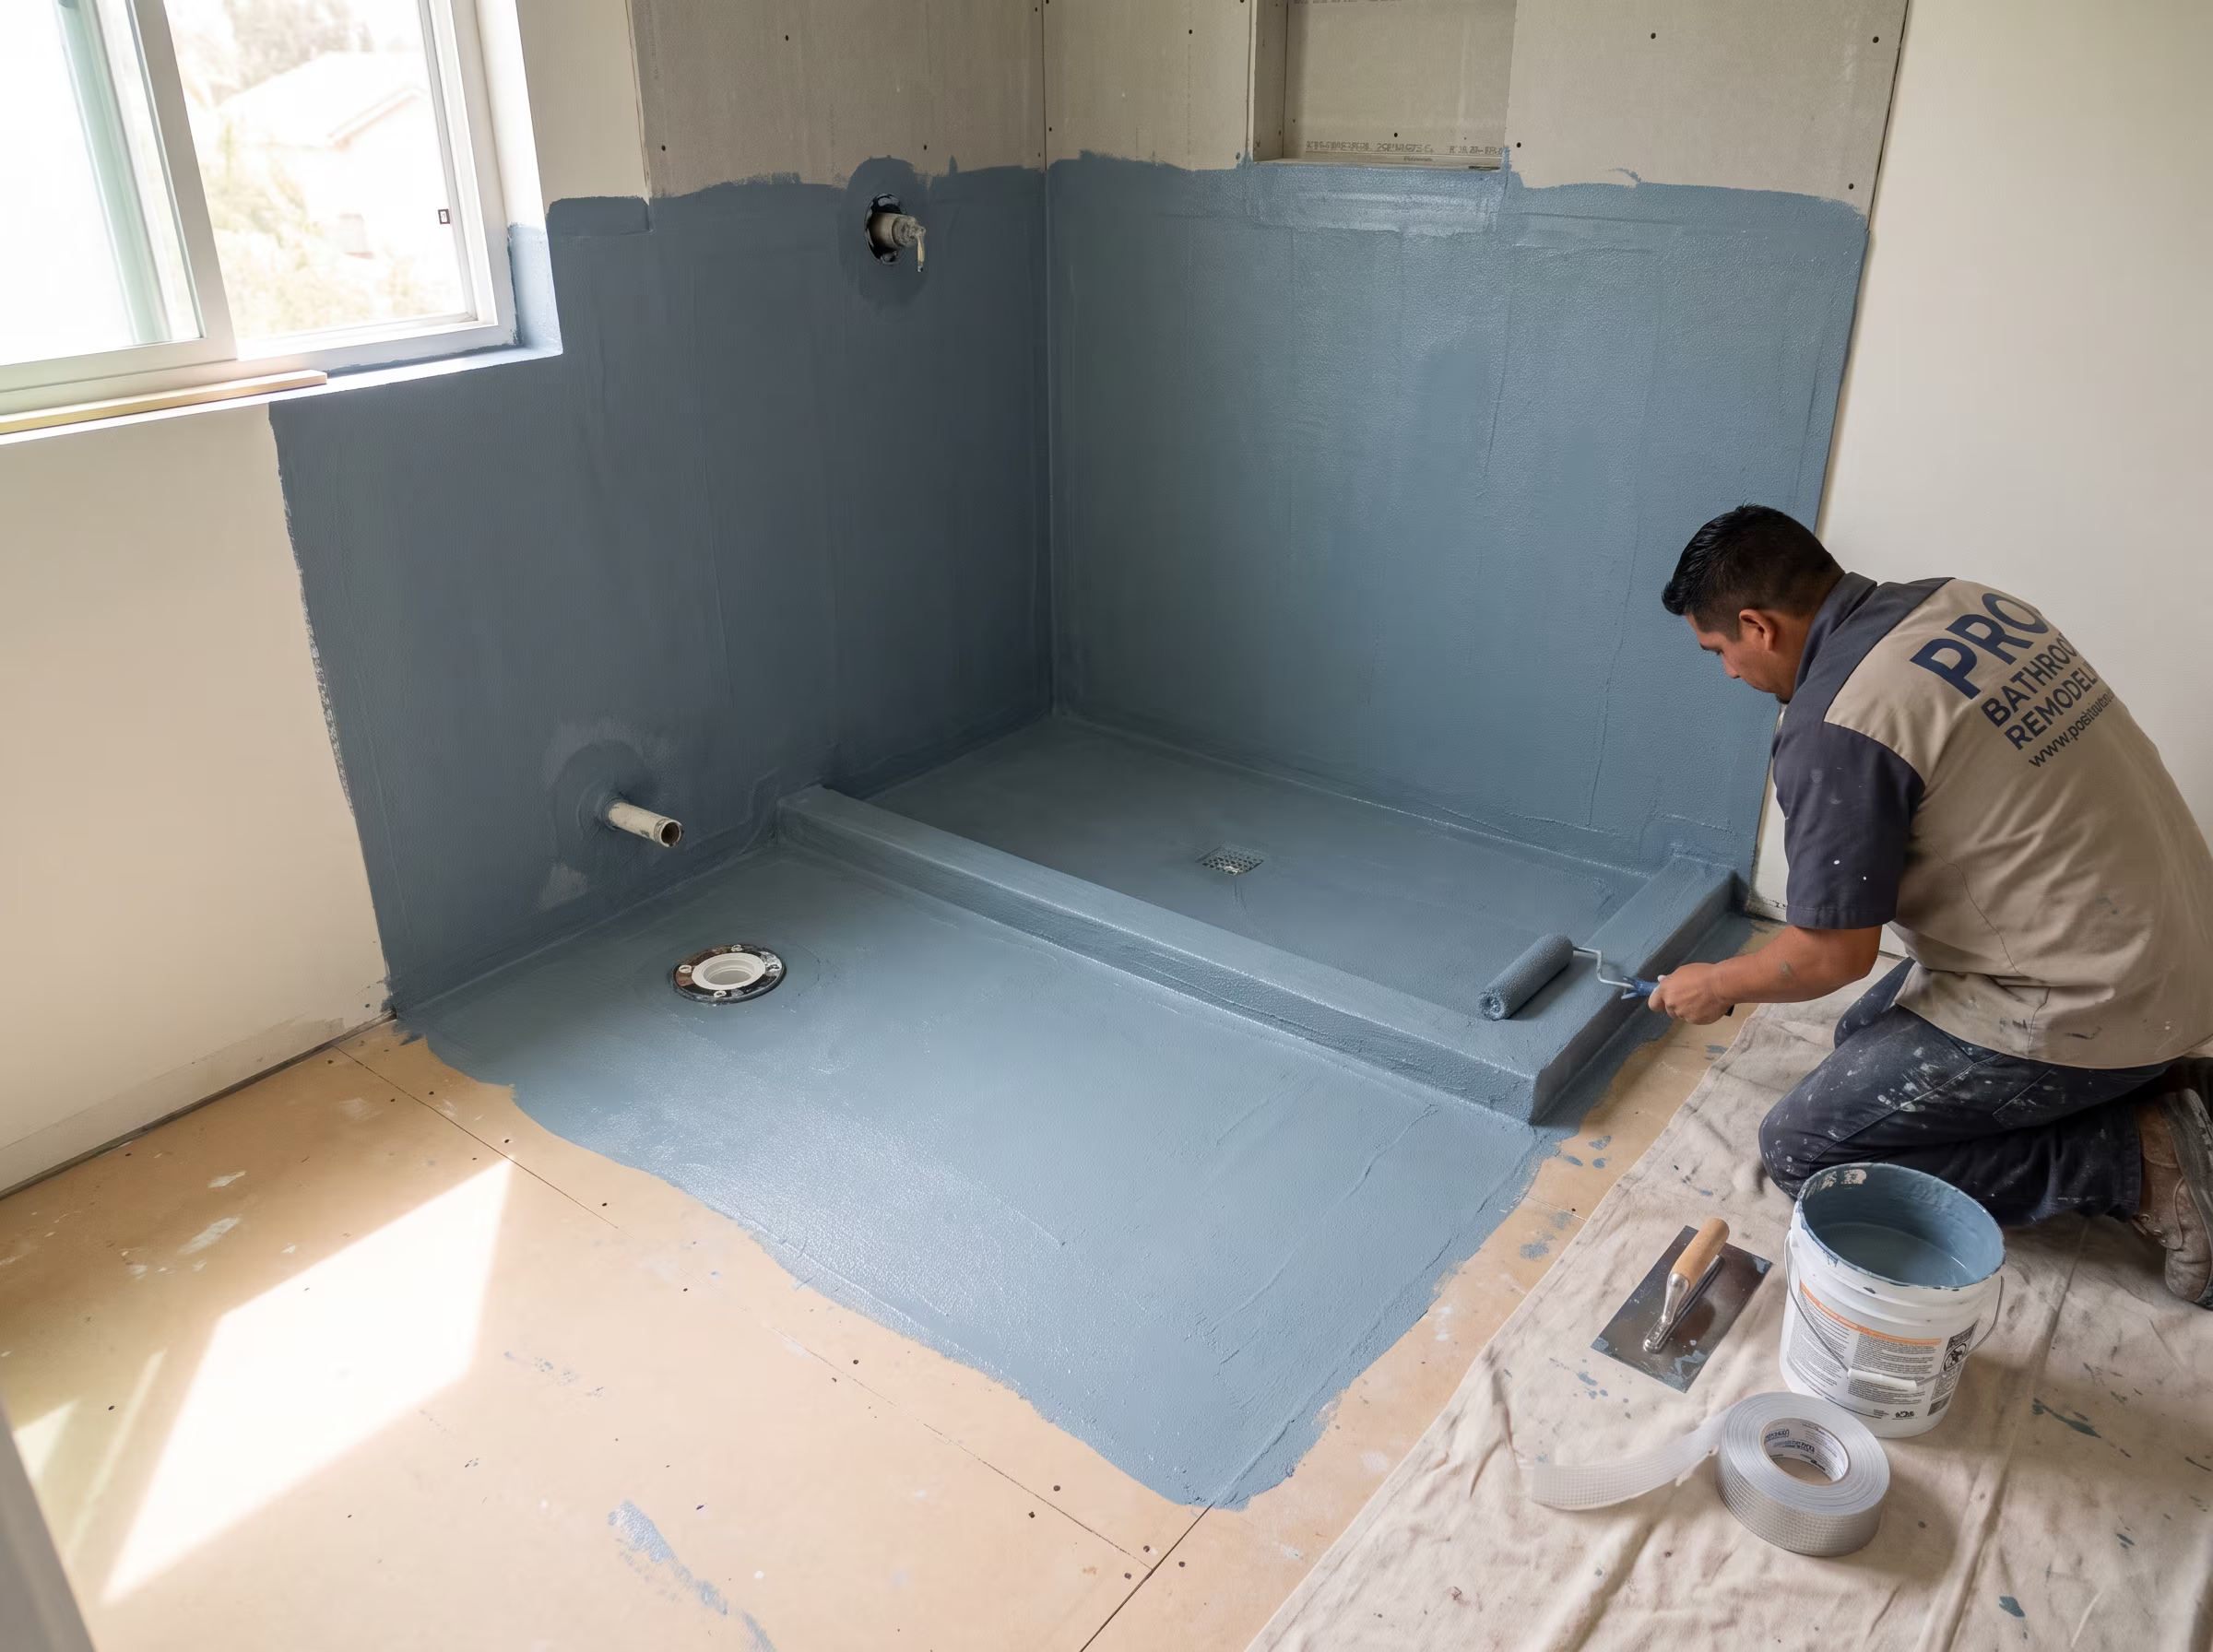
  3. Waterproofed tiled surfaces at floor-to-wall transitions
    03

    Waterproofing at transitions

    Wet zone transitions, penetrations and floor-to-wall joints in wet areas are waterproofed before tile is set.

  4. Large-format bathroom tile set in a clean layout
    04

    Tile setting

    Layout lines are established, tile is set in the specified pattern using appropriate adhesive and spacers. Cure time is respected before grouting begins.

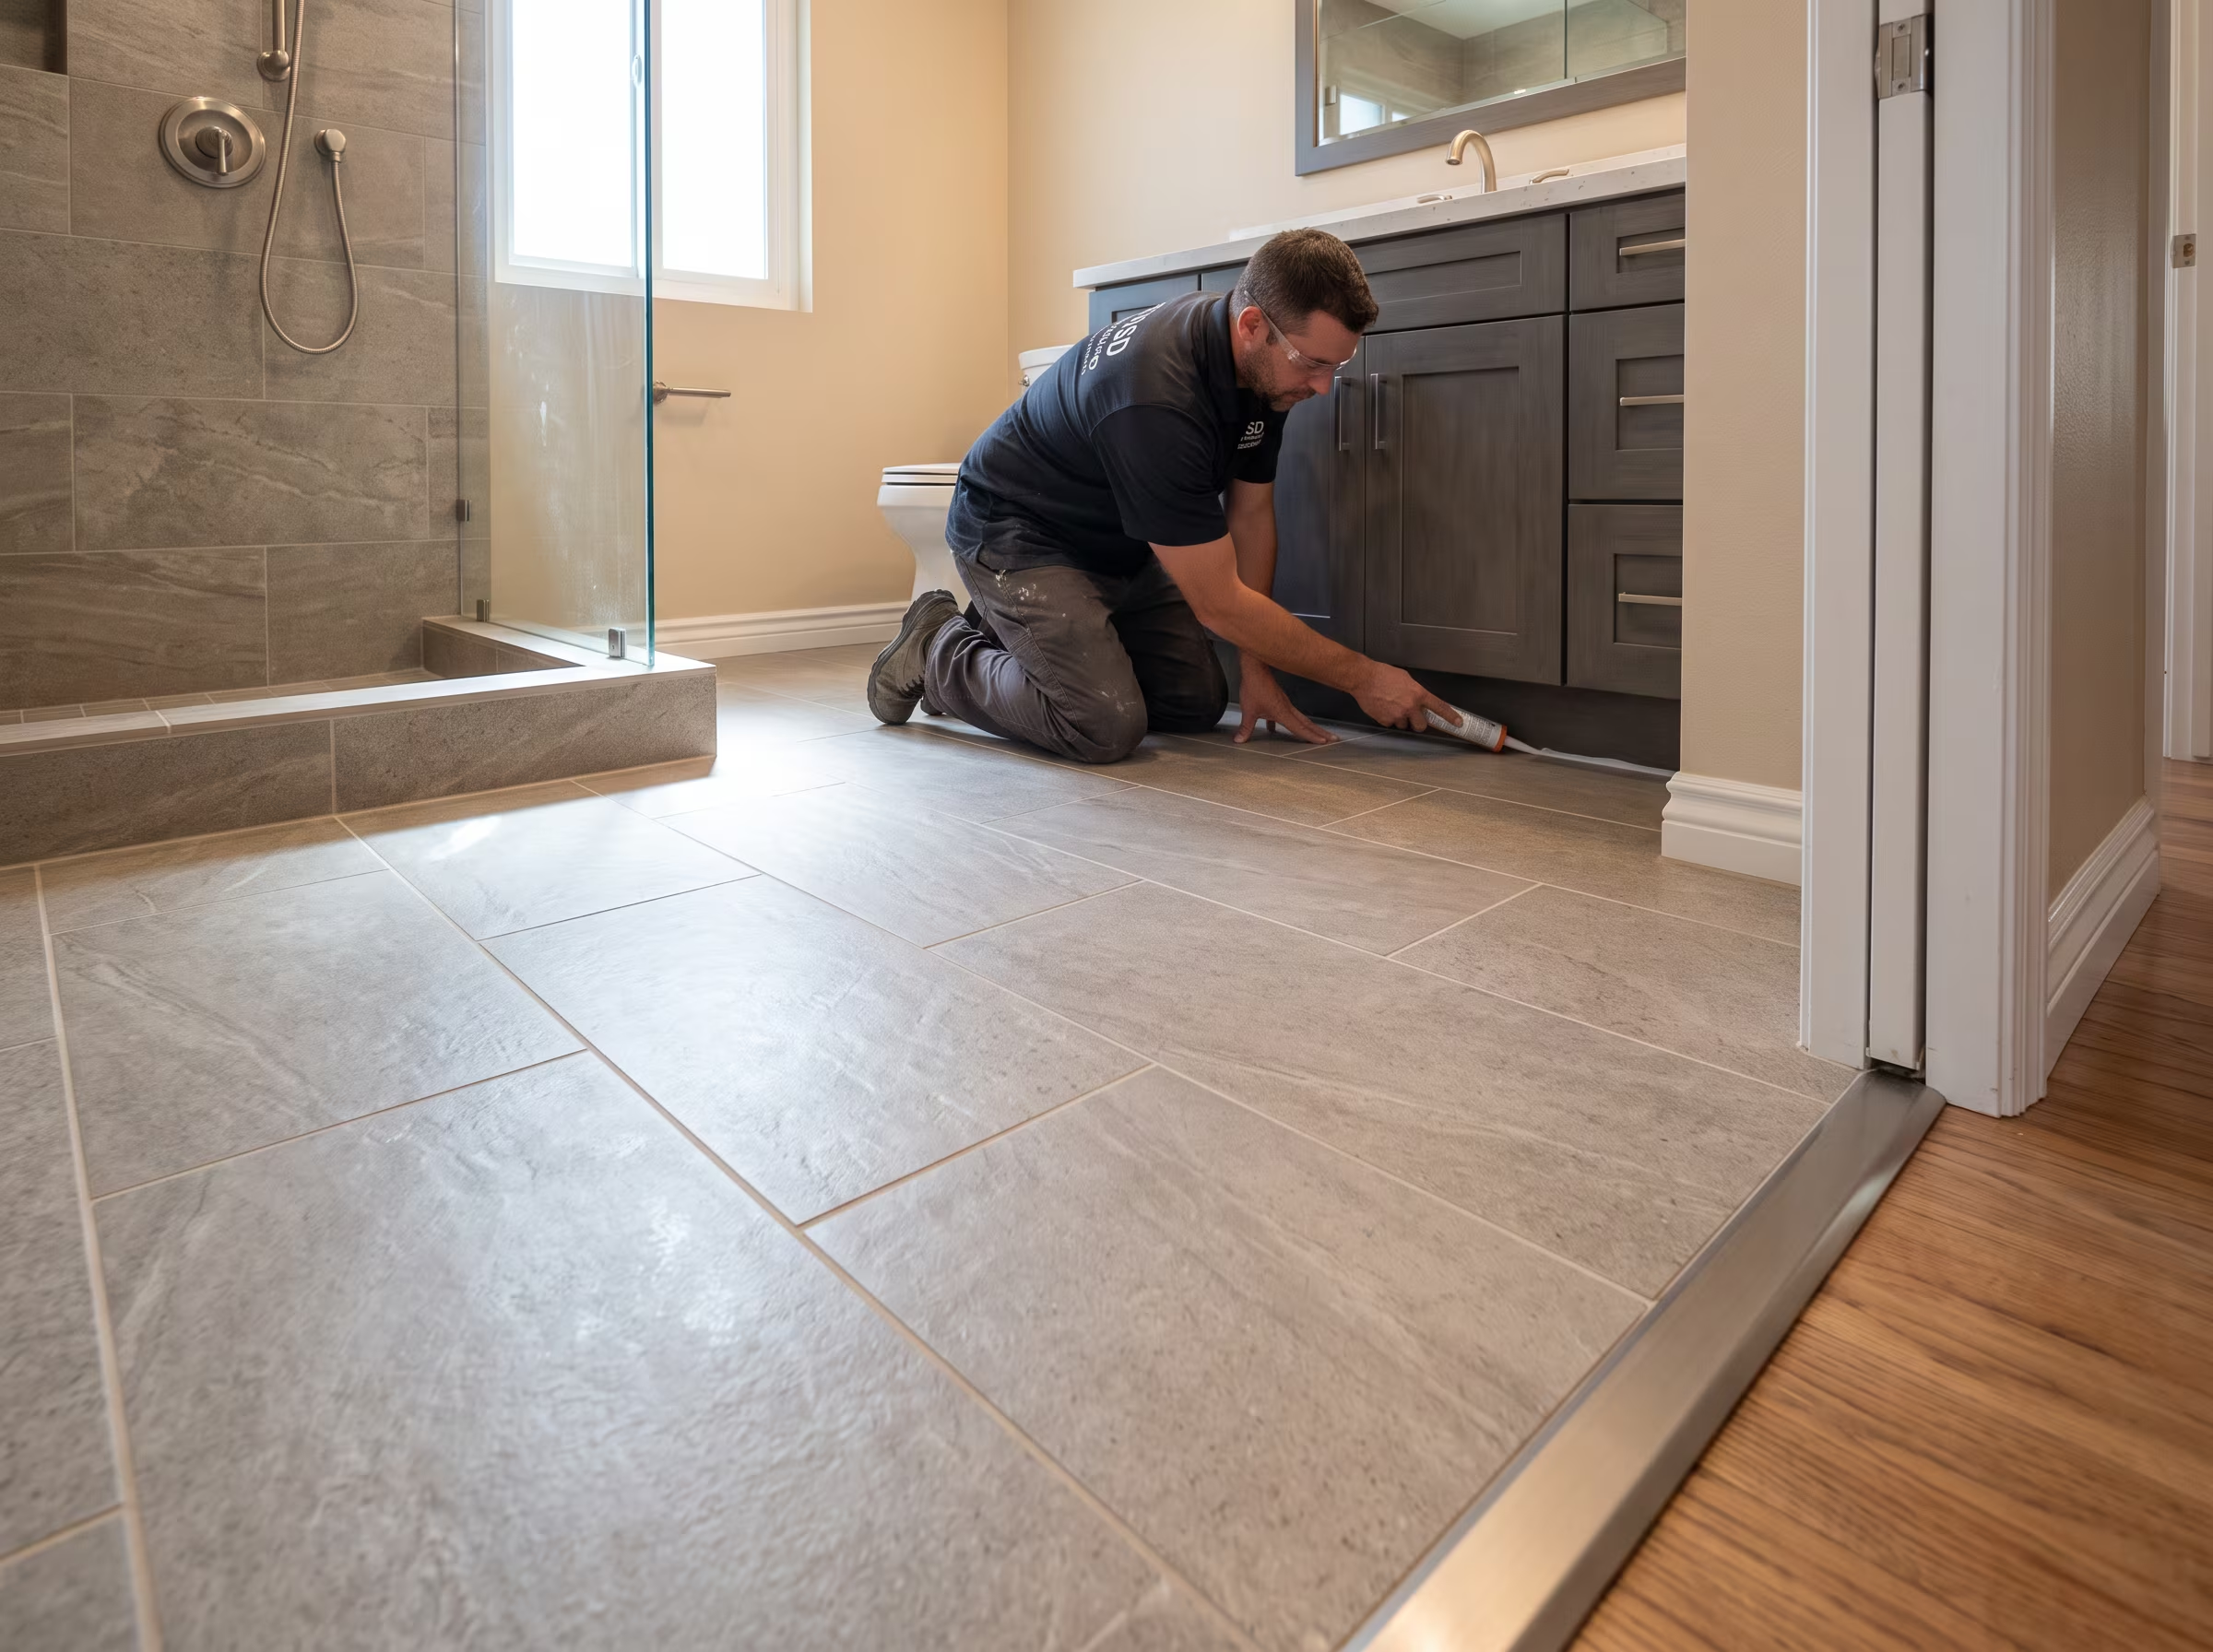
  5. Finished grouted bathroom floor after sealing and threshold work
    05

    Grouting, sealing and finishing

    Grout is applied, cleaned and sealed where specified. Transitions, thresholds and perimeter caulk joints are completed last.

Ready to Plan Your Bathroom Flooring?

Request an estimate or call us to discuss material options.

Bathroom Flooring FAQs

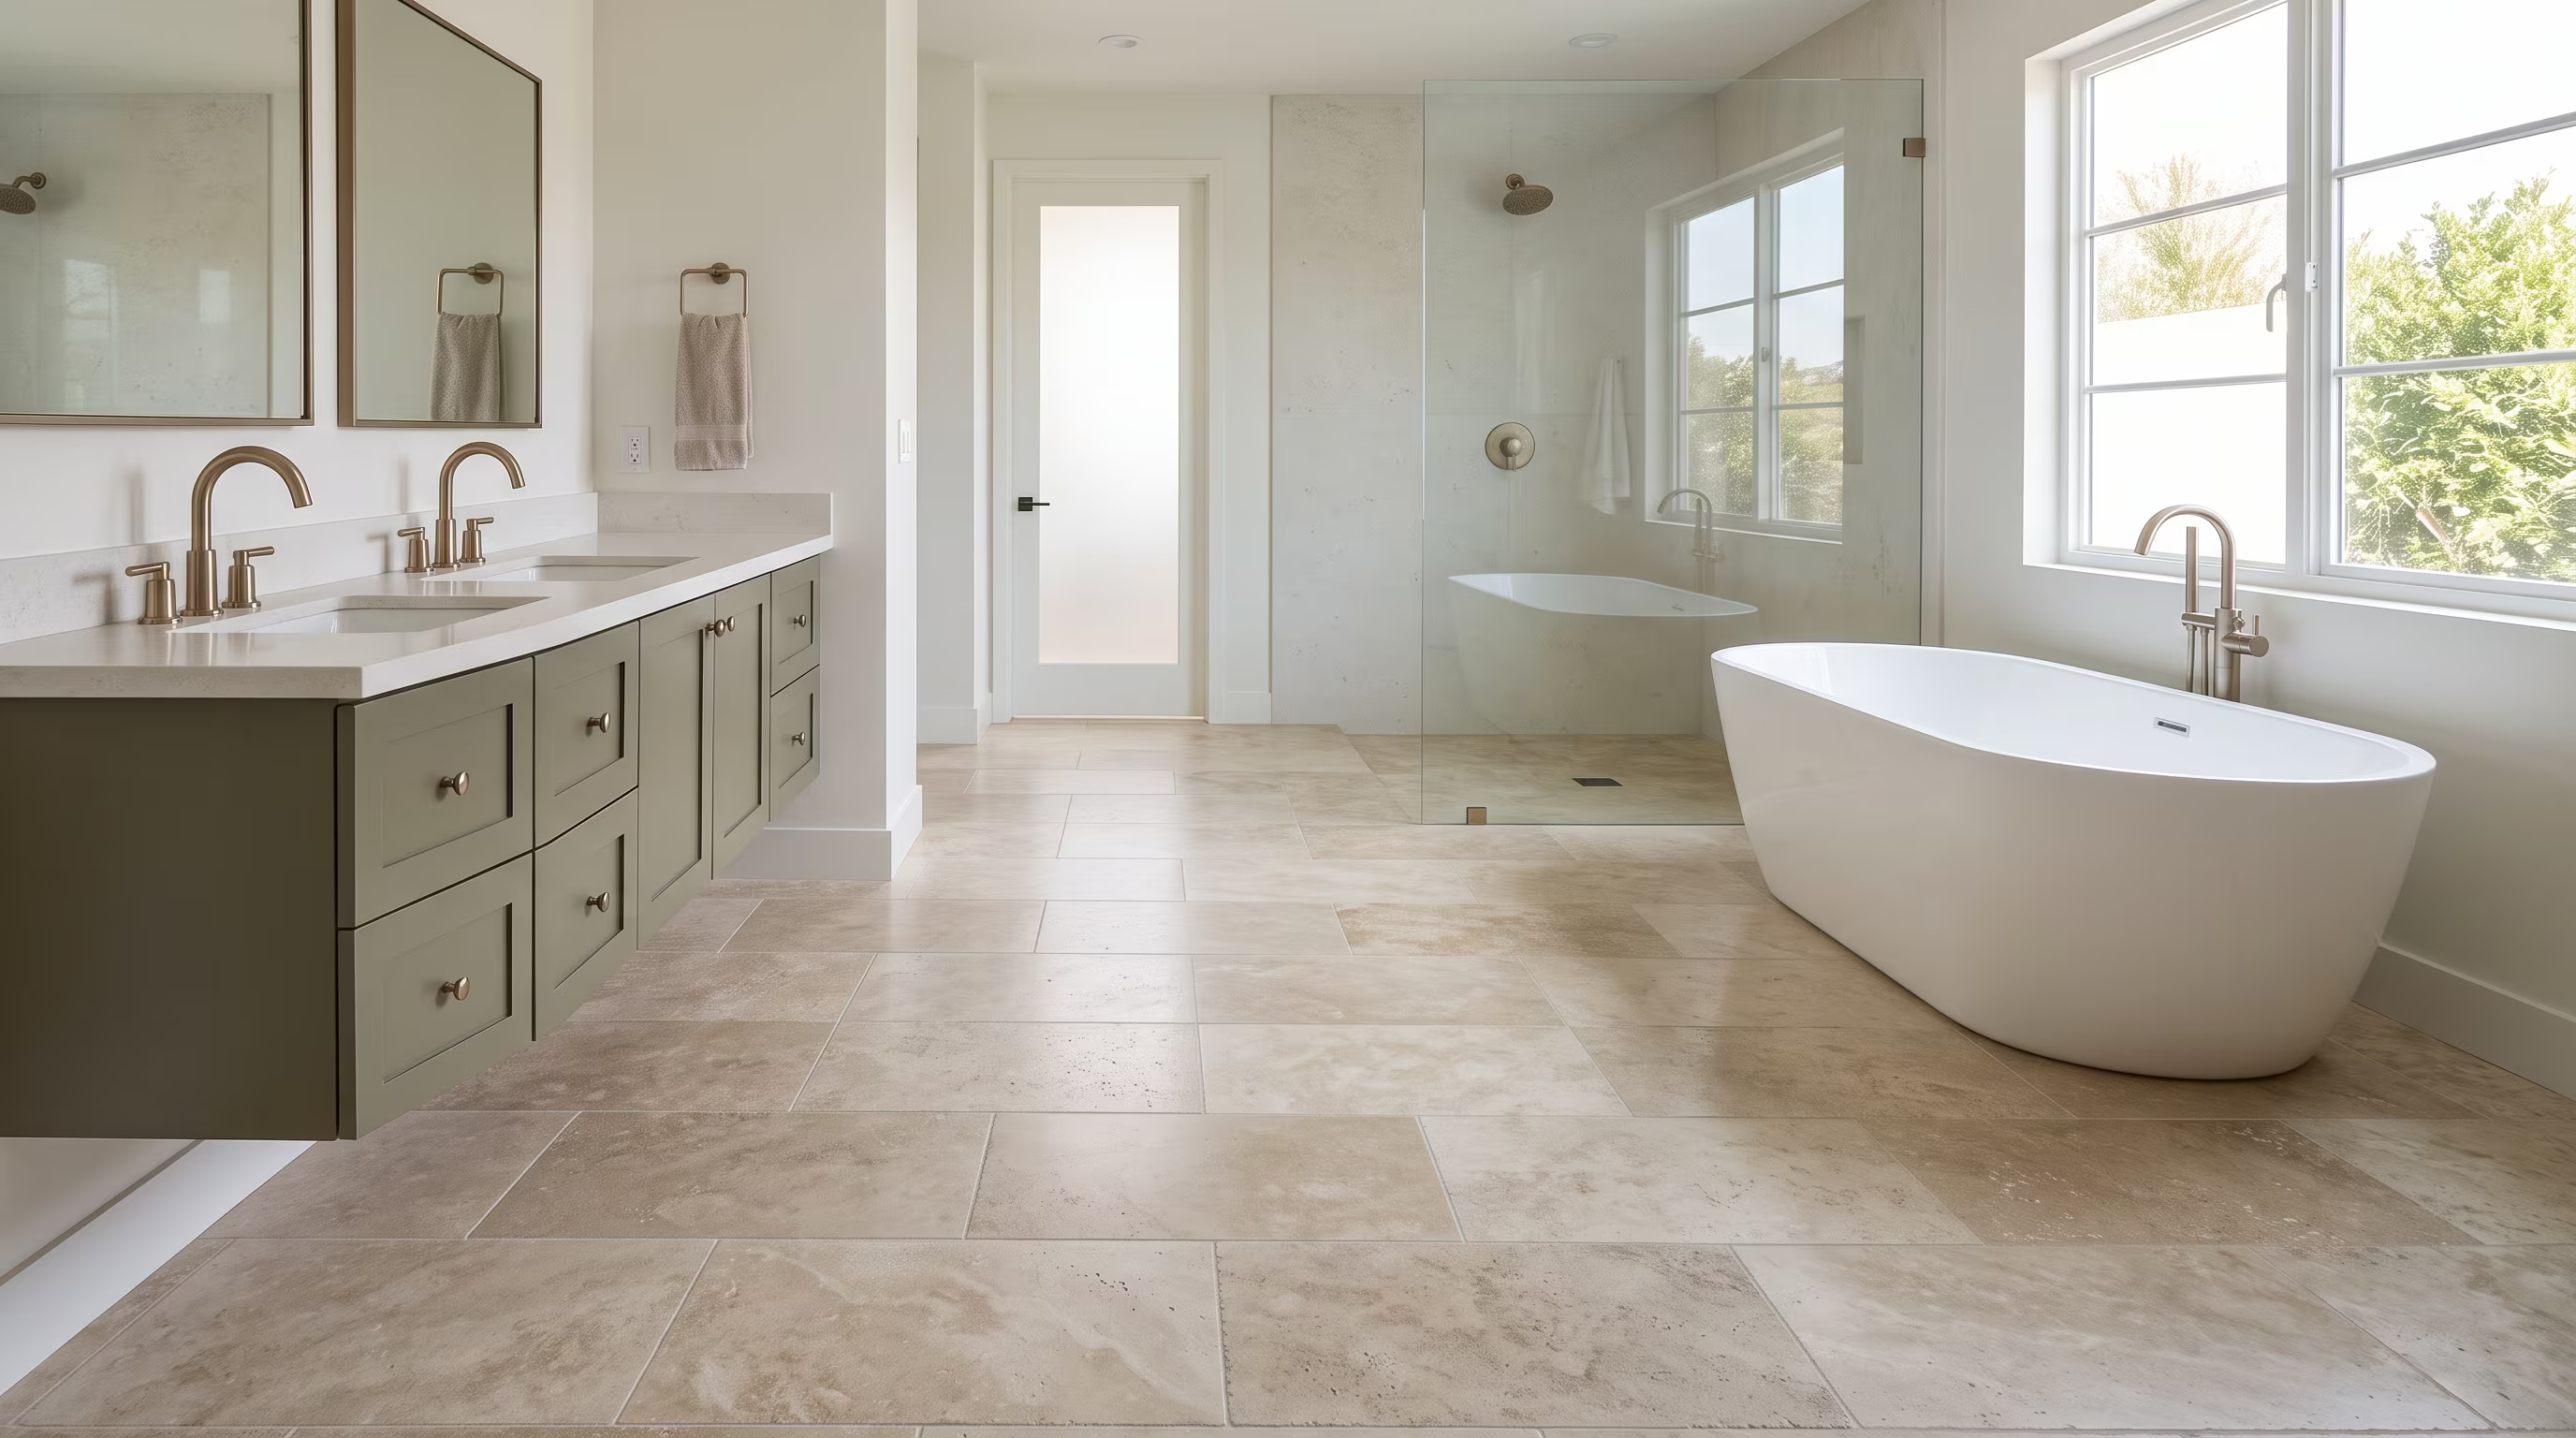
Finished bathroom with light grey floor tile after installation