
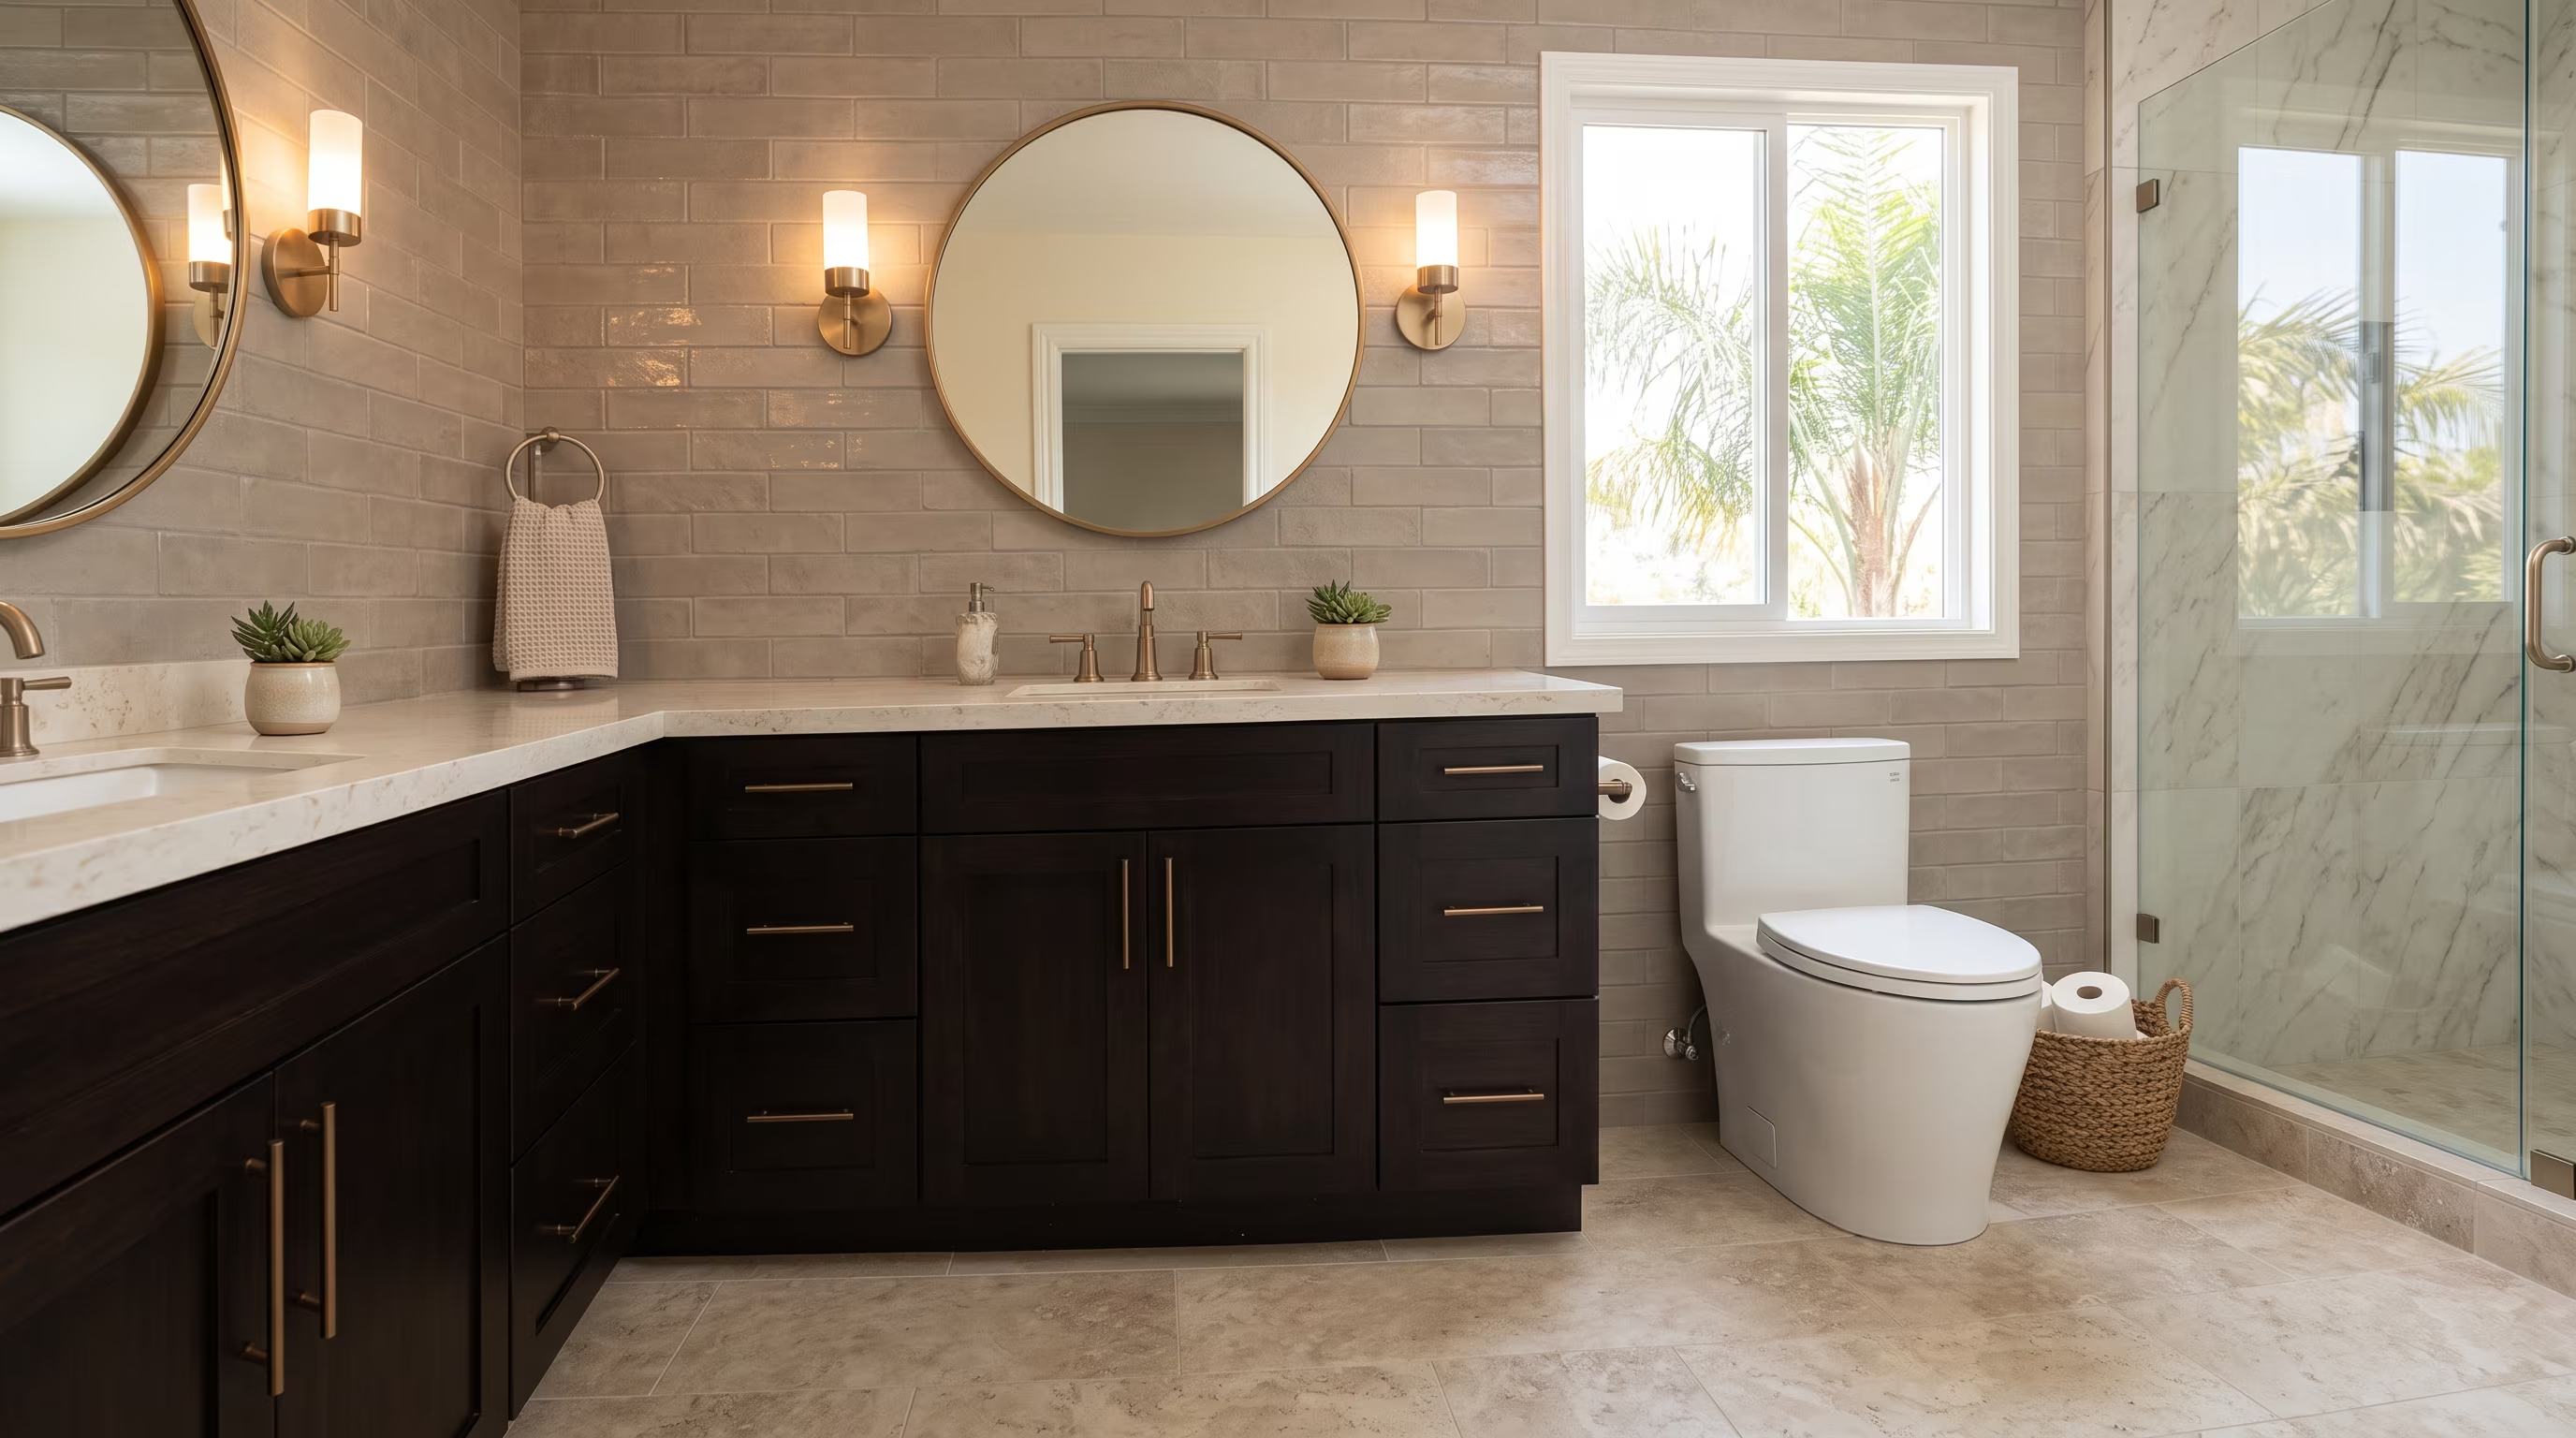
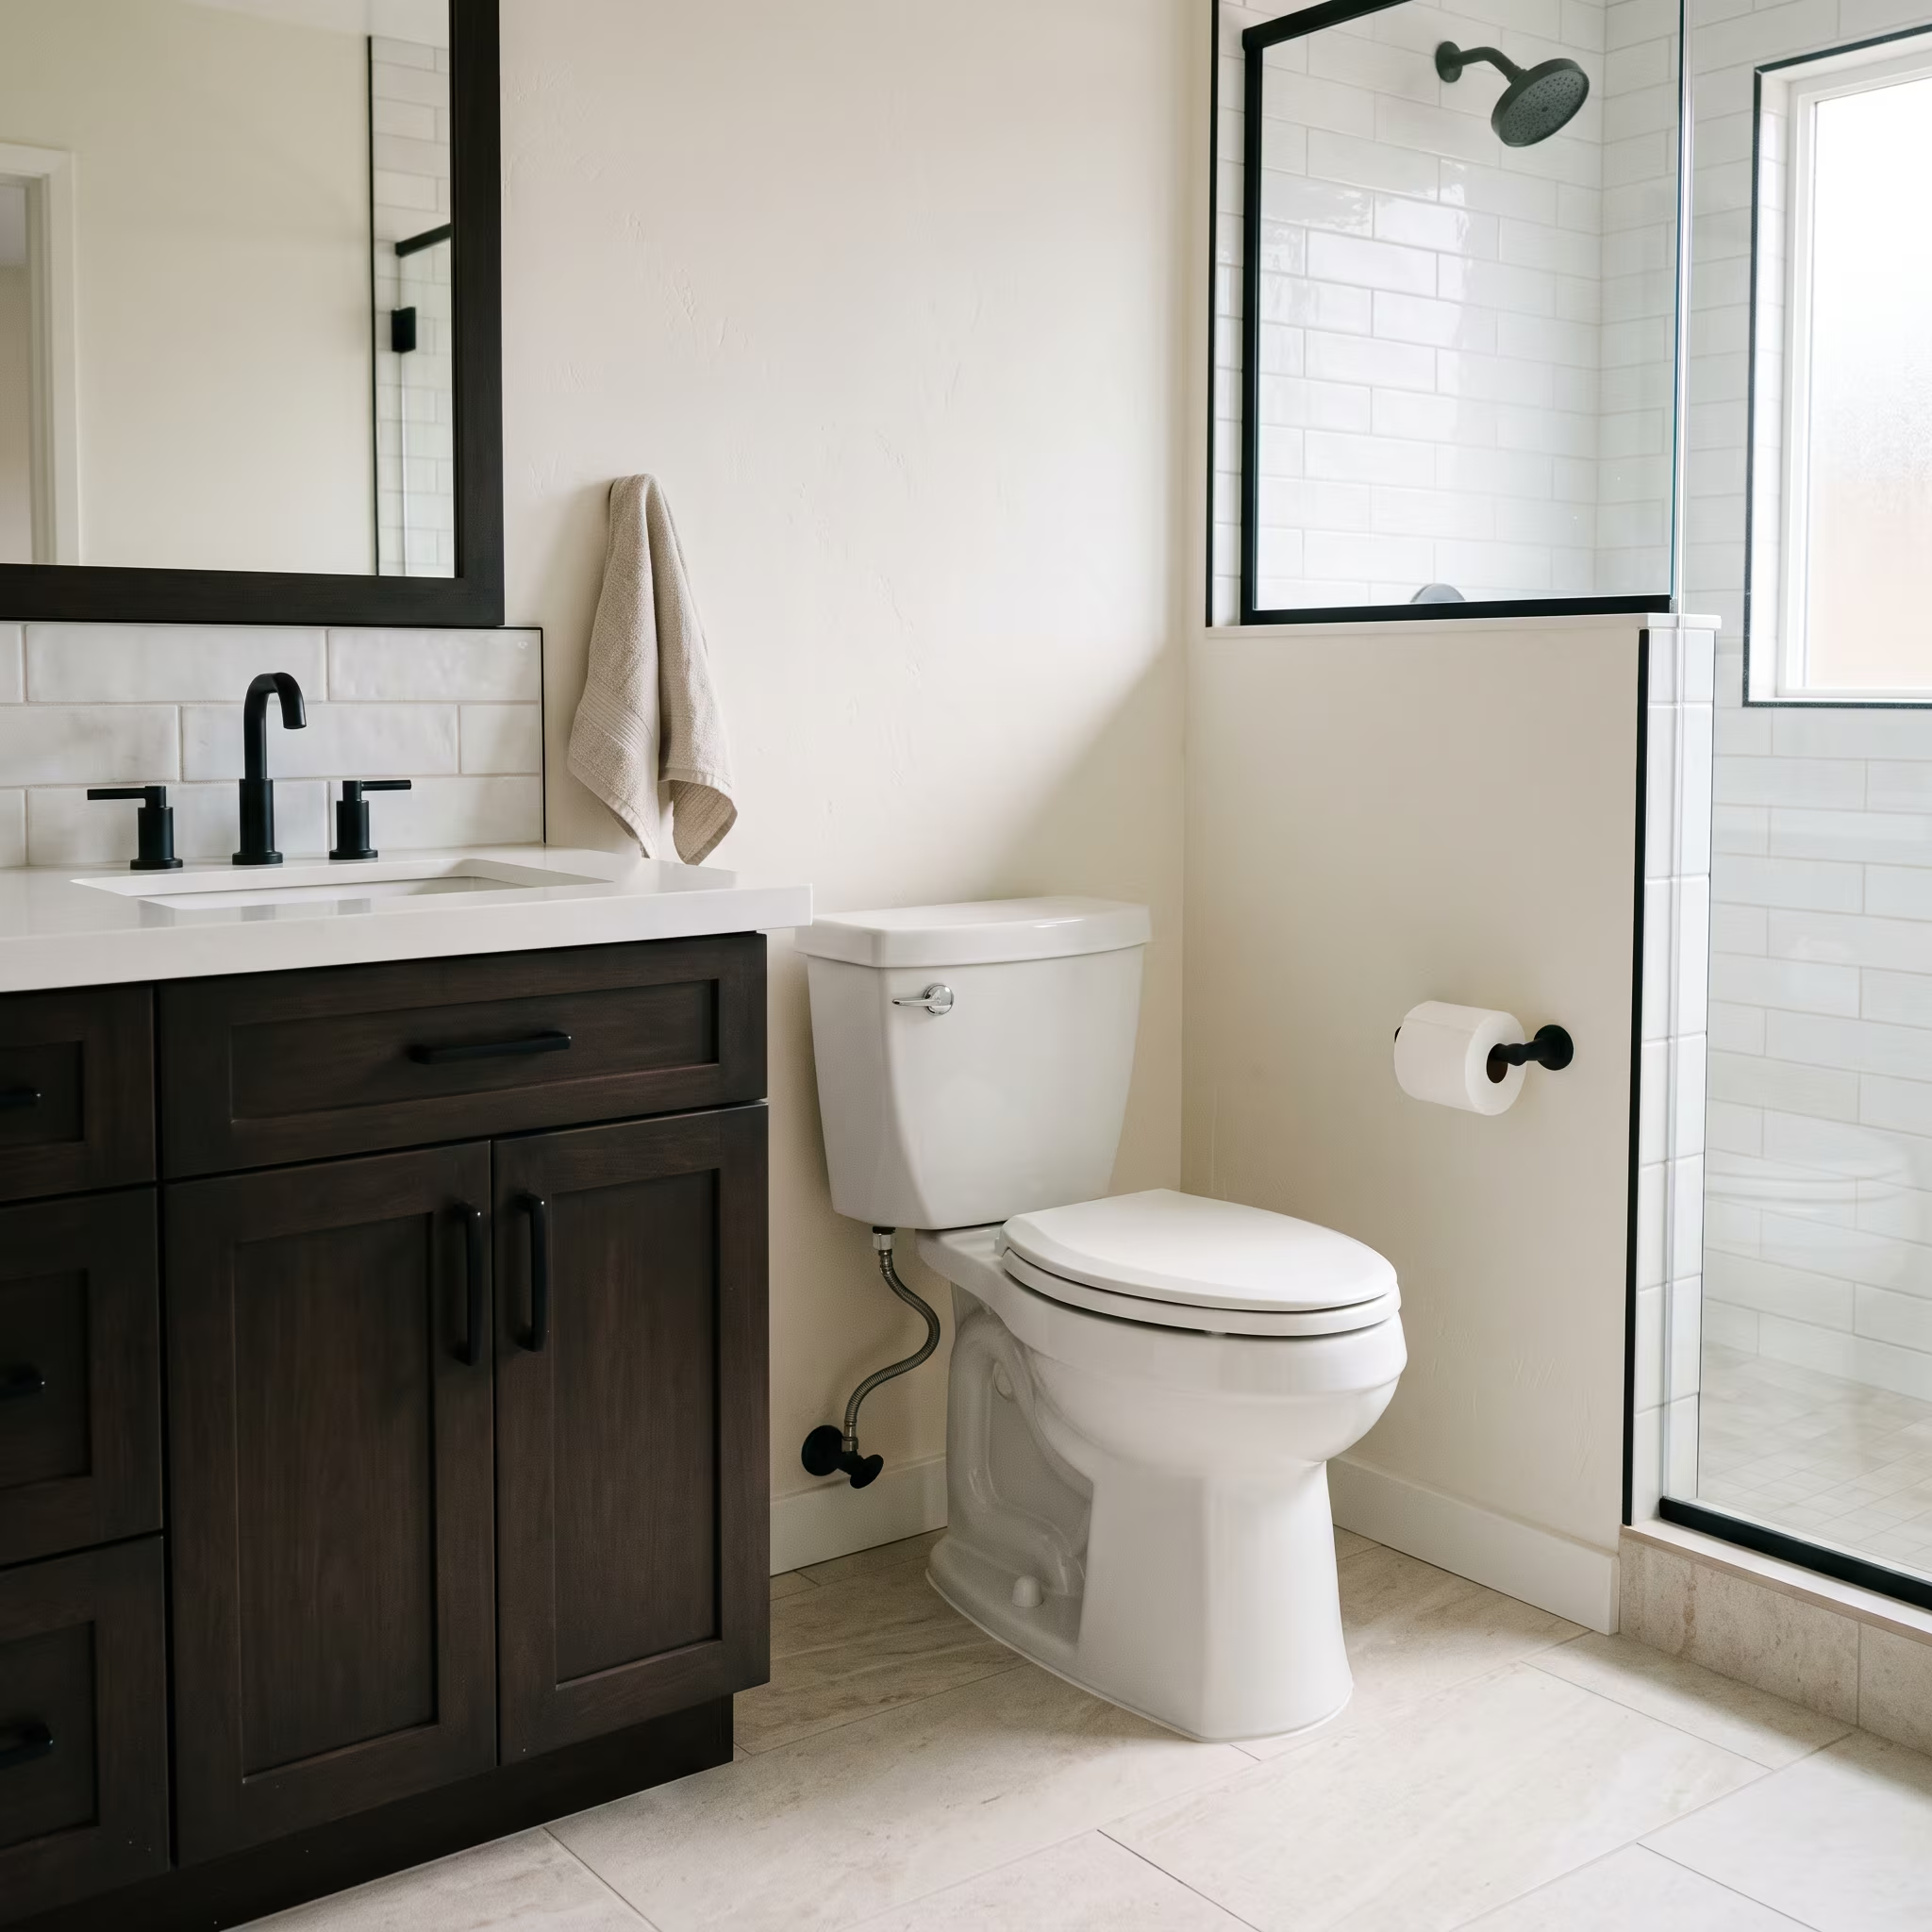
Standard height
- Seat Height
- 15 in. from floor
- Bowl Shape
- Round or elongated
- Notes
- Traditional residential height
Toilet replacement is often straightforward but requires the right measurements, a sound flange and a check of subfloor condition. We handle toilet installation and replacement across San Diego County as a standalone service or as part of a broader bathroom remodel.
About Us
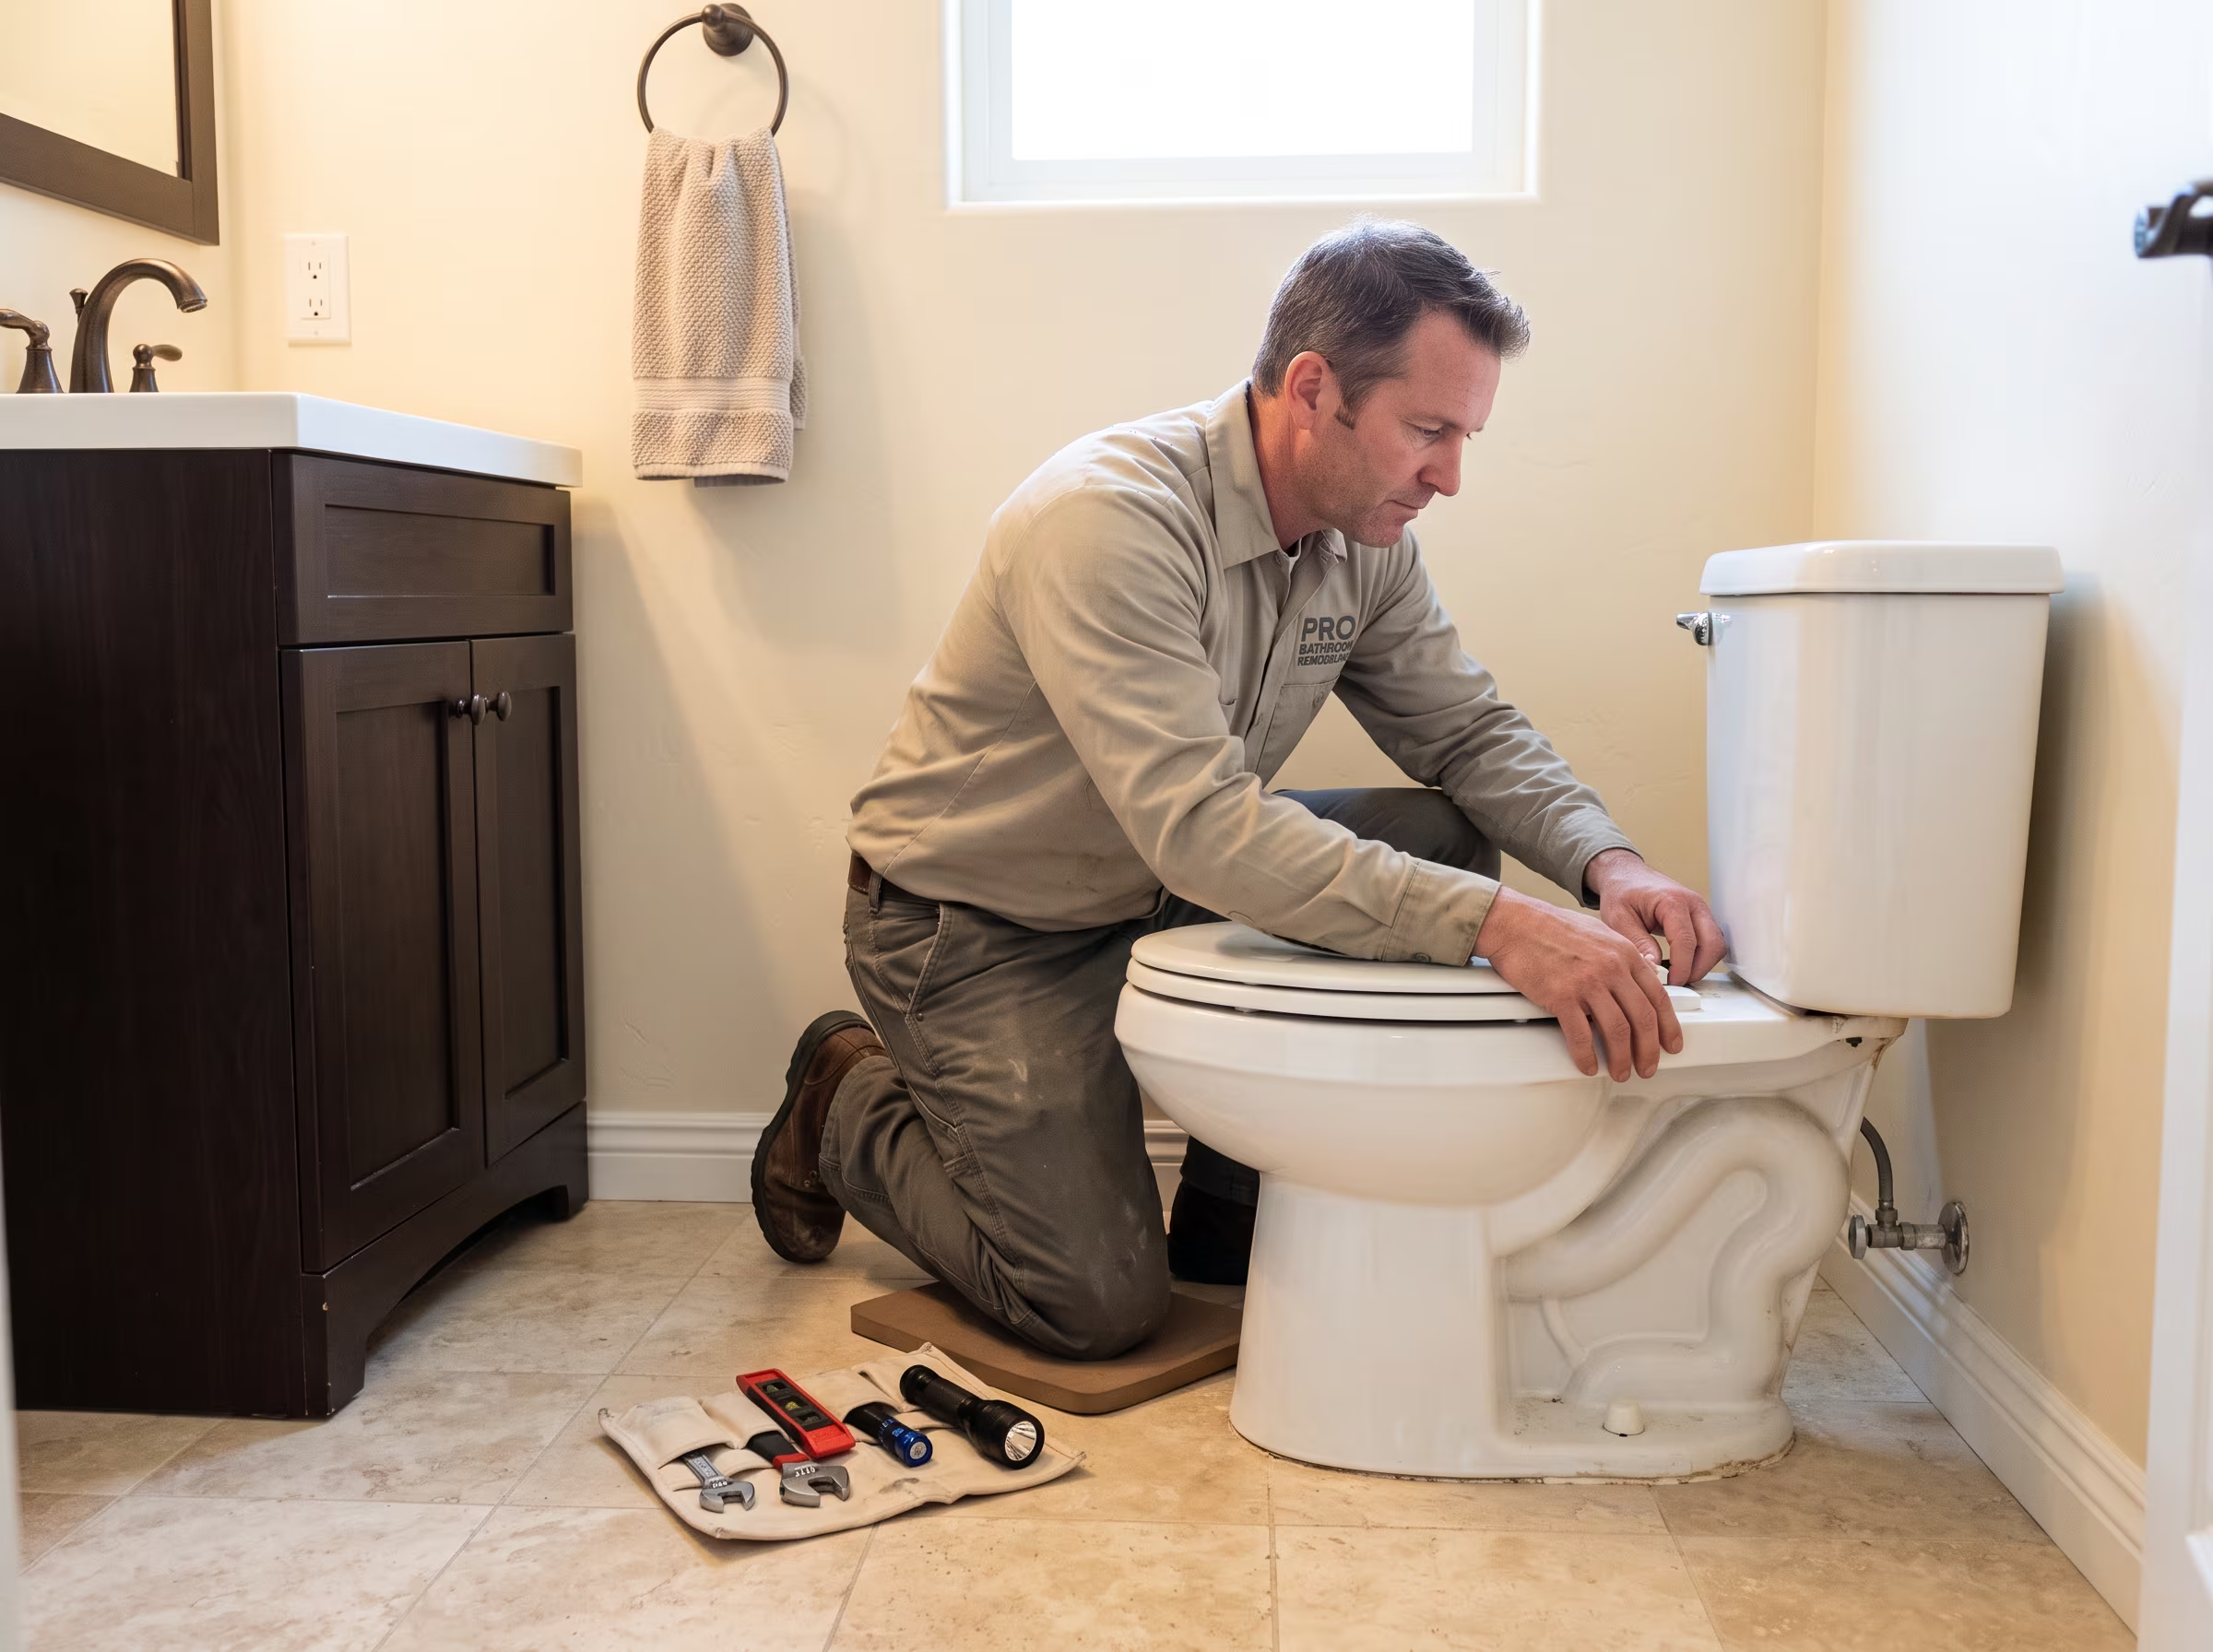
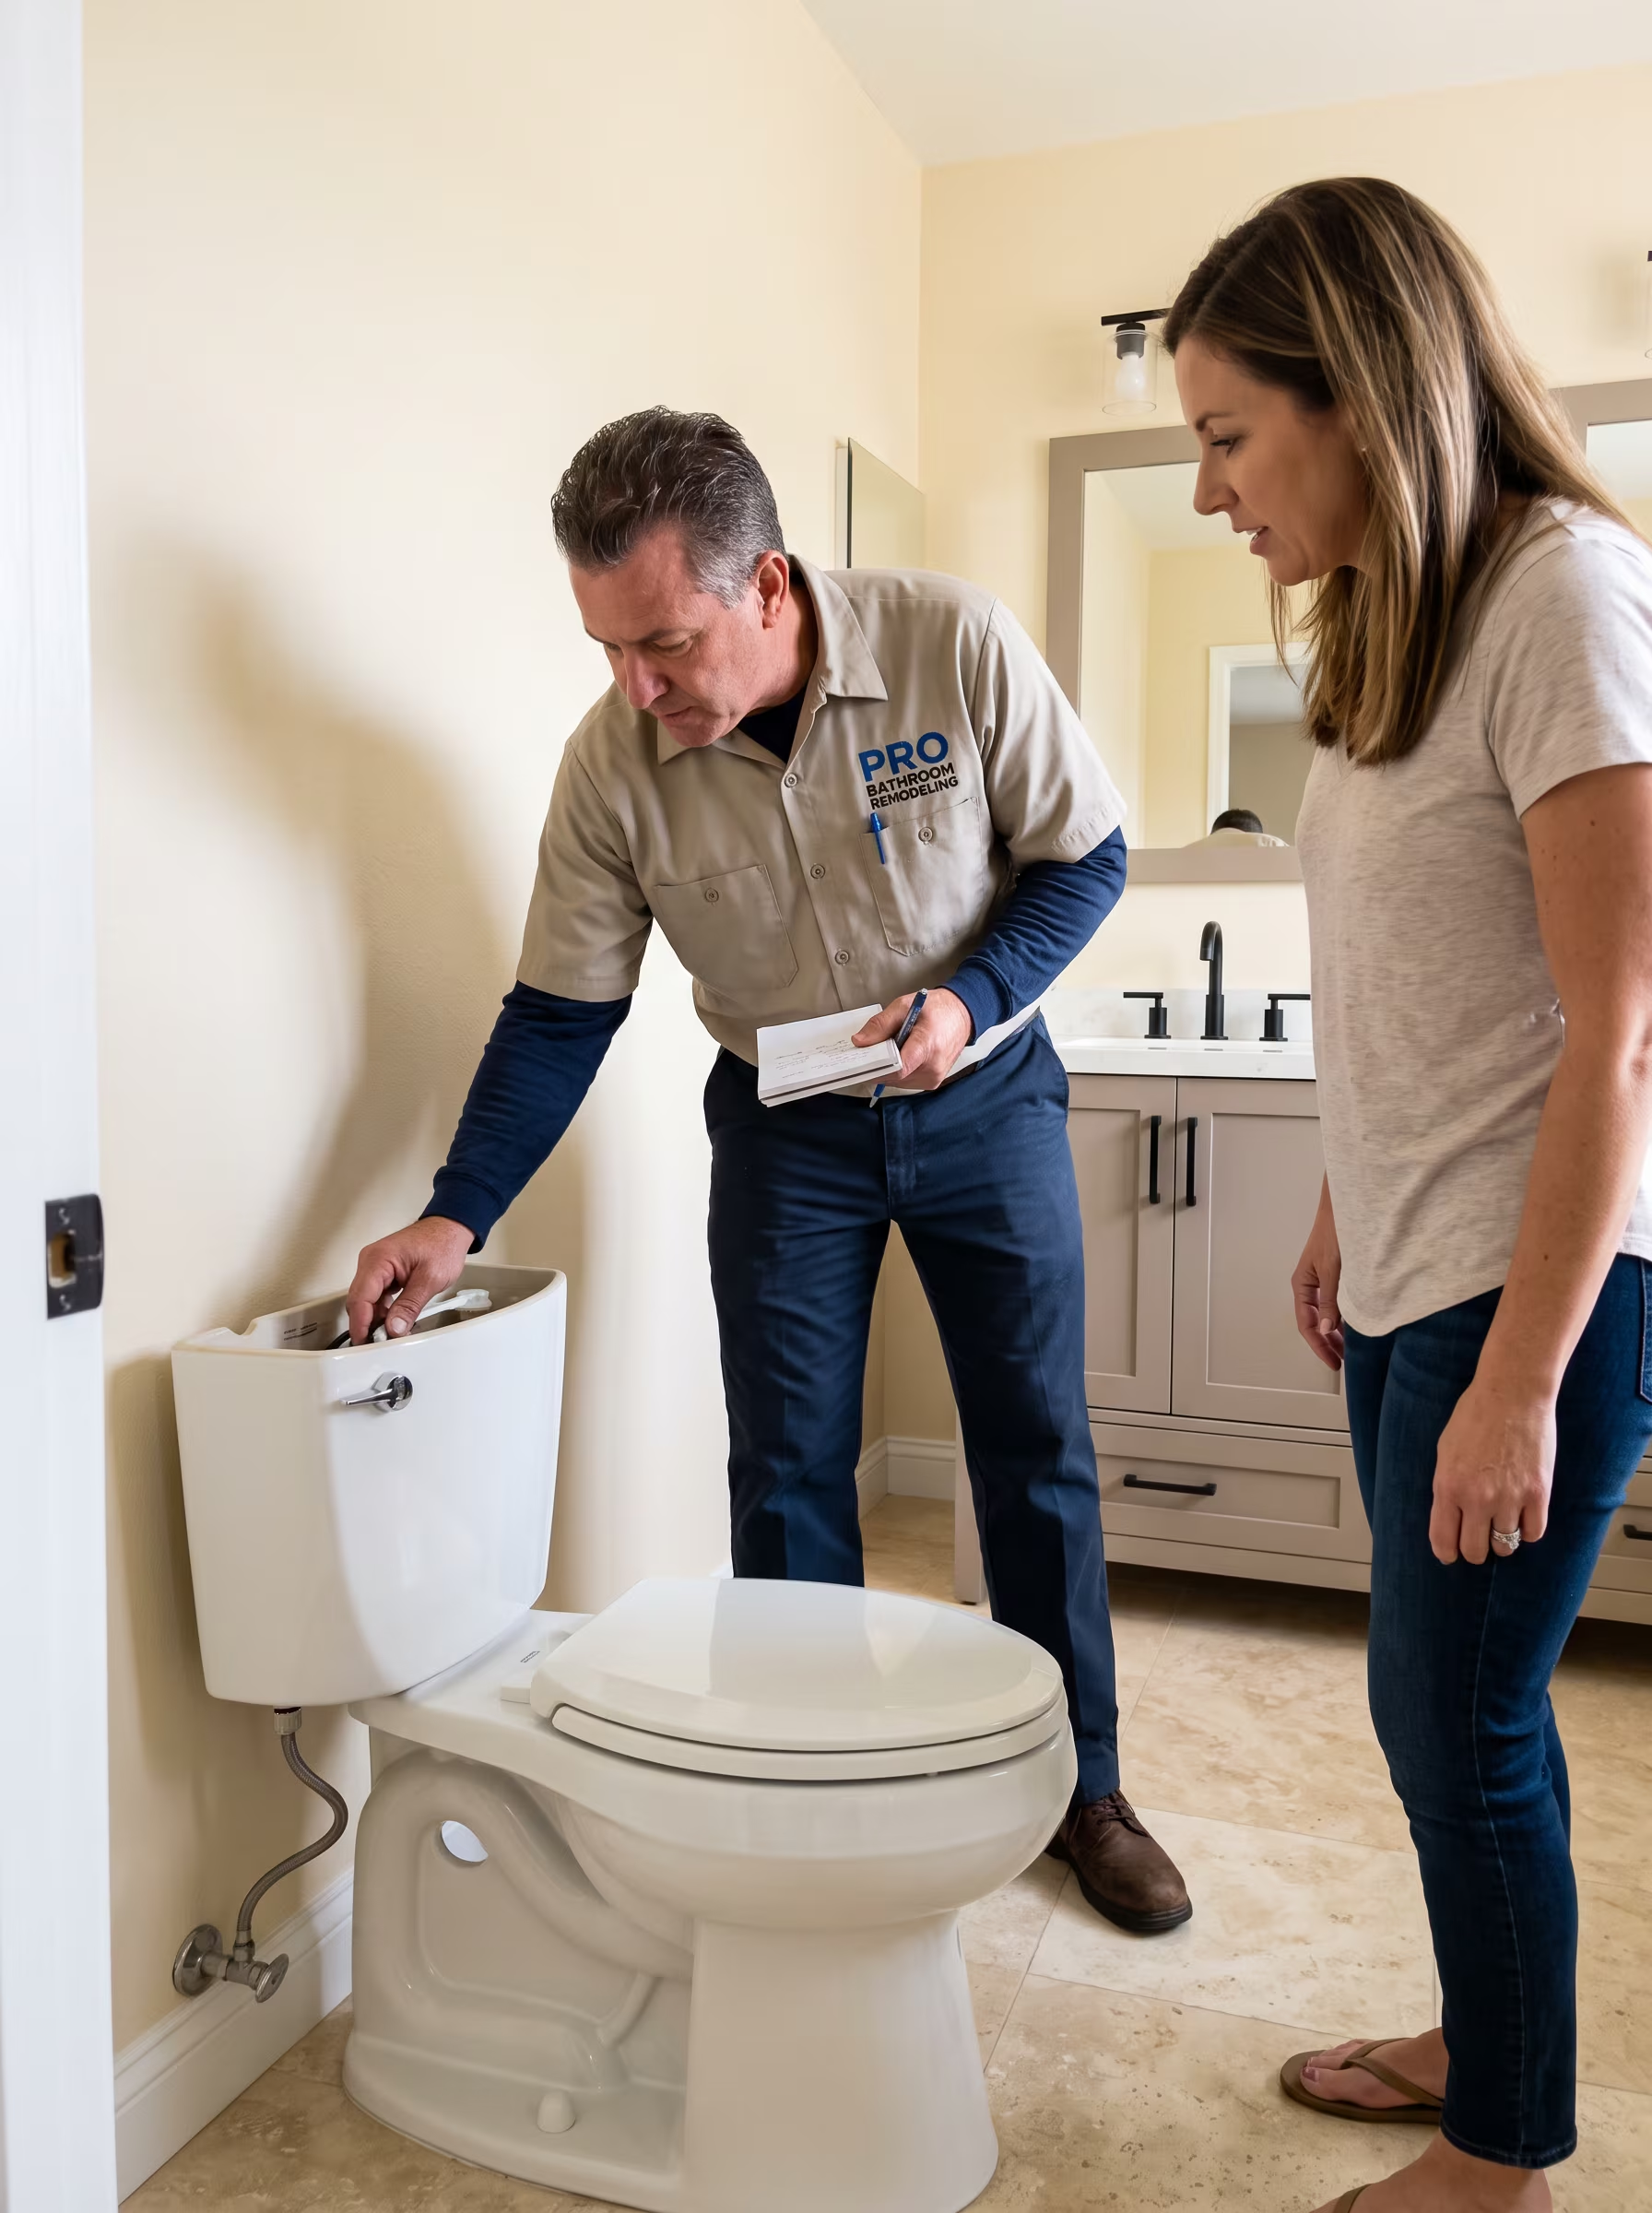
We specialize in residential bathroom remodeling across San Diego County—showers, tubs, vanities, flooring, and full remodels planned around your home and schedule.
Every project starts with a clear conversation, a written scope, and a permit-aware plan so you know what to expect before work begins.
No obligation. A specialist contacts you within 1 hour.
A like-for-like replacement uses the same rough-in measurement and drain position as the existing toilet. This is the simplest scope. Changing to a different bowl shape, height category or configuration may require verifying that the new model fits within the existing clearances on all sides.
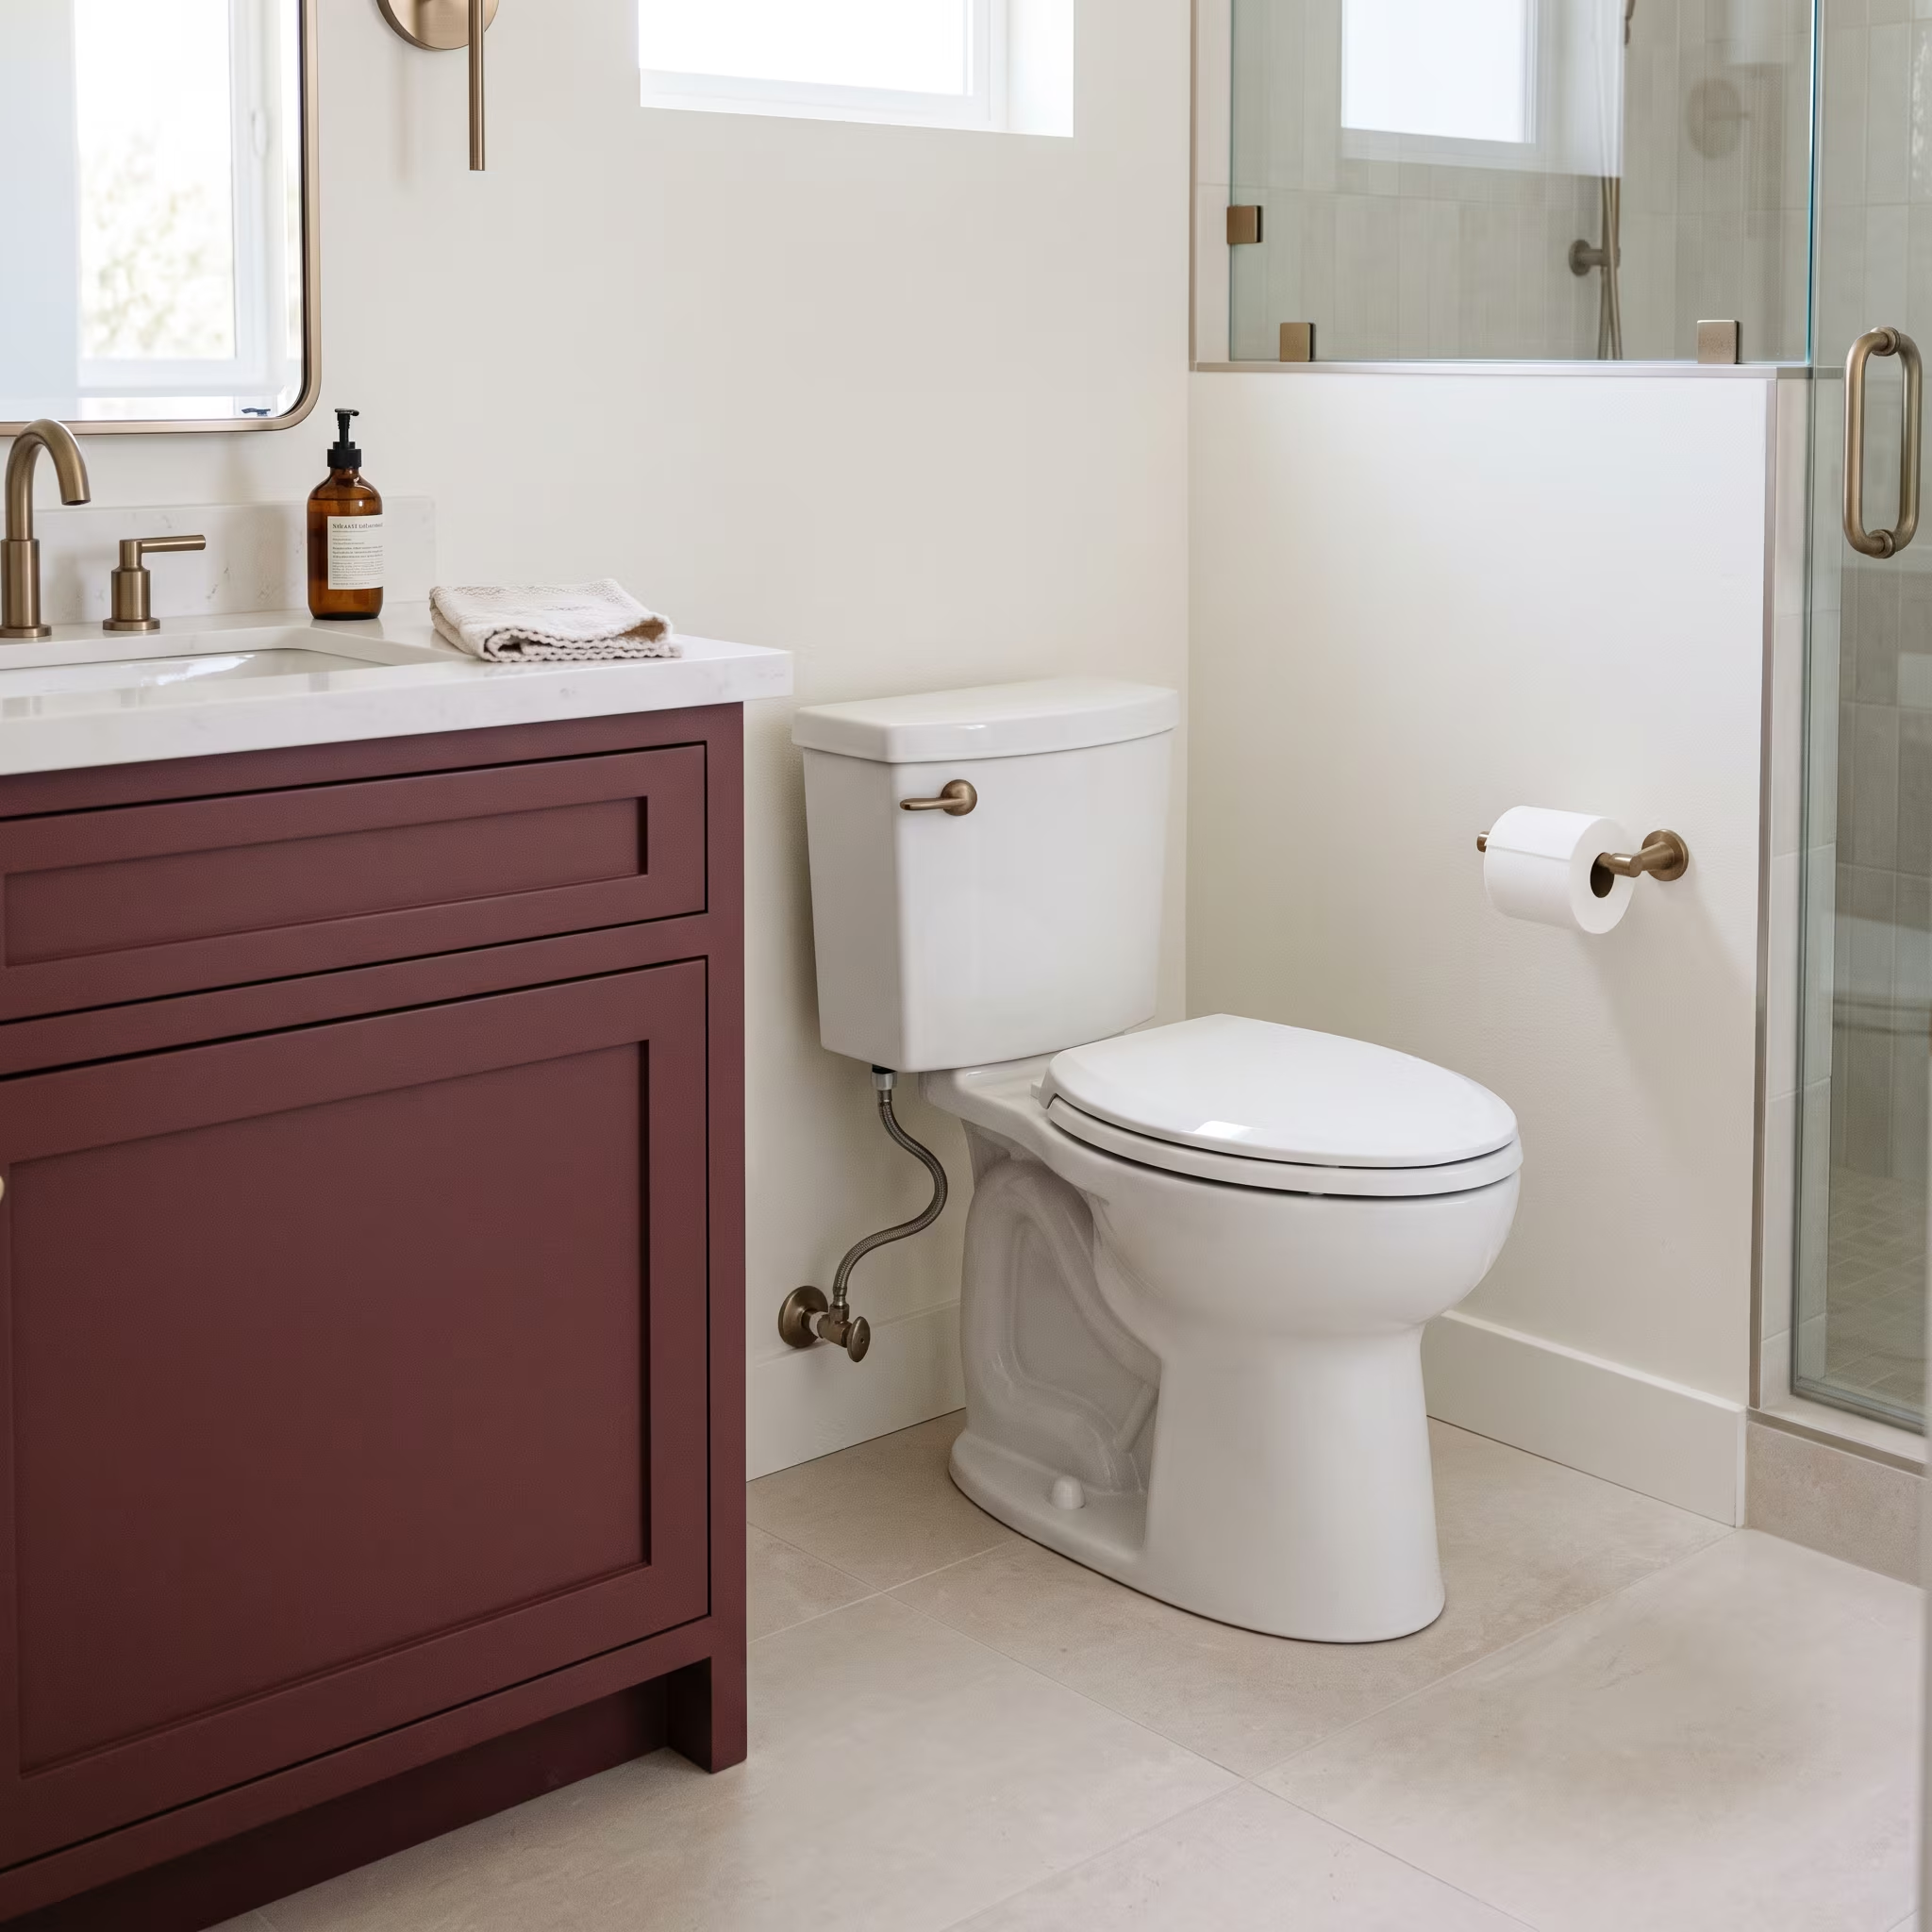
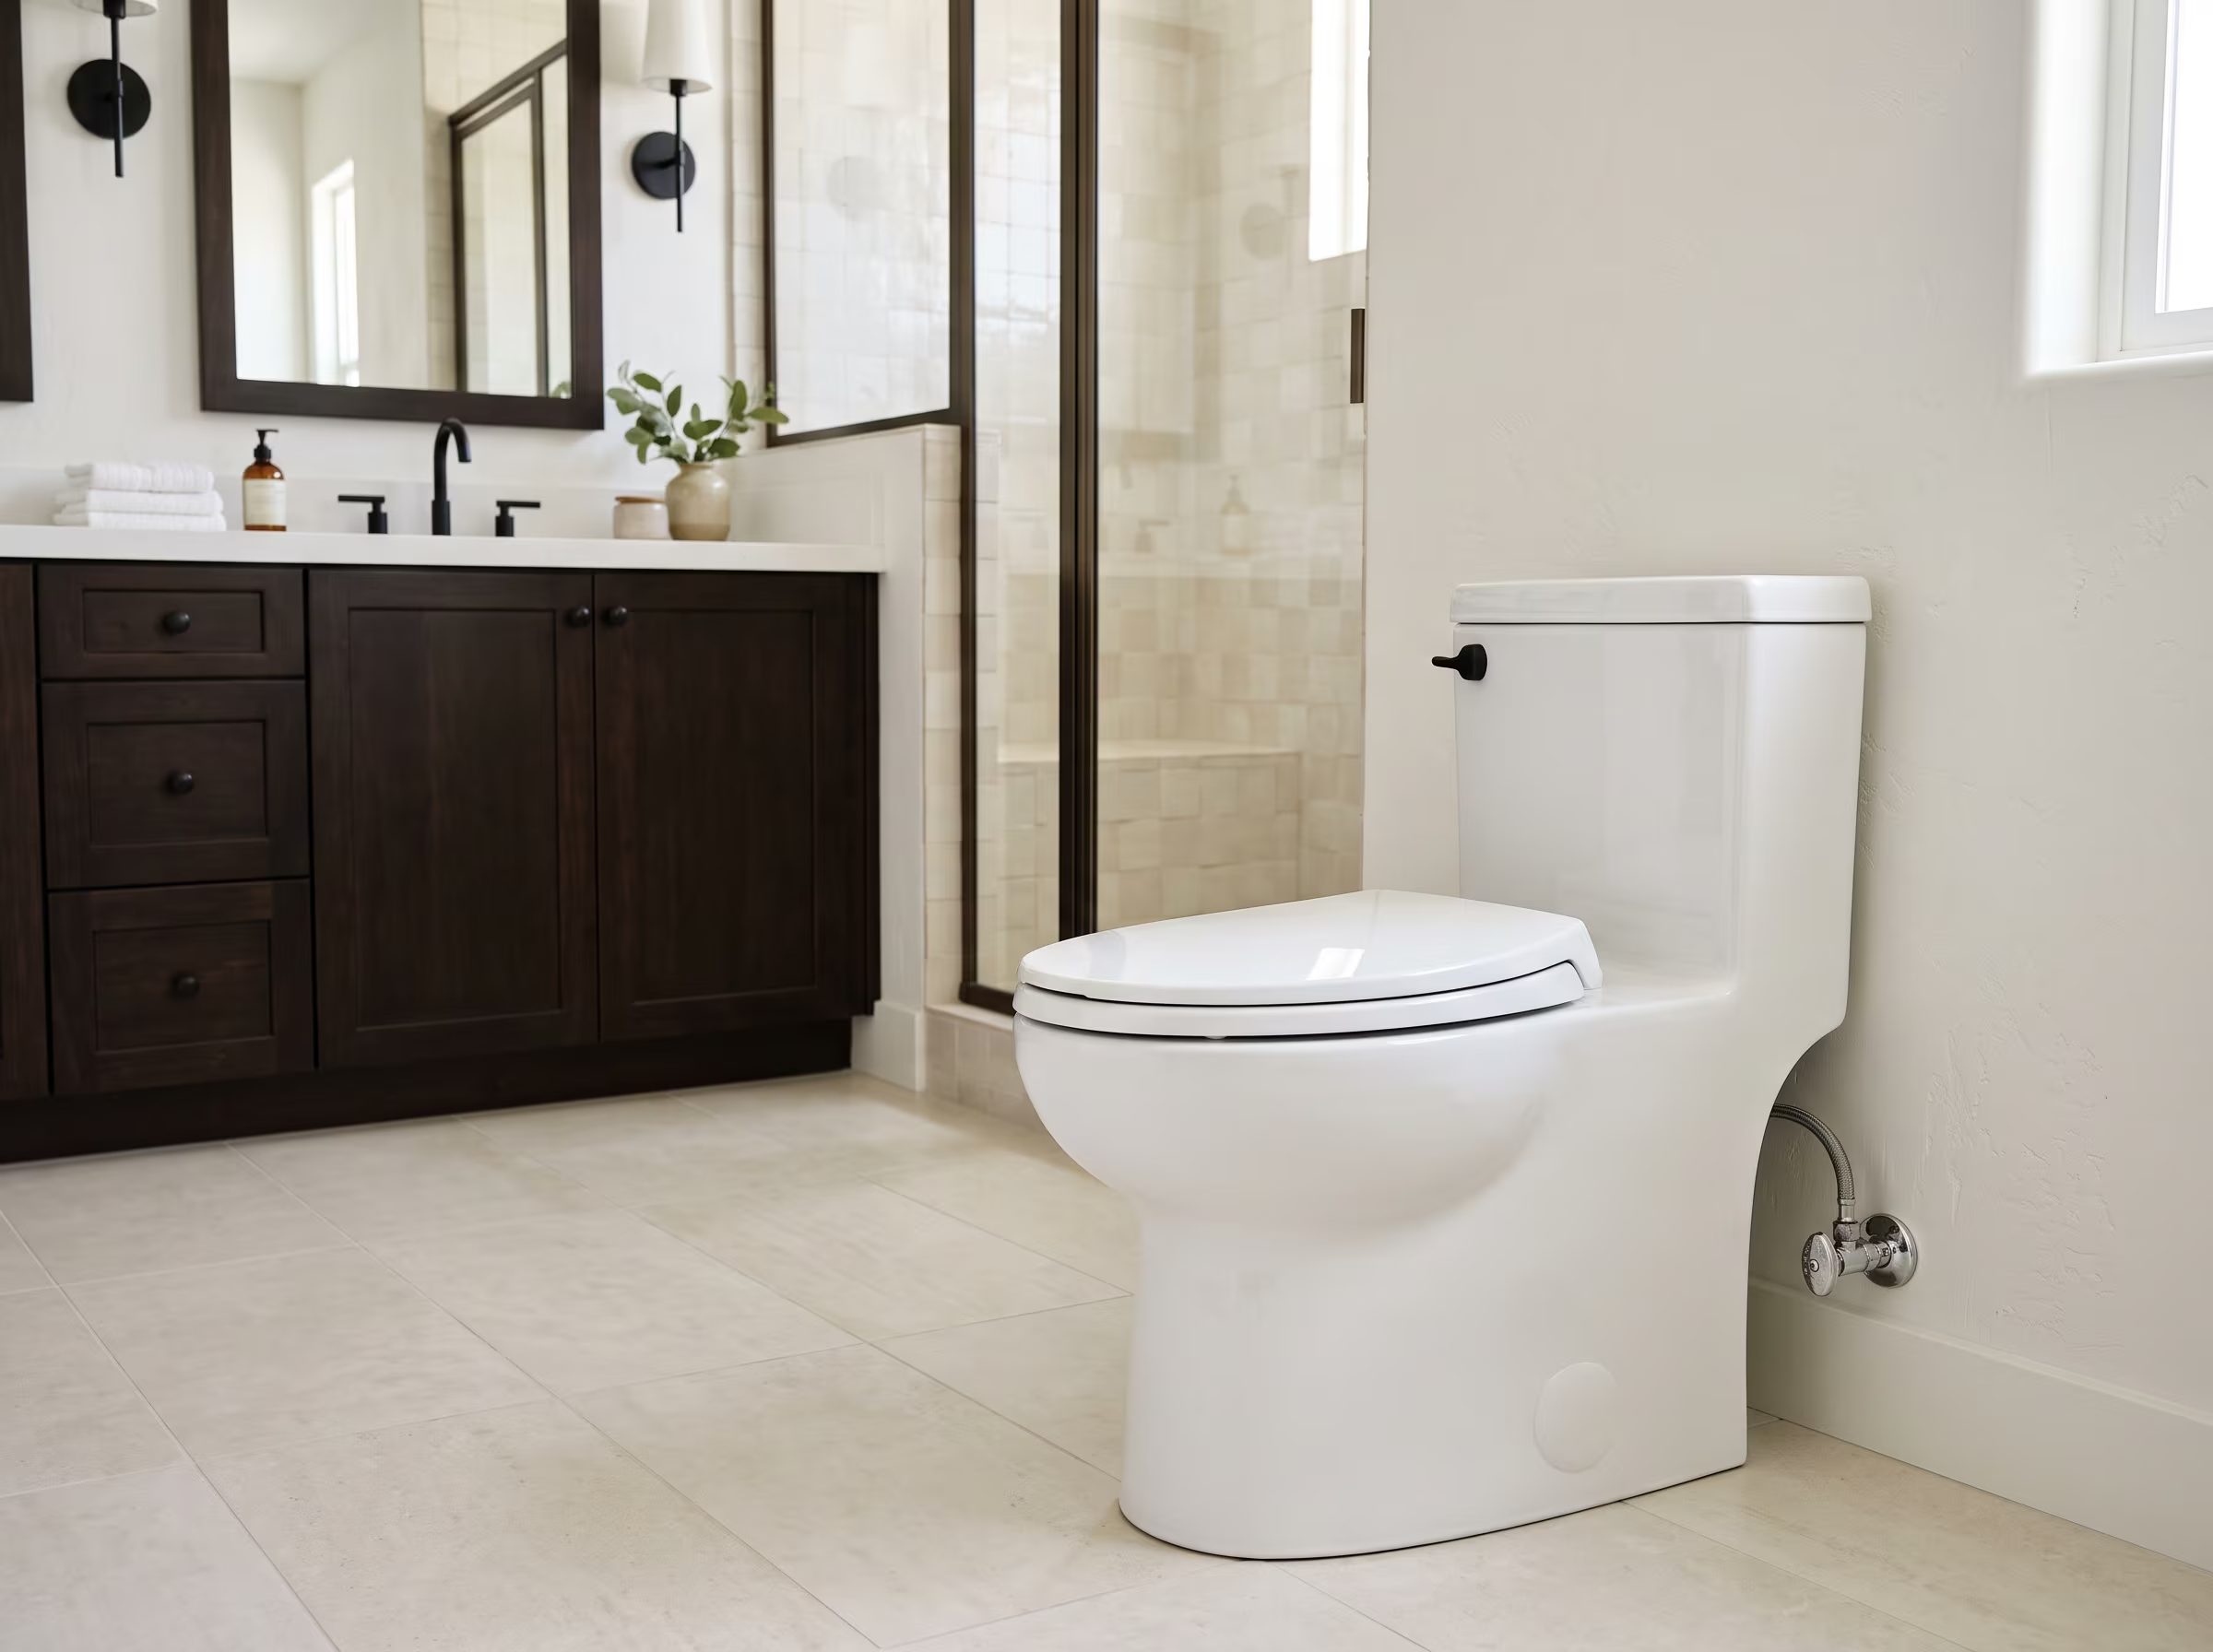
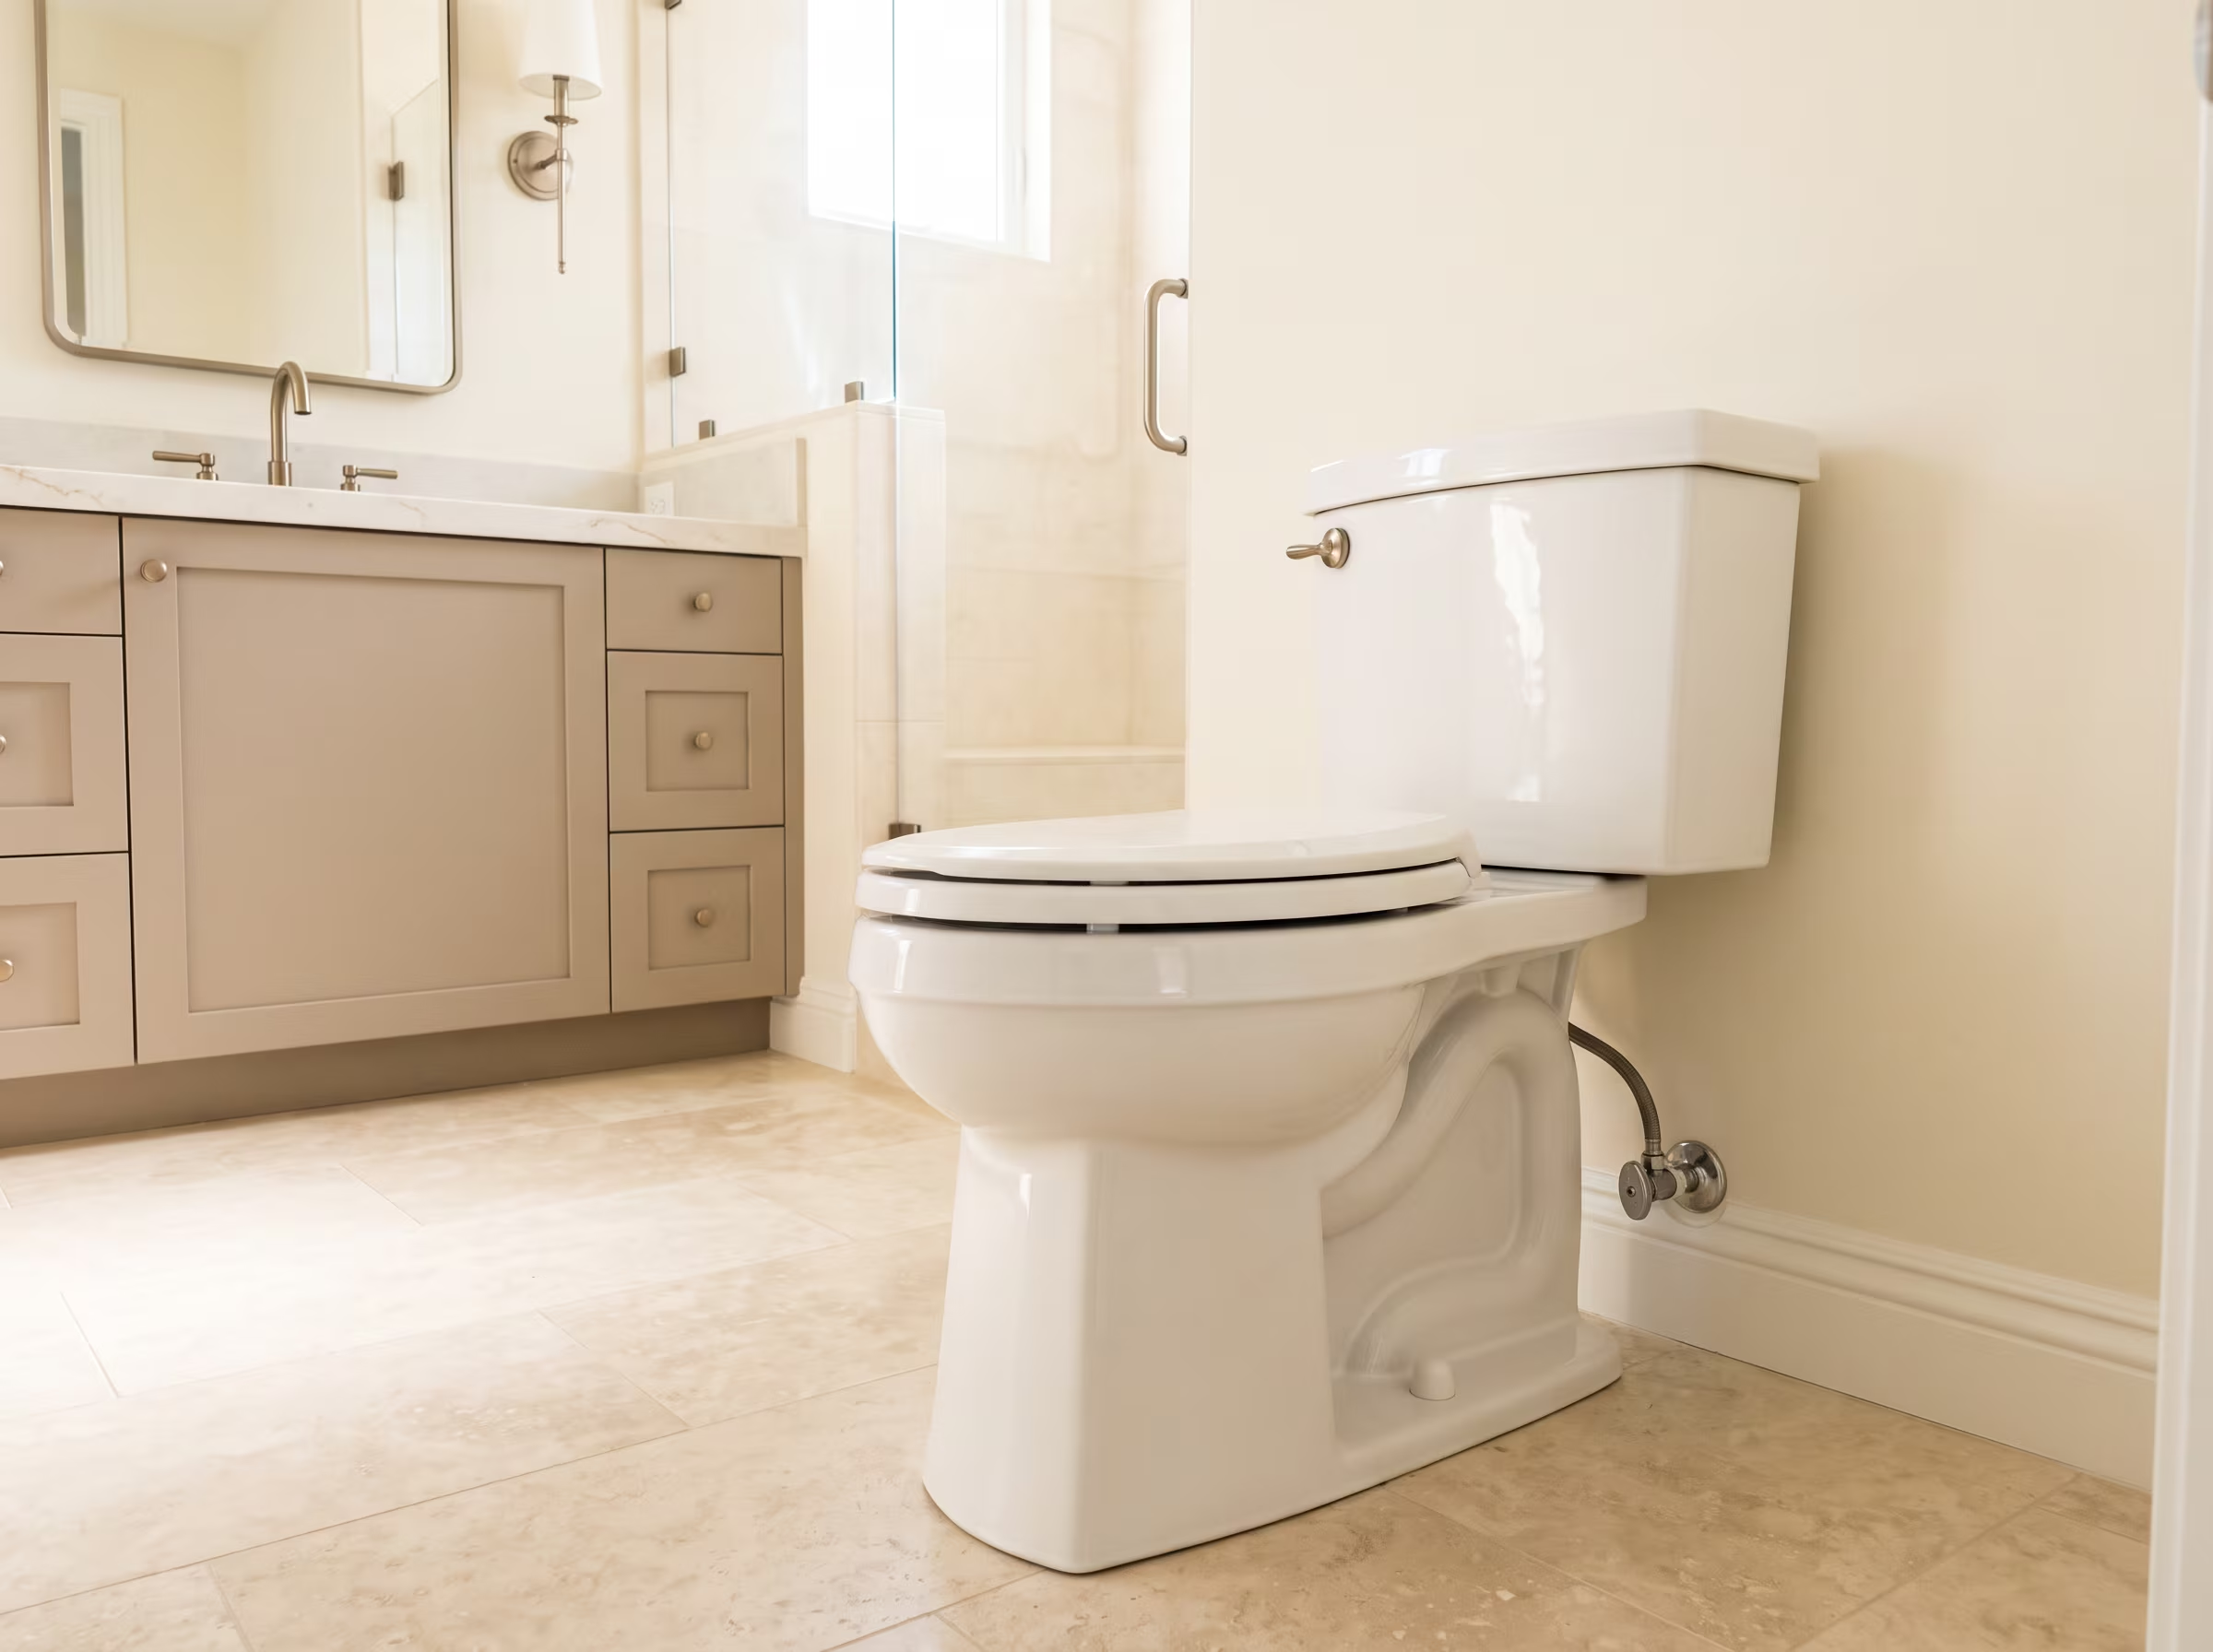
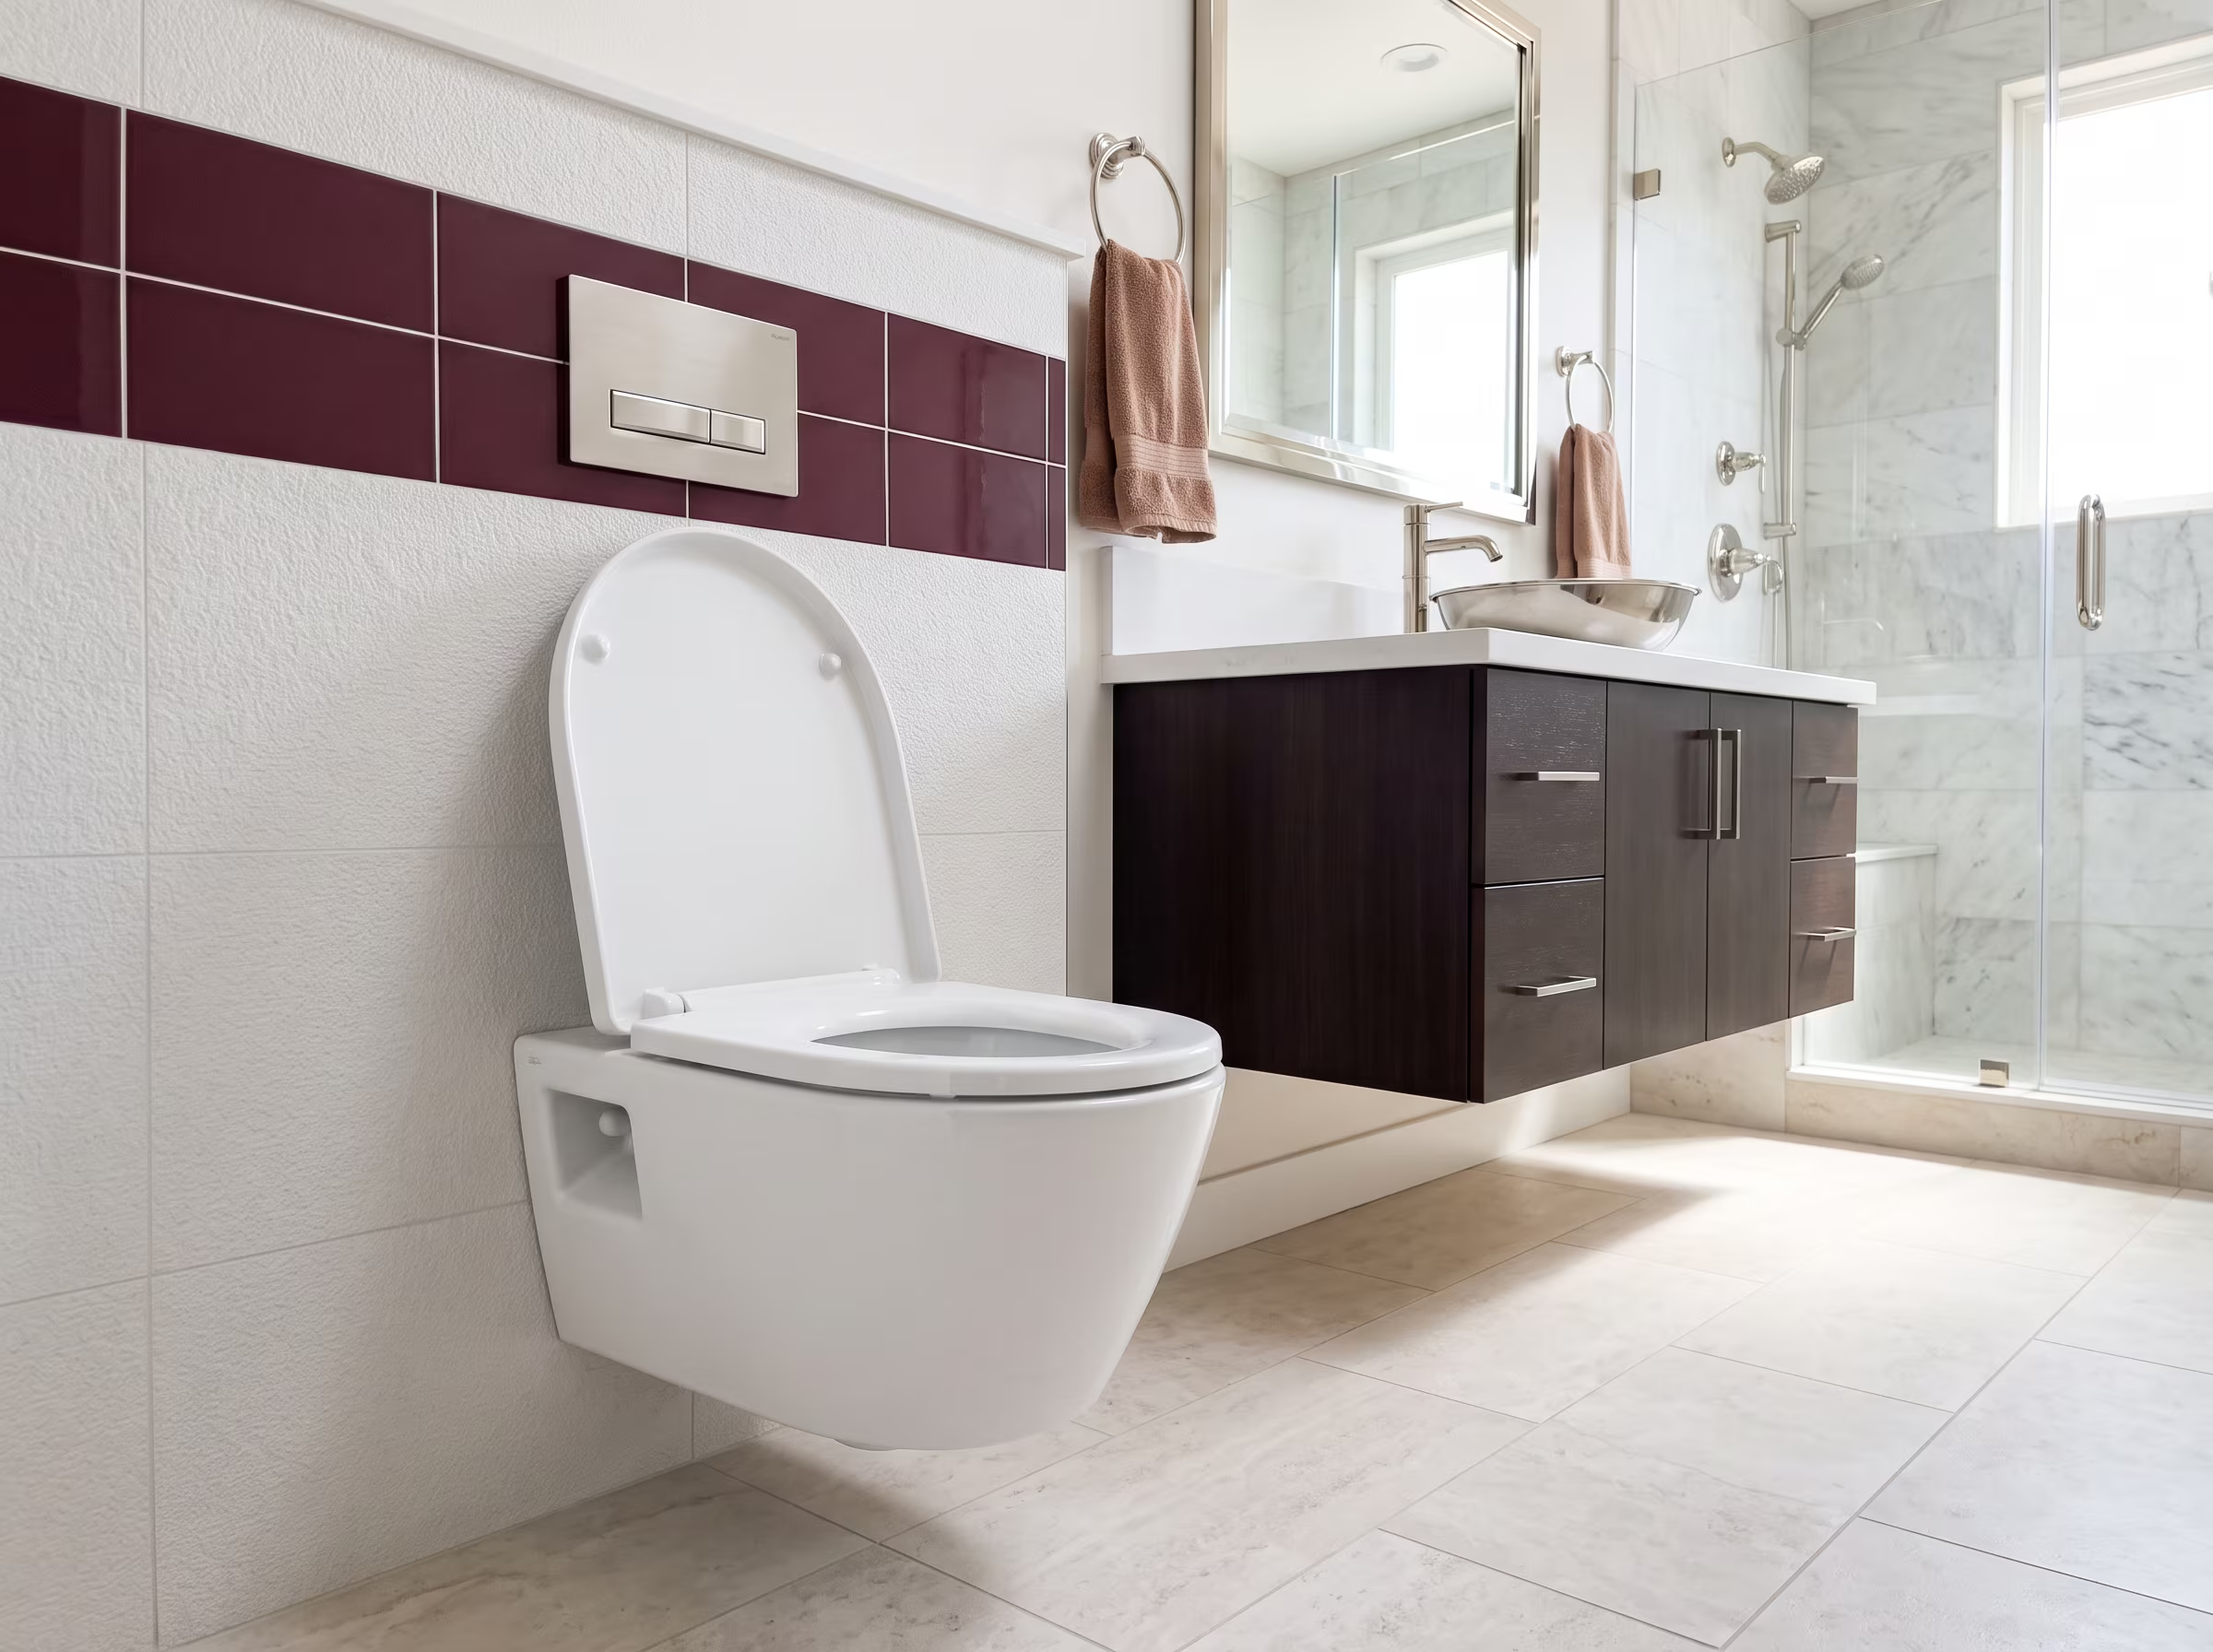
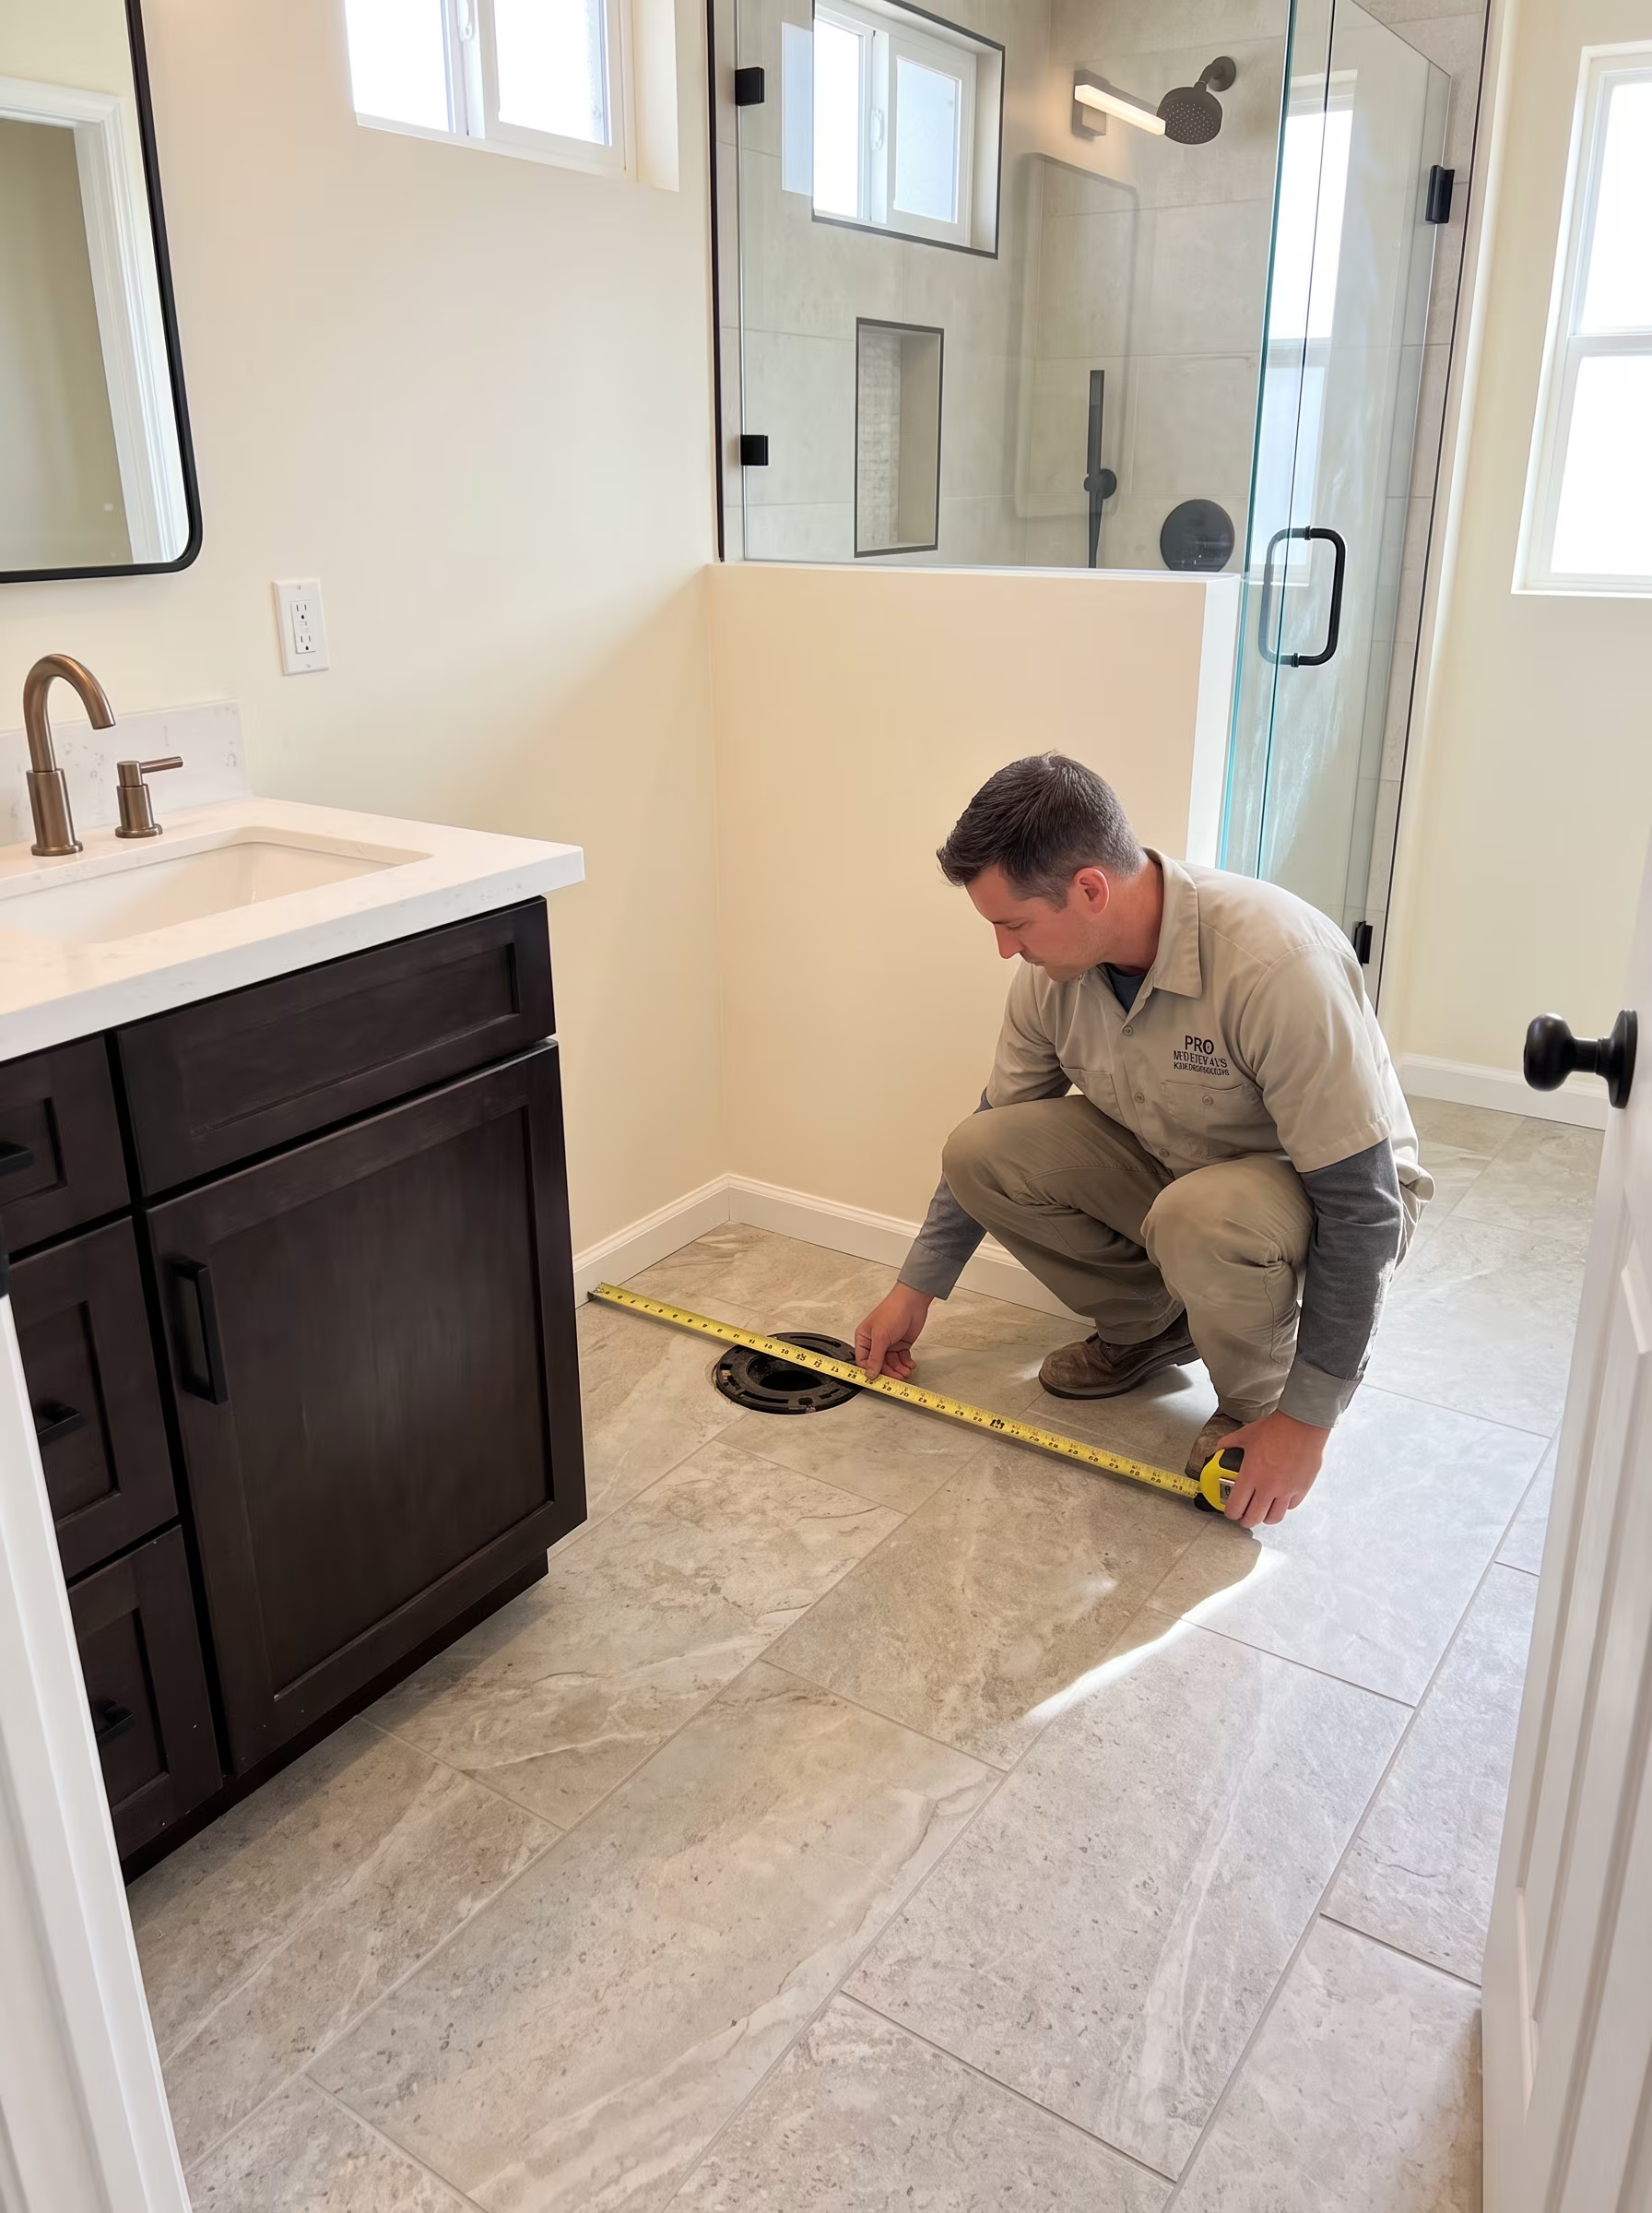
The rough-in measurement is the distance from the finished wall behind the toilet to the center of the floor drain. Most residential toilets have a 12-inch rough-in. Some older homes have 10-inch or 14-inch rough-ins. Installing a toilet with the wrong rough-in dimension results in either a gap between tank and wall or a toilet that cannot be set at all.
Minimum clearances typically require at least 15 inches from the toilet center to any side wall or obstruction, and at least 21 inches in front of the bowl. More space is always better for comfort and accessibility.
The toilet flange is the fitting that connects the toilet drain to the floor pipe. A damaged or low flange requires repair or a flange extender before a new toilet can be set properly. Loose, corroded or improperly sealed flanges are a common cause of toilet base leaks that lead to subfloor damage over time.
The shutoff valve behind the toilet should be inspected before installation. Old or corroded shutoffs that cannot be fully closed require replacement as part of the toilet installation to ensure the water supply can be controlled safely during and after the work.
A toilet that rocks at the base is often a sign of a compromised flange or soft subfloor beneath it. When soft or deteriorated subfloor material is found after toilet removal, we document it, present repair options and obtain your written approval before proceeding. Addressing the subfloor at this stage prevents reinstalling a new toilet over an already-failing foundation.
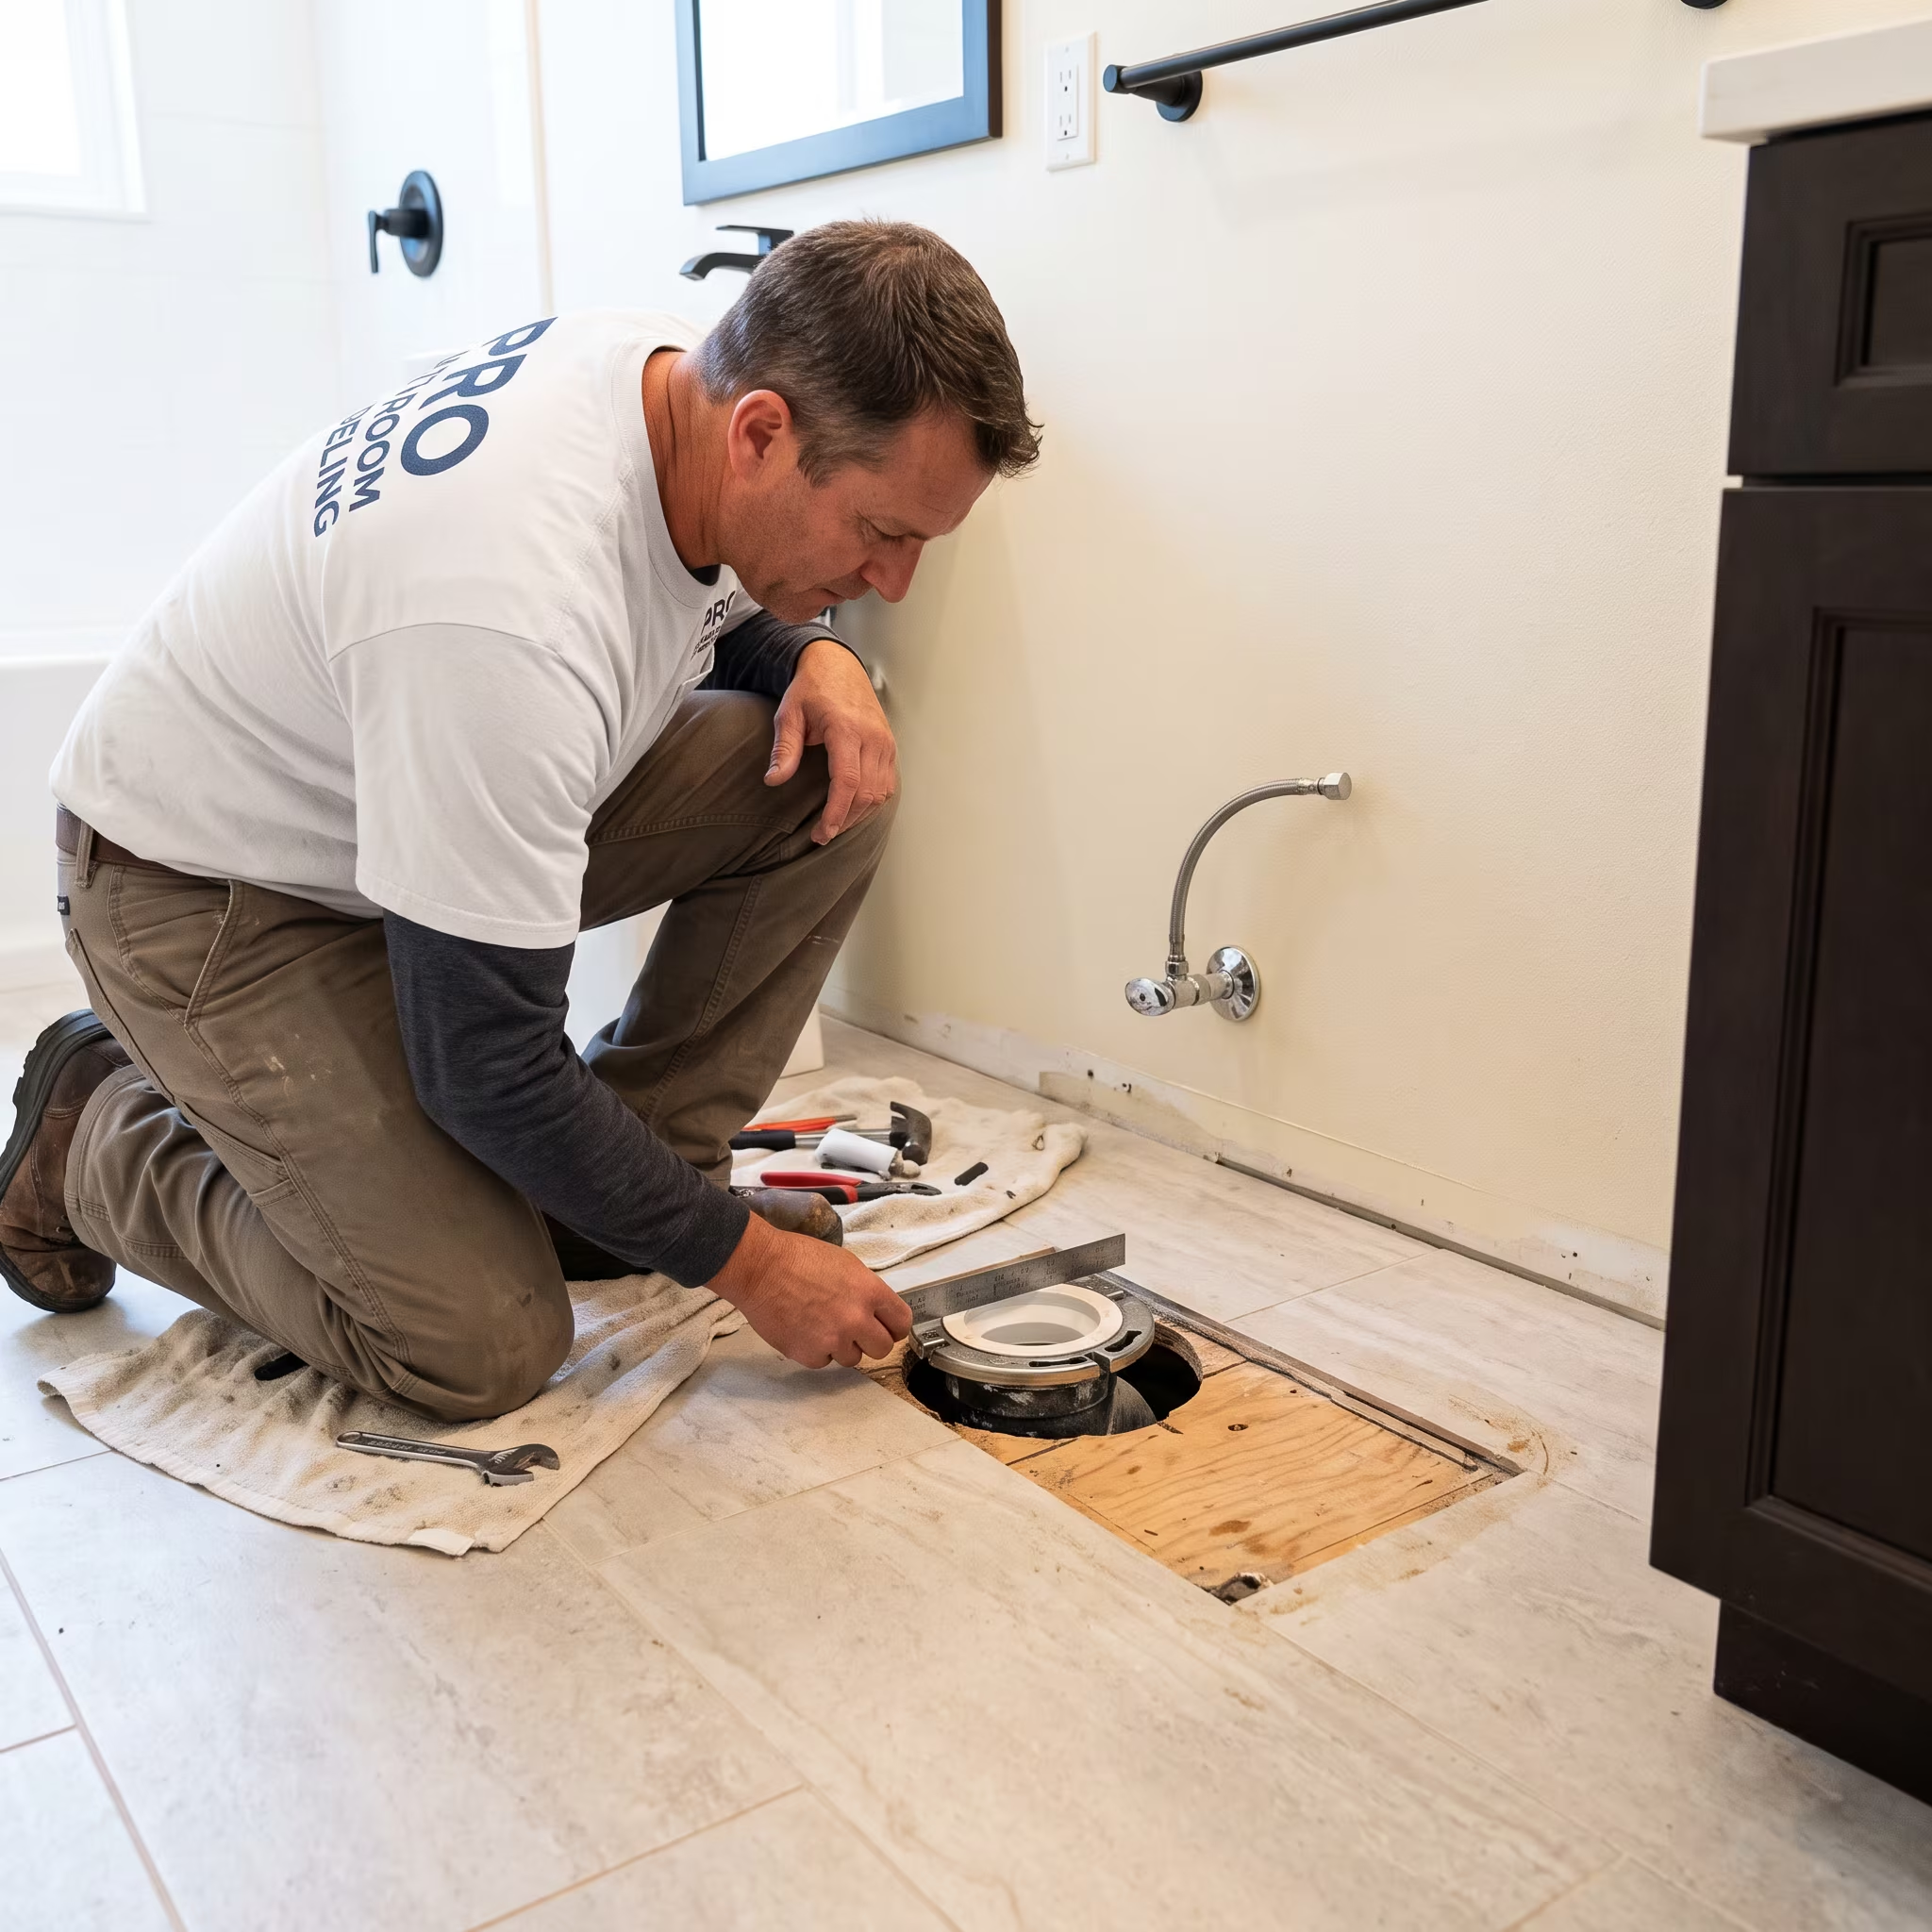
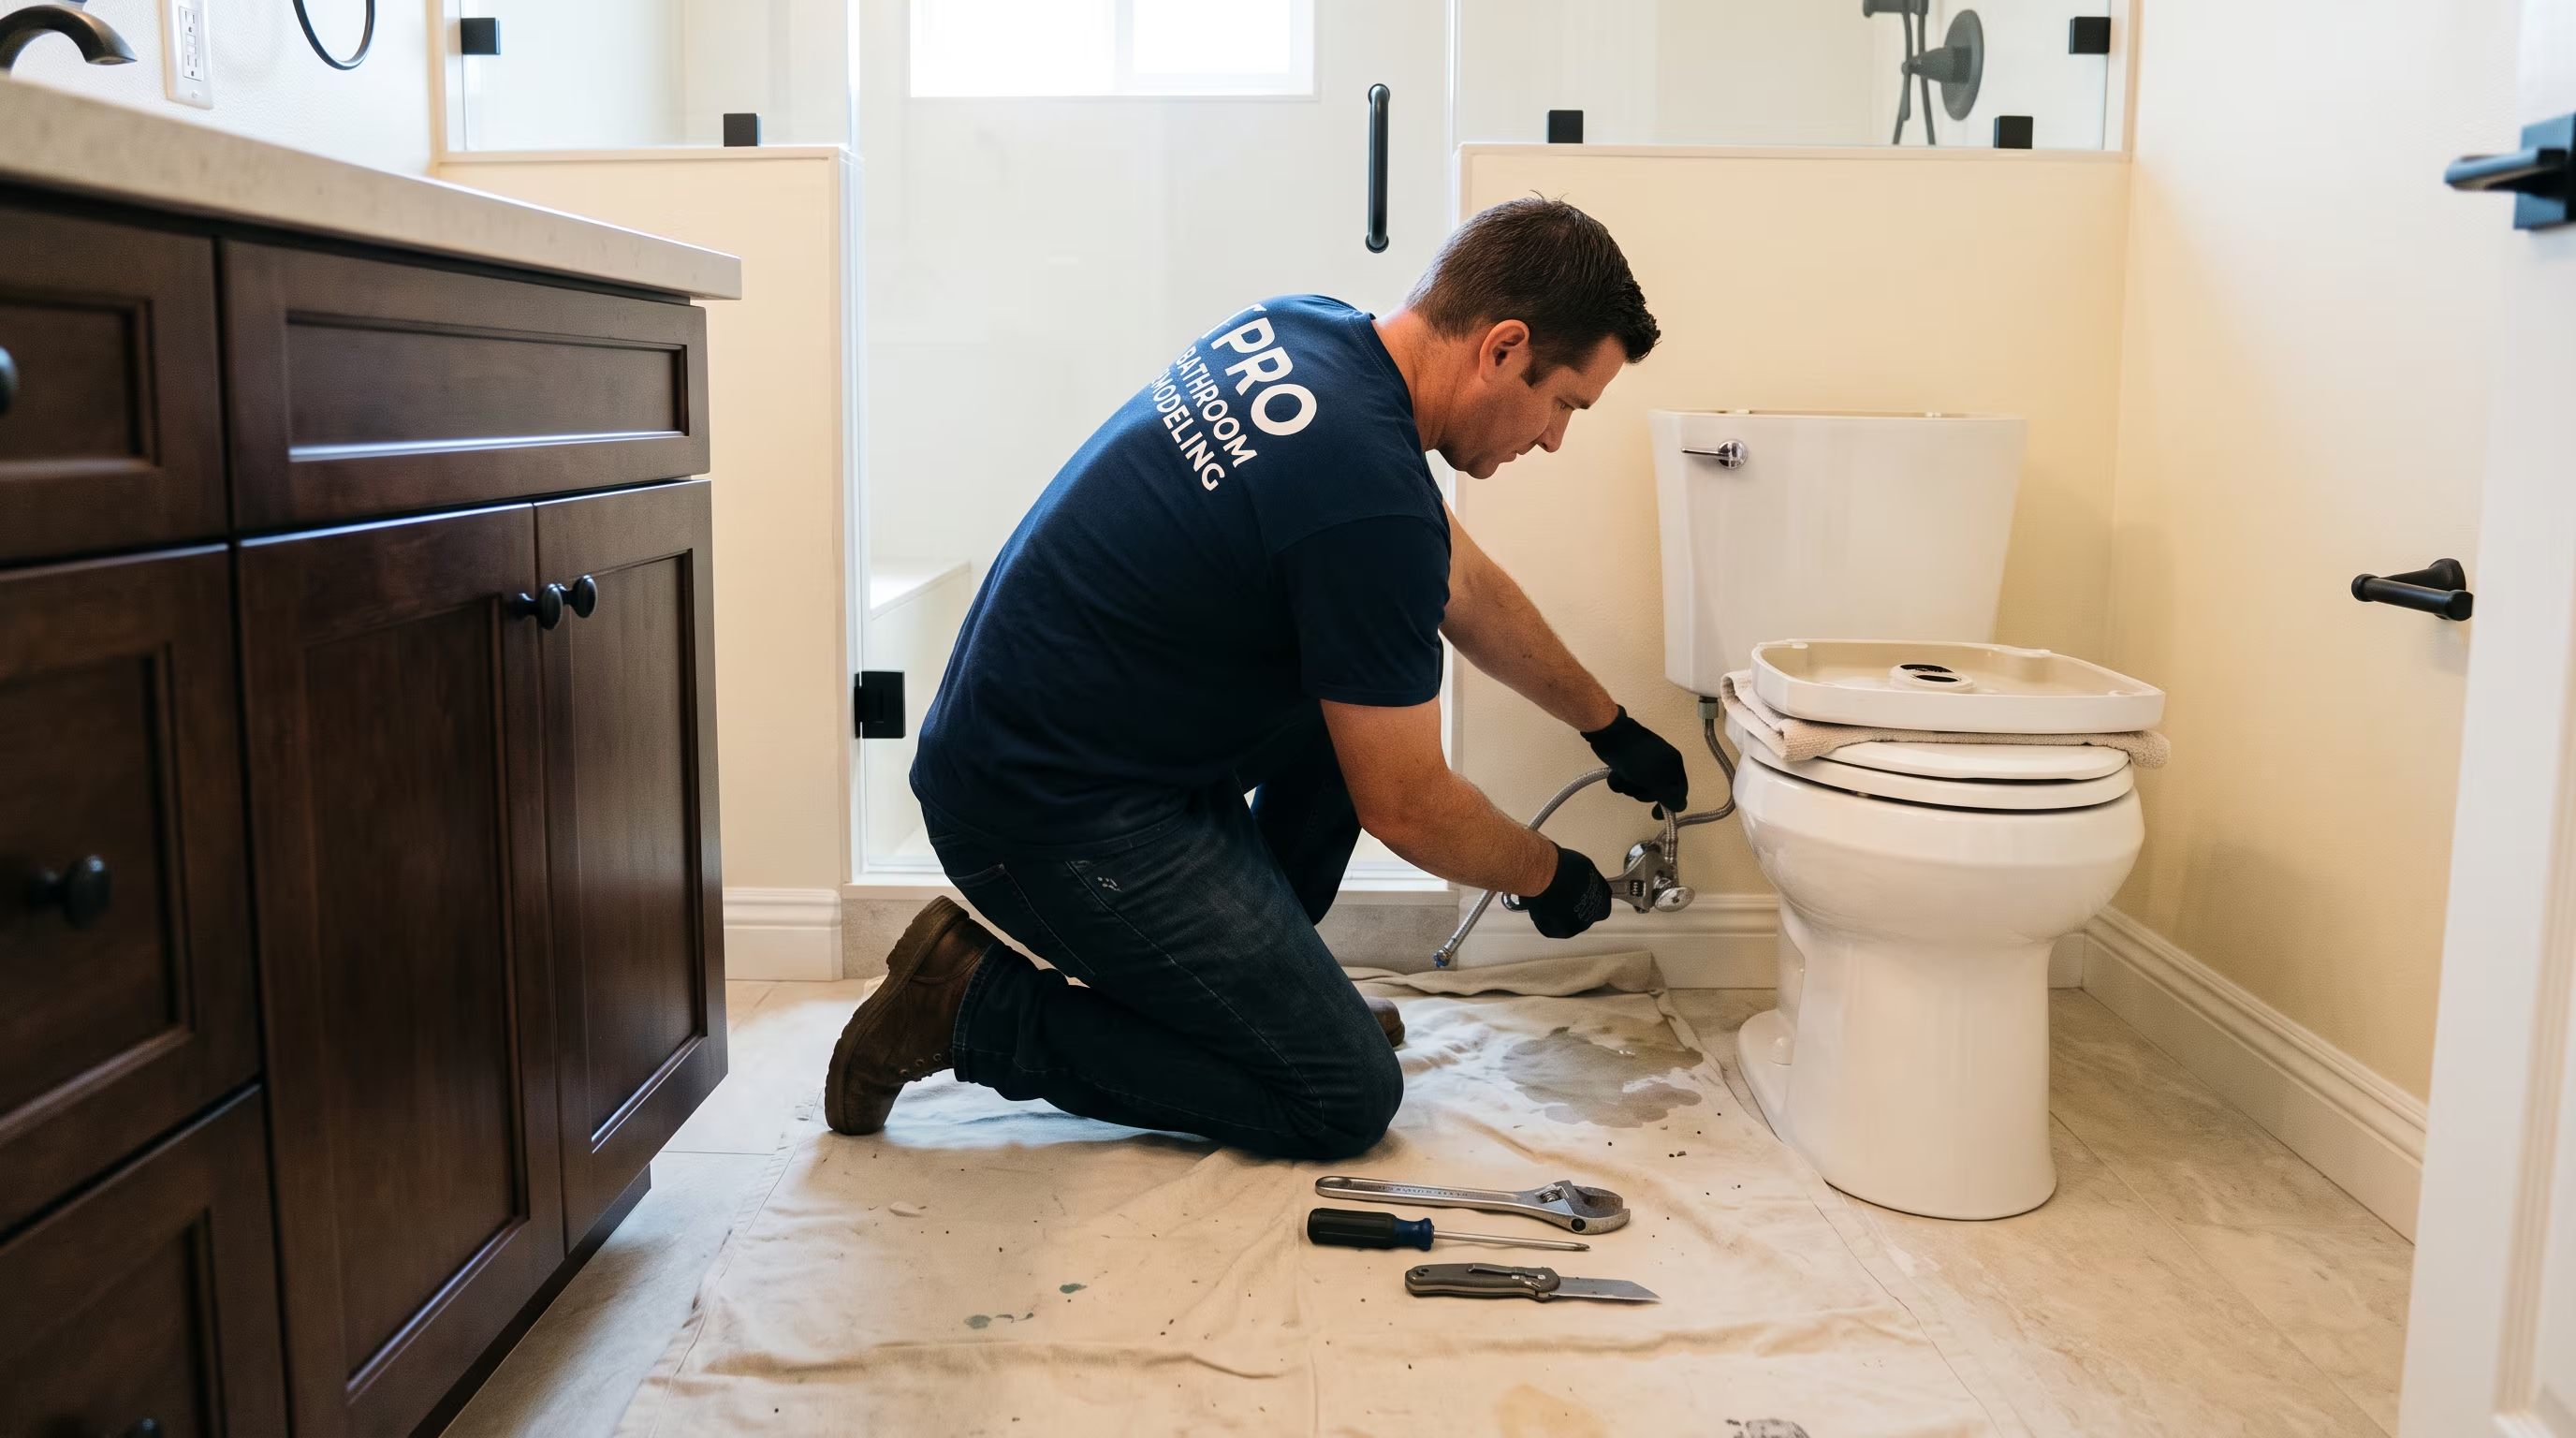
Water supply is shut off. Tank is emptied and toilet is disconnected from supply and flange. Old wax ring and any old caulk are removed completely.
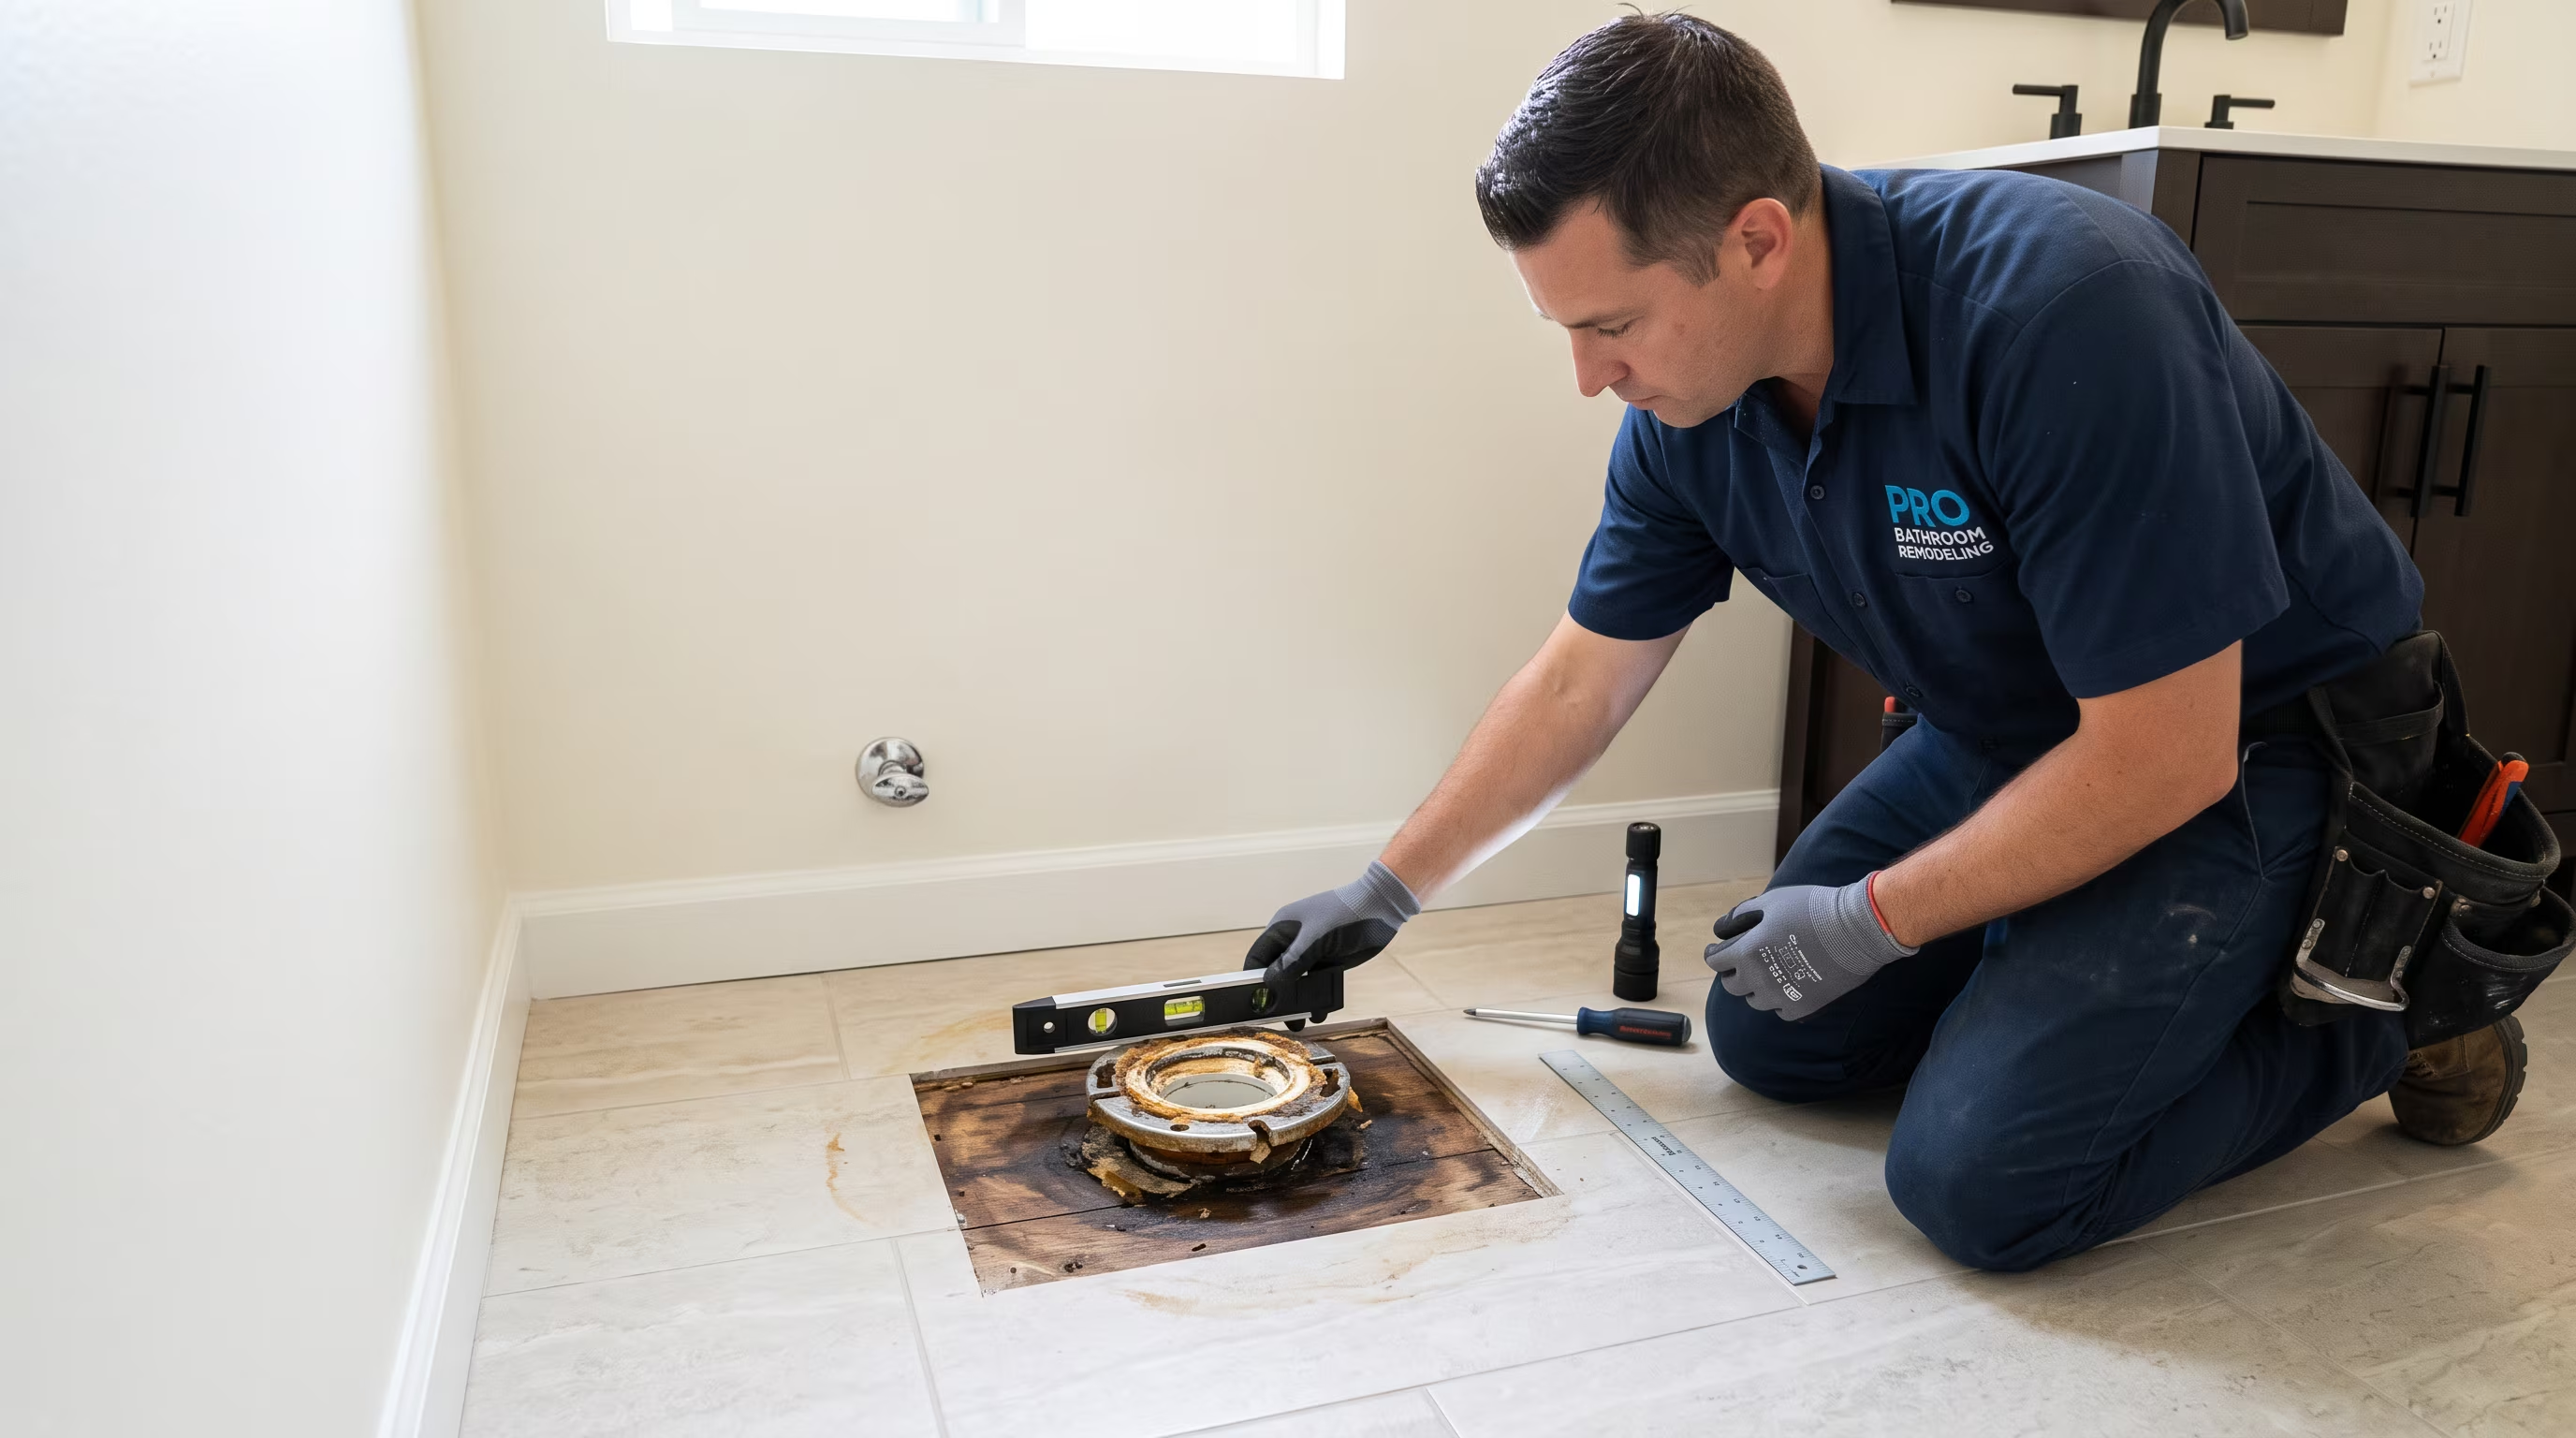
Flange condition and subfloor around the drain are assessed. Repairs or extensions are addressed before the new toilet is set.
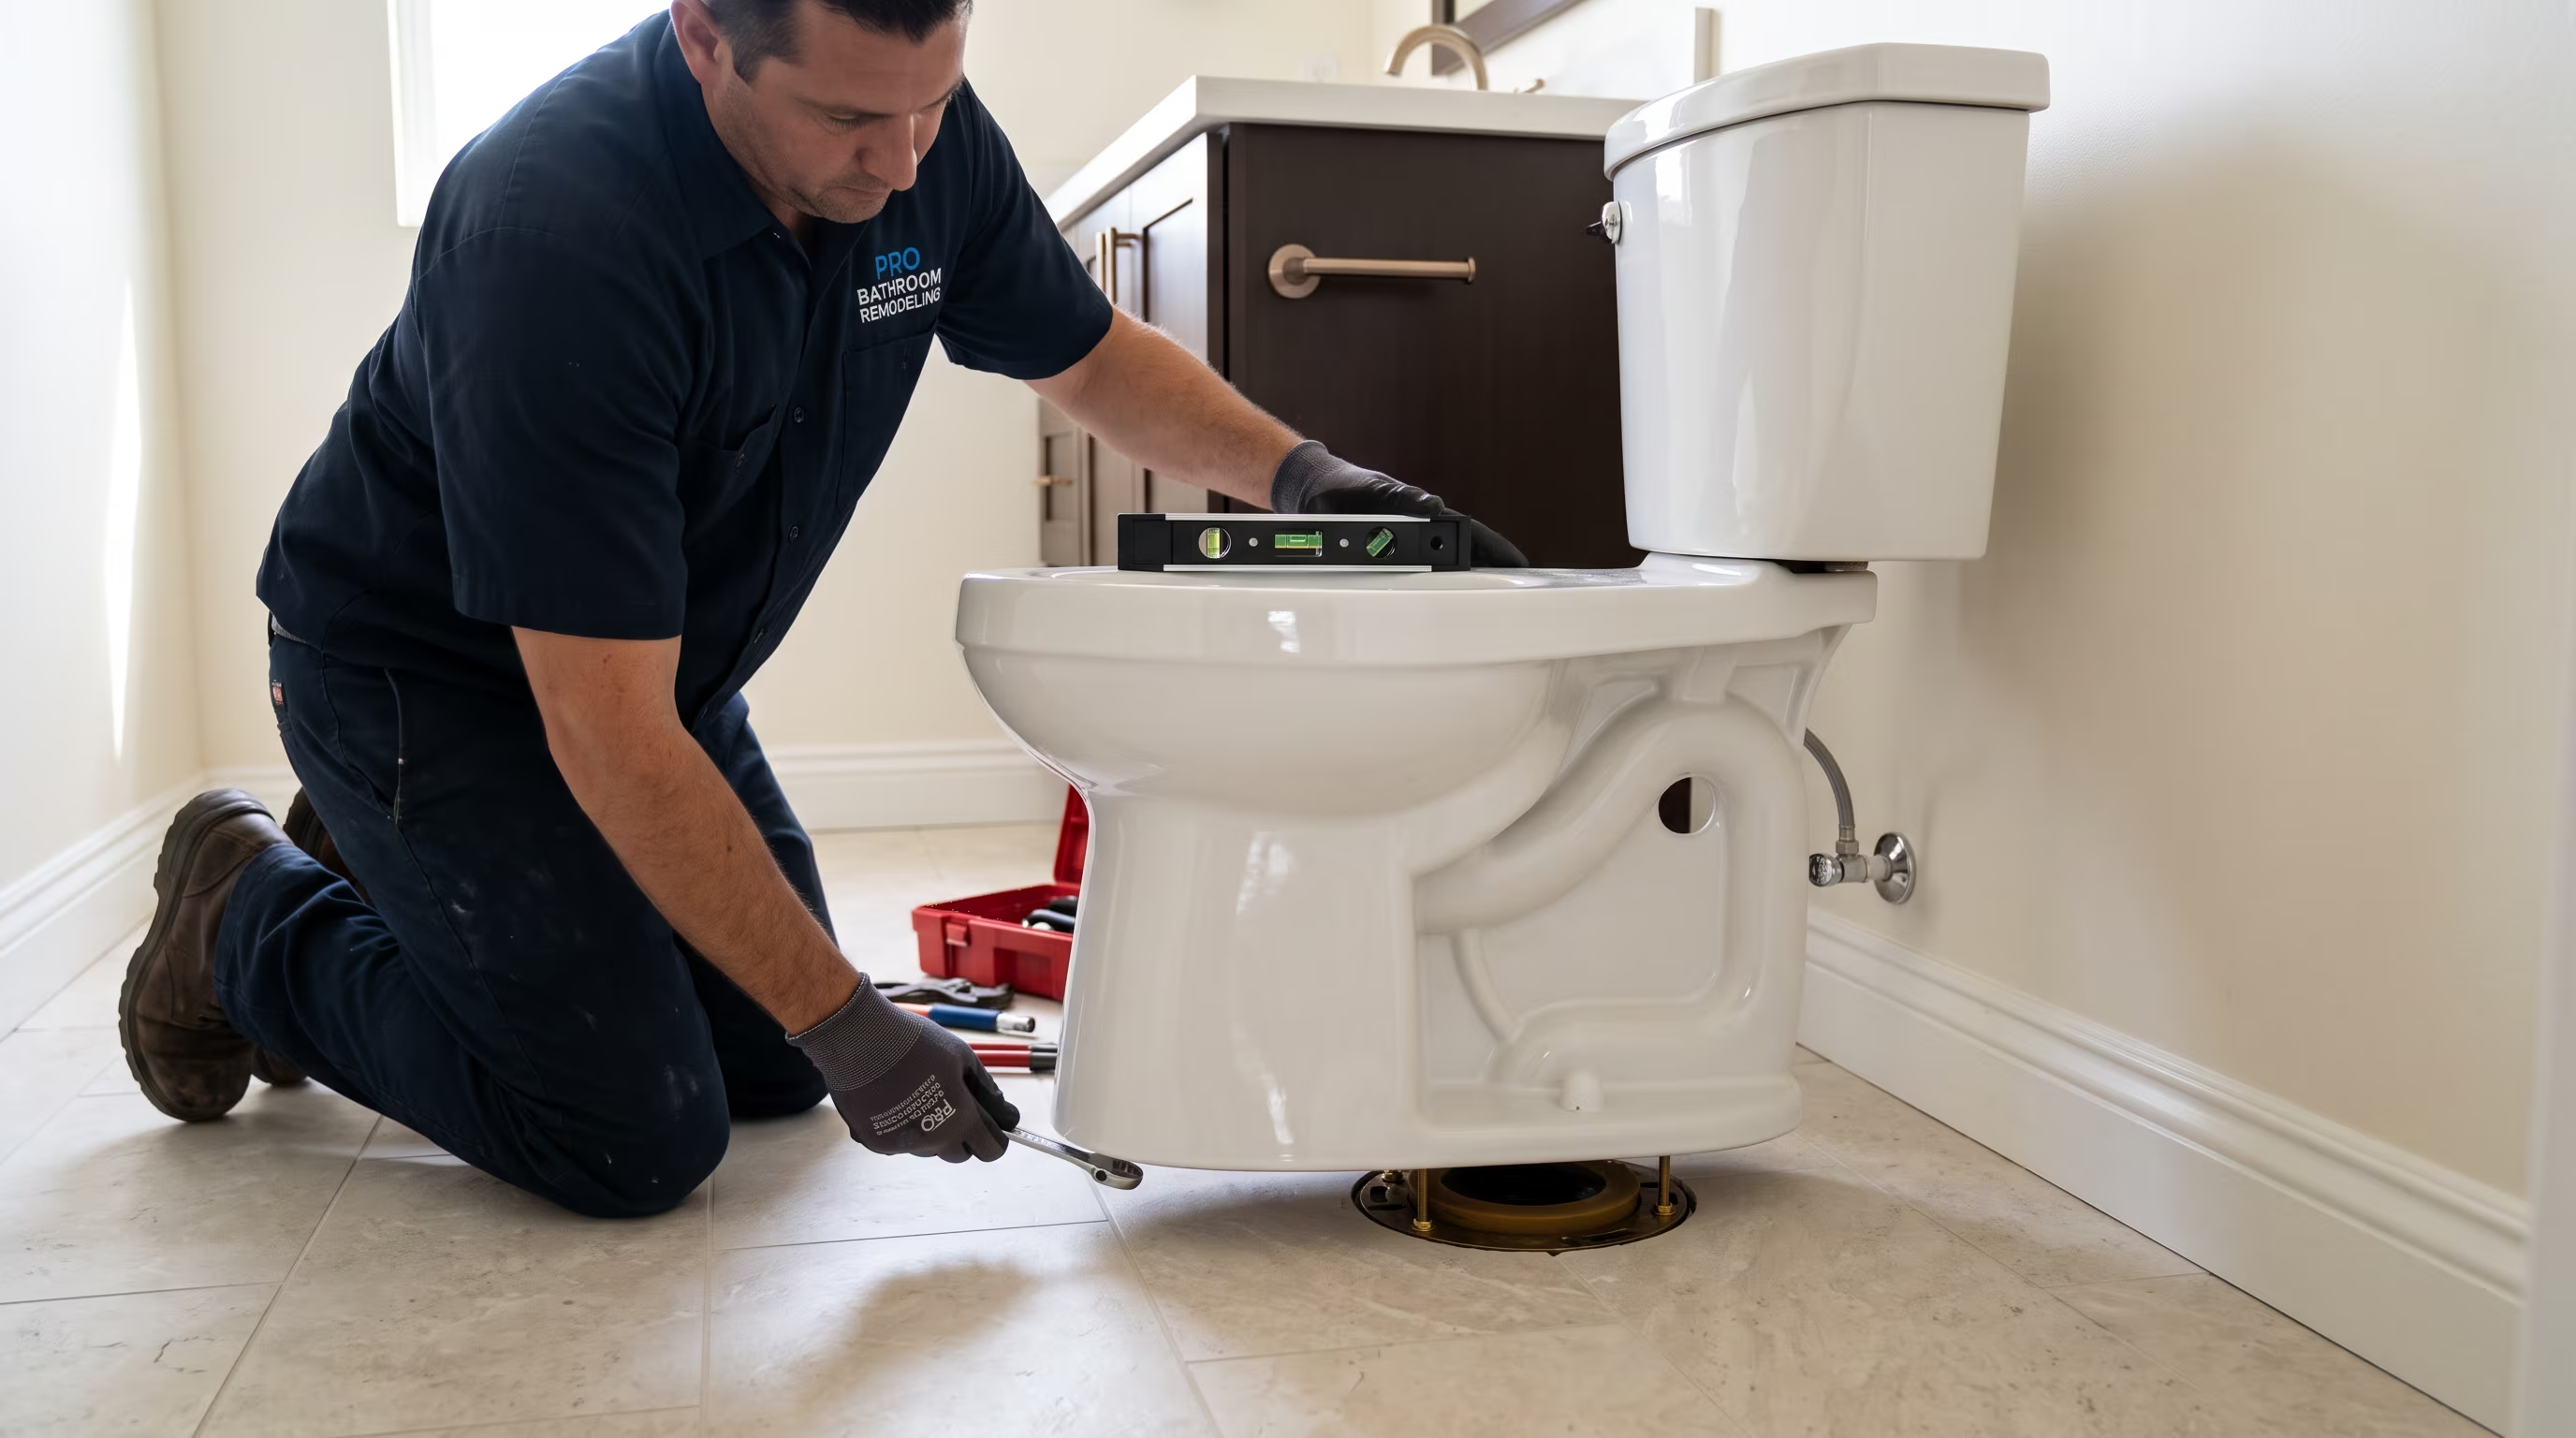
A new wax ring or wax-free gasket is installed. The toilet is set on the flange, bolts are tightened evenly to prevent cracking and the toilet is tested for rock or movement.
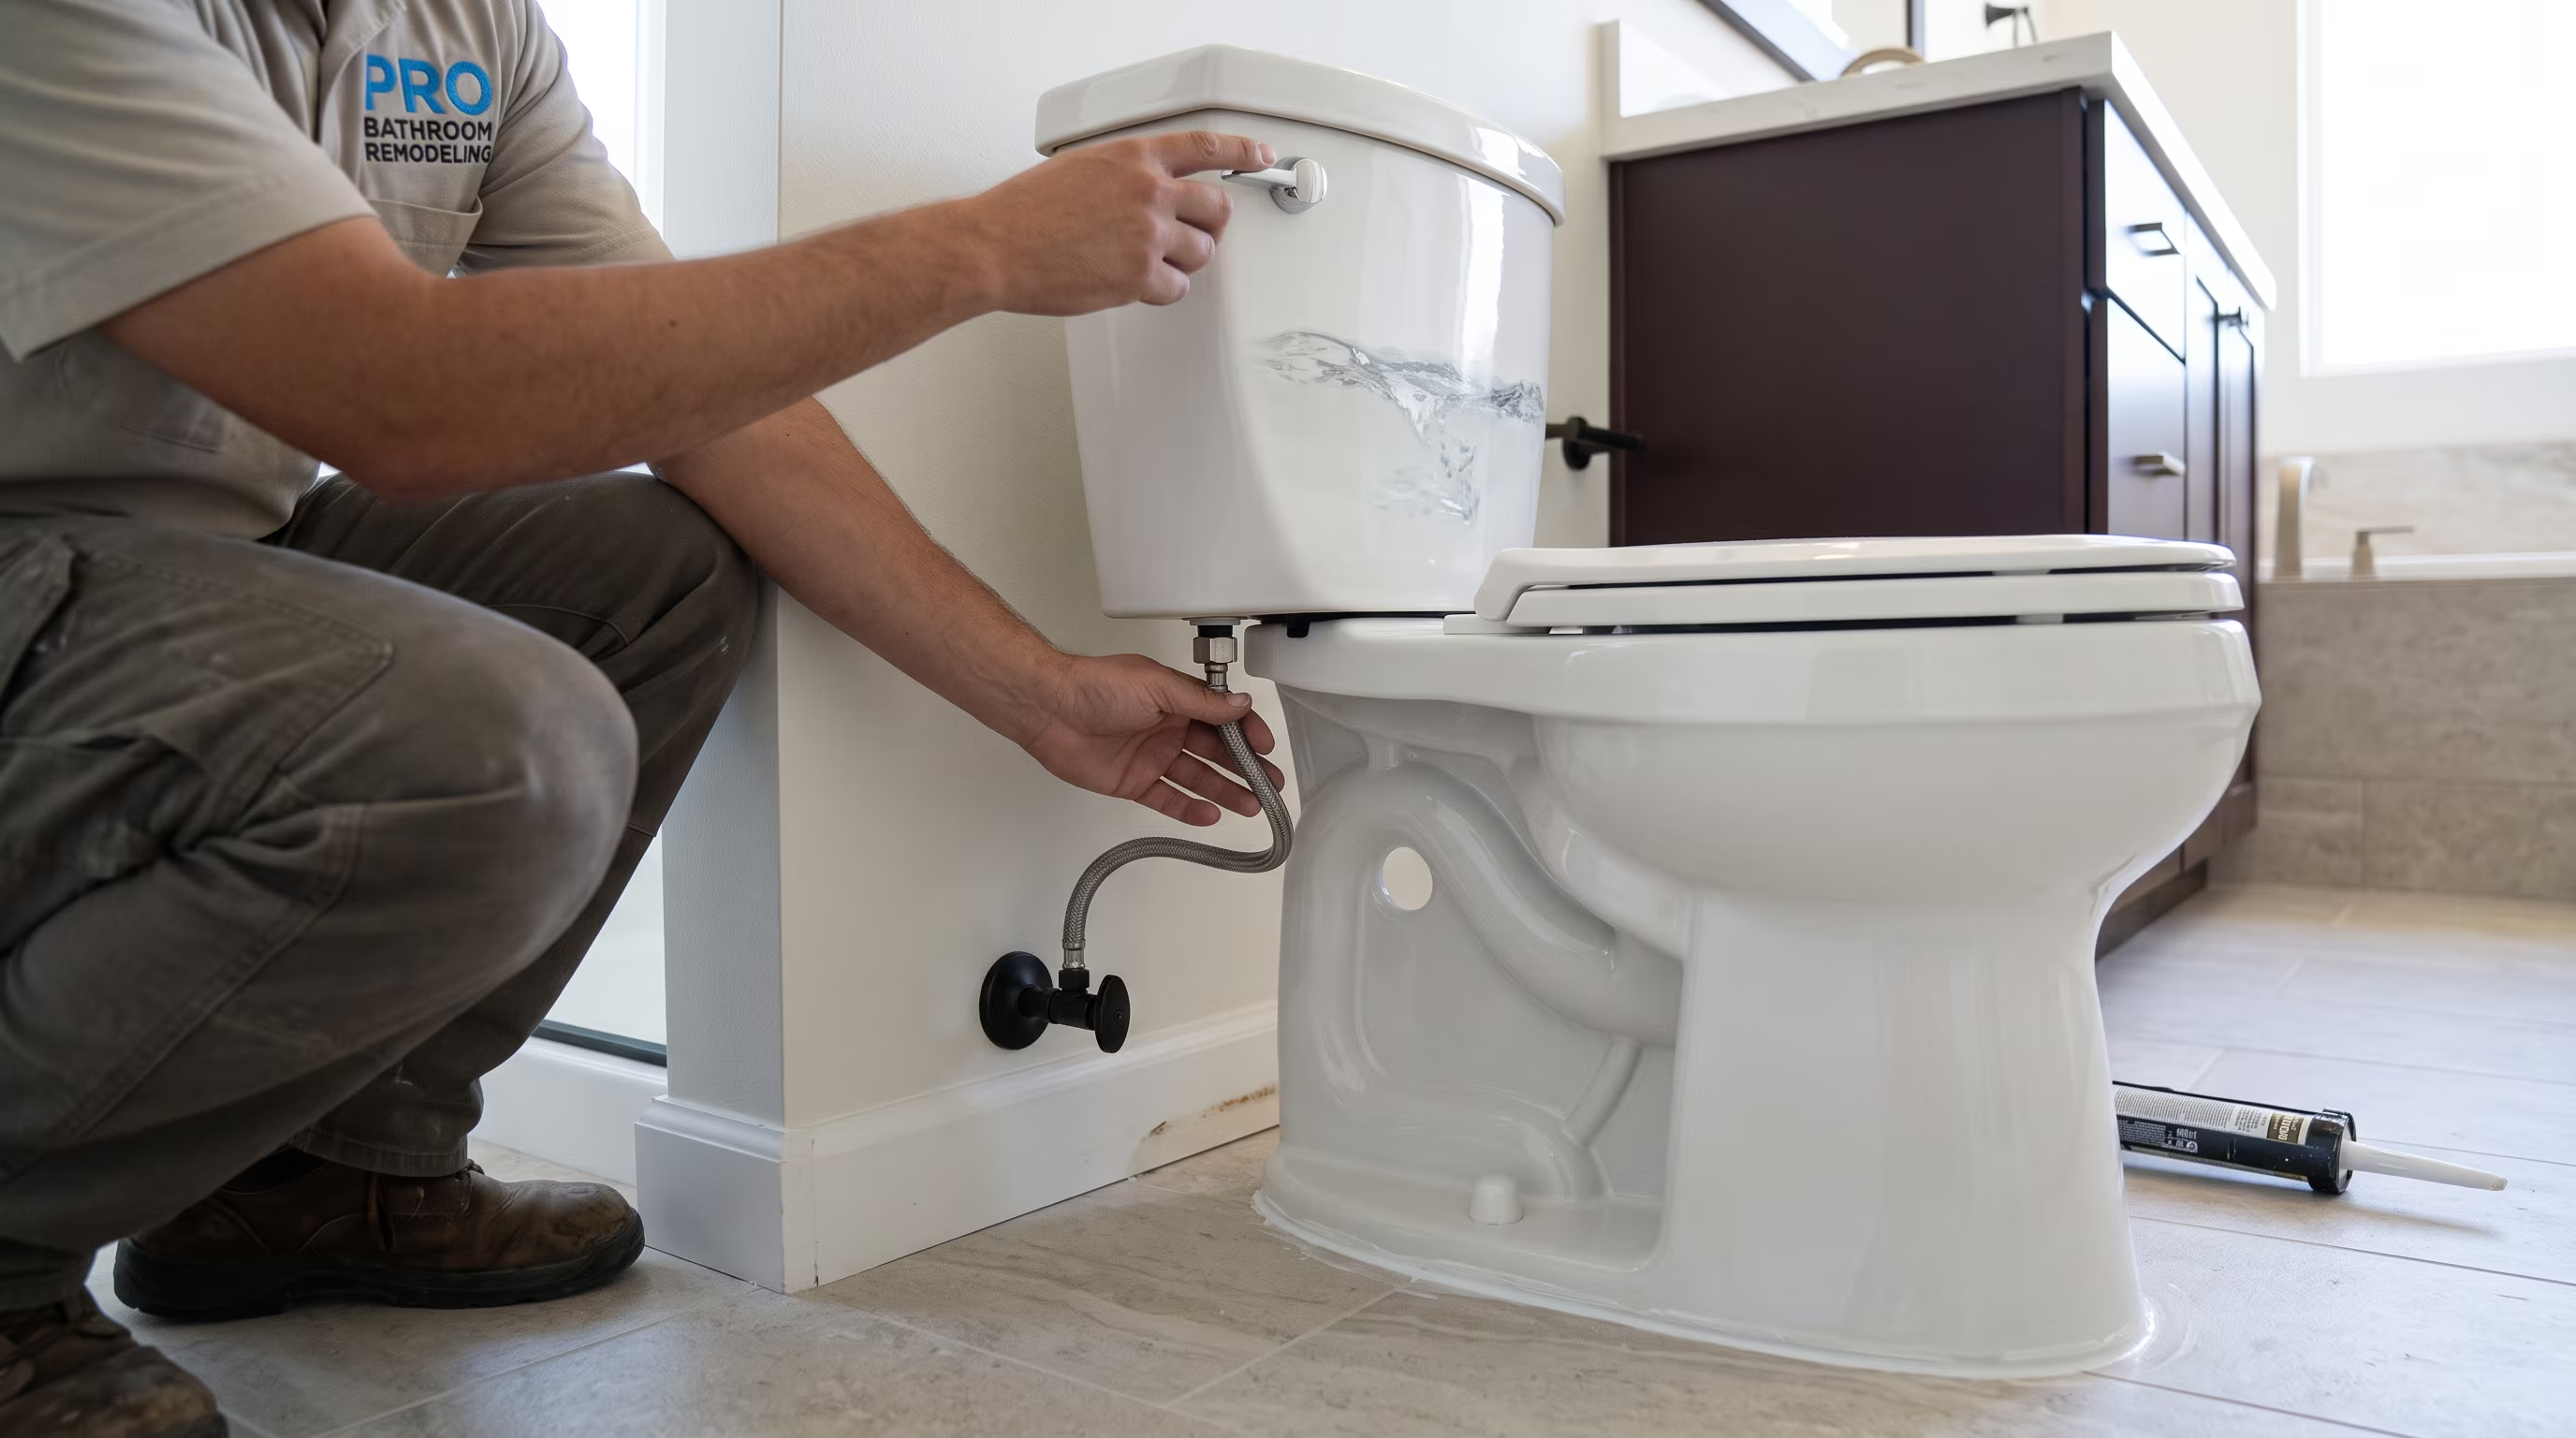
New supply line is connected to the shutoff. Tank is filled and multiple flush cycles are tested. Base is caulked on all sides except the back to allow detection of future leaks.
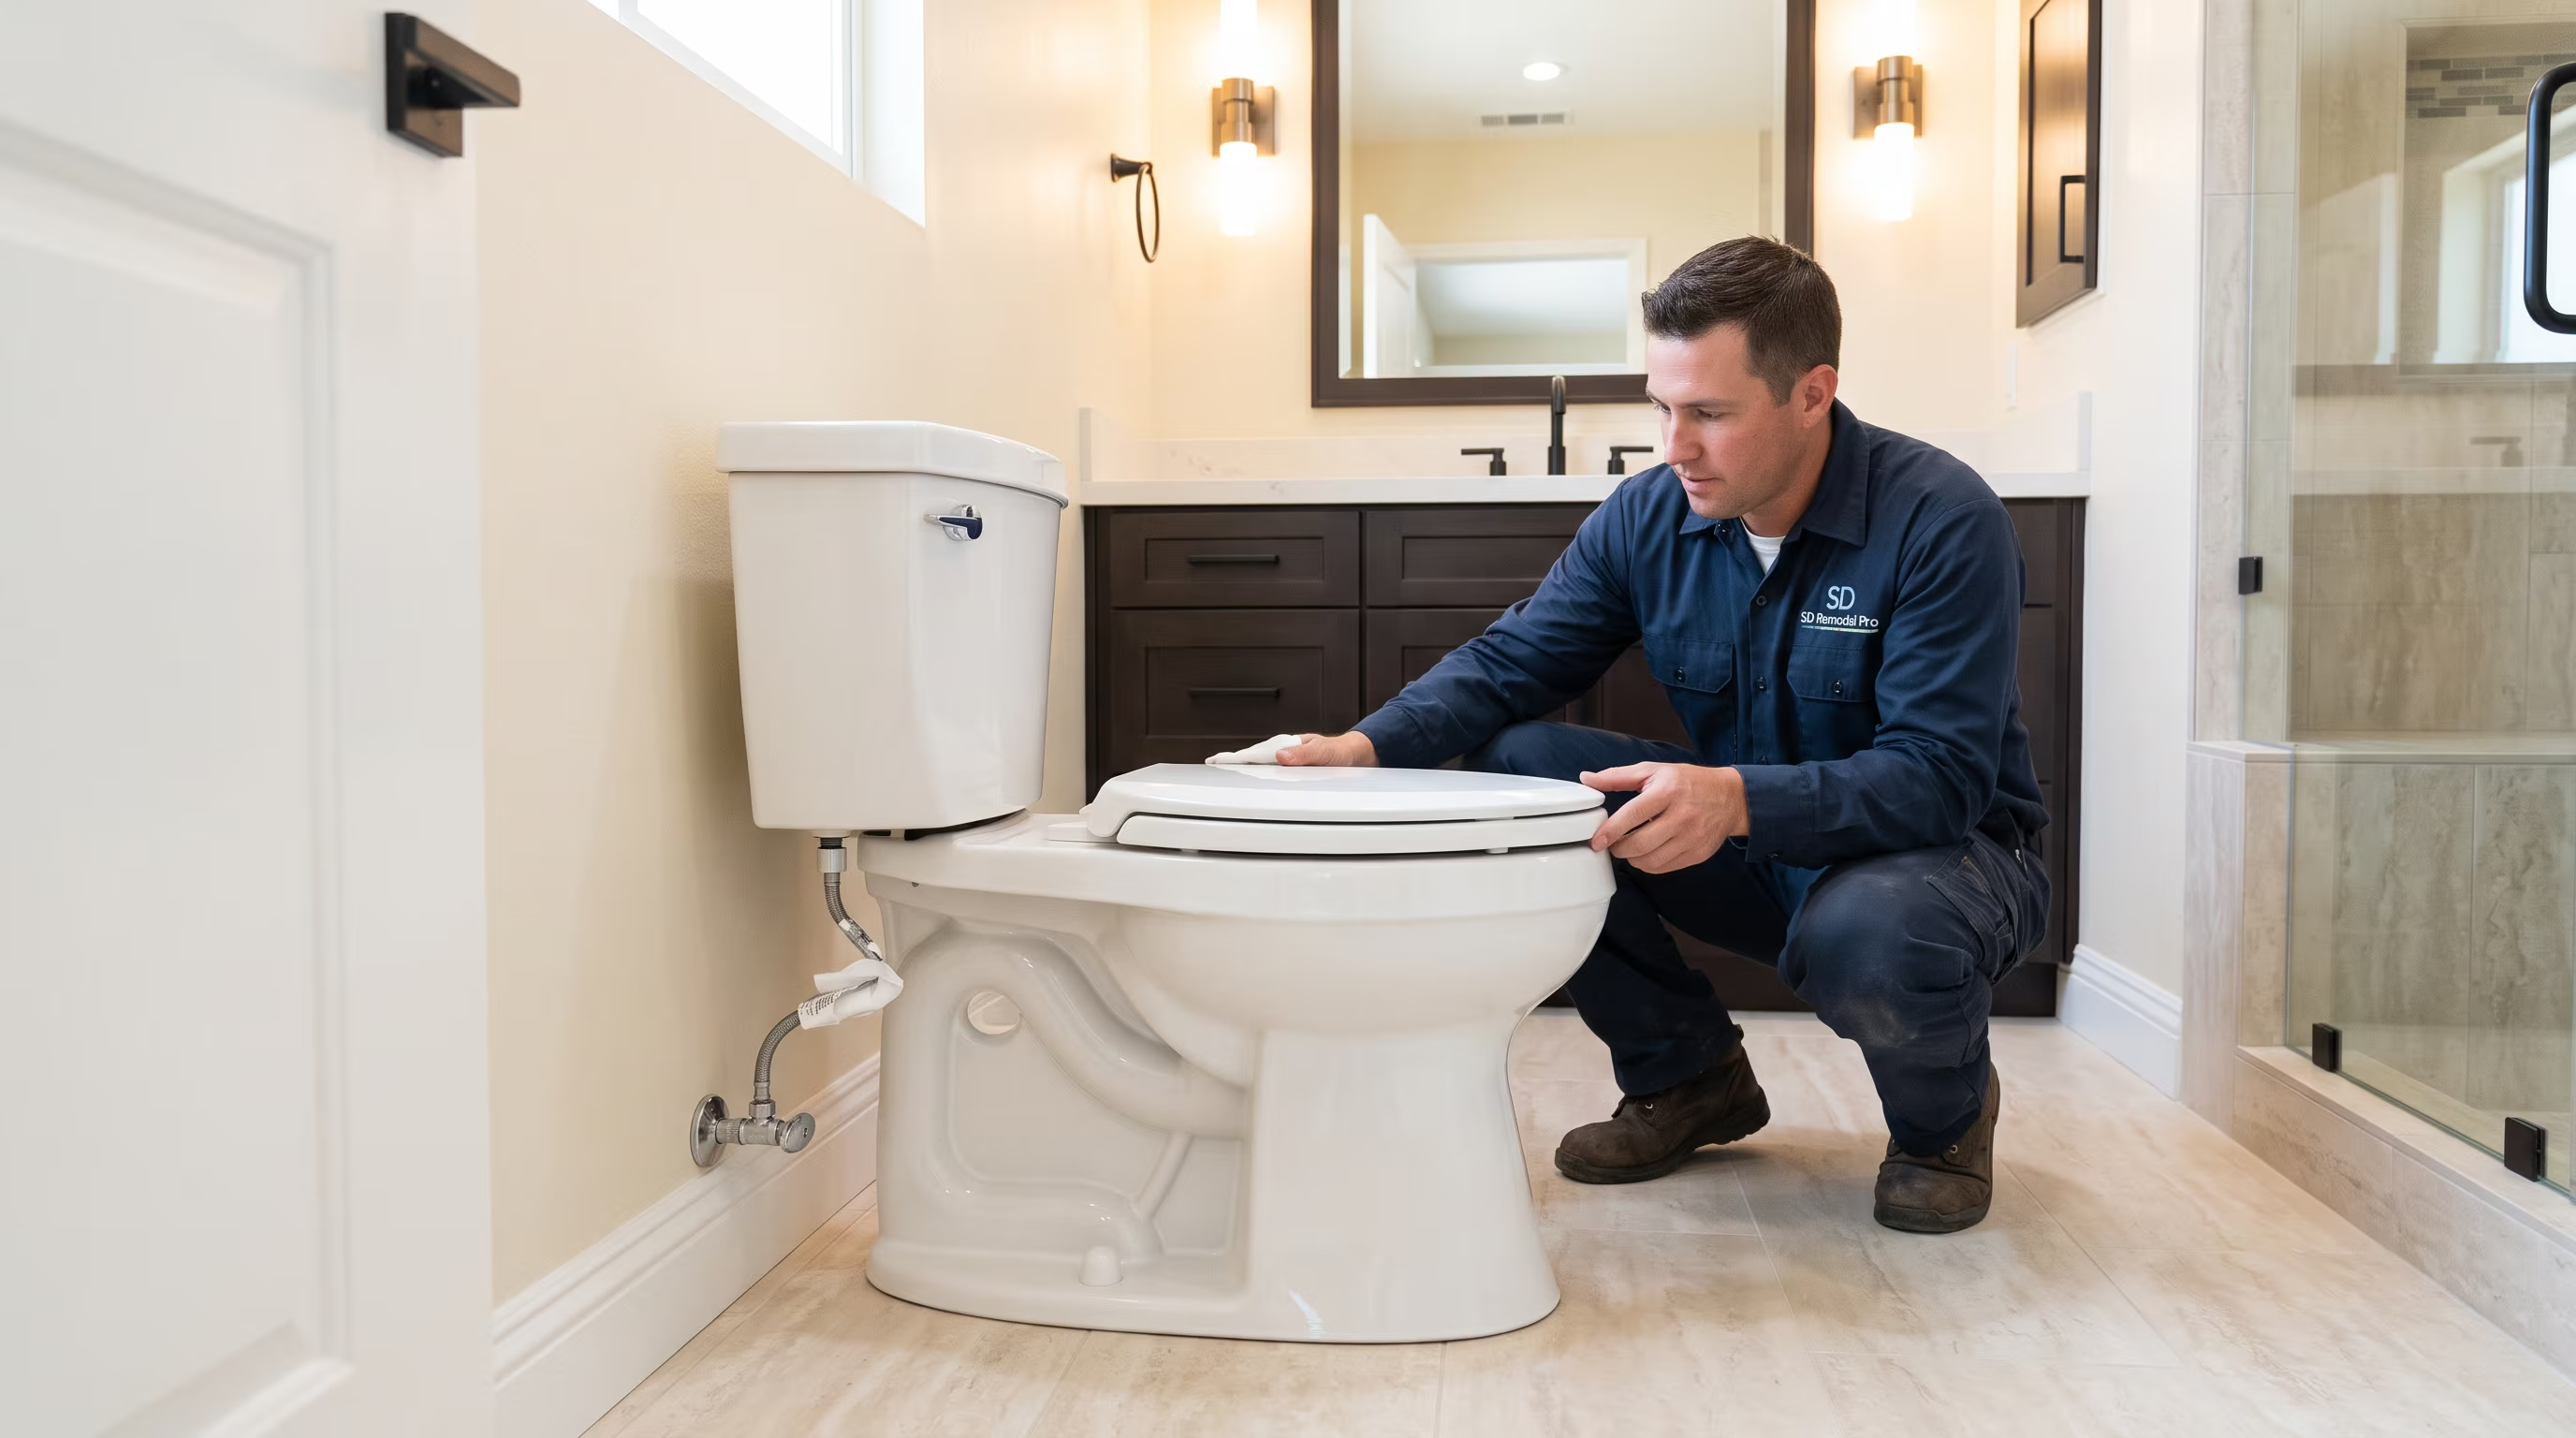
Water line connections are checked for drips. Seat installation is confirmed. The area is cleaned and disposables are removed.
Request an assessment or call us directly.

The rough-in measurement is the distance from the finished wall surface behind the toilet to the center of the floor drain. The most common residential rough-in is 12 inches, but some homes have 10-inch or 14-inch rough-ins. The replacement toilet must match the rough-in dimension of the existing drain location, or the tank will either float away from the wall or cannot be set at all. We measure the rough-in before specifying any replacement model.
Replacing a toilet in the same location without changing the drain or supply rough-in typically does not require a permit in most San Diego County jurisdictions. Moving the toilet to a new location or changing the drain position would require a permit. We confirm requirements for your specific scope and jurisdiction if there is any ambiguity.
Comfort-height toilets have a seat height of 17 to 19 inches from the finished floor, compared to the standard 15 inches. They are easier to use for taller adults and for people with limited knee or hip mobility. They function the same as standard-height toilets and fit the same rough-in dimensions. Comfort-height models are one of the more common and practical upgrades in primary bathroom projects for households planning for long-term comfort.