A compact bathroom can work well. The key is solving movement, clearances, storage, ventilation and wet-area durability before choosing tile colors or fixtures. We assess what is possible in your specific space, then help you build a plan that fits.
Every compact bathroom has a different layout, plumbing position and household need. Sharing your specifics helps us give you an honest assessment — not a generic estimate.
15+ Years Serving San Diego County
15+Years Experience
500+Projects Completed
1 hrResponse Time
Licensed CA Contractor
Permit-First Process
Written Warranty
In-House Craftsmen
Get Your Free Bathroom Remodel Estimate
No obligation. A specialist contacts you within 1 hour.
Get Your Free Bathroom Remodel Estimate
No obligation. A specialist contacts you within 1 hour.
Understanding the Problem First
Why Small Bathrooms Feel So Difficult to Use
Compact bathrooms frustrate homeowners for specific, fixable reasons. Identifying the root cause before choosing solutions prevents expensive decisions that do not address the actual problem.
Blocked Door Swings
An inswing door in a 35-square-foot bathroom can overlap the toilet, vanity, or both, making the room hard to enter and exit safely.
Impact: Restricted movement, safety risk
Oversized Fixtures
A full-depth 21-inch vanity or a standard 5-foot tub in a 48-inch-wide bathroom eliminates usable floor space and circulation entirely.
Impact: Dead zones, unusable clearances
Narrow Circulation Paths
Building codes recommend at least 21 inches of clear floor space in front of fixtures. Many compact bathrooms fall short, creating a sideways shuffle to reach the shower.
Impact: Daily discomfort, accessibility barrier
Limited Storage
No recessed medicine cabinet, no linen niche and a single surface vanity create daily clutter and a room that never feels organized or calm.
Impact: Clutter, visual noise, frustration
Poor Ventilation
Undersized or absent exhaust fans allow moisture to accumulate, leading to mold on grout, peeling paint, and persistent odors that no surface refresh can fix.
Impact: Mold risk, health concern, material damage
Dark Corners and Mirror Shadows
A single overhead light creates shadows on the face and dark corners that make the room feel smaller and harder to use for grooming tasks.
Impact: Visibility loss, perceived smaller space
Hard-to-Clean Surfaces
Porous grout in high-traffic joints, rough texture finishes and recessed ledges collect moisture, soap residue and mildew that routine cleaning cannot fully reach.
Impact: Ongoing maintenance burden
Difficult Bathing Access
A high tub threshold or a shower that requires a wide step over a curb presents a genuine safety challenge as household members age or recover from injury.
Impact: Fall risk, daily difficulty
Space Planning
Layout Strategies and Feasibility Considerations
The first layout decision in any small bathroom remodel is whether moving plumbing is necessary, beneficial, or cost-effective given the existing conditions.
Keeping Plumbing in Place
Working with existing drain, vent and supply positions avoids subfloor cuts, rerouting through walls and the inspections those changes often require. Most surface-level and fixture-replacement scopes stay in this category.
Tub-to-Shower Planning
Converting a tub alcove to a walk-in or low-threshold shower uses the existing drain location in many cases. The drain may need relocation if a larger footprint or curbless entry is required. Subfloor condition, slope and waterproofing are evaluated during demolition.
Compact Tubs and Corner Showers
Soaking tubs in 48-inch and 54-inch alcove formats and neo-angle or quadrant corner shower units fit rooms where a standard 60-inch tub does not. Clearance in front and beside the fixture must be verified against actual measurements, not catalog dimensions.
Clearances That Matter
Toilet centerline to side wall: 15 inches minimum, 18 inches preferred. Clear space in front of the toilet: 24 inches minimum. Shower interior: at least 30 by 30 inches finished, with 36 by 36 inches or larger strongly preferred for comfortable daily use.
Door Reconfiguration
Pocket doors, barn-style sliders or outswing configurations can recover meaningful floor area when wall framing, plumbing and electrical positions permit the change. Each option has structural and clearance requirements that must be verified before planning proceeds.
What Demolition May Reveal
Water damage behind tiles, subfloor deflection or rot, corroded pipes, outdated wiring near wet zones and inadequate blocking are discovered after walls open, not before. A realistic scope allows for contingency if any of these conditions are found.
Before and After: Space-Planning Reference
BEFORE: Typical Problem Layout
AFTER: Improved Layout
Key changes illustrated above:
Pocket door recovers 6 to 8 sq ft of usable floor area
Shallow vanity (16" vs 21") adds 5" of circulation depth
Diagram illustrates planning concepts only. Professional measurement required before any layout decision.
Text description of diagram
The before layout shows a bathroom with an inswing door that blocks toilet access, a full-depth 21-inch vanity that limits circulation, and a 60-inch tub. The after layout replaces the inswing door with a pocket door to recover floor space, installs a shallower 16-inch vanity to add 5 inches of circulation depth, and converts the tub alcove to a 36-inch-plus walk-in shower. The result is a 24-inch clear floor path in front of fixtures. These are planning illustrations, not completed projects or guaranteed outcomes.
Note on hidden conditions: Walls, subfloors and plumbing chases reveal their true condition only after demolition. Any layout plan should account for the possibility of water damage, inadequate vent sizing, subfloor deflection or outdated materials that require correction before new work can proceed.
Storage Solutions
Compact Vanities and Storage That Earn Their Place
Storage in a small bathroom must be deliberate. Every unit and niche should serve daily-use needs without reducing circulation, blocking natural light or creating surfaces that are hard to keep clean.
Vanity Zone
Floating and Shallow-Depth Vanities
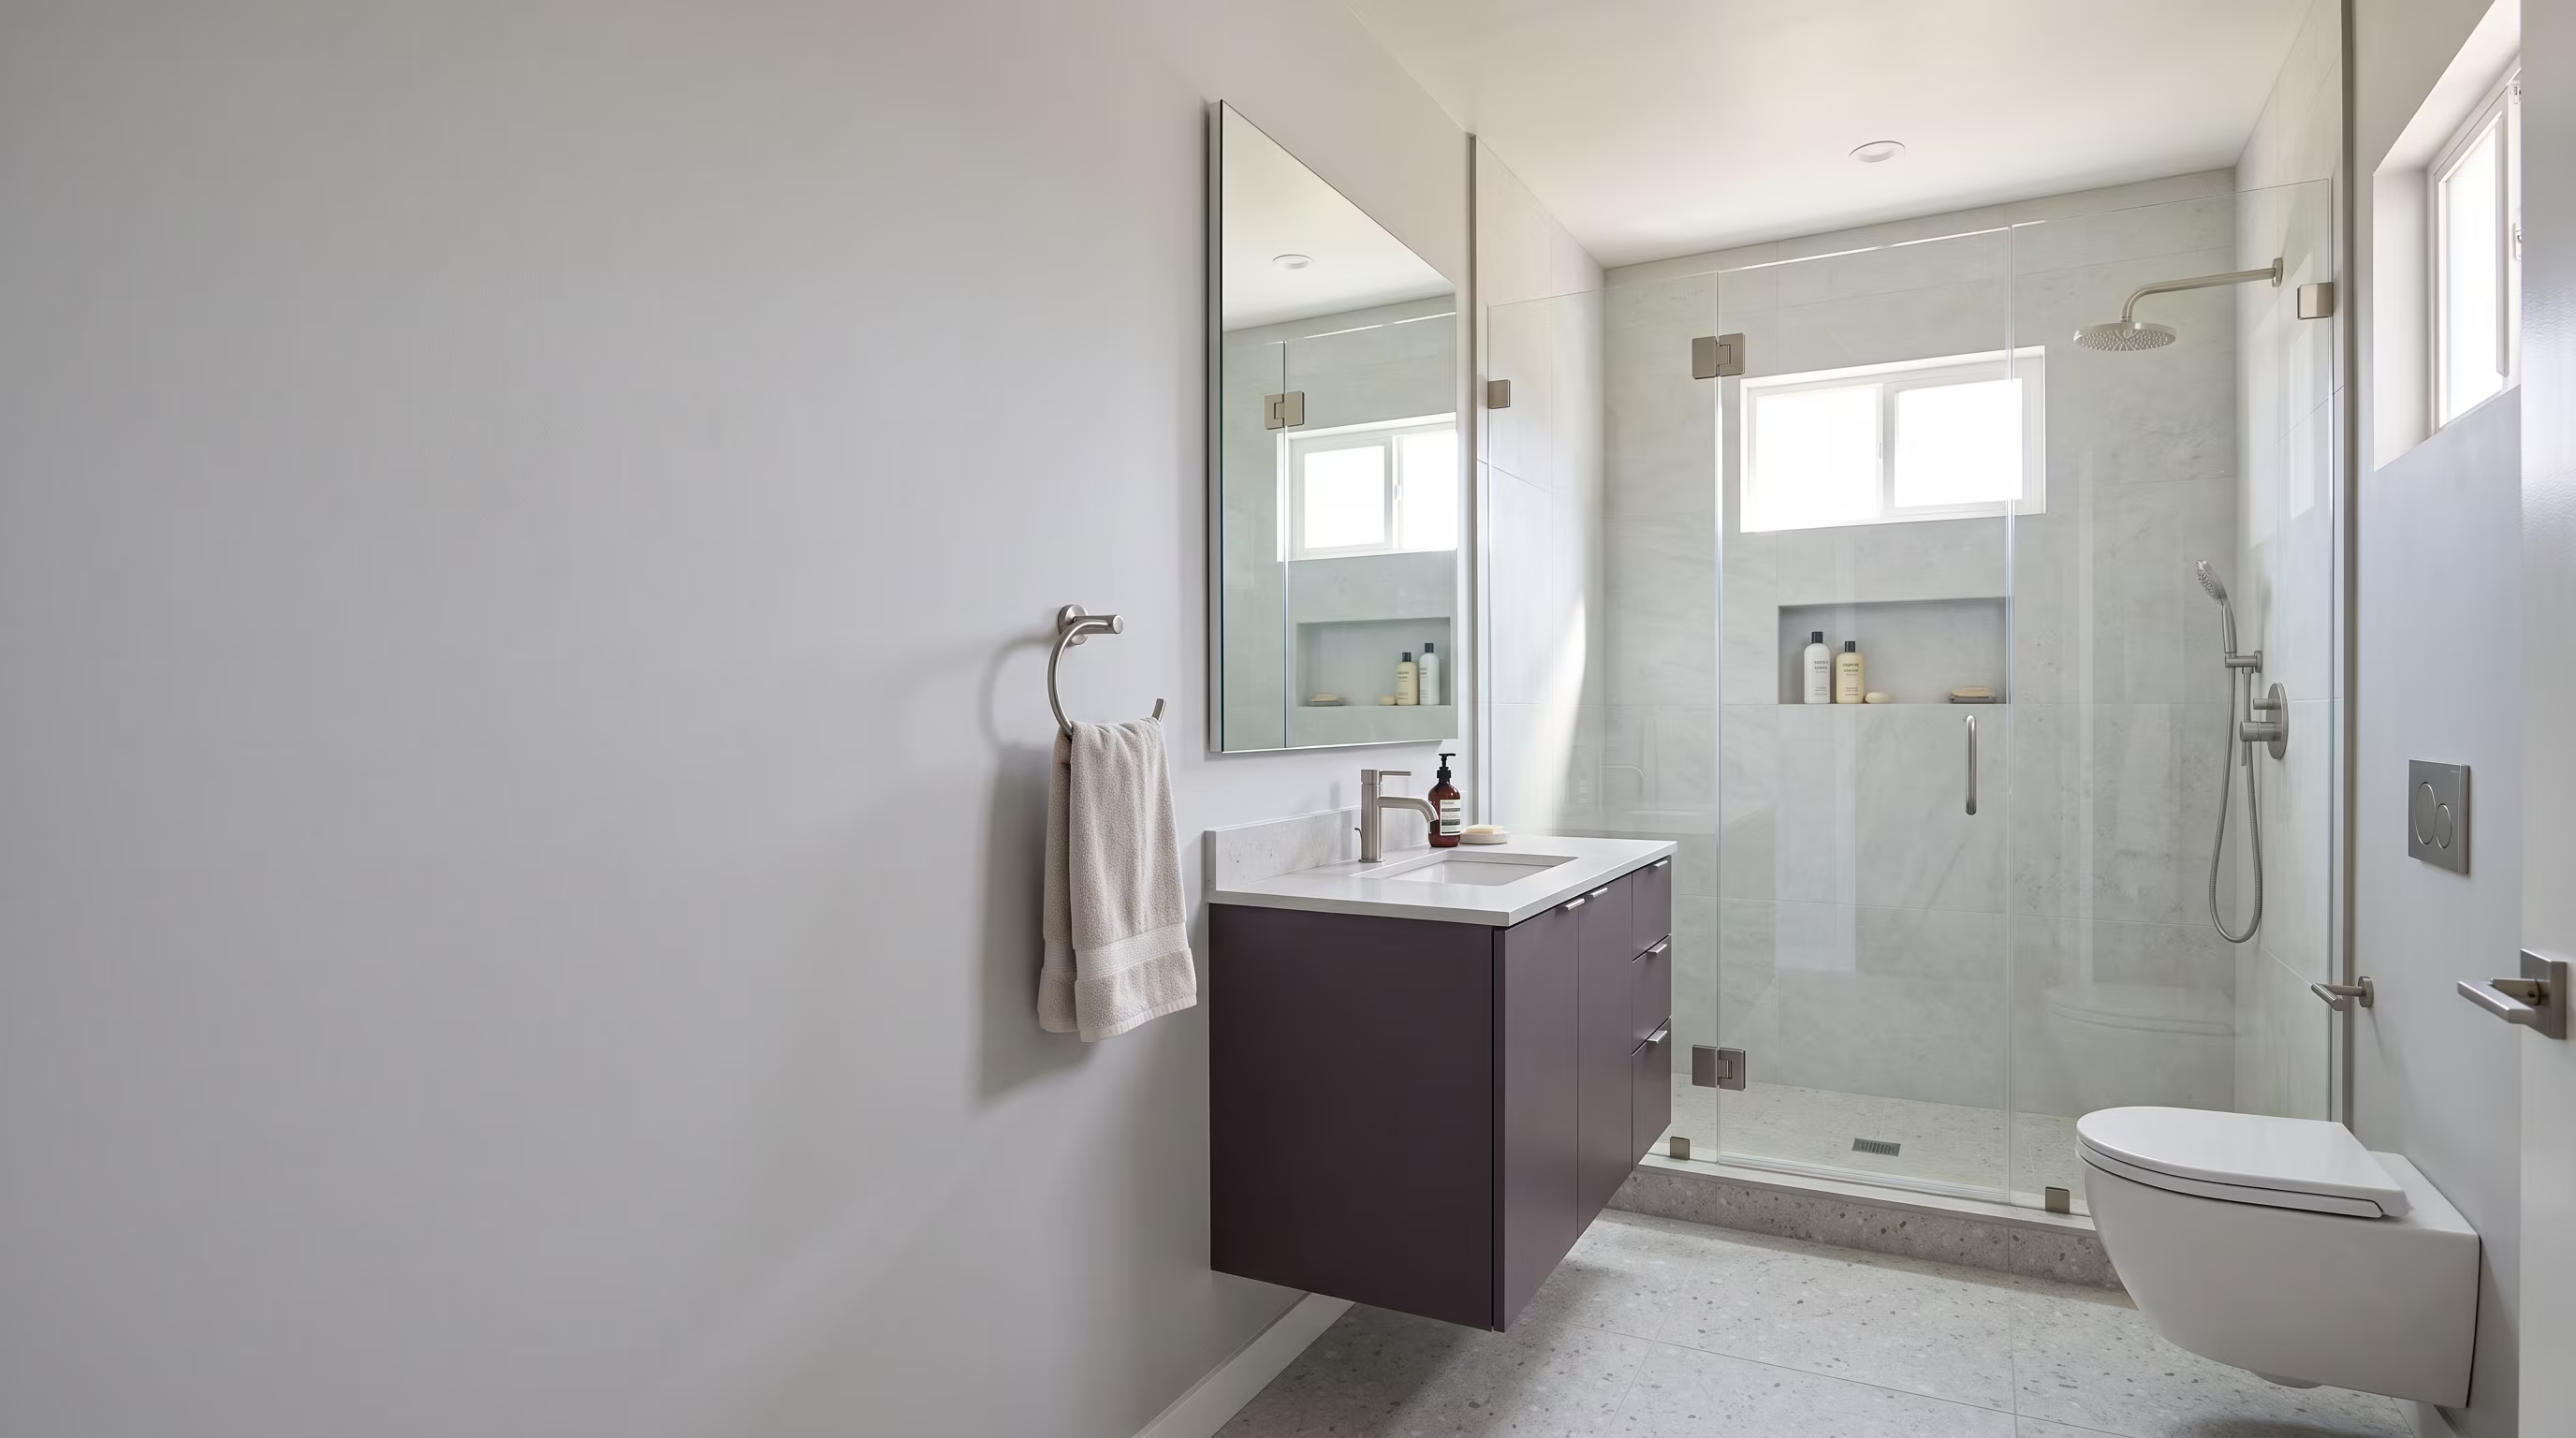
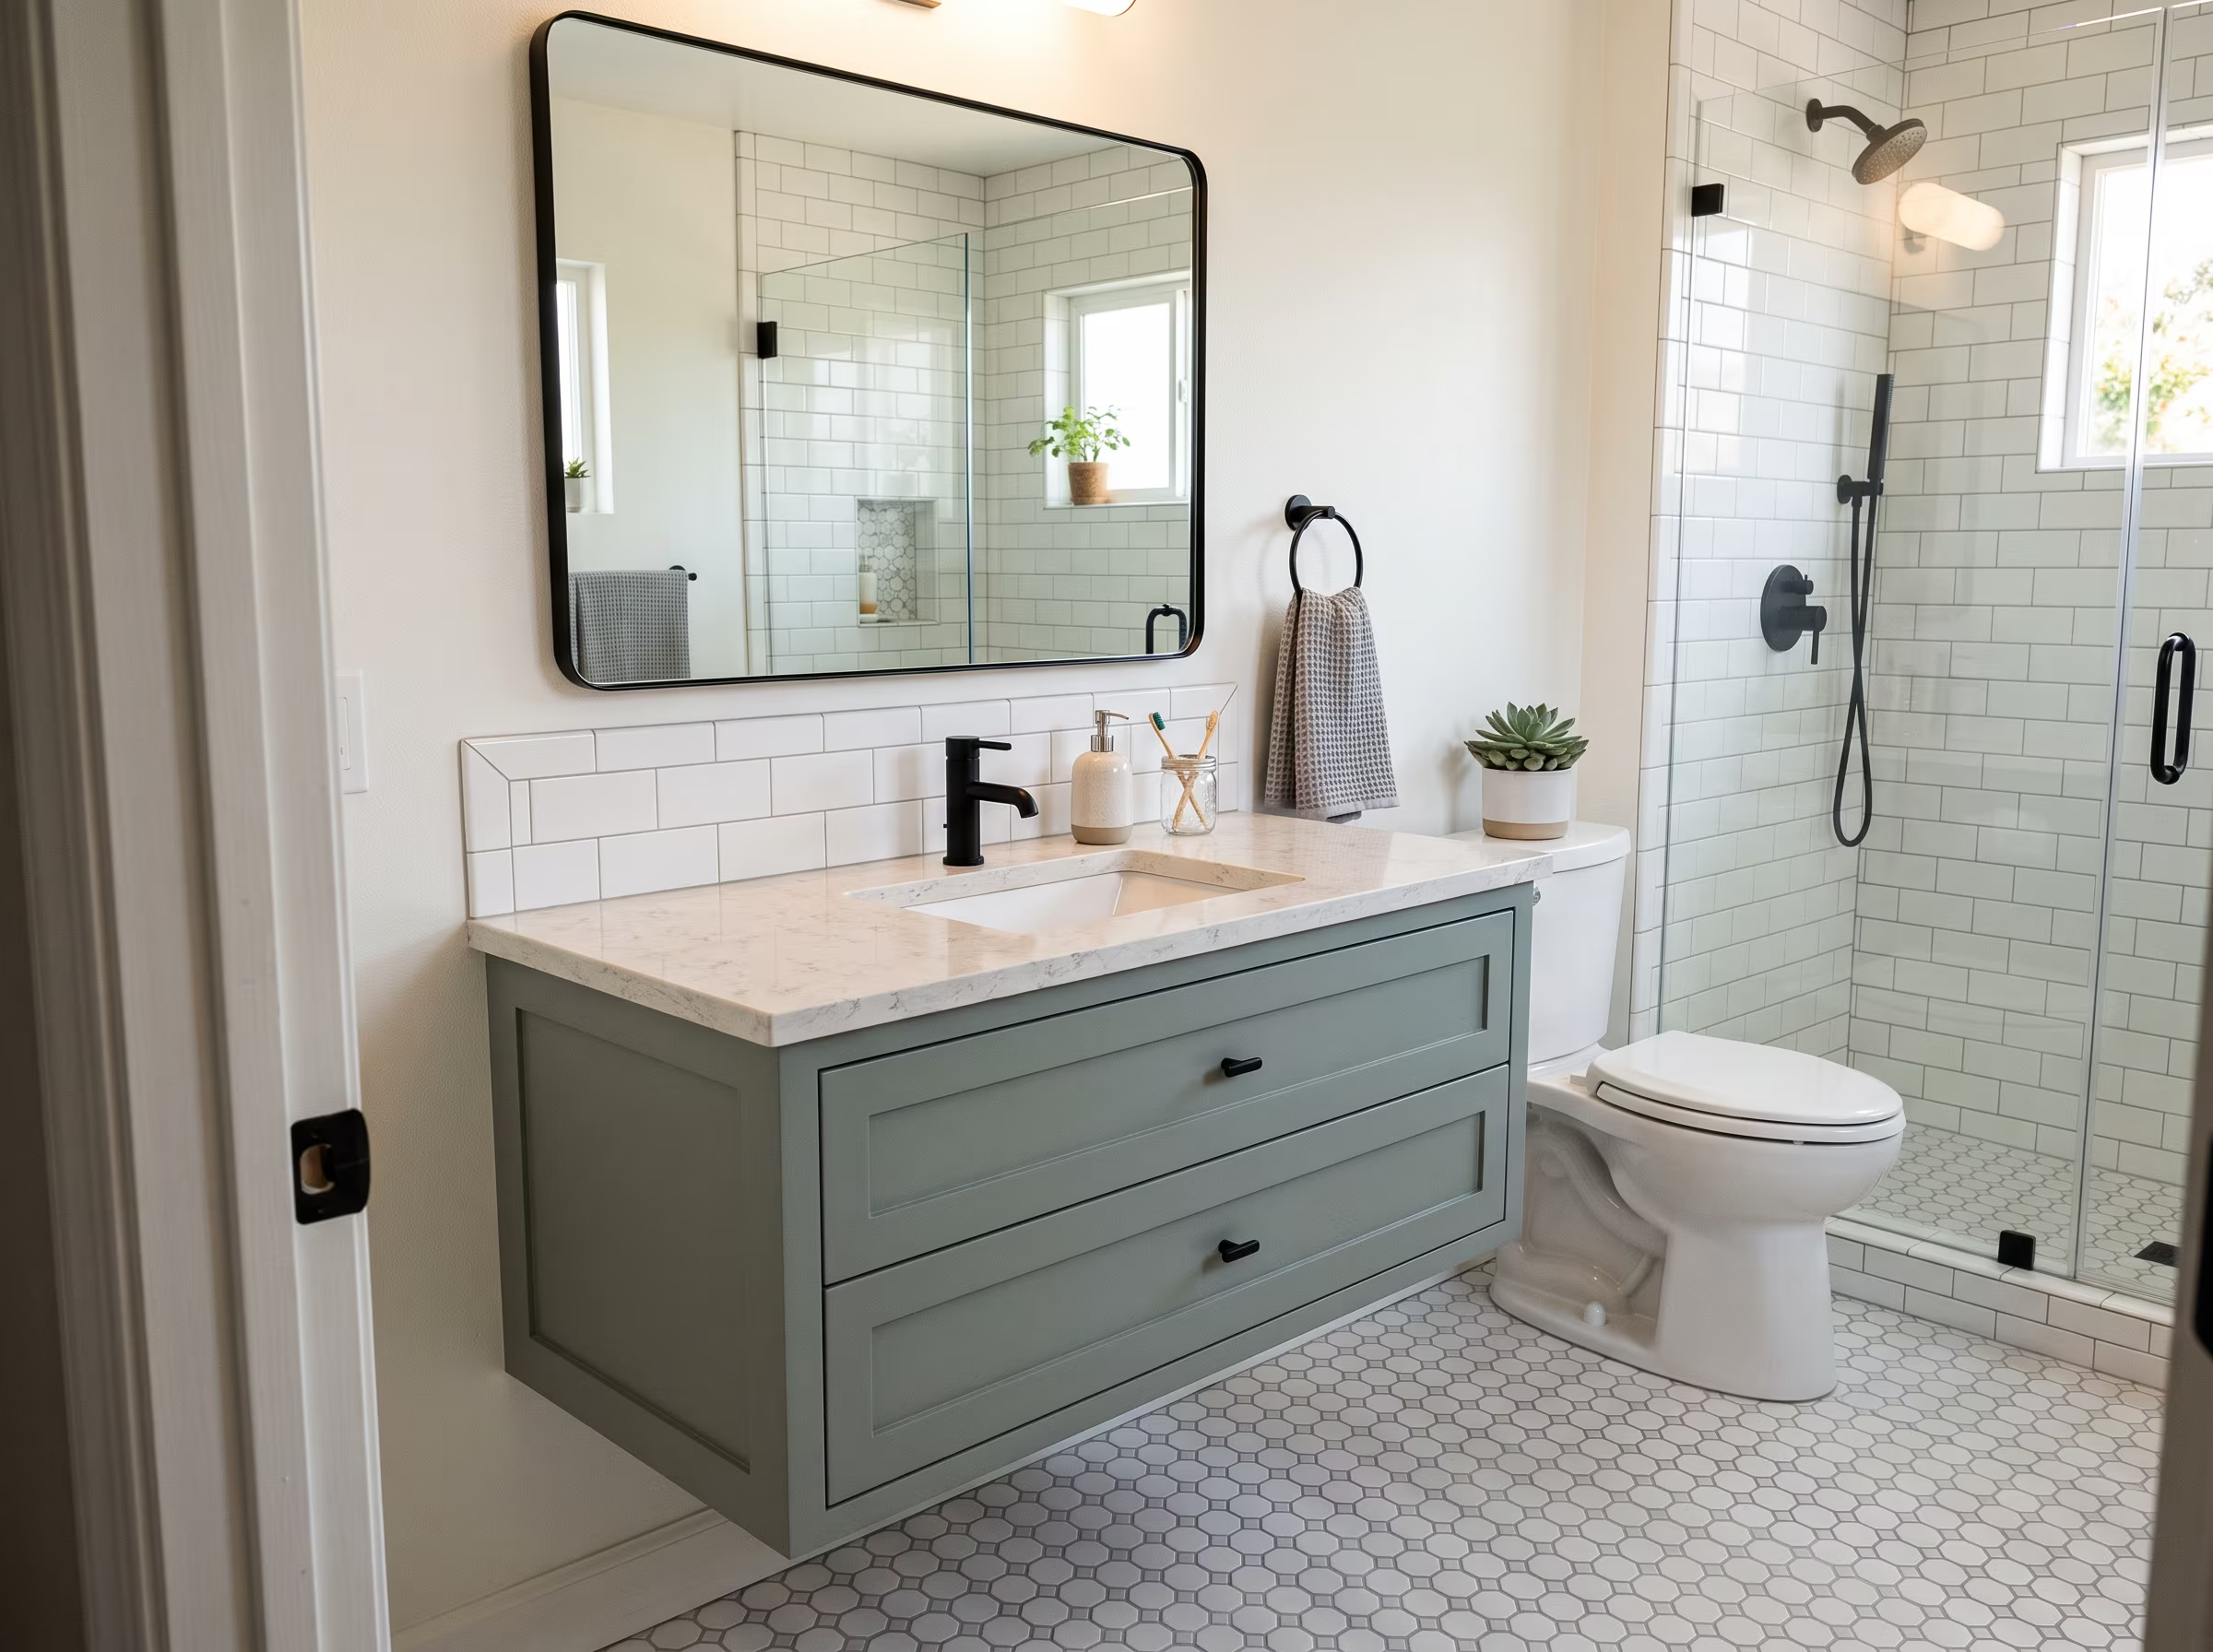
Wall-mounted floating vanities in 14- to 18-inch depths create visible floor space that makes the room feel larger and simplifies cleaning. Plumbing alignment and wall-stud blocking must be confirmed before selecting a unit.
Frees 4 to 7 inches of floor depth vs. standard cabinets
Works well with vessel or under-mount basins
Requires solid blocking in the wall for proper support
Mirror Zone
Recessed Medicine Cabinets
A recessed medicine cabinet between wall studs adds 3 to 4 inches of shelf depth without projecting into the room. Wide models spanning two stud bays provide significant storage while serving as the primary mirror.
Electrical, plumbing and insulation in the wall must be checked
Full-width versions can replace multiple accessories
Paired with side-mounted vanity lights, eliminates mirror shadows
Shower Zone
Recessed Niches and Ledges
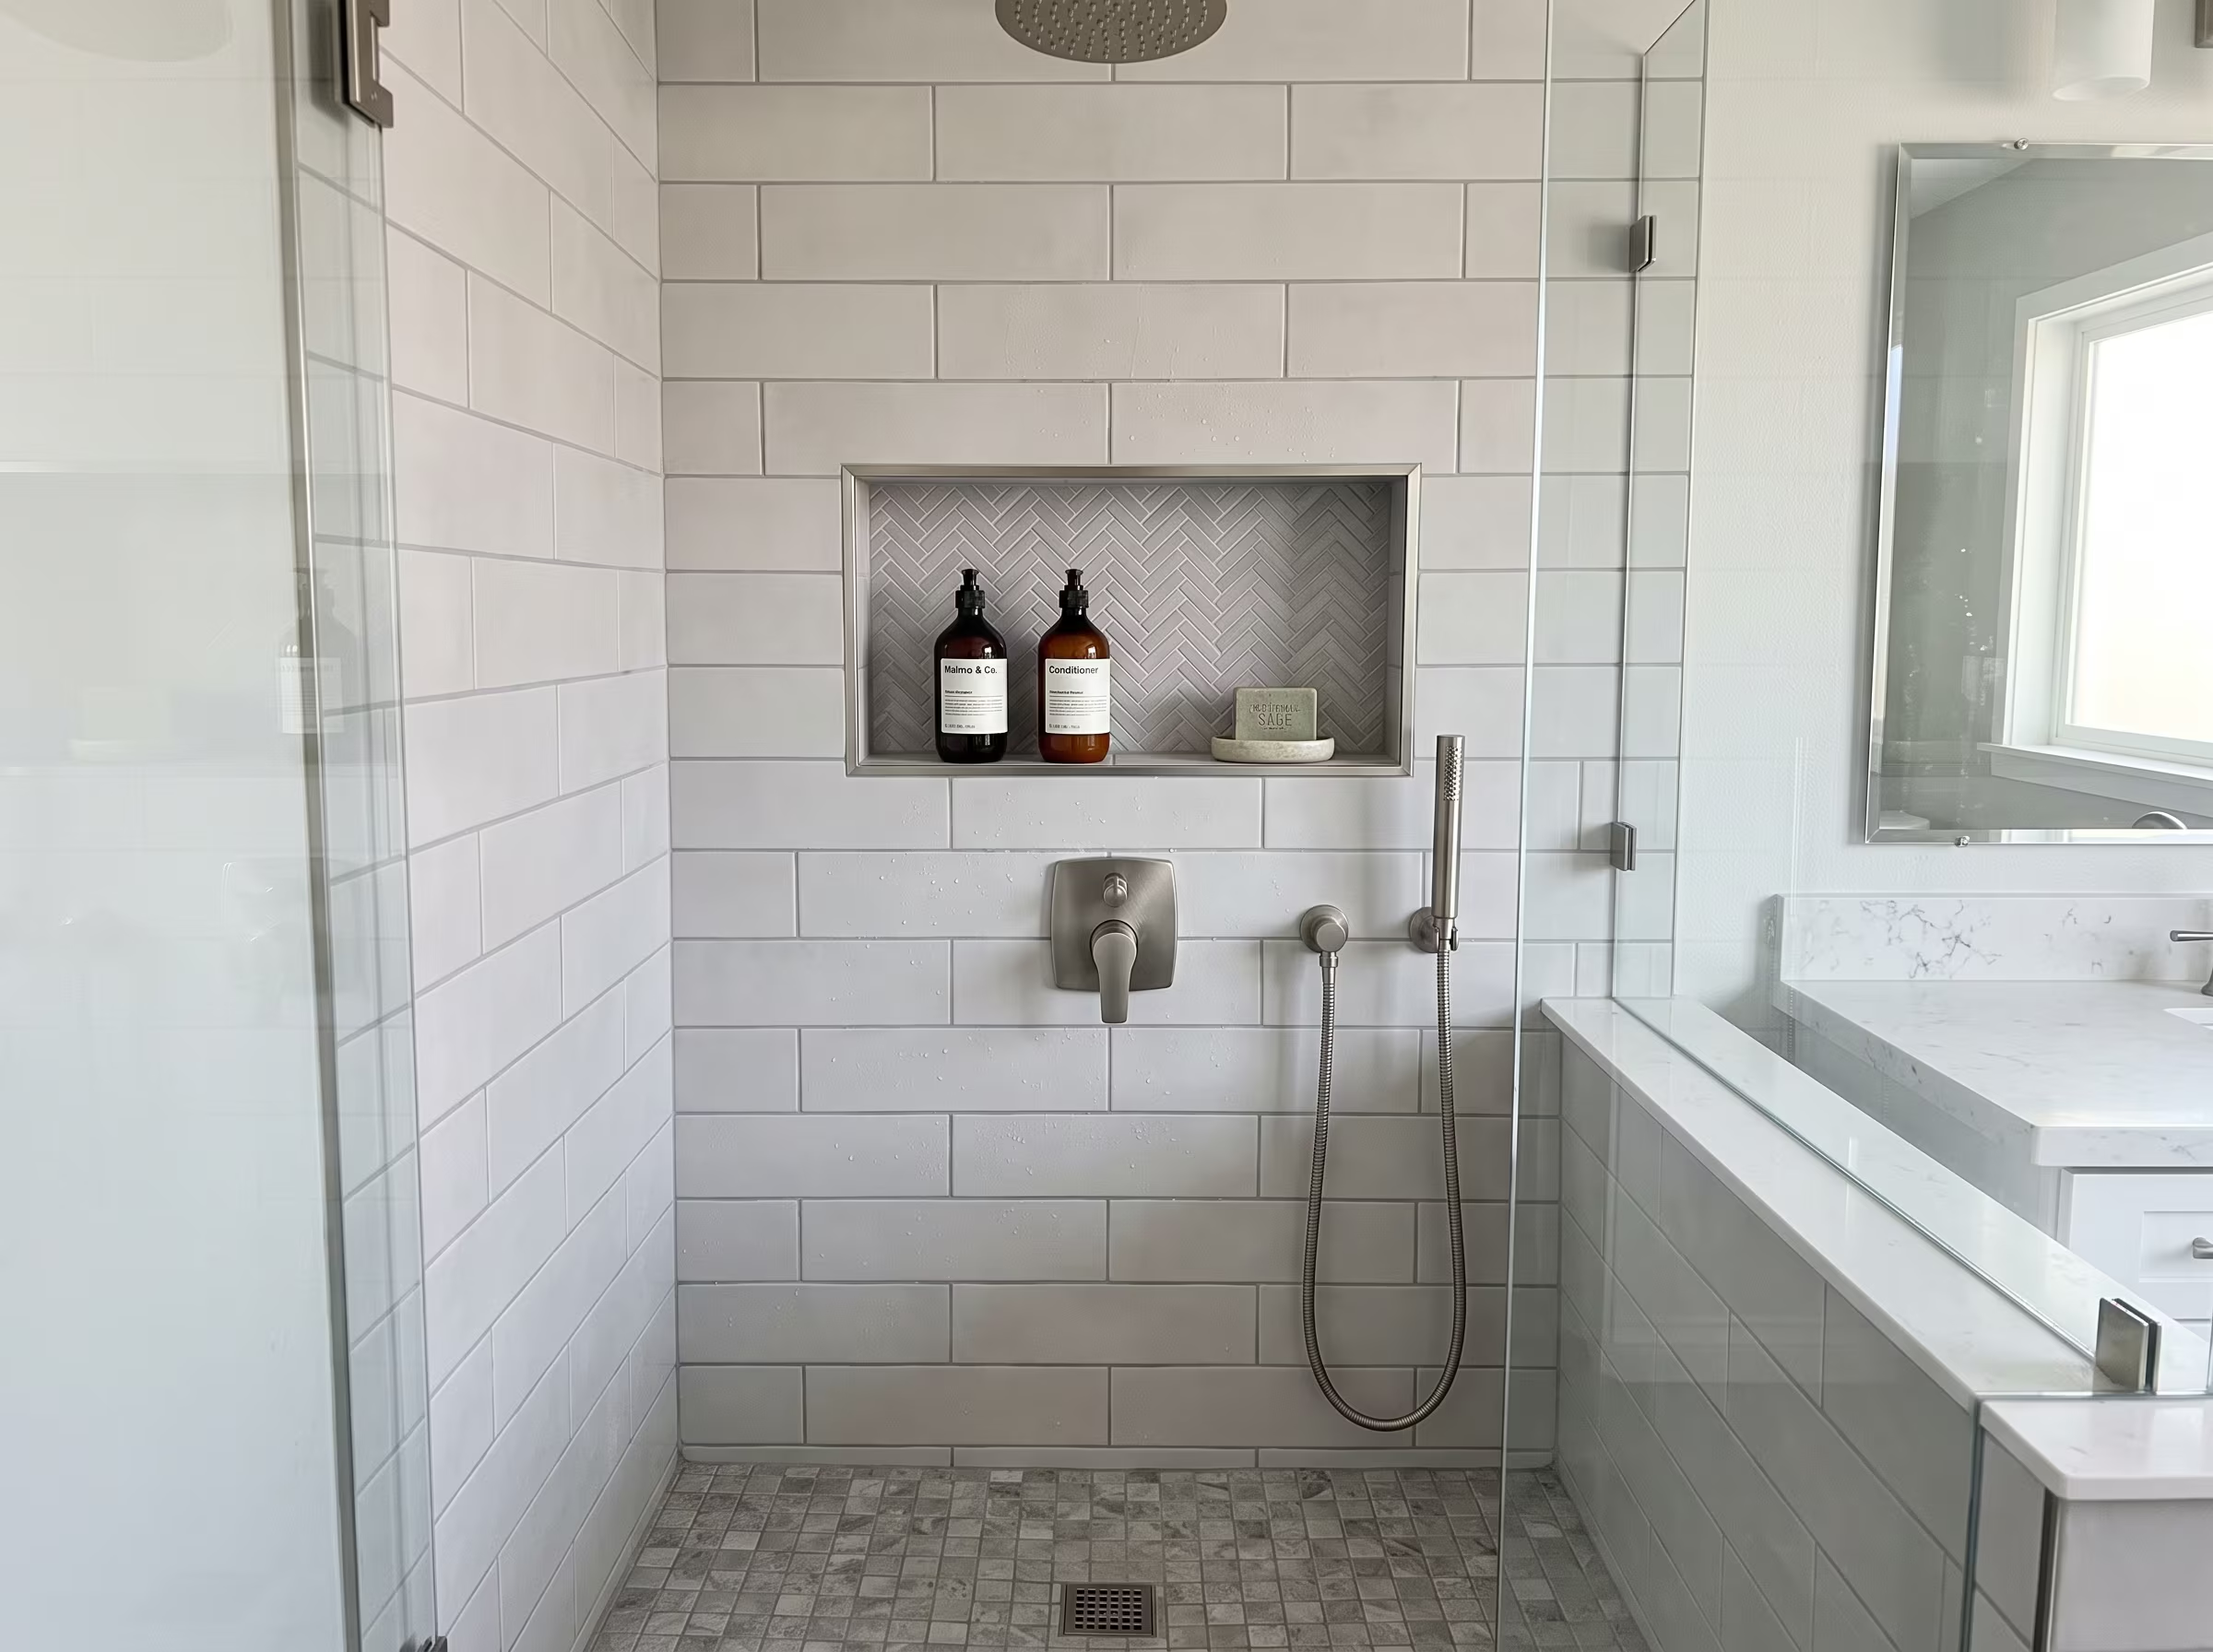
Shower niches built between studs keep shampoo and soap off the floor or a corner caddy. Niche depth, waterproofing and tile backing must be planned into the rough phase, not added after tiles are set.
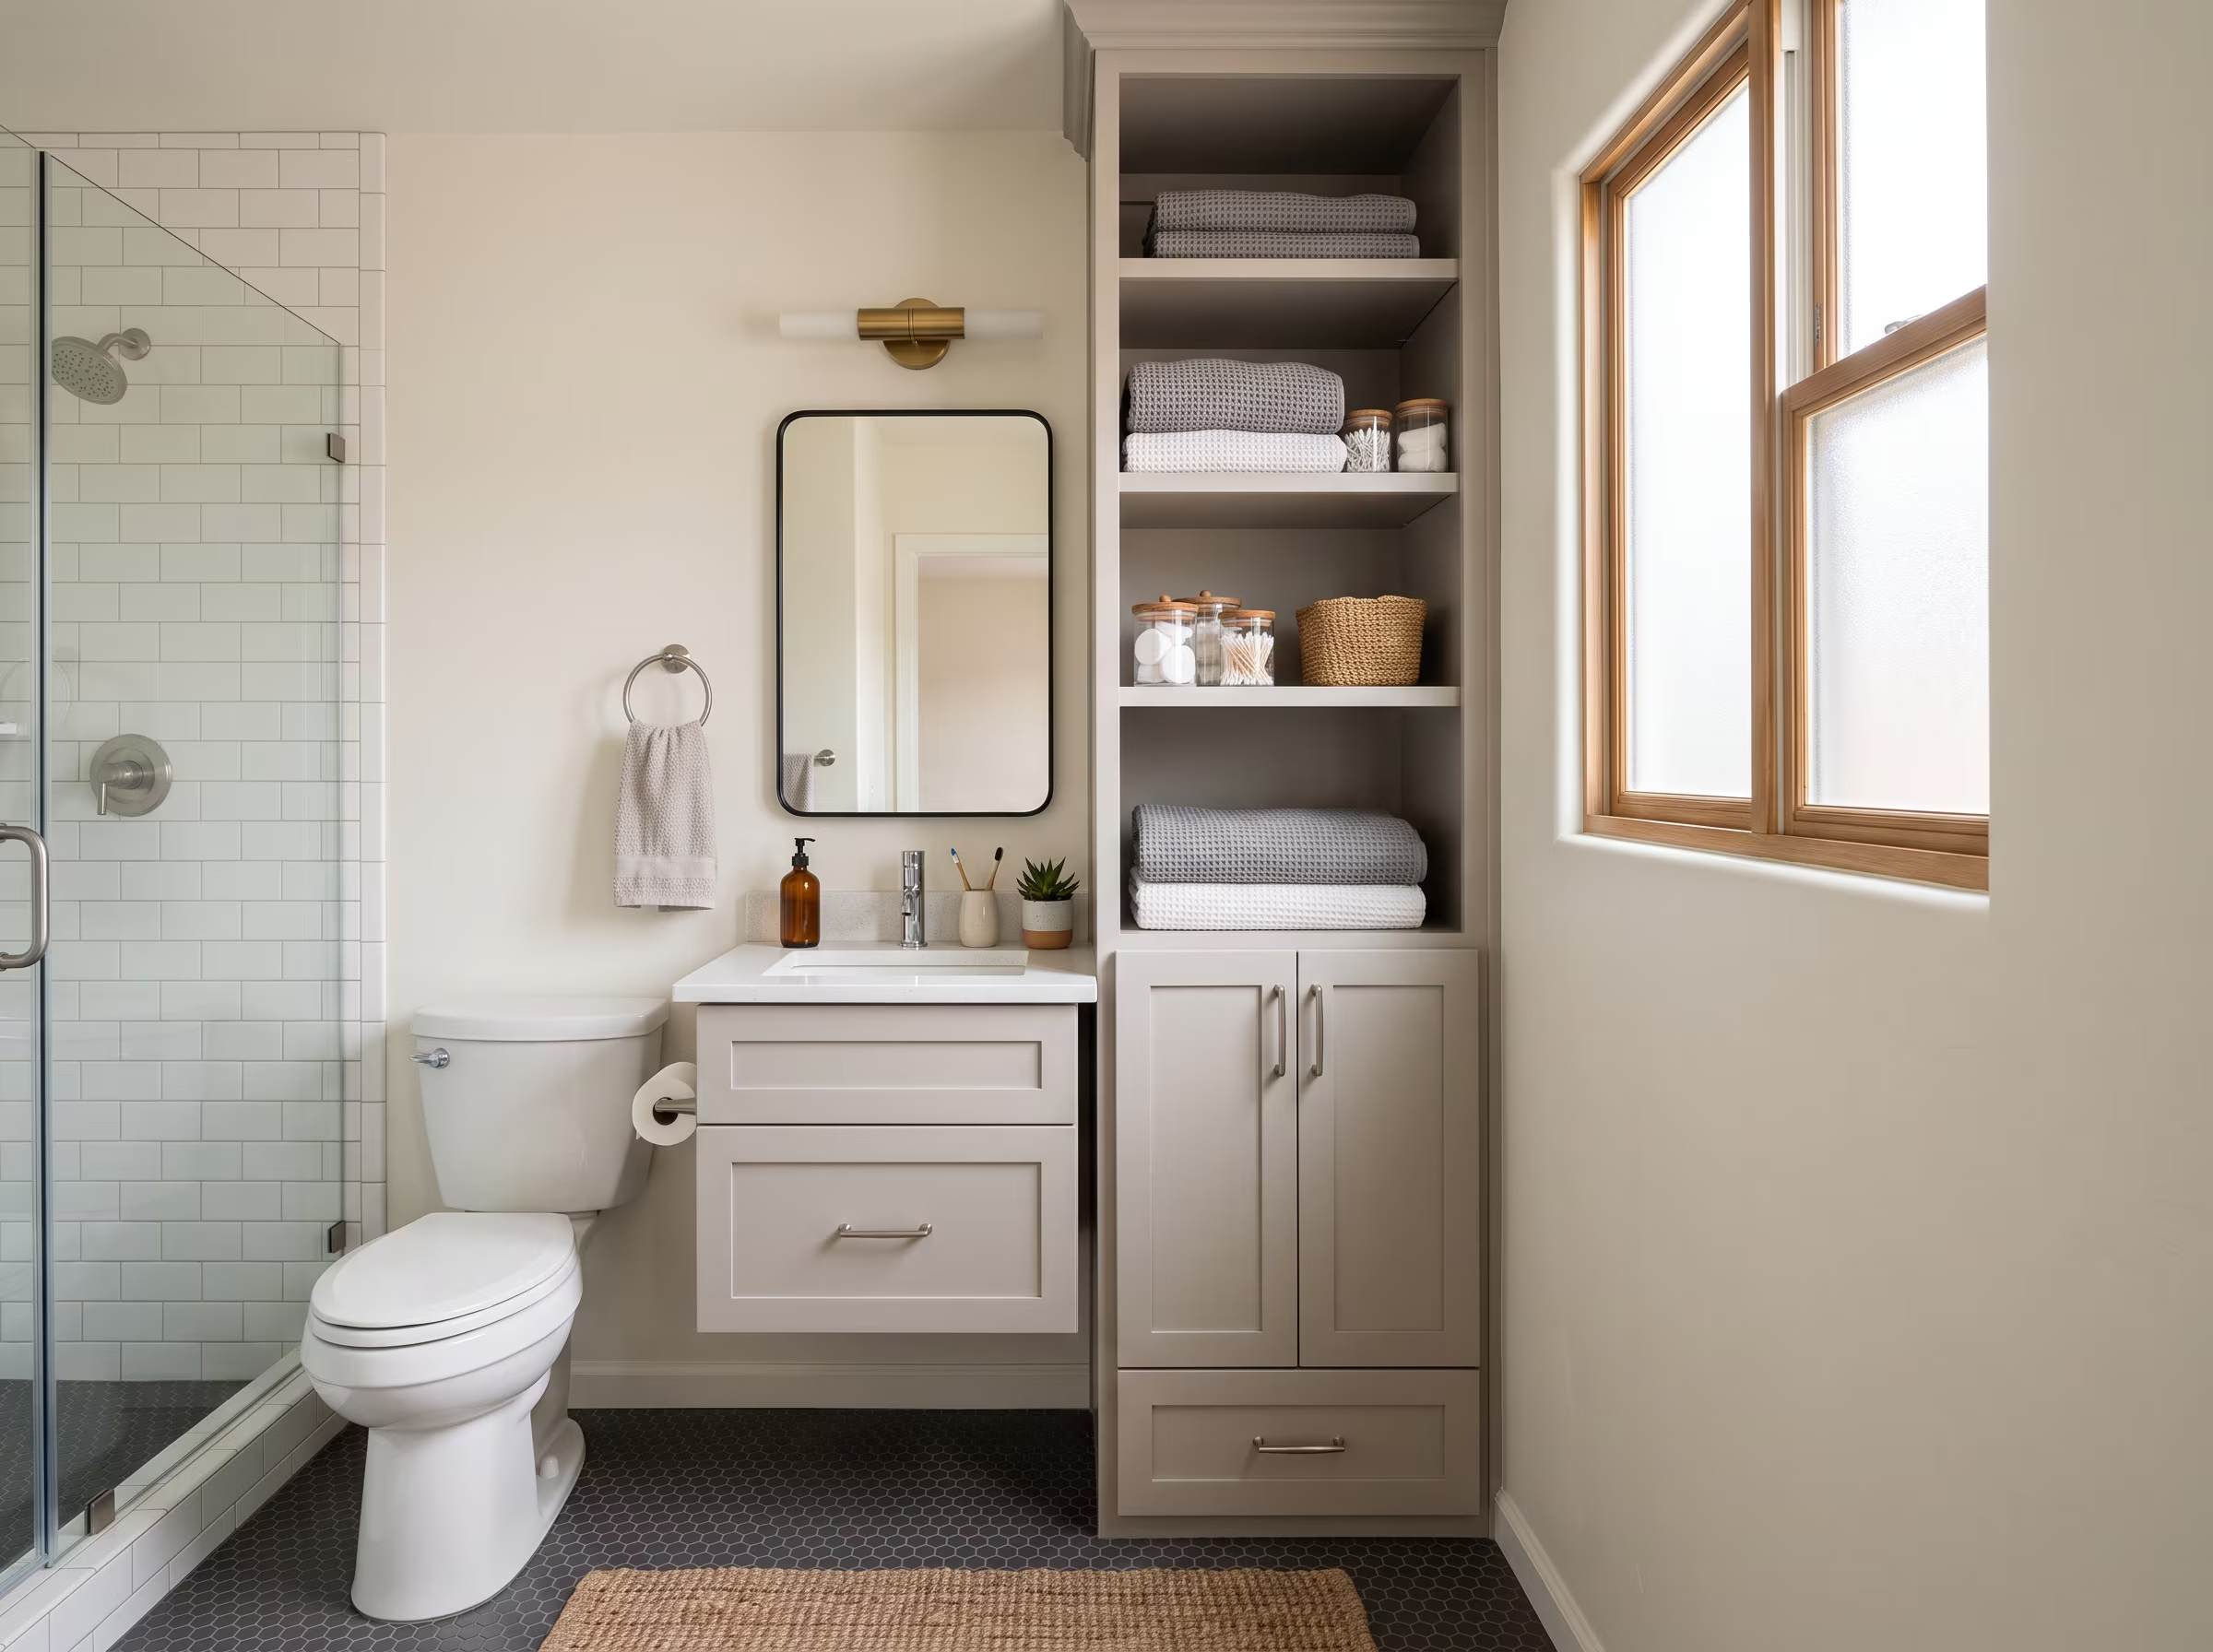
Tall, narrow linen towers or recessed vertical cabinets use wall height instead of floor area. They work well flanking a vanity where wall space allows and the door swing does not conflict.
12 to 16 inches wide, 72 to 84 inches tall formats available
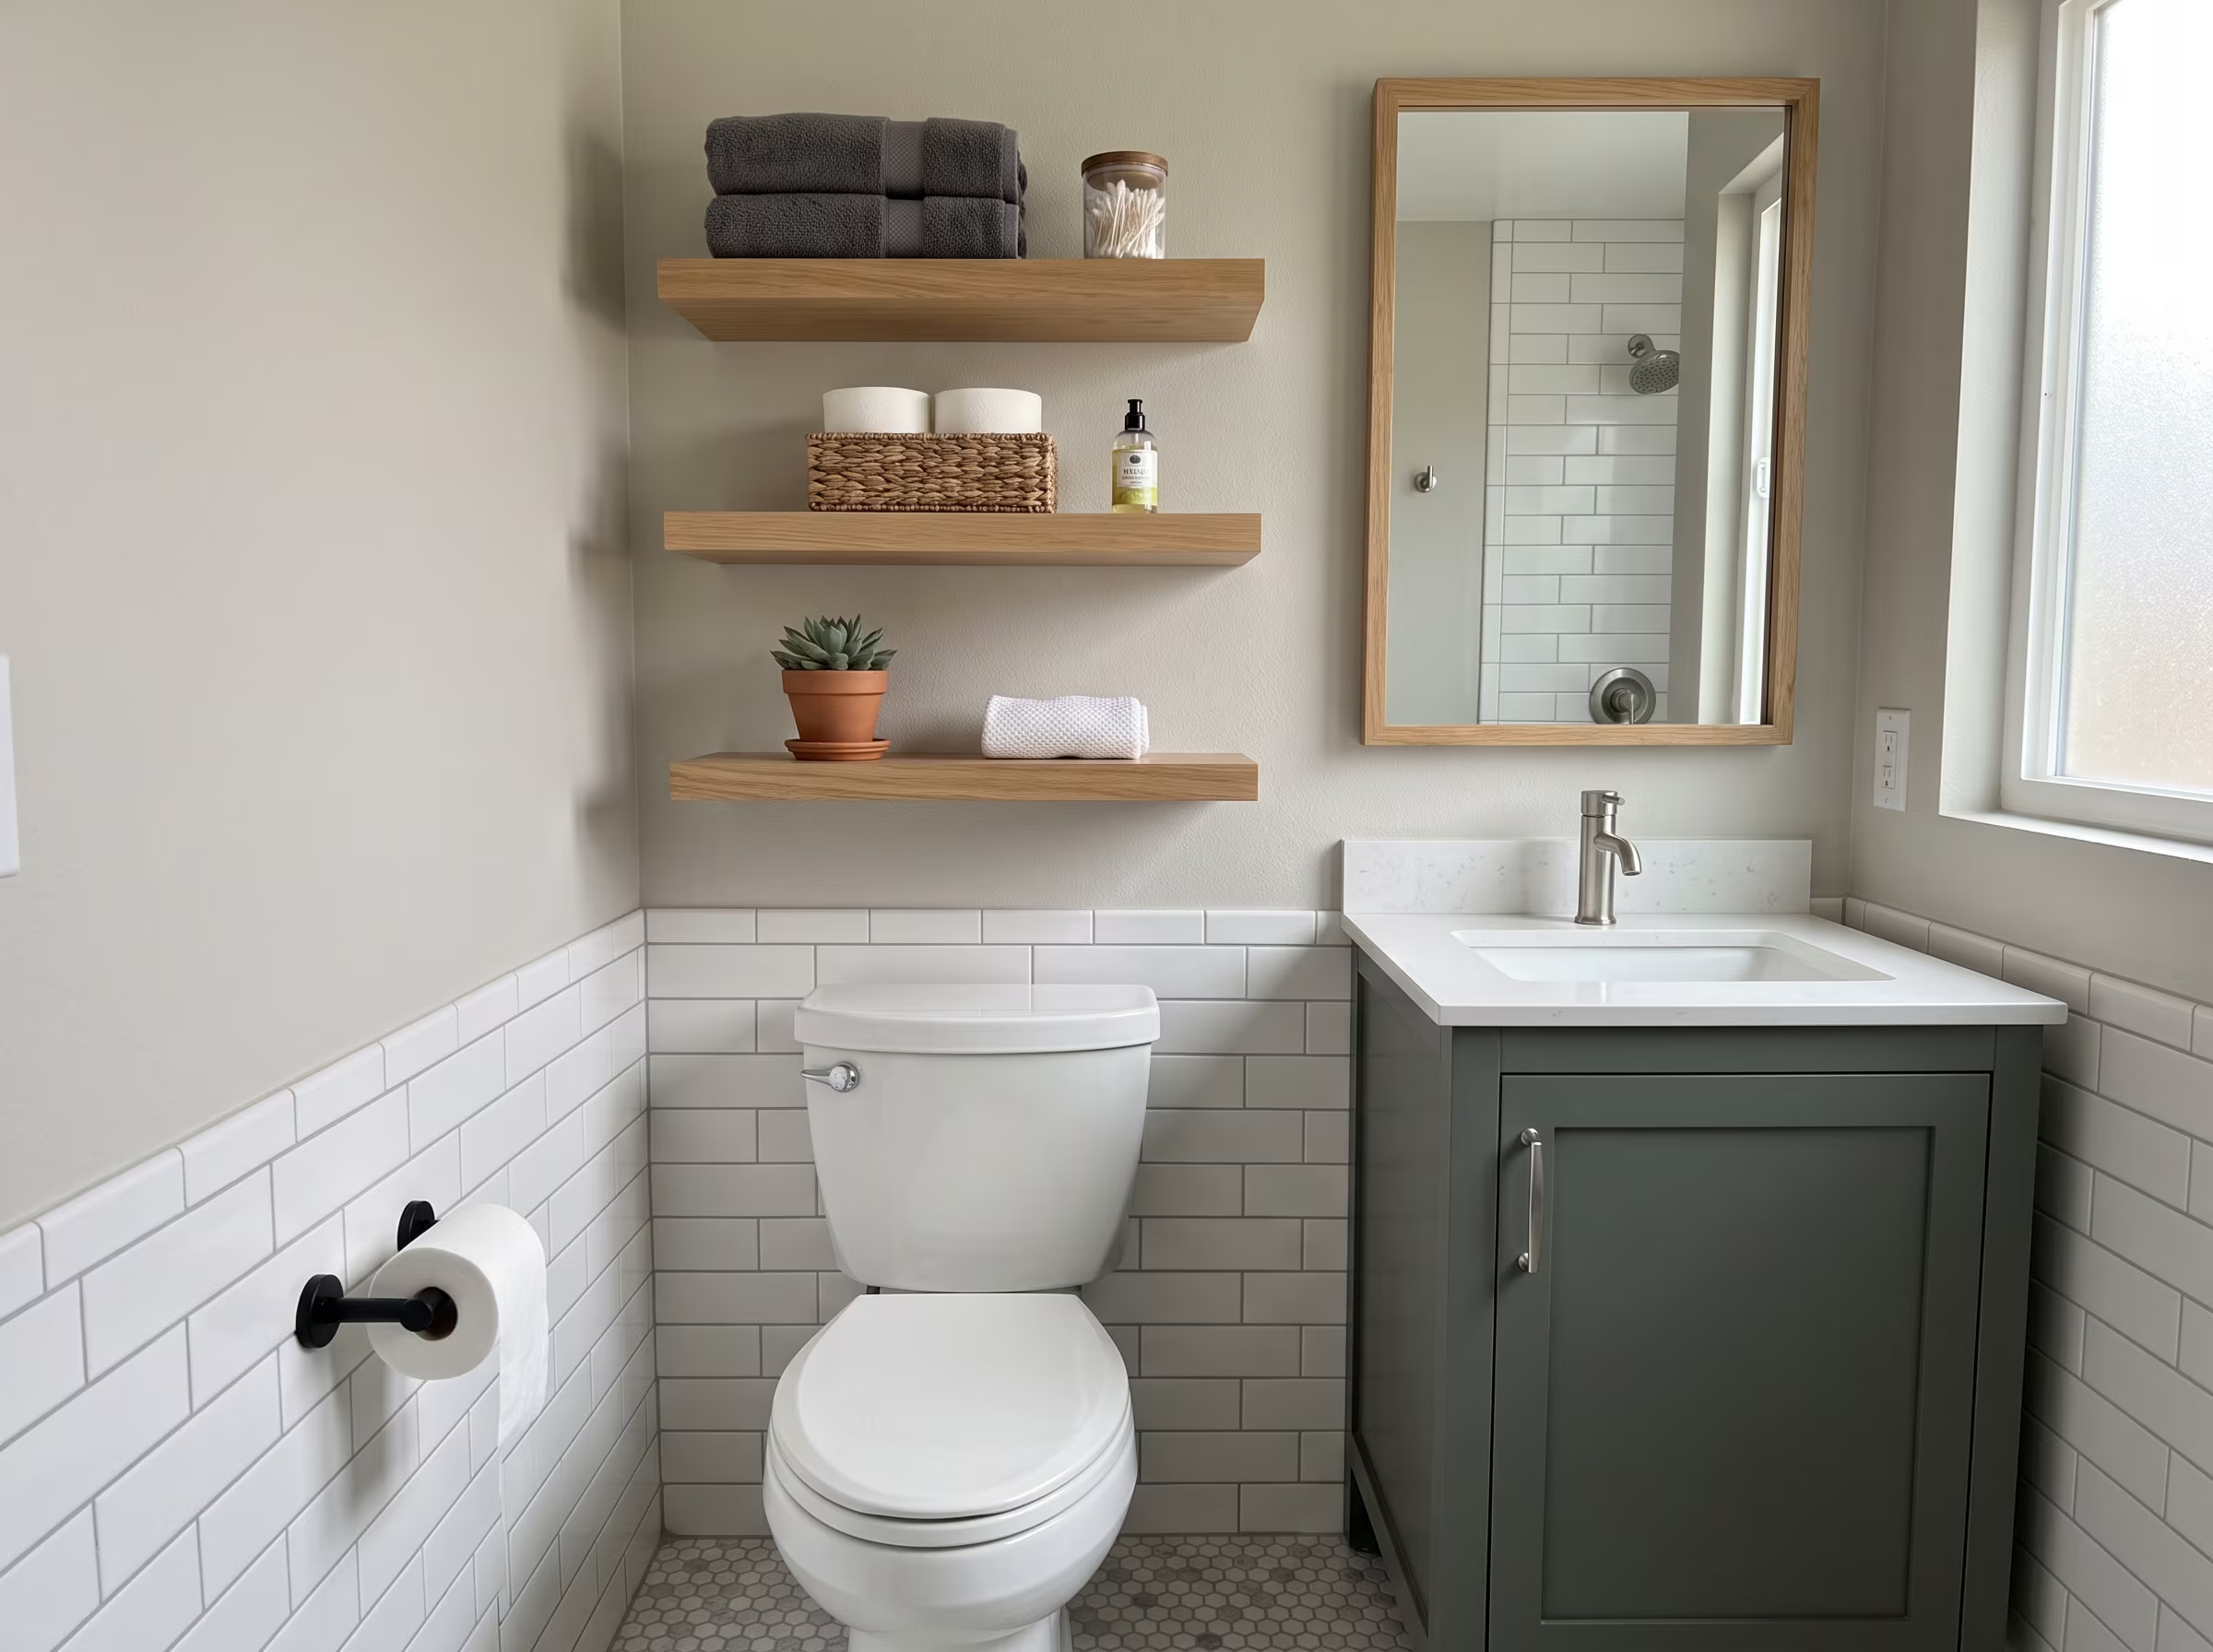
Open-shelf or cabinet units mounted above the toilet use otherwise wasted vertical space. Depth must stay under 10 to 12 inches to avoid interfering with seat use, and wall anchoring into studs is important for stability.
Best for items used less frequently
Floating shelf versions feel lighter visually
Avoid deep units that reduce comfortable toilet clearance
Corner Zone
Corner and Wall-Mounted Options
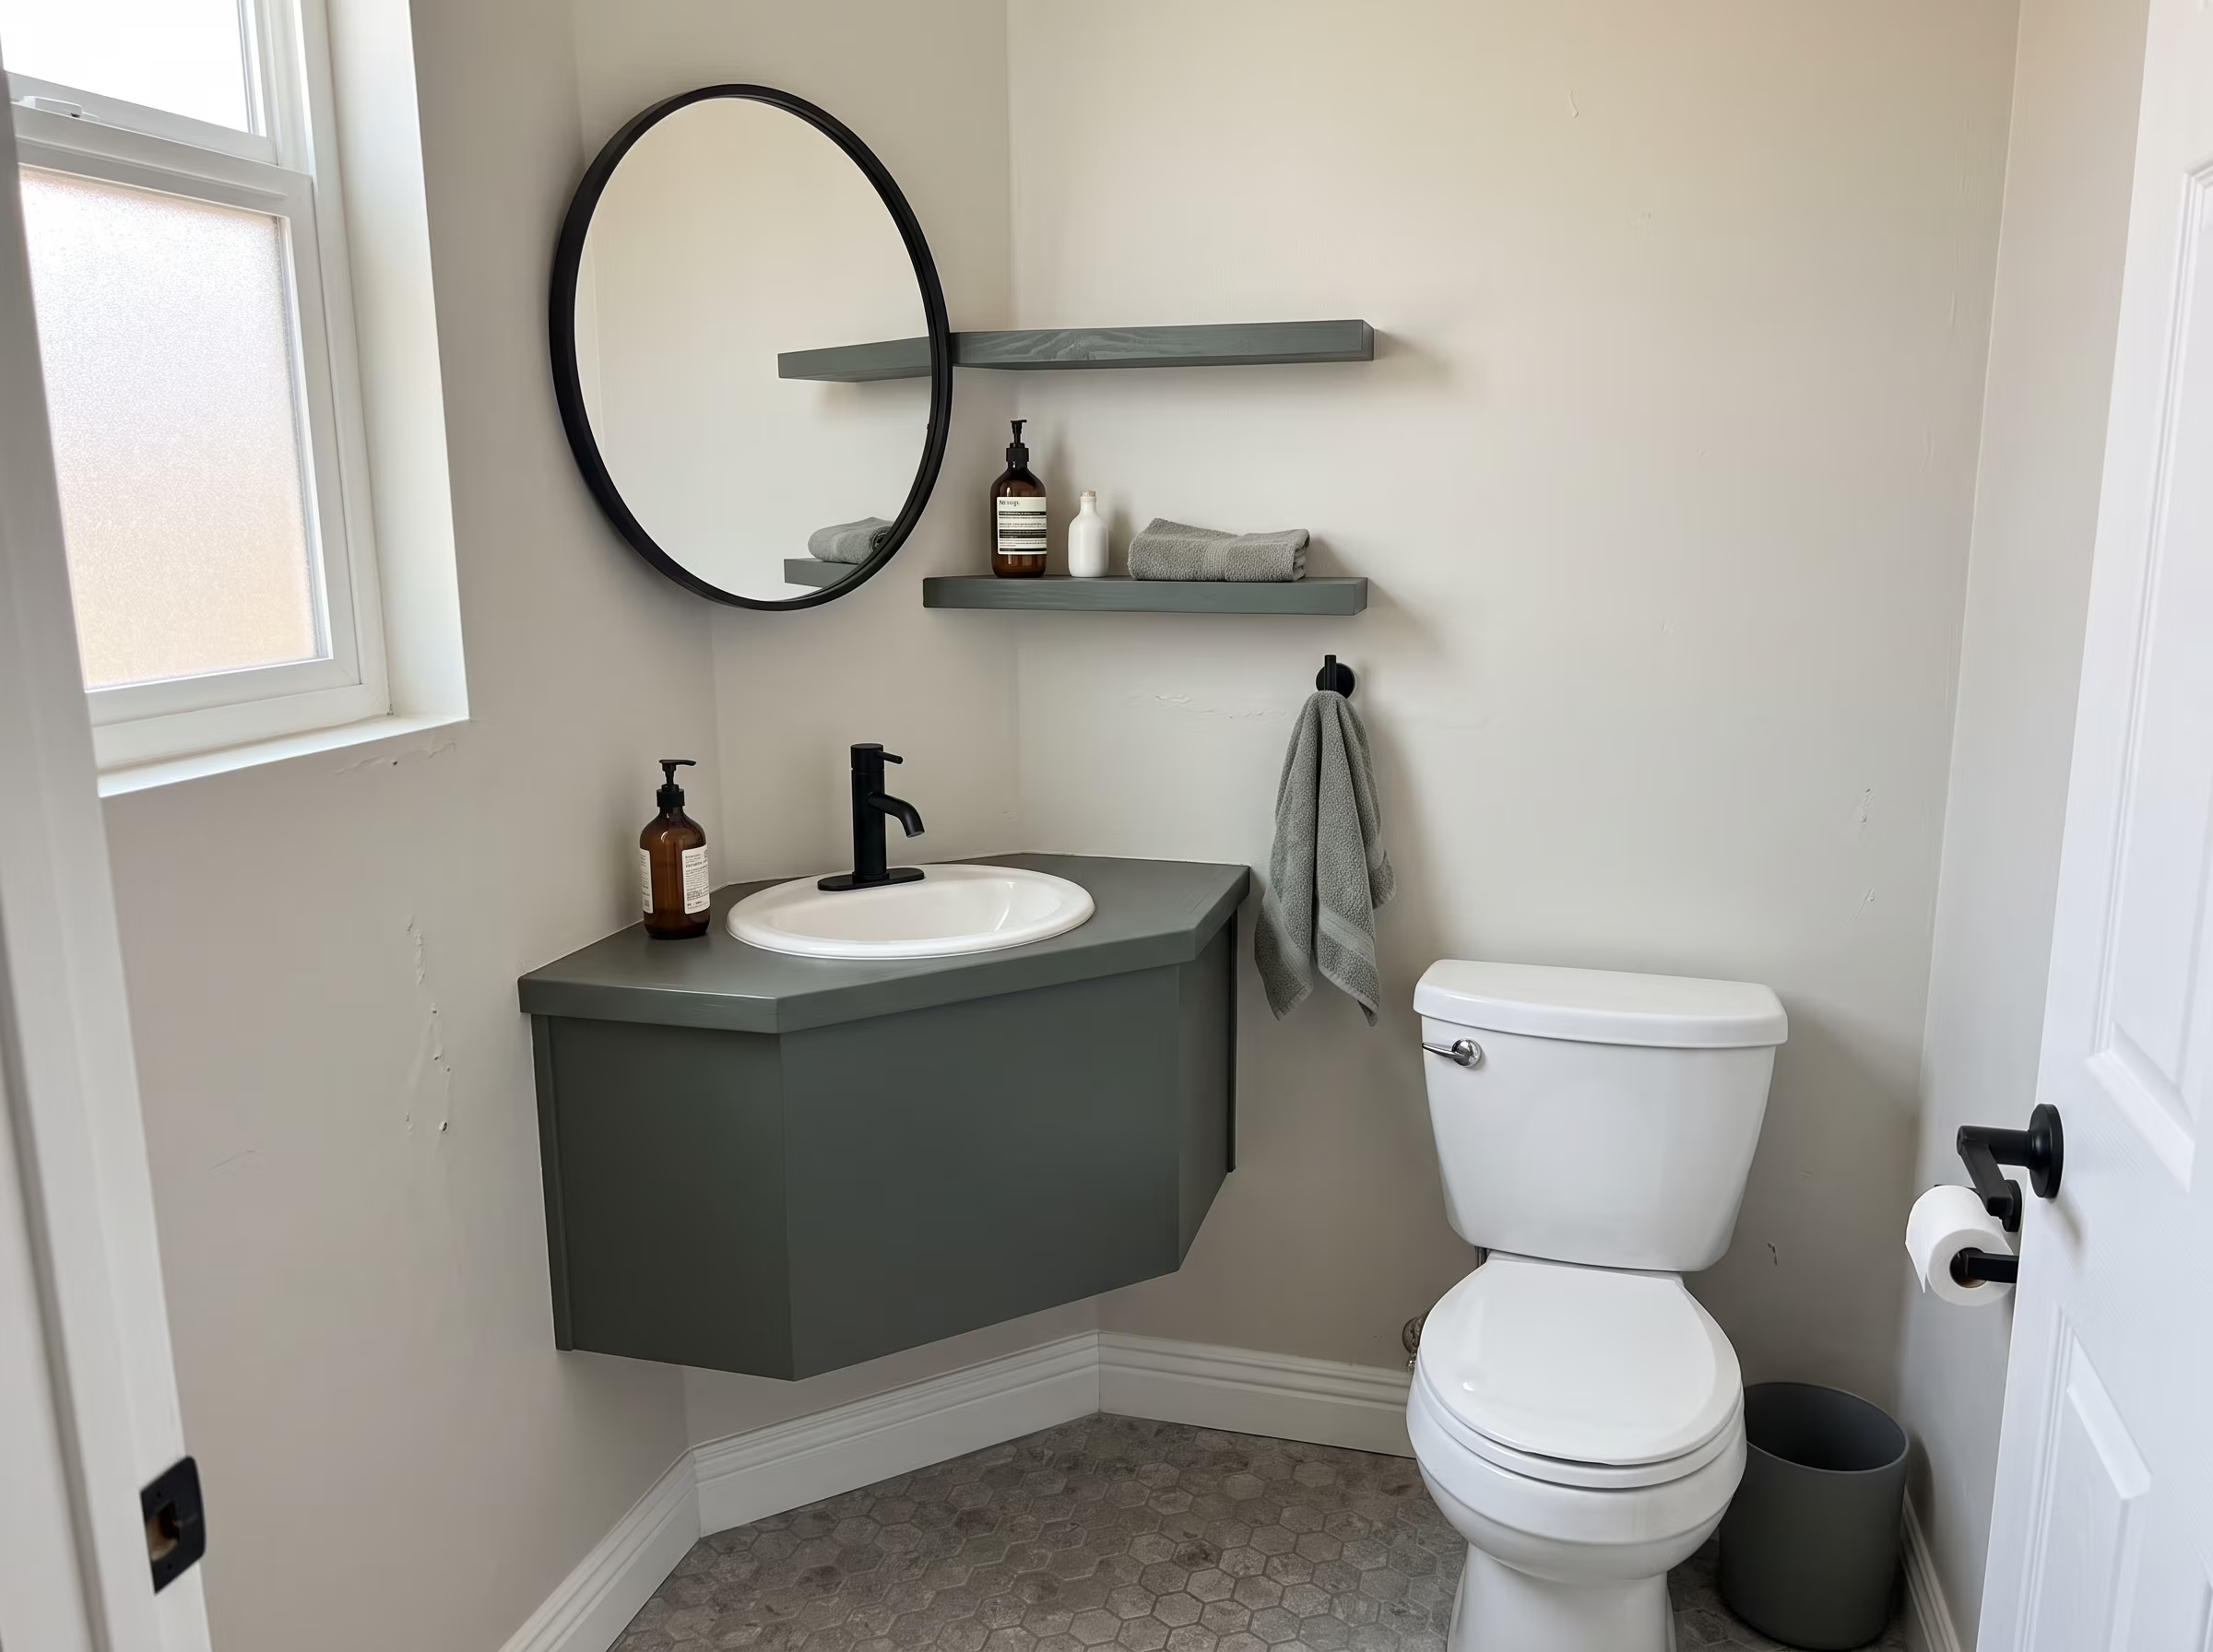
Corner vanities and wall-mounted soap and towel accessories work well when floor or wall space is genuinely limited. Corner floating shelves at varying heights provide accessible storage without major carpentry.
Useful in powder rooms under 35 square feet
Maintain clearance to adjacent door or drawer swings
Towel bars and hooks at proper height reduce counter clutter
Planning Priorities
Illustrative Homeowner Priorities
The following represent the kinds of storage and layout concerns homeowners commonly describe during planning consultations. These are illustrative planning priorities, not attributed statements or completed project claims.
"The counter is always covered because there is no cabinet space at all. I need somewhere to put things without it looking cluttered."
Hall bathroom, 42 sq ft
"We never use the tub. It just takes up space. I want to convert it to a shower but I am not sure what fits in that footprint."
Small primary bathroom, 55 sq ft
"The door hits the toilet when it opens. Getting in and out every morning is like a puzzle."
Guest bathroom, 38 sq ft
Bathing Decisions
Shower and Tub Decisions for Narrow Rooms
The tub-or-shower question in a small bathroom is really a household-needs question. The right answer depends on who uses the room, how often, and what fits in the actual footprint without compromising safety or access.
Walk-In or Low-Threshold Shower
Best forAdults, daily-use bathrooms, households with mobility concerns
Minimum size30 by 30 inches finished (36 by 36 strongly preferred for daily use)
Entry heightCurbless or low curb (under 0.5 inch) with proper drain slope and waterproofing
Glass optionsClear glass or frameless panels make the room read larger; curtains work but collect moisture at the bottom
CleaningFewer grout lines in large-format tile reduces cleaning time
WaterproofingCritical at curb, shower pan and all wall penetrations; substrate condition must be confirmed
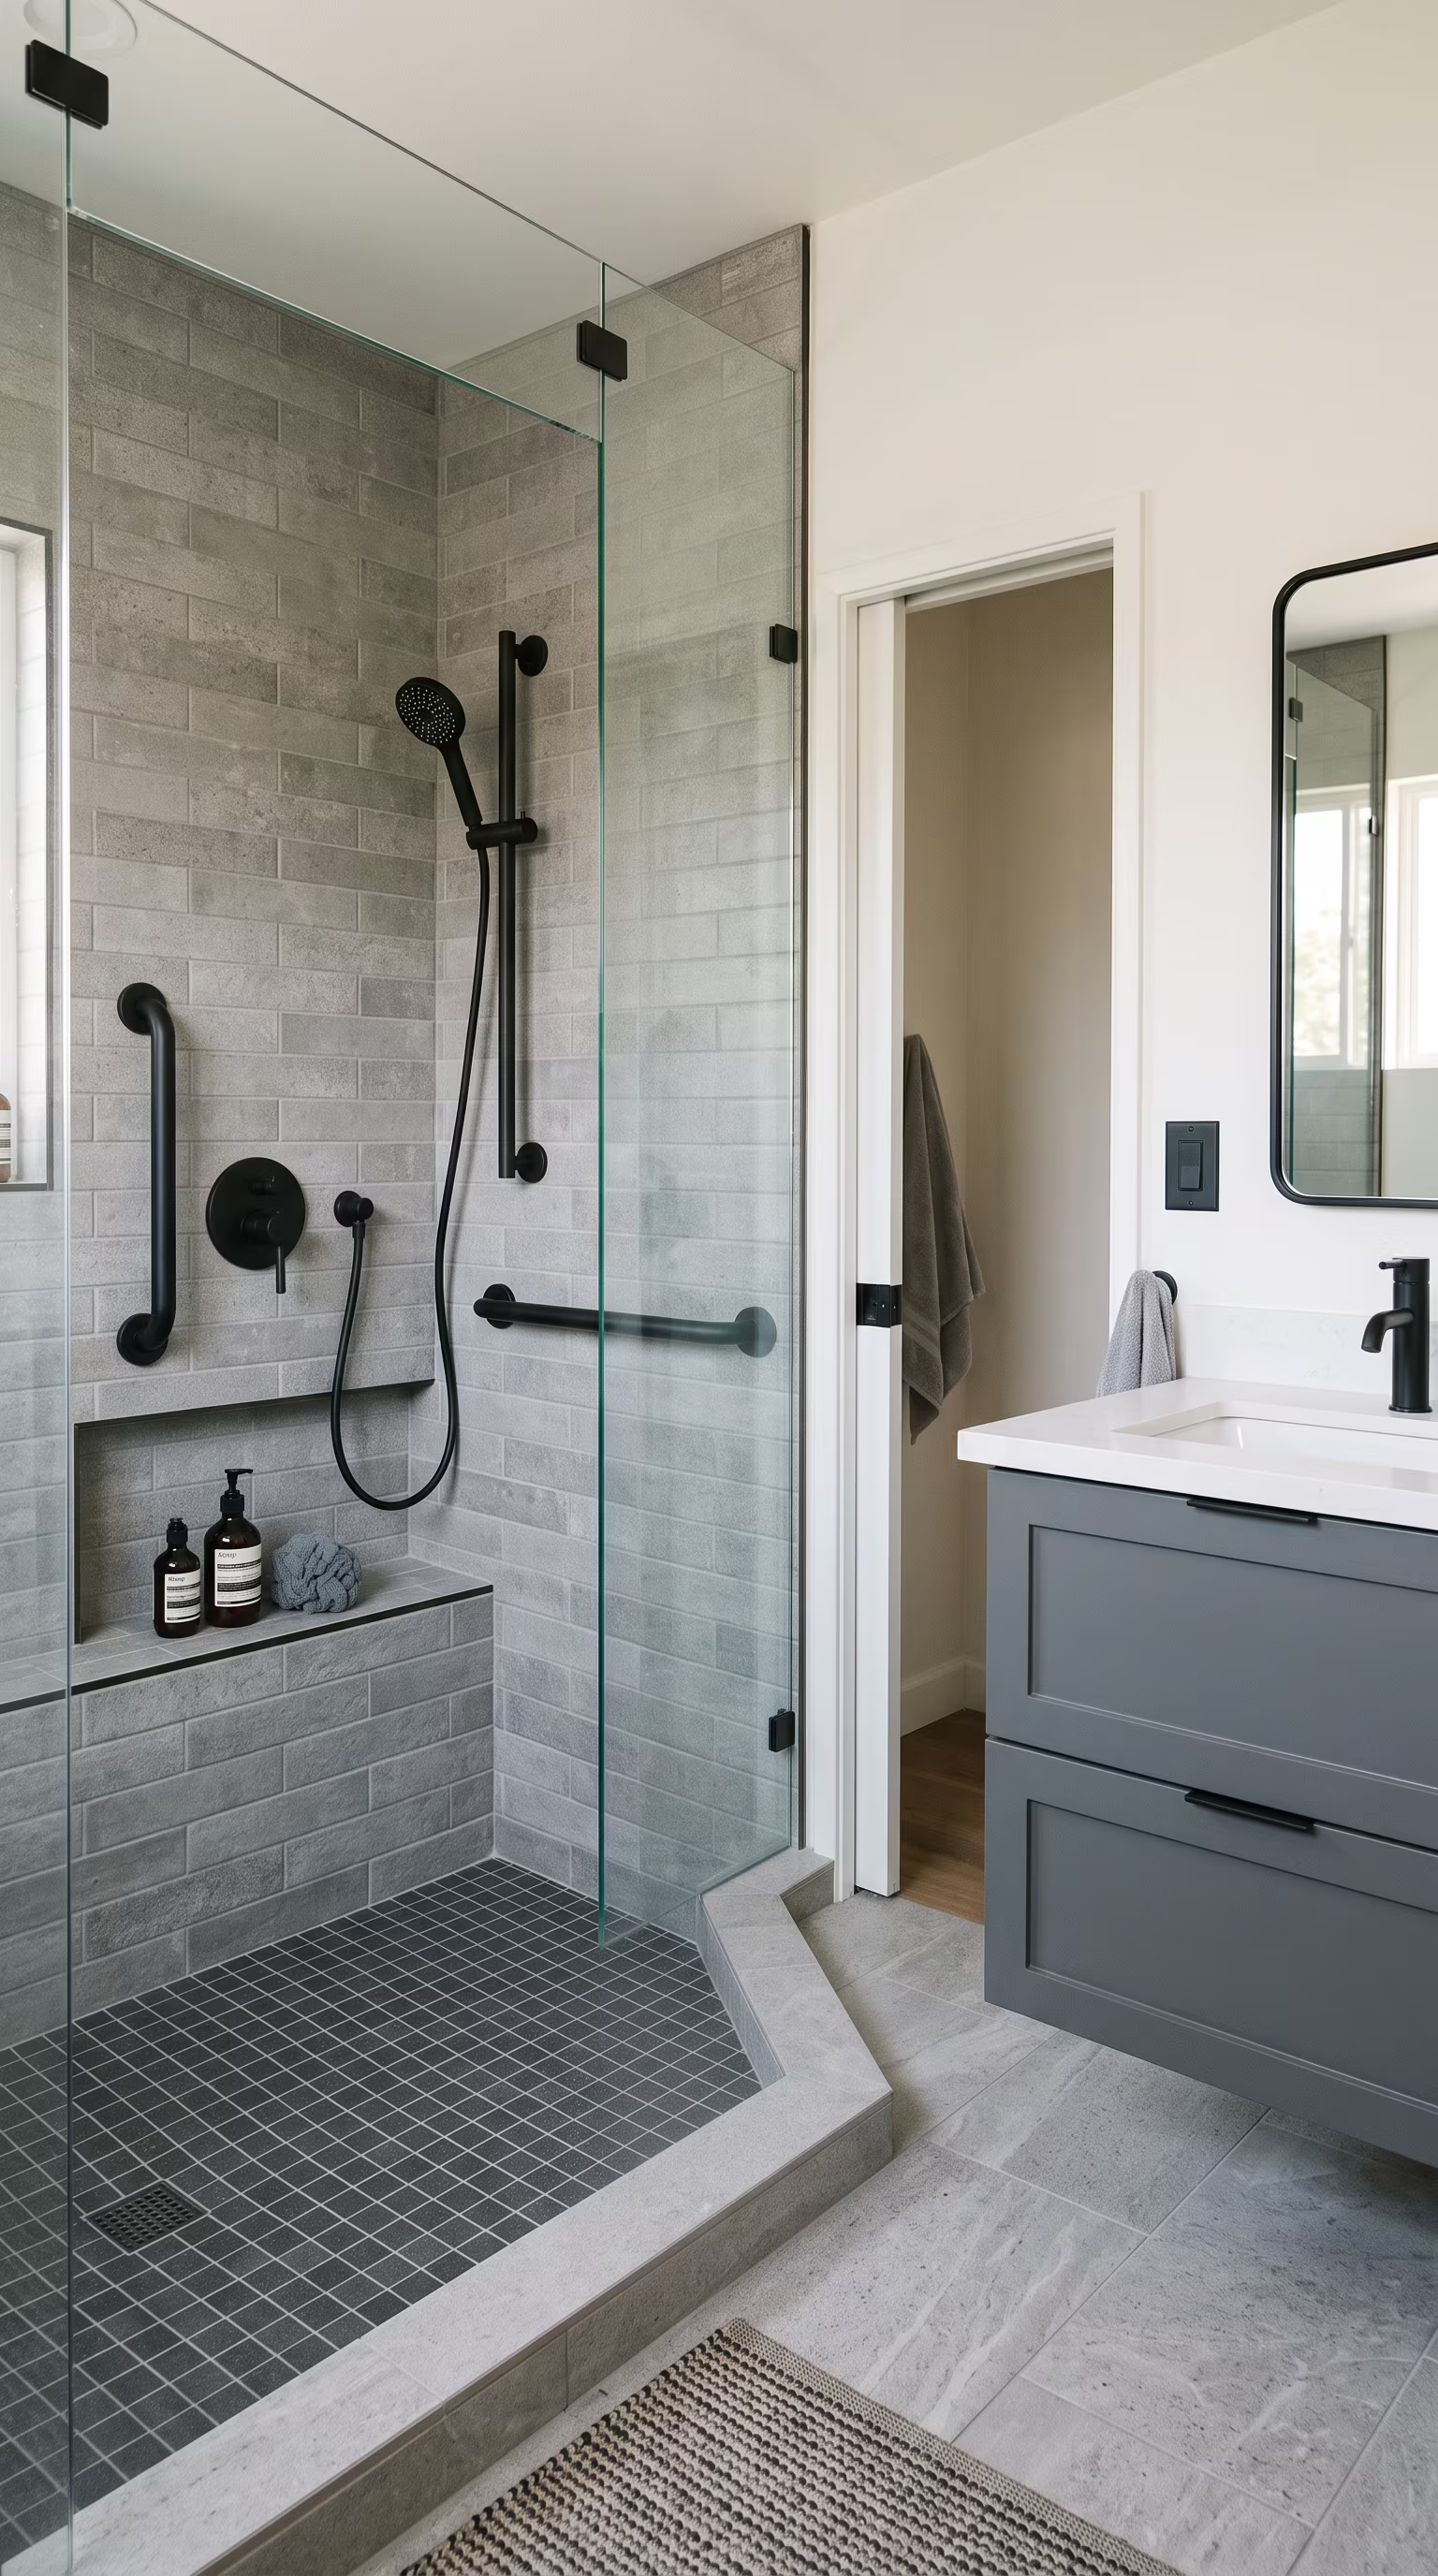
Handheld showerhead on a sliding bar adds flexibility for seated bathing
Fold-down teak or tiled bench provides rest position without using permanent floor space
Corner neo-angle configurations fit rooms where a full-width alcove is not available
Compact Alcove or Soaking Tub
Best forHouseholds with young children, those who prefer baths, rooms with resale consideration
Compact sizes48-inch and 54-inch alcove tubs fit rooms where 60 inches is not available
Entry heightStandard tub walls 15 to 17 inches high; step-over height is a key safety consideration
Curtain vs. doorShower curtains allow easy access; glass enclosures are easier to clean and look cleaner
CleaningTub decks and grout lines around the alcove require regular attention
WaterproofingTub surround waterproofing at the joint between tub deck and wall tiles is a common failure point
Anti-scald thermostatic valve is a code requirement for new tub and shower installations in California
If the tub is rarely used, a shower conversion typically adds more functional daily value
Soaking depth varies: confirm drain trap accessibility if a deeper model is specified
Materials and Finishes
Tile, Flooring, Color and Visual Continuity
Material choices in a small bathroom do more than set the style. They affect how the room feels spatially, how easily it can be cleaned, and how long the surfaces perform under daily moisture exposure.
Option
Best Use in Small Bathrooms
Slip Resistance
Grout Lines
Maintenance
Suitability
Porcelain tile
Floors, wet walls, shower pans
Good to excellent with textured finish (COF 0.42+)
Fewer with large format, more with mosaics
Low; dense, non-porous body resists staining
First choice
Ceramic tile
Walls, low-moisture floors, vanity backs
Moderate; verify COF for wet floors
Similar to porcelain depending on size
Low on walls; slightly more porous on floors
Strong choice
Large-format tile (24"x24"+)
Floors and feature walls where substrate is flat and stiff
Depends on surface texture of tile chosen
Minimal, fewer grout joints to clean
Low; fewer grout lines reduces maintenance
Substrate check needed
Mosaic tile (2"x2" or smaller)
Shower pans, accent strips, niche liners
High due to many grout joints creating grip
High; more grout surface to clean and seal
Higher; grout requires consistent sealing
Higher maintenance
Warm light palette
Walls, vanity surfaces, ceiling
N/A
Lighter grout shows more water spots
Moderate; lighter grout benefits from sealing
Expands feel visually
Vertical tile orientation
Shower surround, accent walls
N/A
Vertical joints draw the eye up, increasing perceived height
Same as horizontal
Useful in low-ceiling rooms
Continuous floor line
Running floor tile from main room into shower (curbless)
Choose slip-rated tile for wet zone
Matched grout color unifies the space visually
Standard
Spatially expands room
Color and Finish Direction
Warm whites, eucalyptus, clay, stone and sand tones read as larger and calmer in compact spaces. Deep espresso or walnut accents at the vanity or niche add visual weight without darkening the whole room. Consistent floor tile color across wet and dry zones, using matched grout, is one of the most effective low-cost ways to make a small bathroom feel unified and open.
Waterproofing at Transitions
Tile installation quality depends as much on the substrate as the tile itself. Subfloor deflection causes grout to crack and tiles to loosen over time. Moisture barriers, membrane systems and proper slope at the shower pan must be in place before any finished surface is installed. Transitions between wet and dry zones, and around penetrations like drains, valves and niches, require particular care.
Lighting and Ventilation
Lighting, Mirrors and Ventilation
Layered lighting removes the flatness of a single overhead fixture, reduces shadows on the face, and makes a small bathroom feel noticeably more spacious and functional.
Vanity Lighting
Side-mounted sconces at face height (60 to 65 inches from floor) eliminate mirror shadows better than overhead bars. A horizontal bar above the mirror works if it extends the full mirror width. CRI 90 or above is preferred for accurate color rendering.
Ceiling and Ambient Lighting
Recessed LED downlights on a dimmer circuit provide general illumination without competing with vanity lights. Dimmable fixtures allow the room to serve evening and early-morning use without harsh brightness.
Wet-Zone Lighting
Fixtures inside or near the shower must be rated for wet or damp locations per California Electrical Code. Recessed cans in a shower enclosure require a wet-location listing. Correct installation type should be confirmed by a licensed electrician.
Mirrors and Reflective Surfaces
A mirror that runs the full width of the vanity, or close to it, reflects light and effectively doubles the perceived depth of the room. Frameless or thin-frame mirrors keep visual weight minimal. Polished or satin chrome fixtures reinforce the effect.
Ventilation Requirements
California plumbing and building codes require mechanical ventilation in bathrooms without operable windows that open directly to outdoors. Even with a window, an exhaust fan rated for the bathroom volume (typically 50 CFM minimum) reduces mold risk significantly. Energy Star rated fans with humidity sensors are recommended.
Night Lighting
A low-level night light or step light near the floor provides safe navigation without activating full overhead lighting. Separate switching or sensor-controlled options prevent disruption to other household members during early morning or late evening use.
Future-Ready Design
Accessibility and Future Use in Compact Bathrooms
Thoughtful accessibility planning in a small bathroom does not require a larger footprint or a clinical appearance. Many features that improve safety and ease of use integrate naturally into a well-designed compact space.
Grab Bar Blocking
Installing solid blocking inside walls during the remodel allows grab bars to be added later at any location without needing to open walls again. Blocking costs very little when installed during the rough phase. Grab bars must be anchored to framing or blocking rated for a minimum 250-pound load.
Low or Curbless Shower Entry
A curbless or low-profile entry eliminates the step-over hazard that causes many bathroom falls. Proper drain slope (typically 1/4 inch per foot) and a continuous waterproof membrane from the drain to the shower walls make this feasible in most conversions.
Handheld Showerhead and Sliding Bar
A handheld showerhead on an adjustable slide bar serves seated bathing, children's baths and rinsing tasks without committing to a fixed height. This is one of the most cost-effective accessibility improvements in any shower remodel.
Slip-Aware Flooring Selection
Floor tiles with a coefficient of friction (COF) of 0.42 or higher when wet are appropriate for bathroom floors. Smaller mosaic formats inherently provide more grout joint grip. Smooth, highly polished tiles should be avoided on wet floors regardless of aesthetic appeal.
Reachable Storage and Controls
Placing towel bars, hooks, shelves and shower controls within a 15- to 48-inch range from the floor serves both shorter household members and those who prefer or require a seated position. This range aligns with general residential accessibility guidance.
Contrast and Visual Clarity
Light switch plates, grab bars and fixture handles that contrast with the surrounding wall surface are easier to locate quickly, particularly in low-light conditions. This detail benefits most users without affecting the overall design.
Wider Doorway Where Feasible
A 32-inch clear door opening is a common accessibility target. In small bathrooms where widening the door affects an adjacent structure, a pocket door or offset pivot can provide improved clearance within the existing rough opening in some configurations.
Lever and Rocker Controls
Lever faucet handles, rocker light switches and push-type drain stoppers are easier to operate than round knobs for people with arthritis, reduced grip strength or wet hands. They are a low-cost upgrade during any fixture selection phase.
What to Expect
The Remodeling Process, Permits and What May Be Discovered
Understanding each phase helps you plan your household around the work, communicate clearly with your contractor and know what to ask at each stage.
1
Measurement and Existing-Condition Review
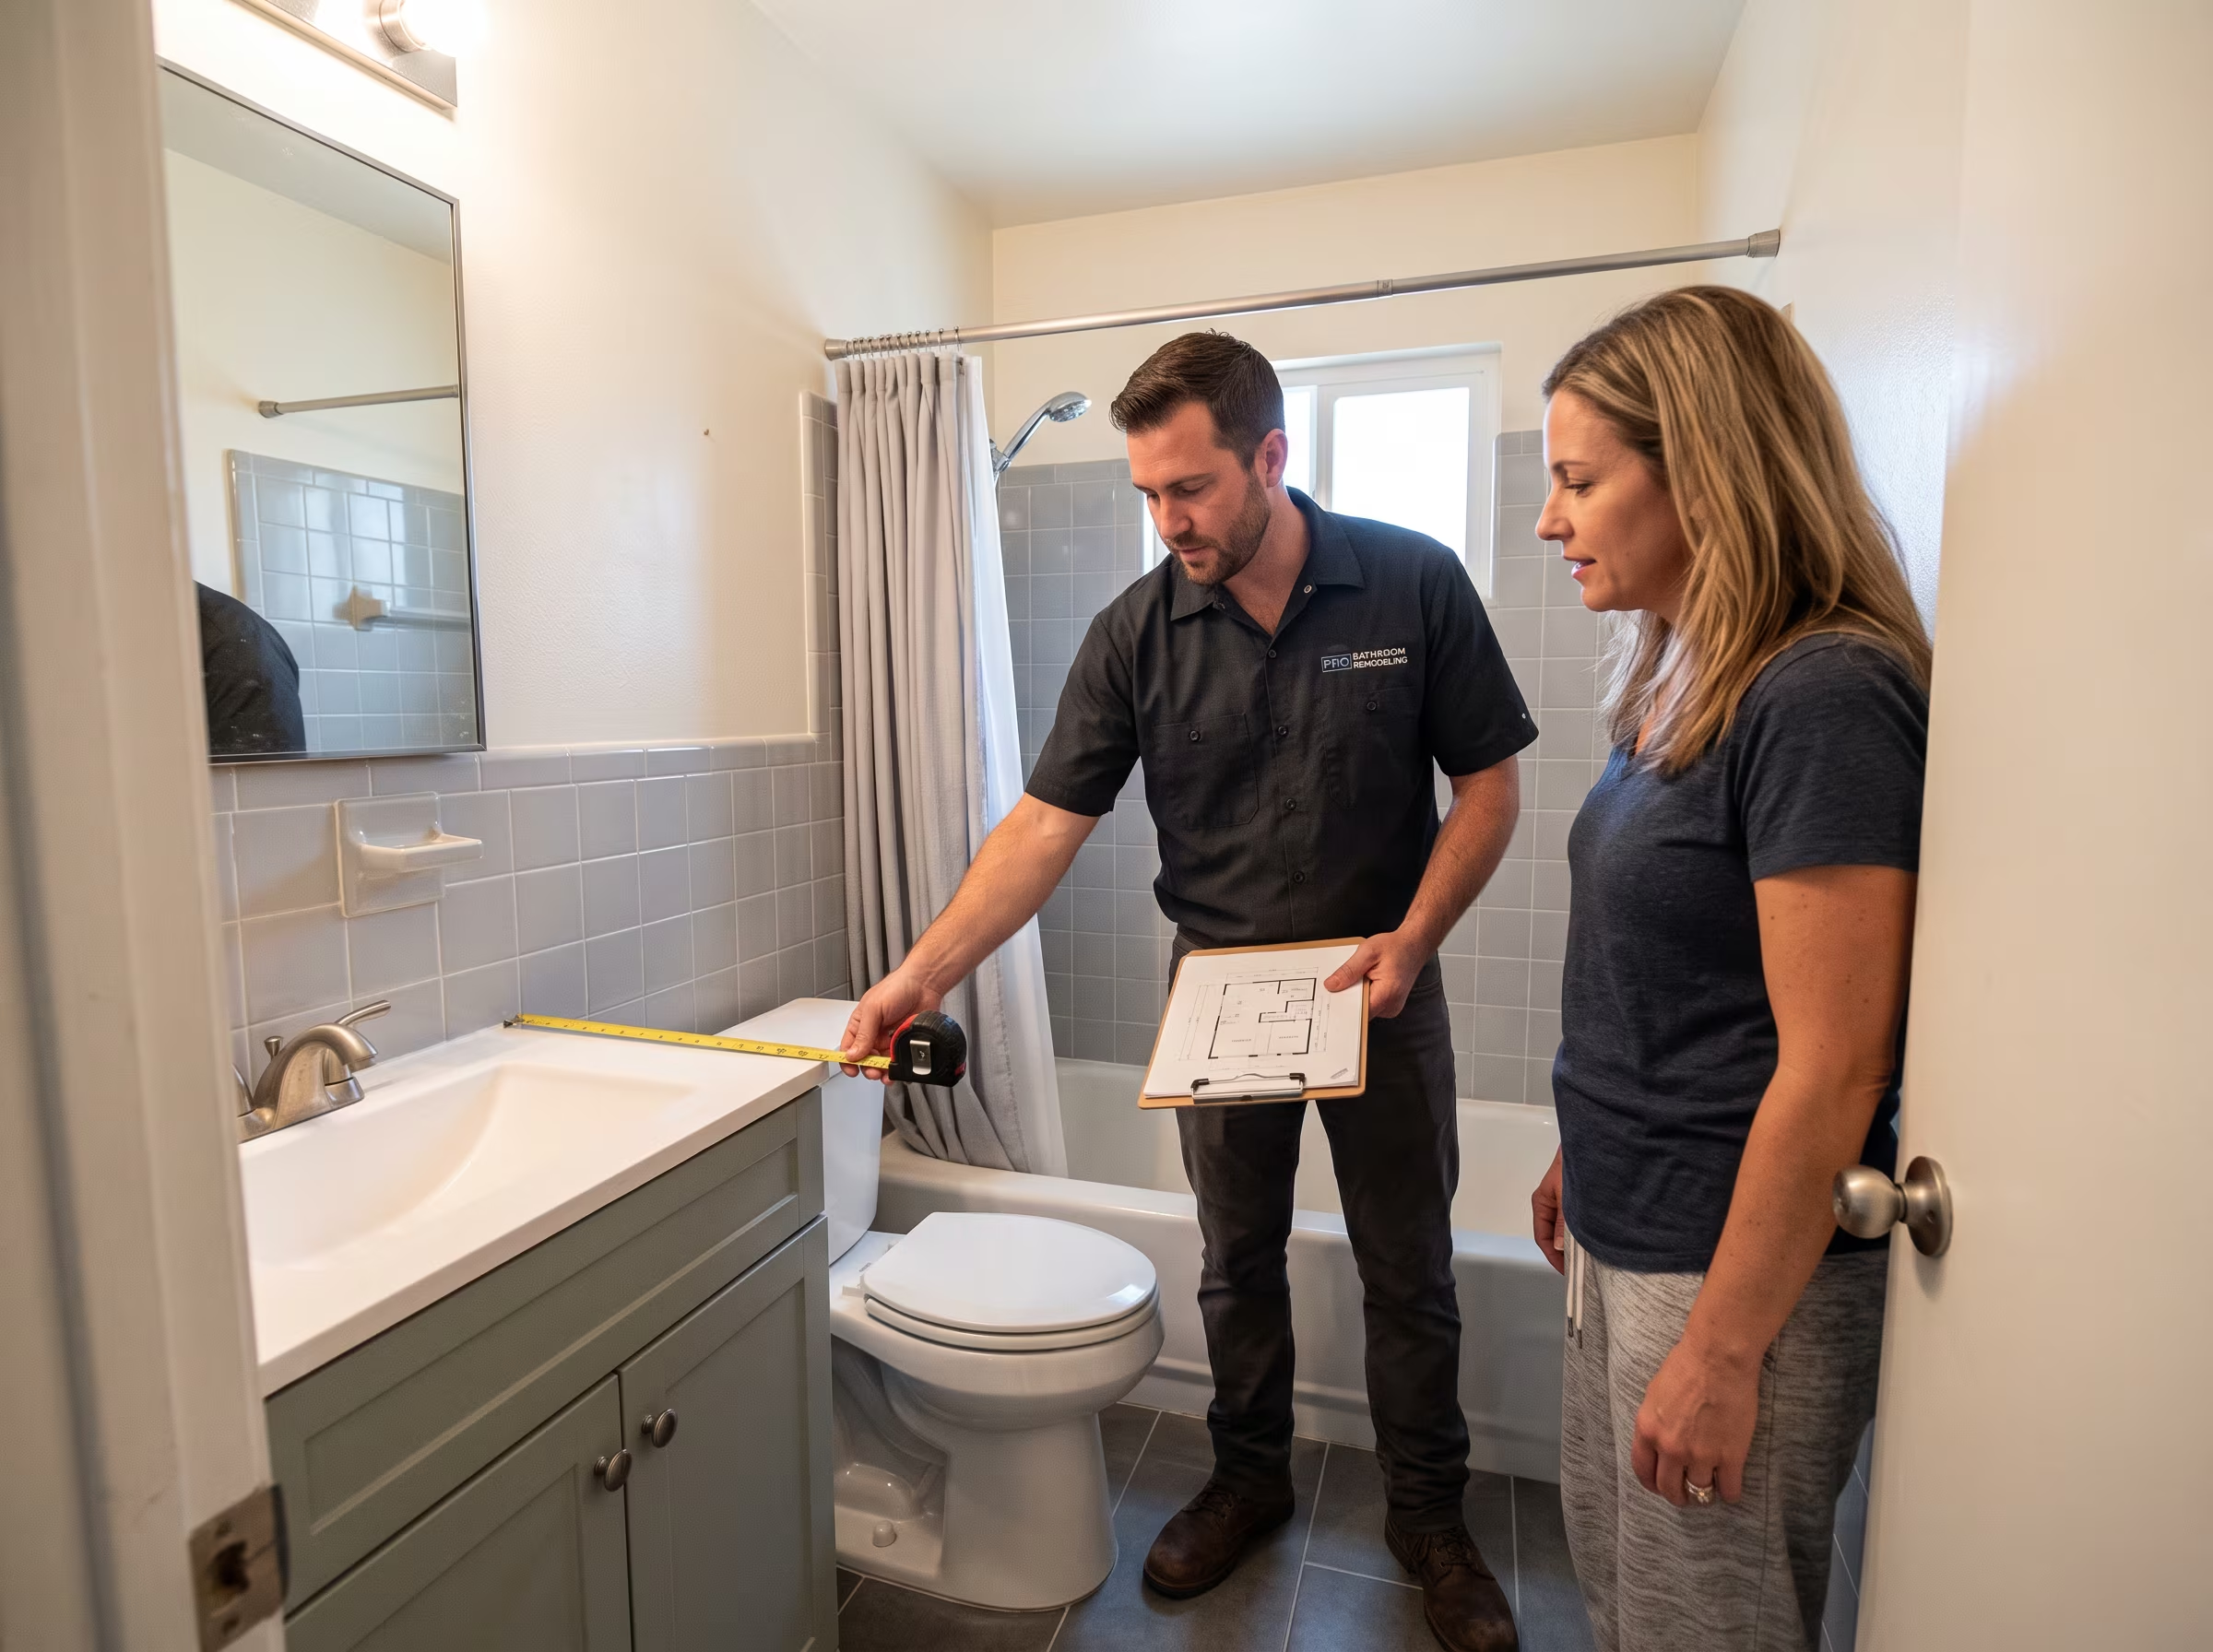
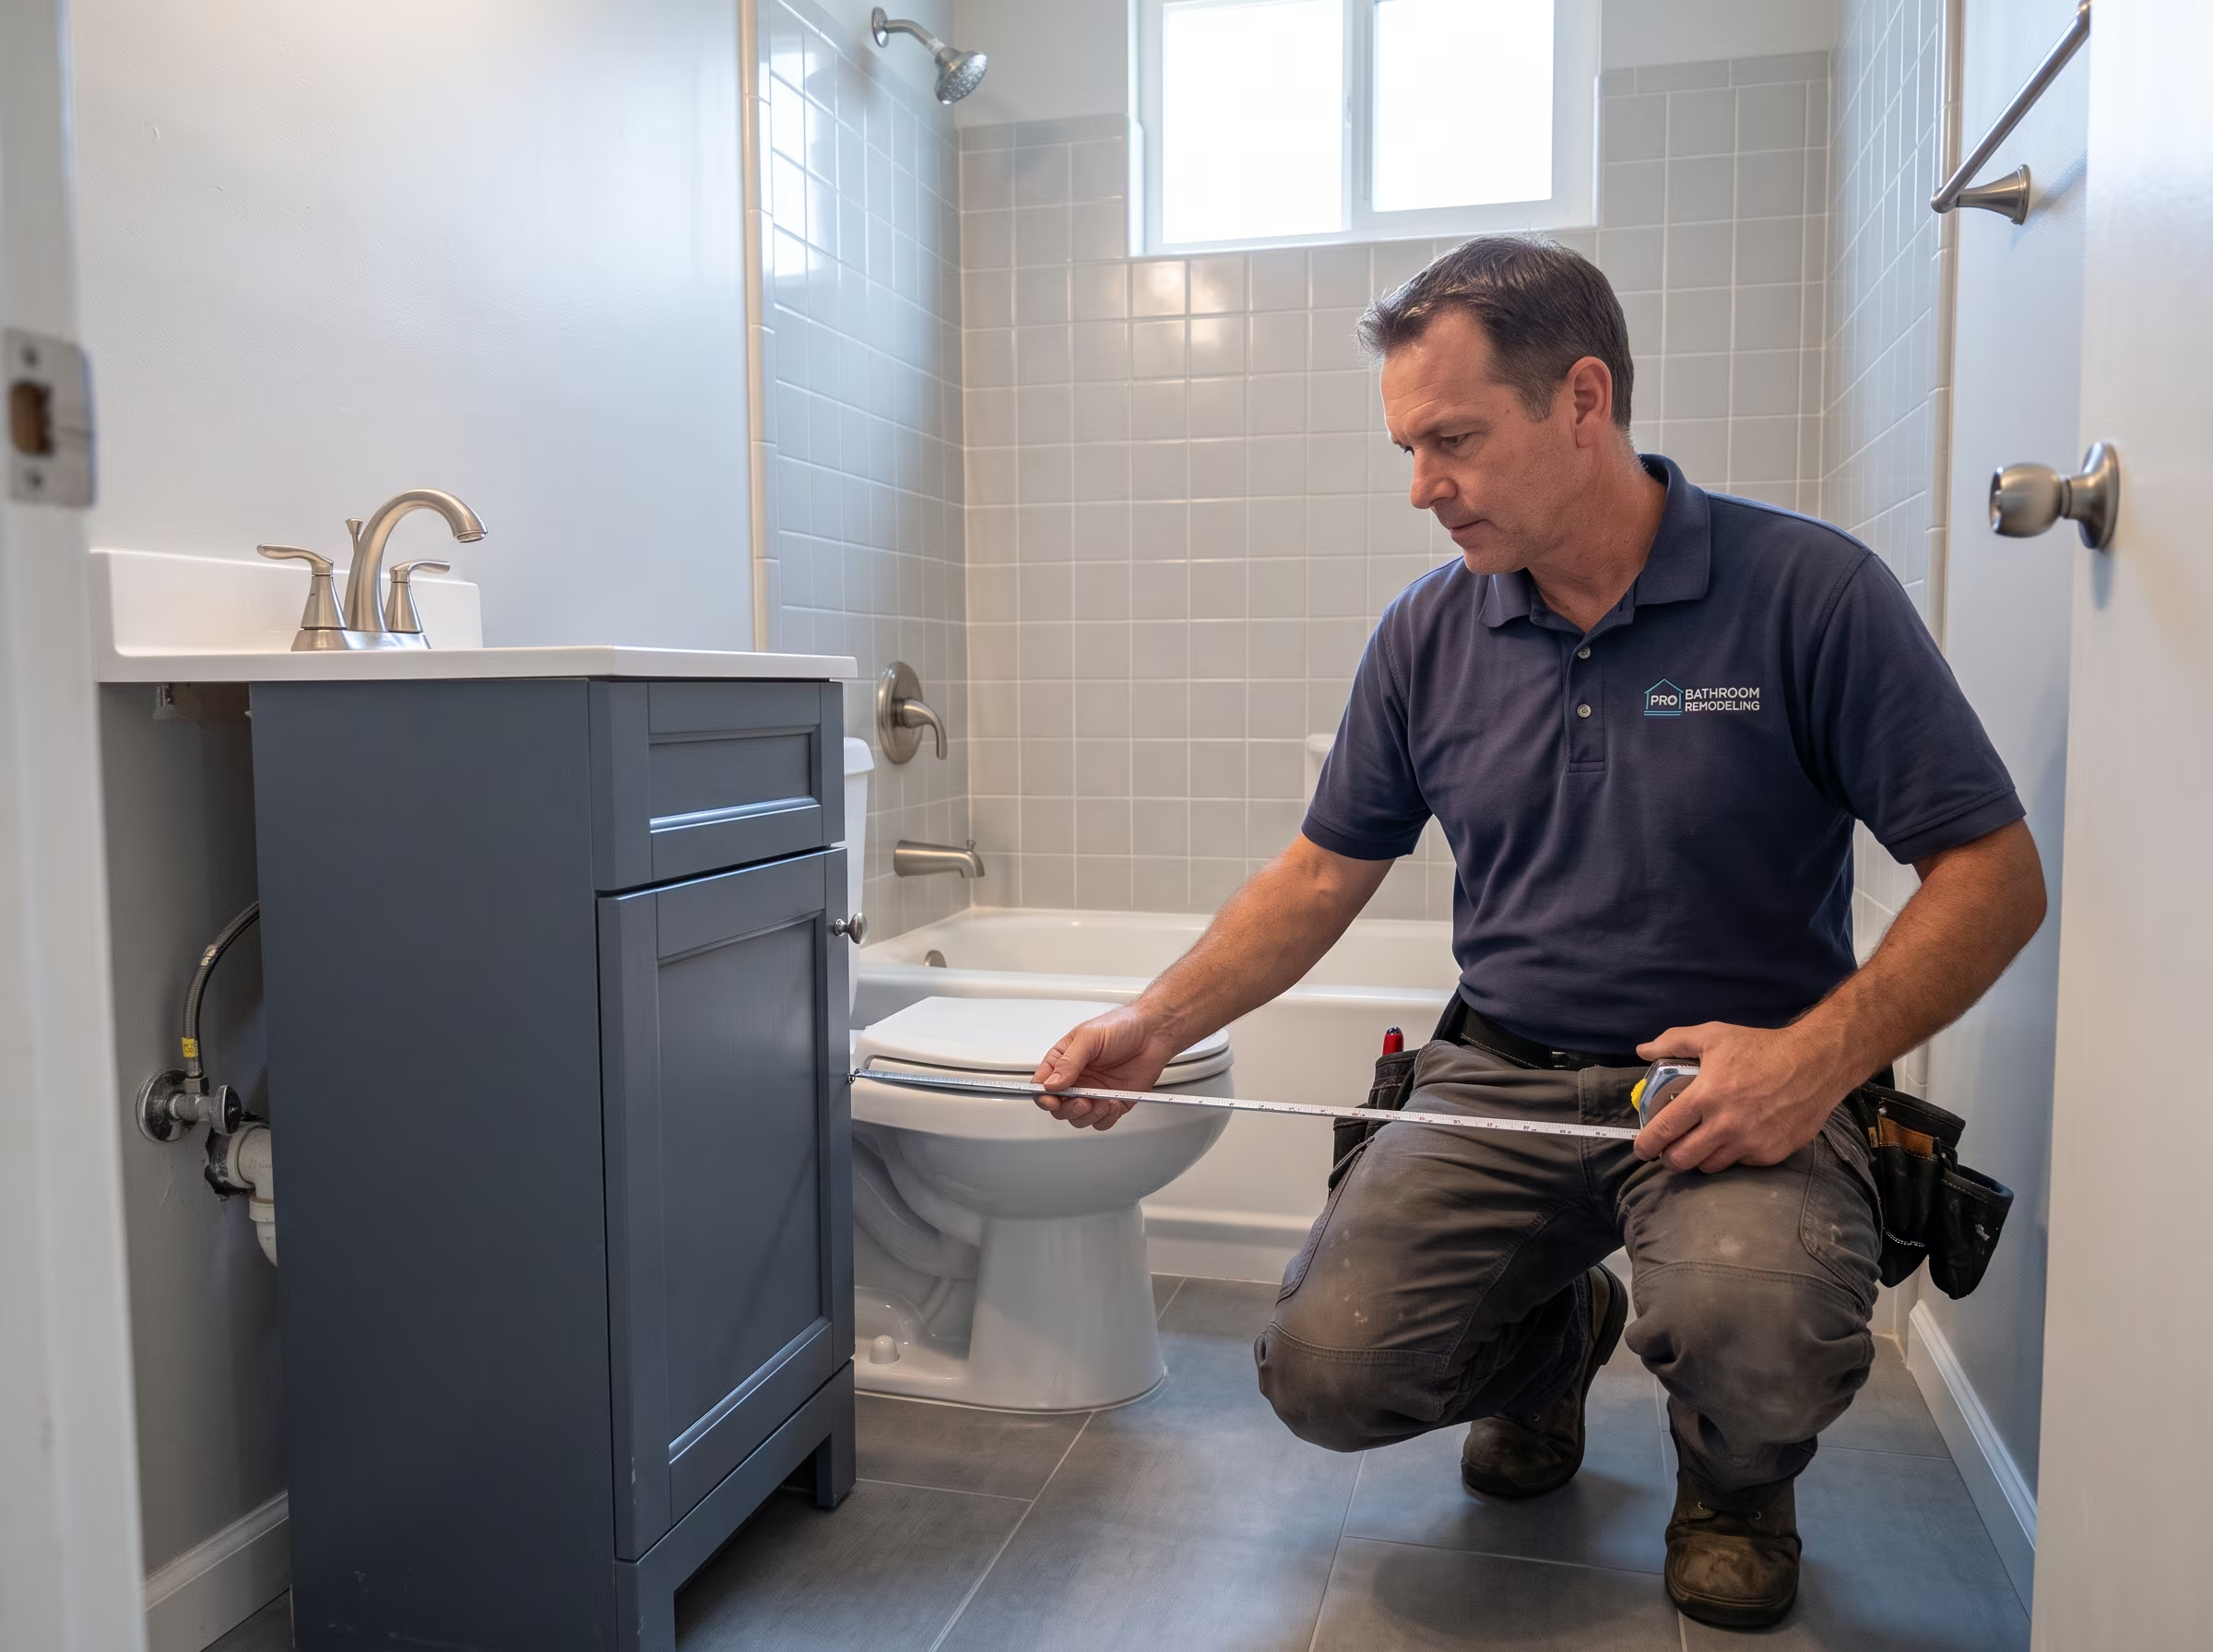
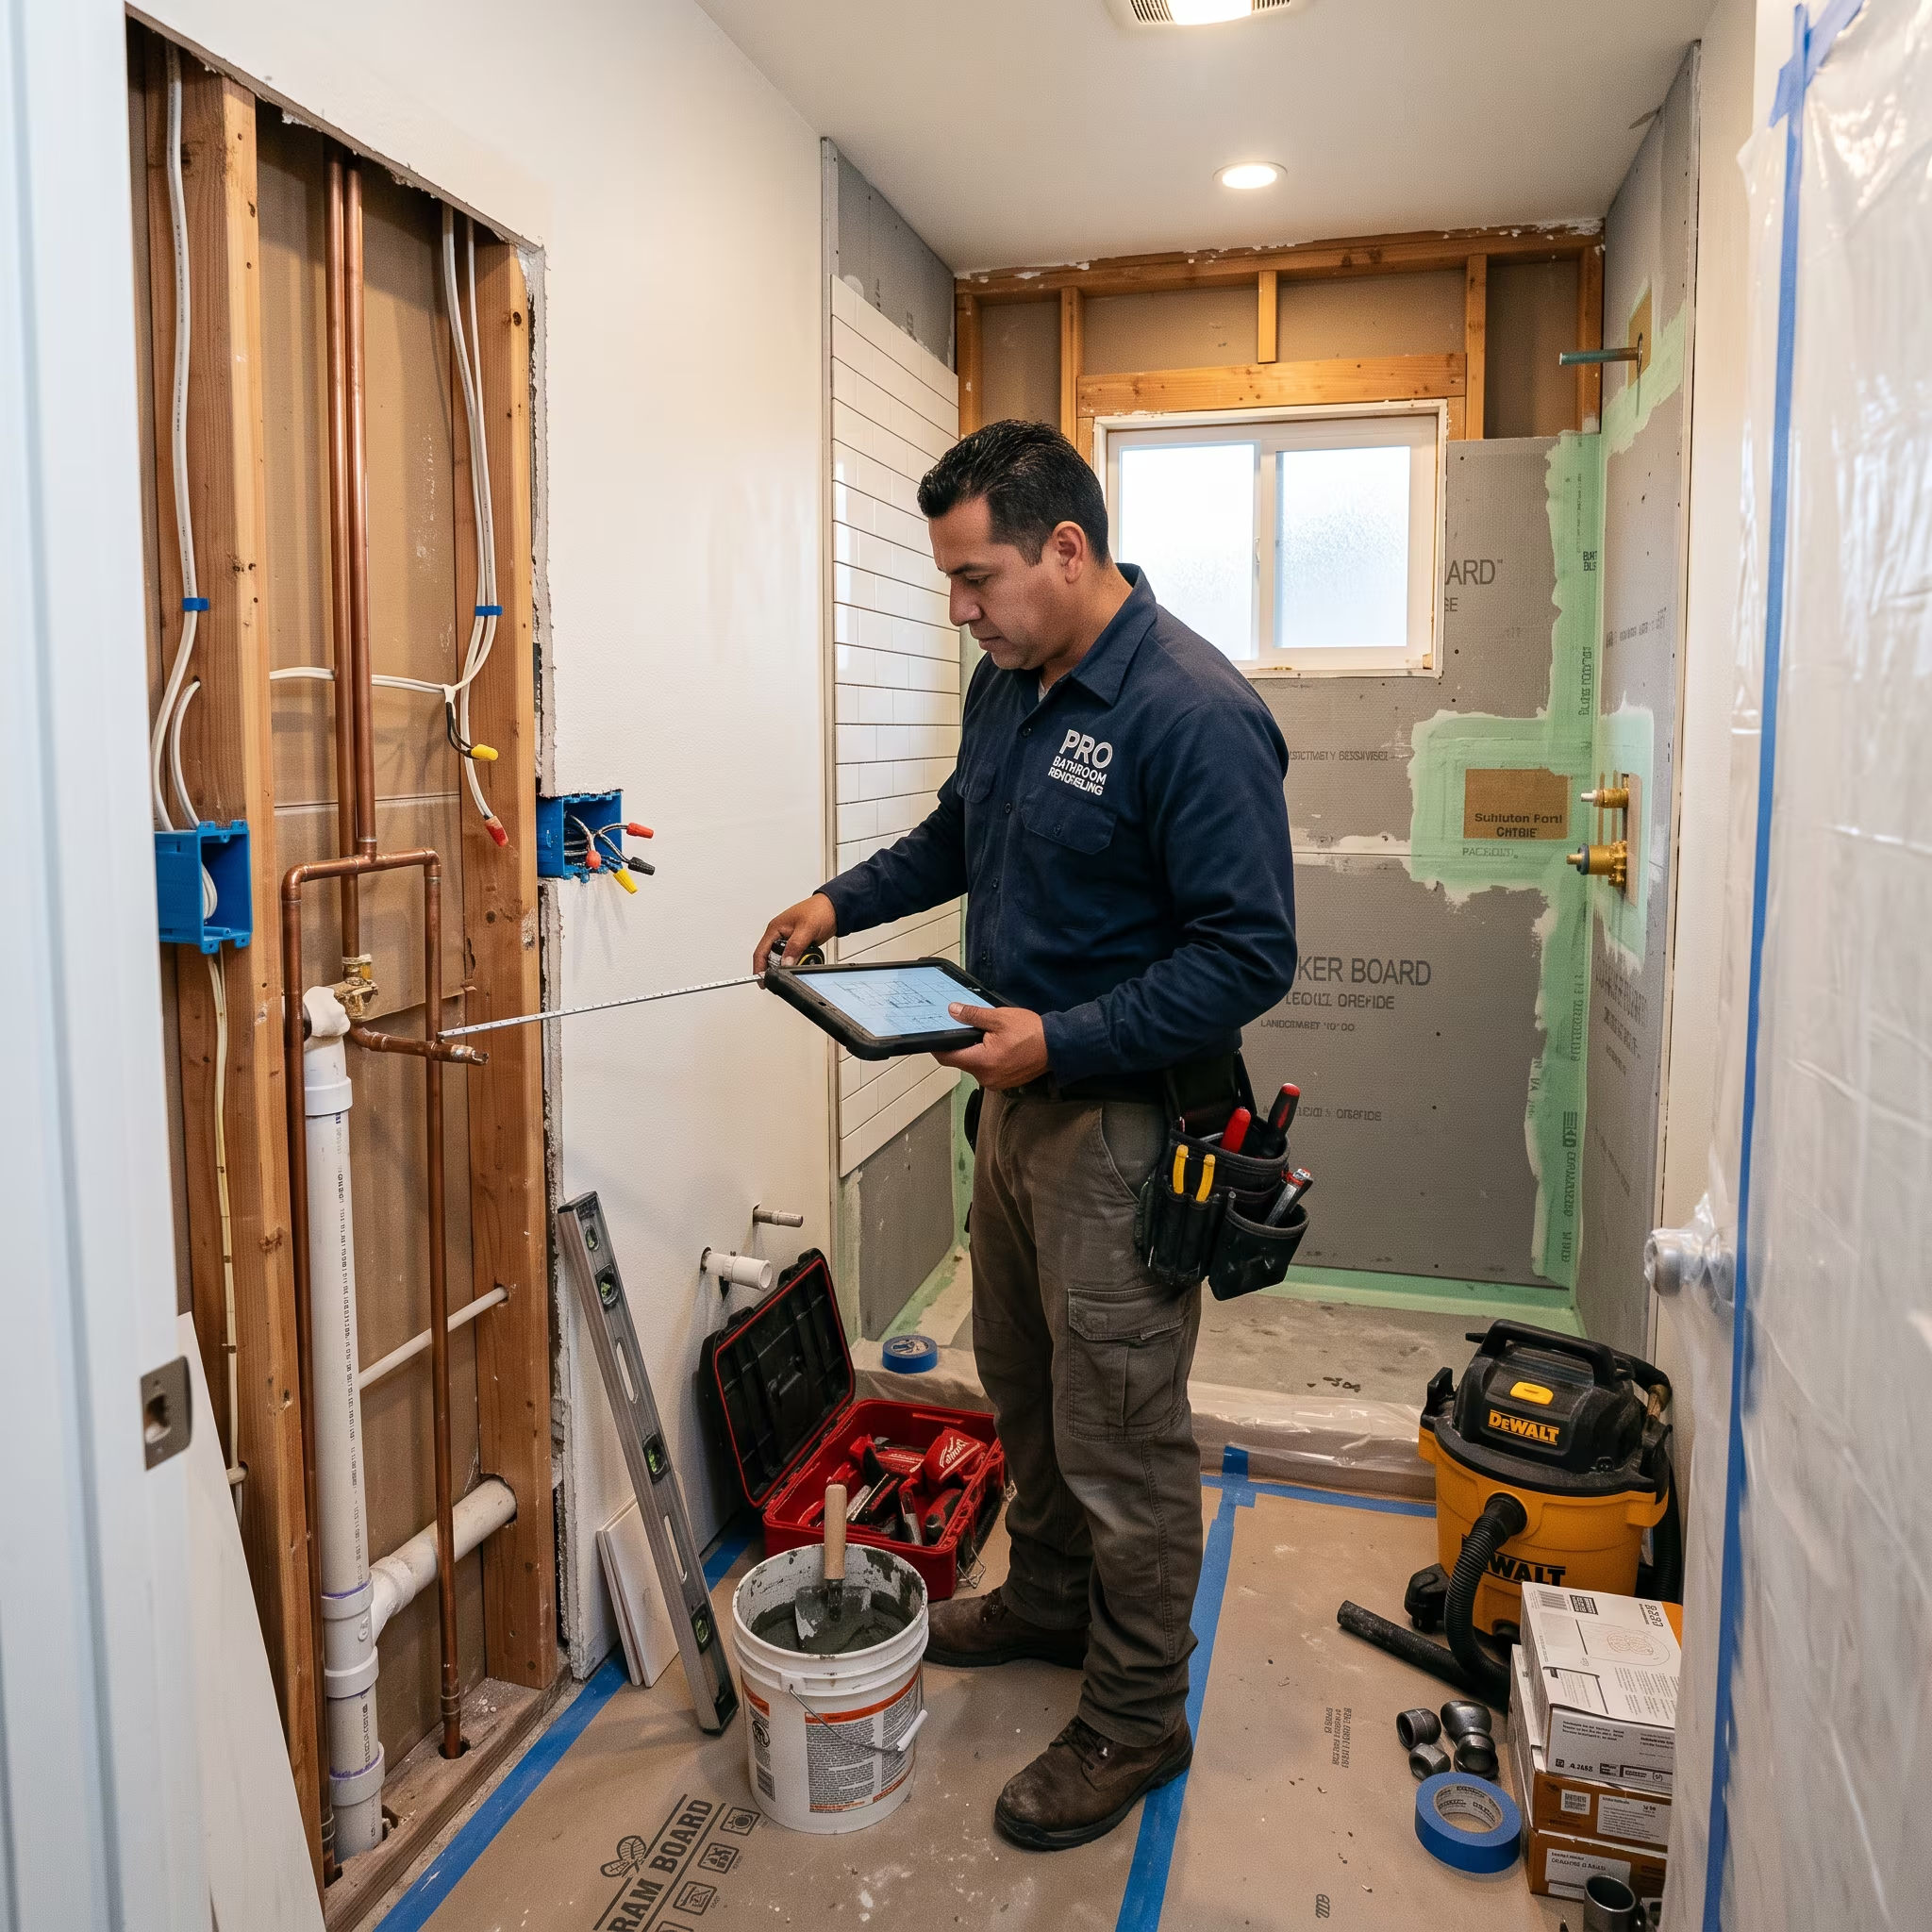
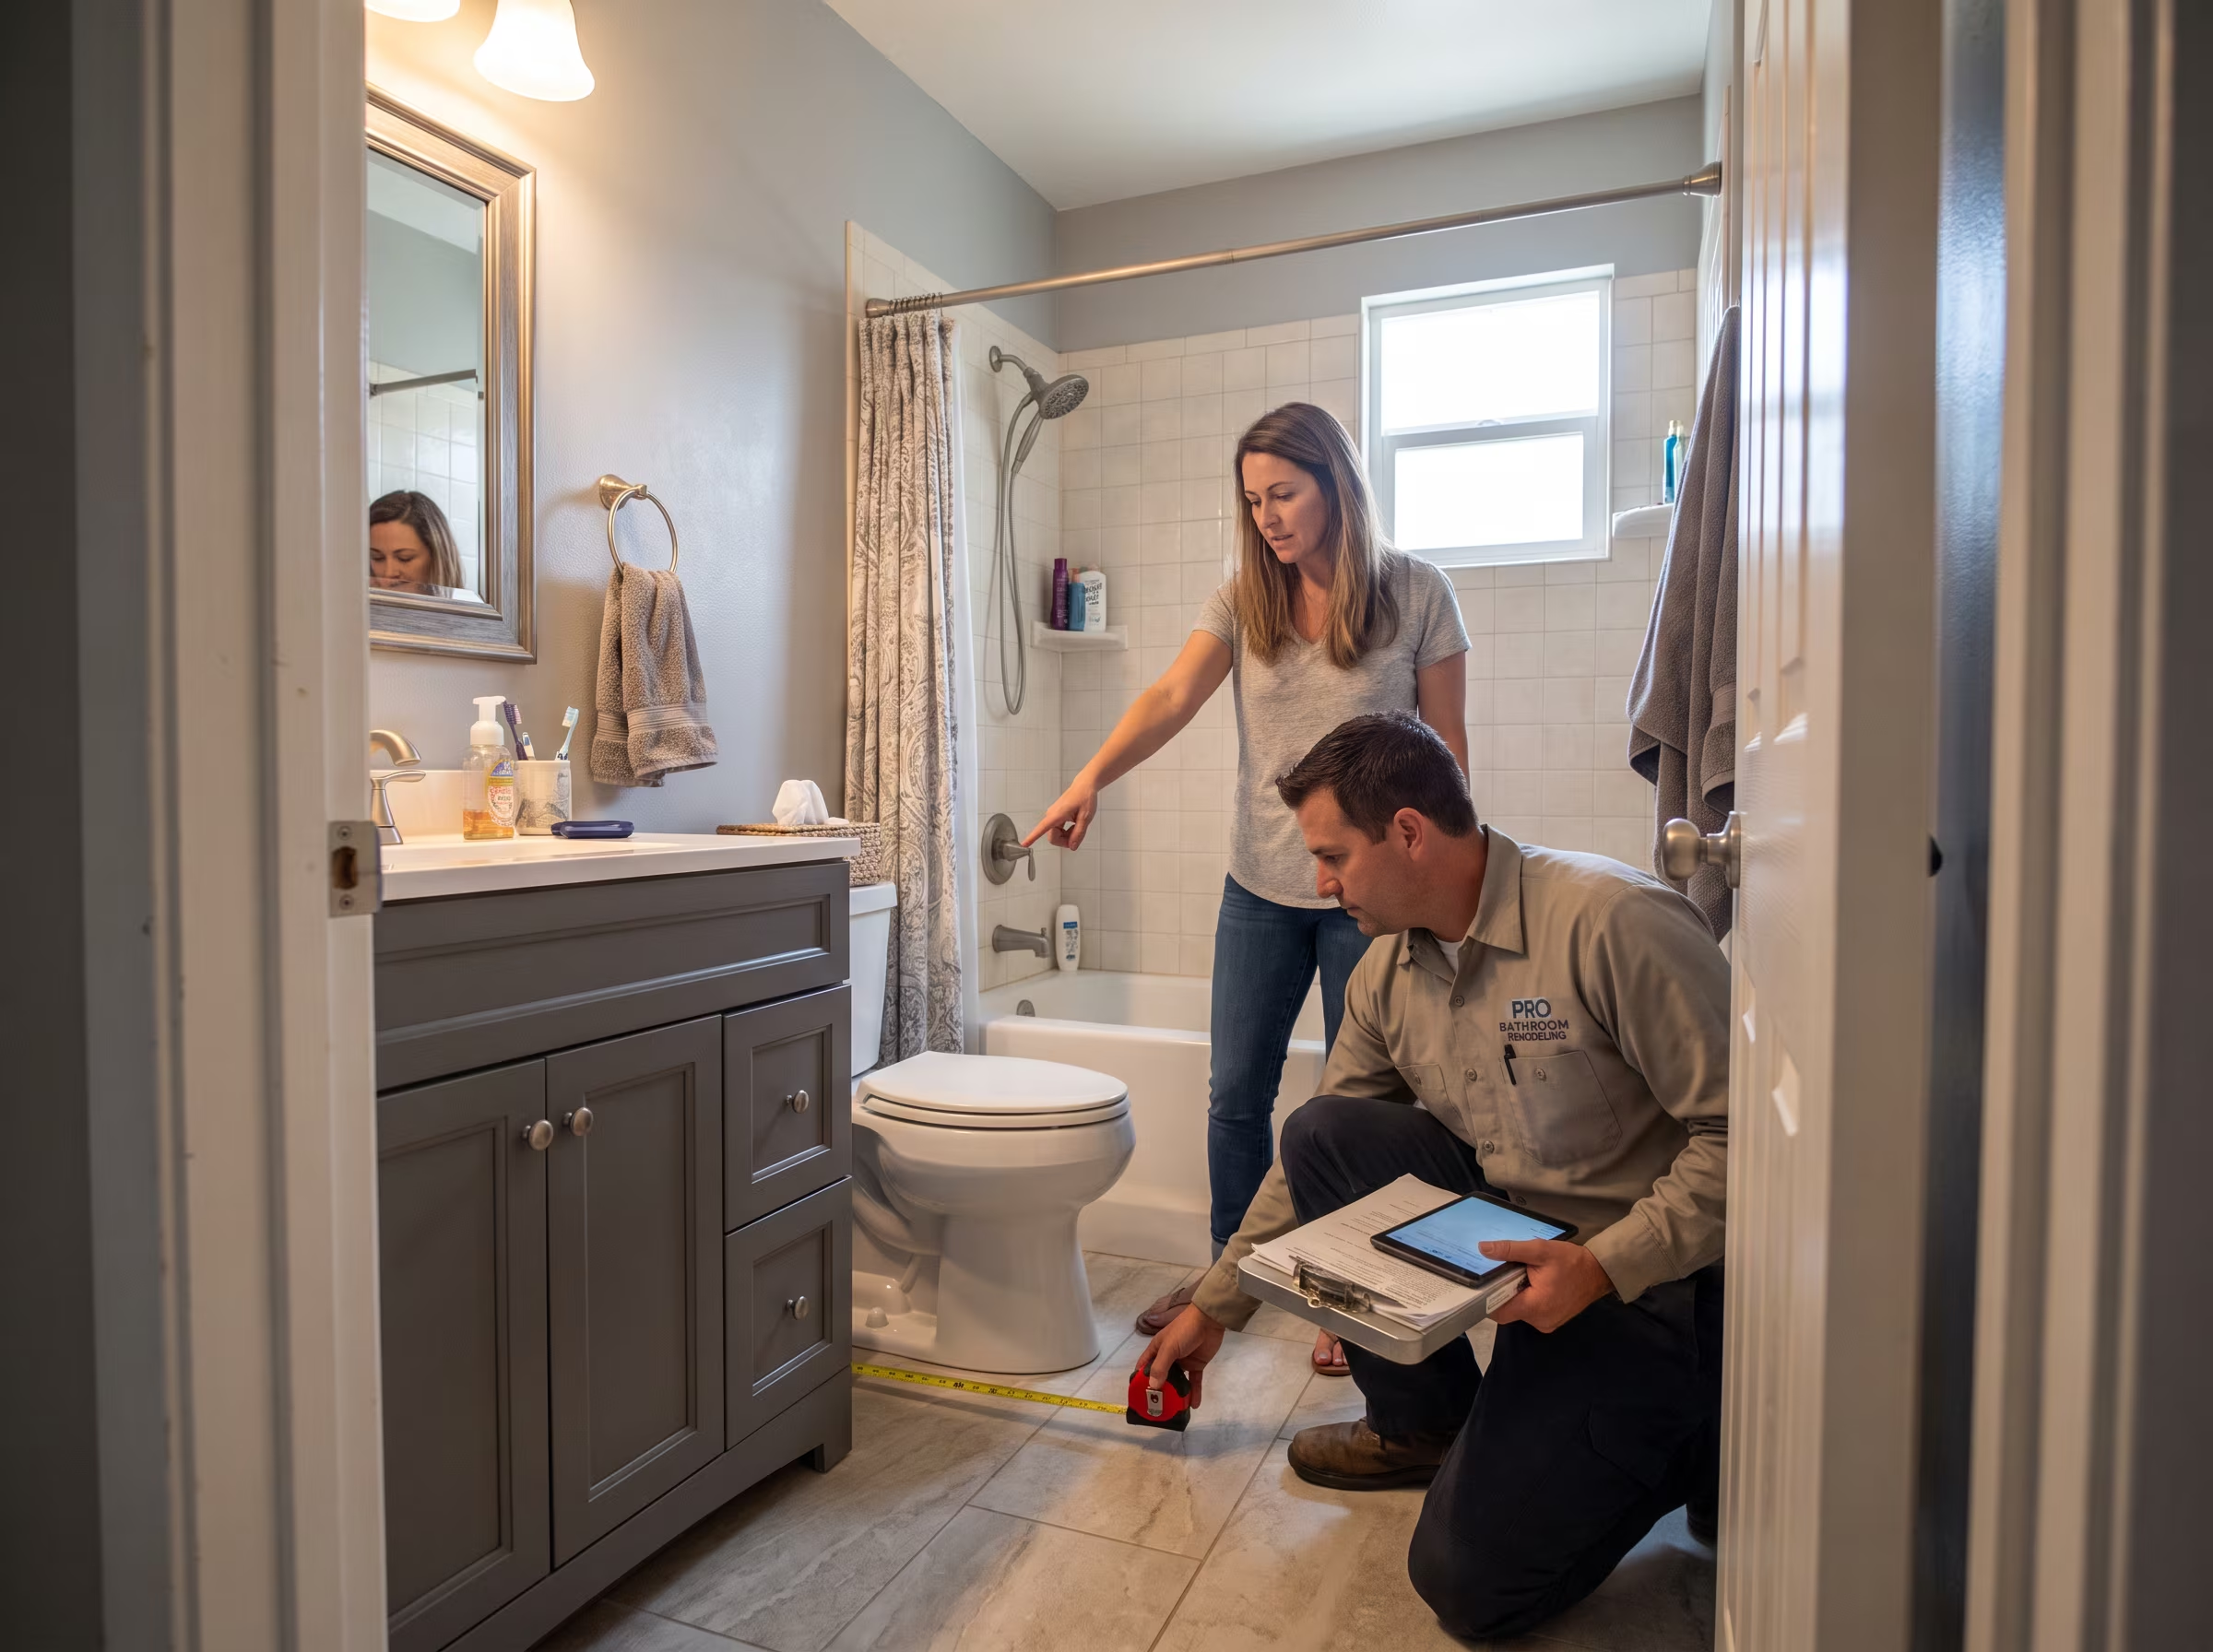
Accurate field measurements of the room, fixture positions, door clearances and wall configurations form the basis of any realistic layout plan. Existing plumbing, electrical and ventilation positions are noted at this stage.
2
Feasibility and Layout Decisions
Which layout changes are physically possible, code-compliant and budget-aligned is resolved before selecting any materials. Door swing options, plumbing positions and structural constraints are addressed here.
3
Material and Fixture Selections
Tile, vanity, fixtures, shower hardware, lighting, mirrors and accessories are selected with lead times in mind. Special-order items that require extended delivery windows should be confirmed before the start date is set.
4
Written Scope and Approvals
A written scope document defining the work, materials, responsibilities, exclusions and change-approval procedure protects both parties. Review it carefully before signing.
5
Permit or Inspection Coordination
The need for a building, plumbing or electrical permit depends on the scope and jurisdiction. Within the City of San Diego, cosmetic remodels with no layout changes typically qualify for a No-Plan Building Permit or may not require a permit at all. Layout changes, new plumbing fixtures or electrical modifications often require a permit and inspection. Rules differ in Chula Vista, El Cajon, Escondido and other incorporated cities, and are distinct again for unincorporated County areas. Your contractor should clarify the applicable authority and permit requirements for your specific address before work begins.
6
Site Protection and Demolition
Hallways, adjacent rooms and dust-sensitive areas are protected before demolition begins. Demo reveals the actual condition of subfloors, walls and plumbing that cannot be confirmed from the surface.
7
Rough Plumbing, Electrical and Ventilation
New drain lines, supply lines, vent modifications, GFCI-protected circuits and exhaust fan ducting are installed and verified before walls are closed. This is the stage where inspections are typically required for permitted work.
8
Substrate, Waterproofing and Installation
Cement board or appropriate backer, waterproof membrane at wet zones, sloped shower pan, tile setting and grouting follow rough inspections. Fixtures, vanity, mirror, lighting and accessories are installed after tile work is complete and cured.
9
Testing, Cleanup and Walkthrough
Fixtures are tested for leaks and proper function. The site is cleaned and restored. A final walkthrough confirms that the work matches the agreed scope and that any items on a punch list are resolved before final payment.
Duration and Scheduling
A compact bathroom remodel that stays within the existing plumbing positions and does not require layout changes typically proceeds more quickly than a project involving rerouted drains, structural modifications or extensive permit review.
Duration is affected by: layout complexity, permit jurisdiction and review times, special-order material lead times, hidden conditions discovered at demolition, trade sequencing for licensed plumbers and electricians, and inspection scheduling. A site visit and scoping review provides a realistic phased schedule for your specific project.
Hidden Conditions That Affect Scope
Water damage or active moisture behind walls and under the shower pan
Subfloor deflection, rot or inadequate joist spacing for large-format tile
Corroded or undersized drain, vent or supply lines
Outdated wiring near wet zones that must be corrected before new fixtures can be installed
Missing or inadequate exhaust fan ducting
A realistic written scope includes a contingency provision for conditions that can only be confirmed after demolition.
Inspiration
Six Approaches for Compact Bathrooms
Each approach illustrates a distinct way to handle layout, materials, storage or accessibility in a small bathroom.
01
Powder-Room Refresh
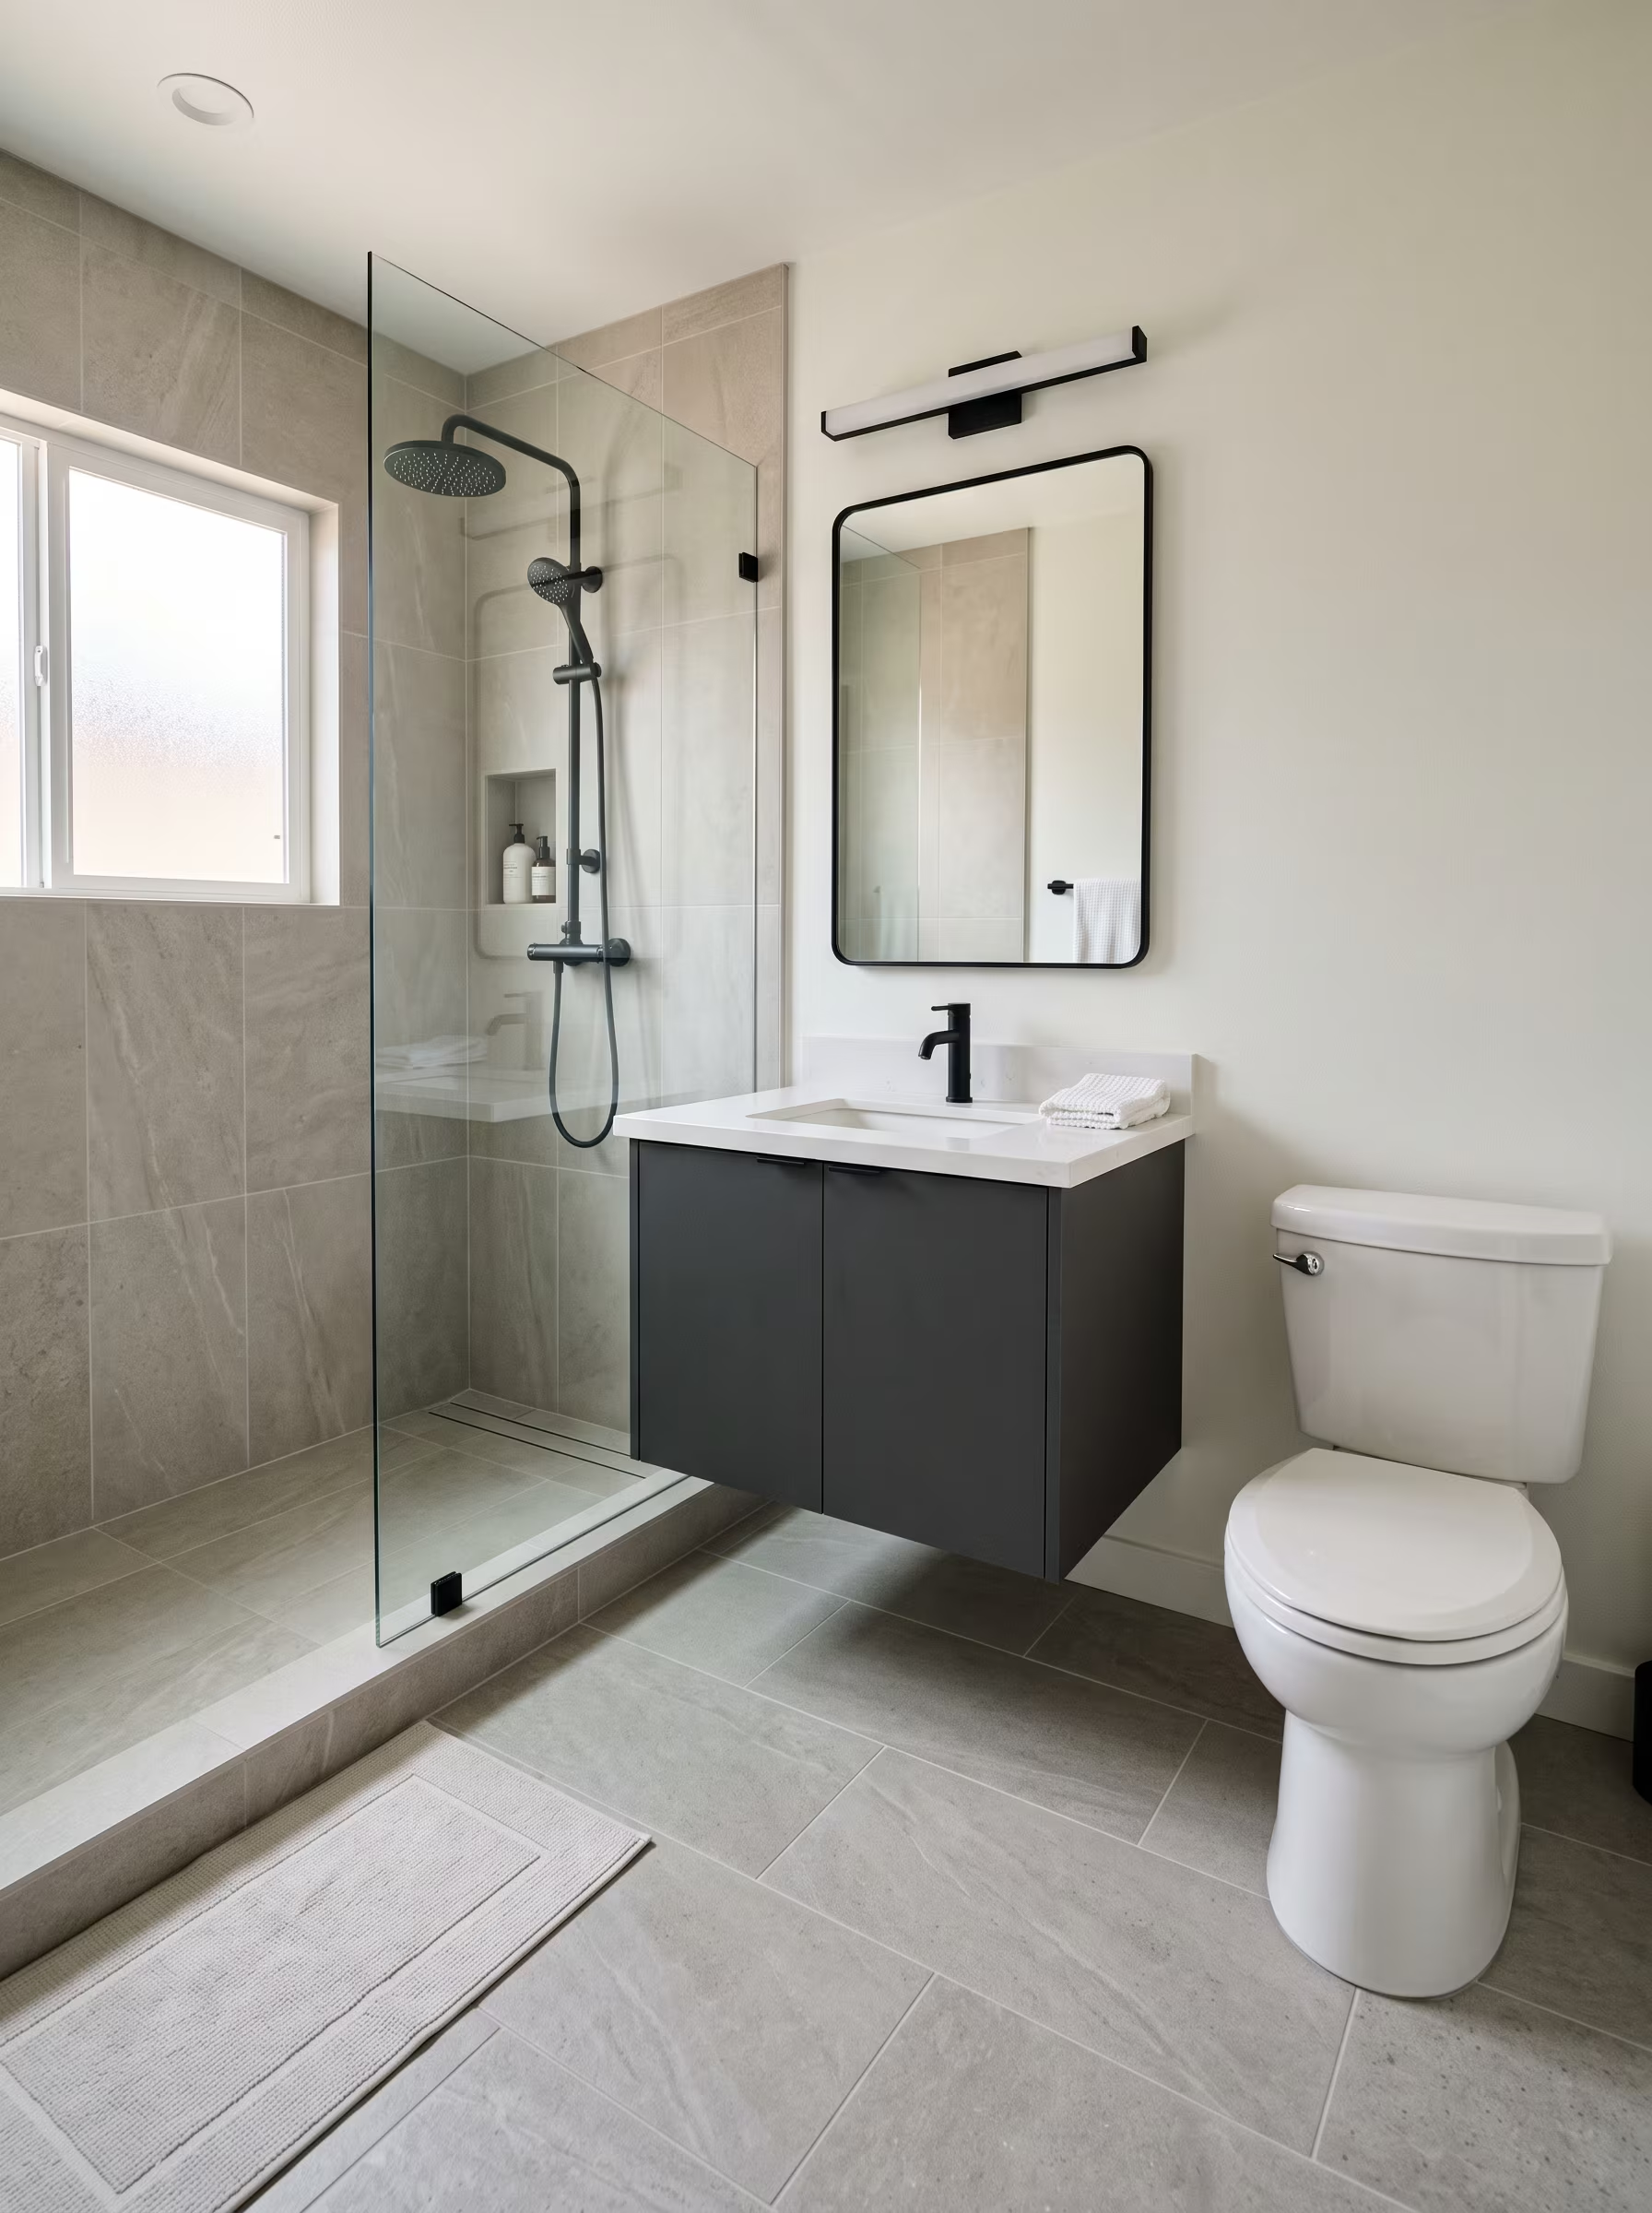
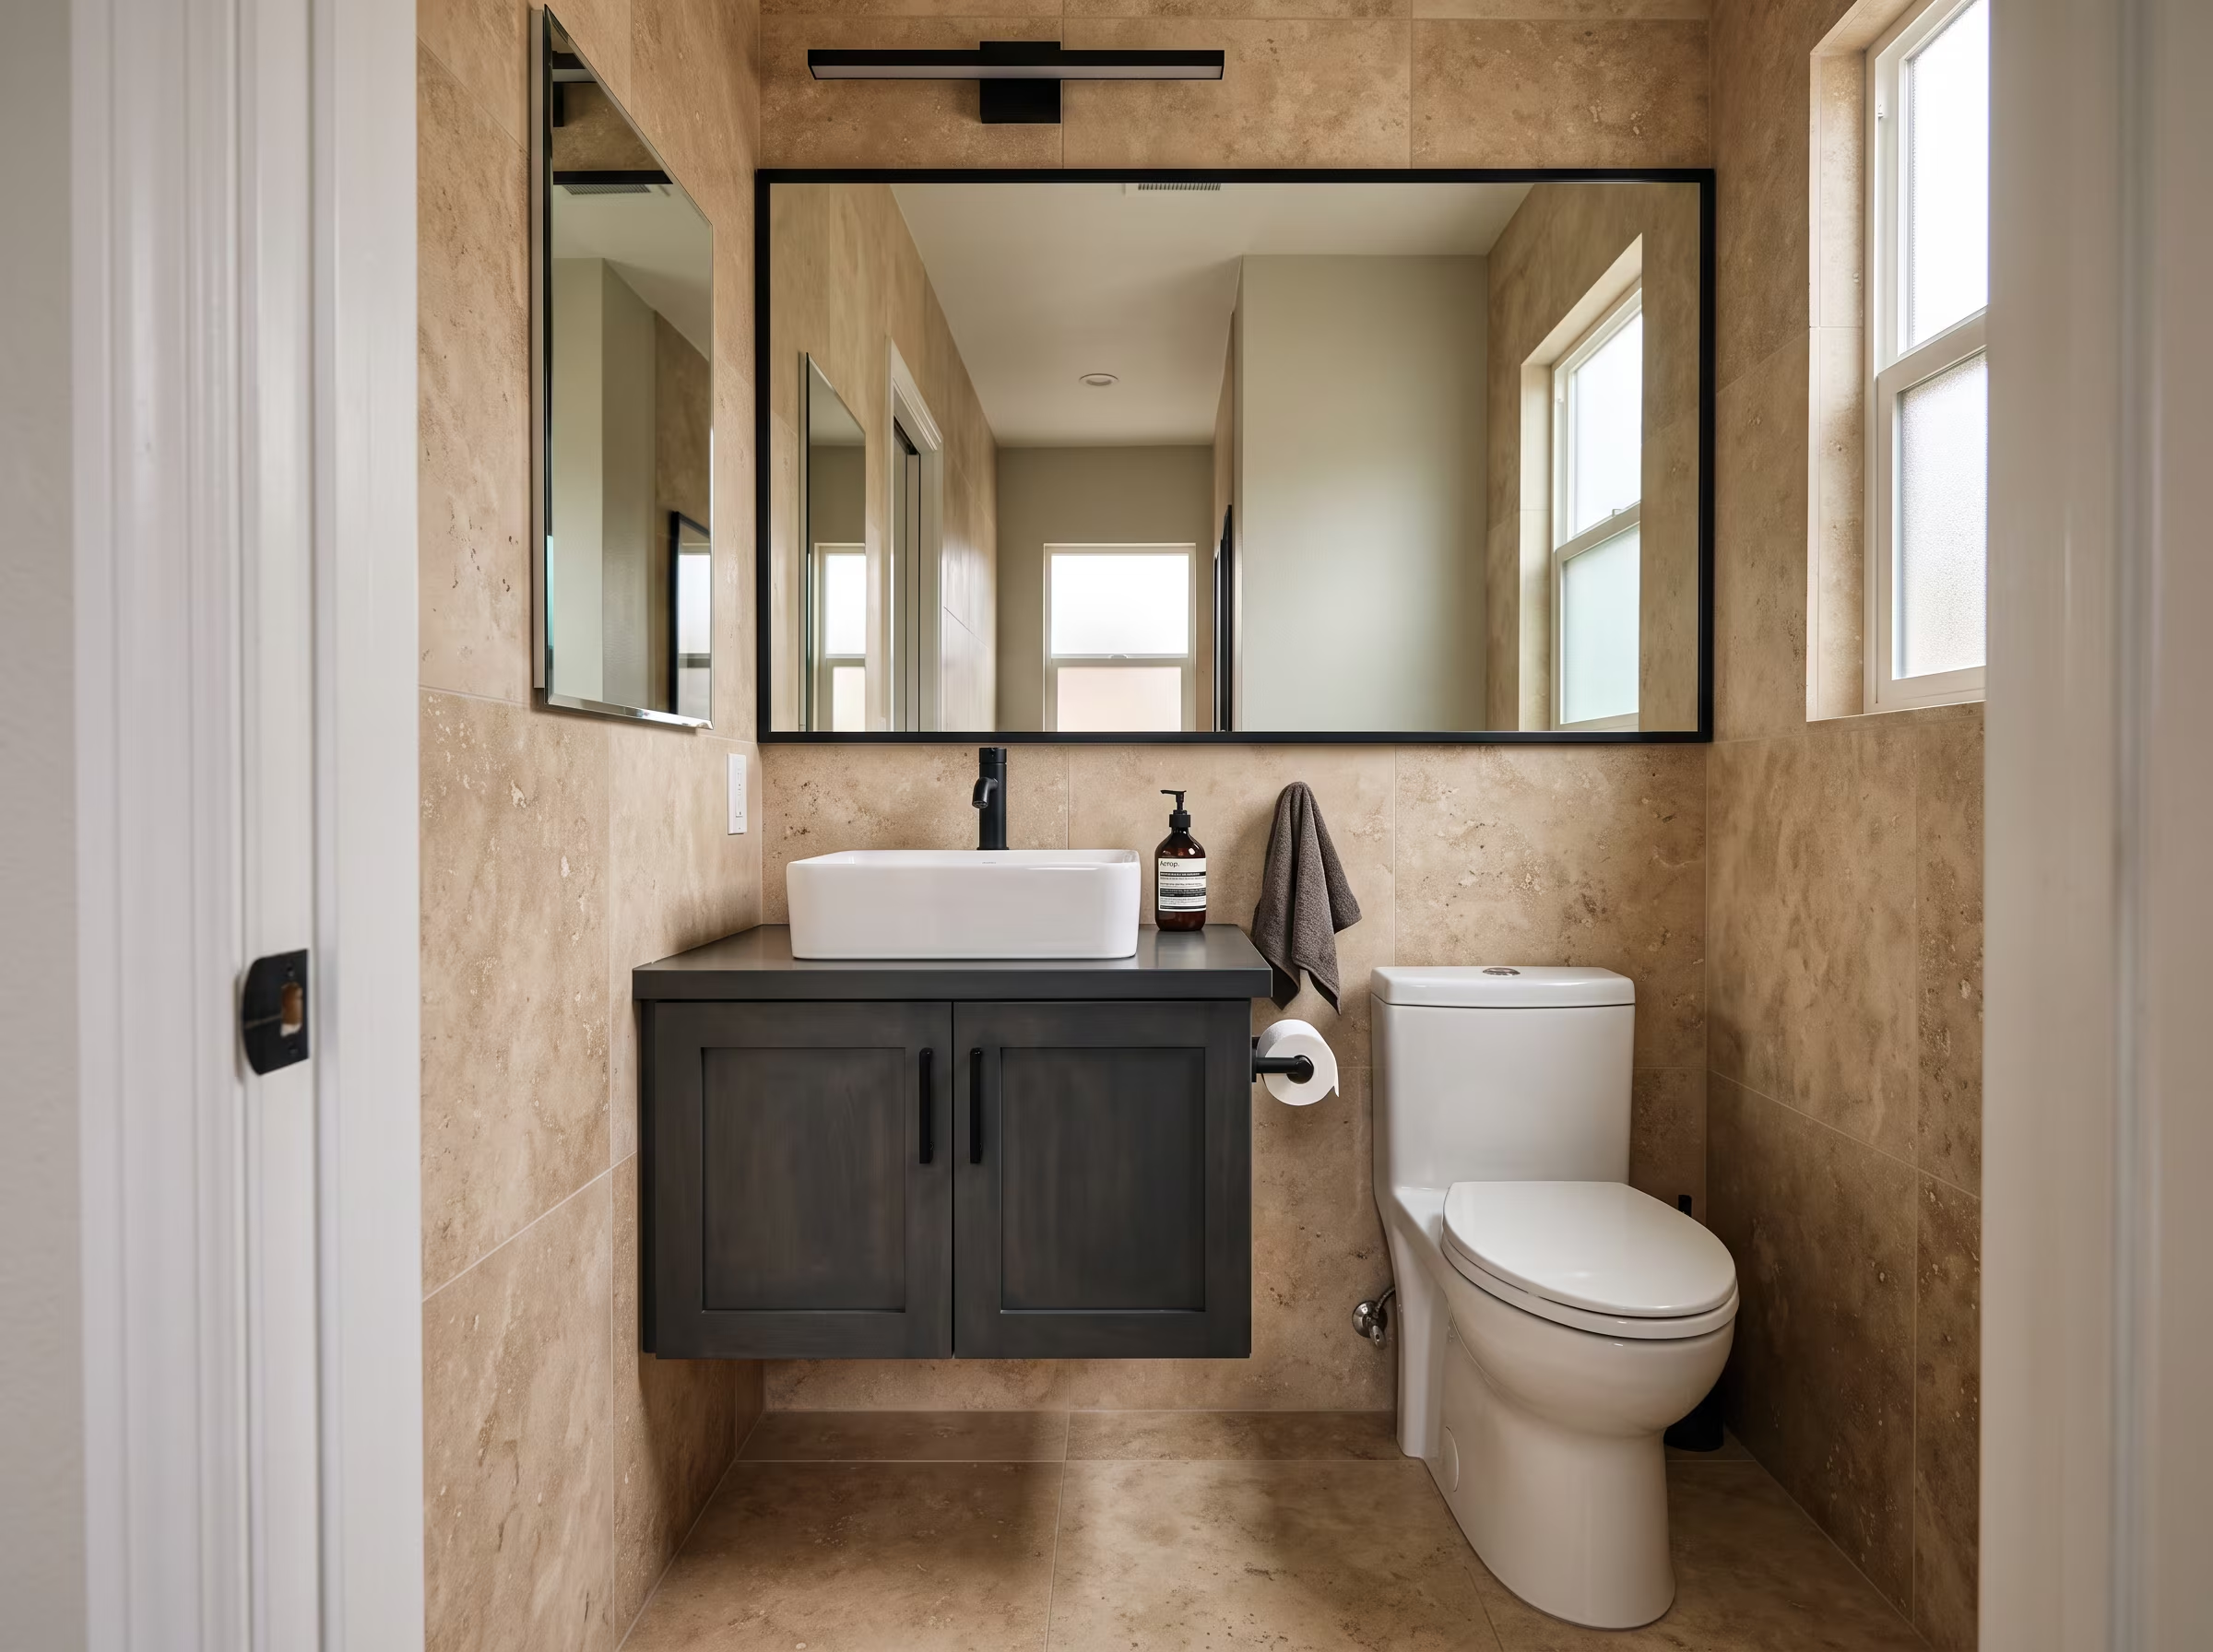
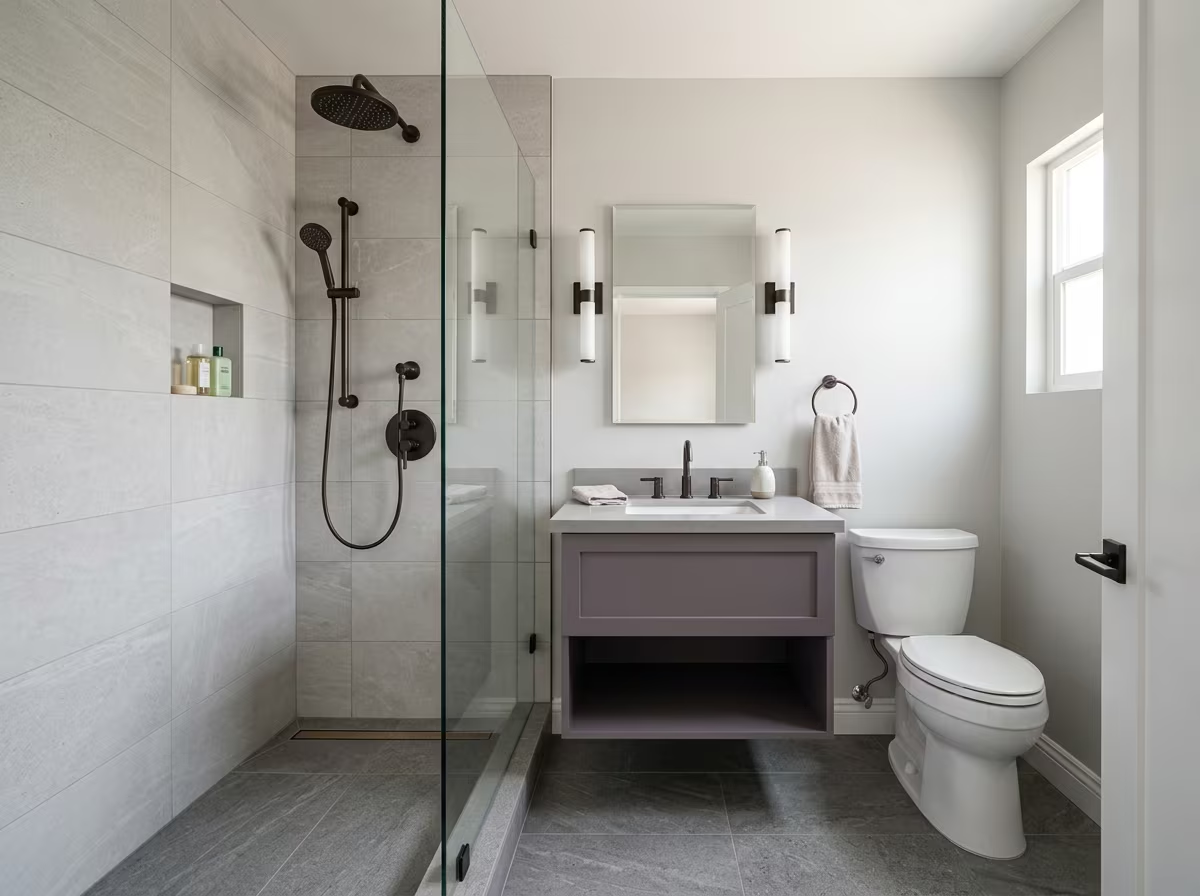
A toilet-and-sink powder room under 40 square feet. Wall-mounted vanity at 16-inch depth, full-width mirror with recessed medicine cabinet, warm travertine wall tile and matte black fixtures for contrast.
Under 40 sq ftWall-mounted vanityRecessed cabinet
02
Compact Hall Bathroom
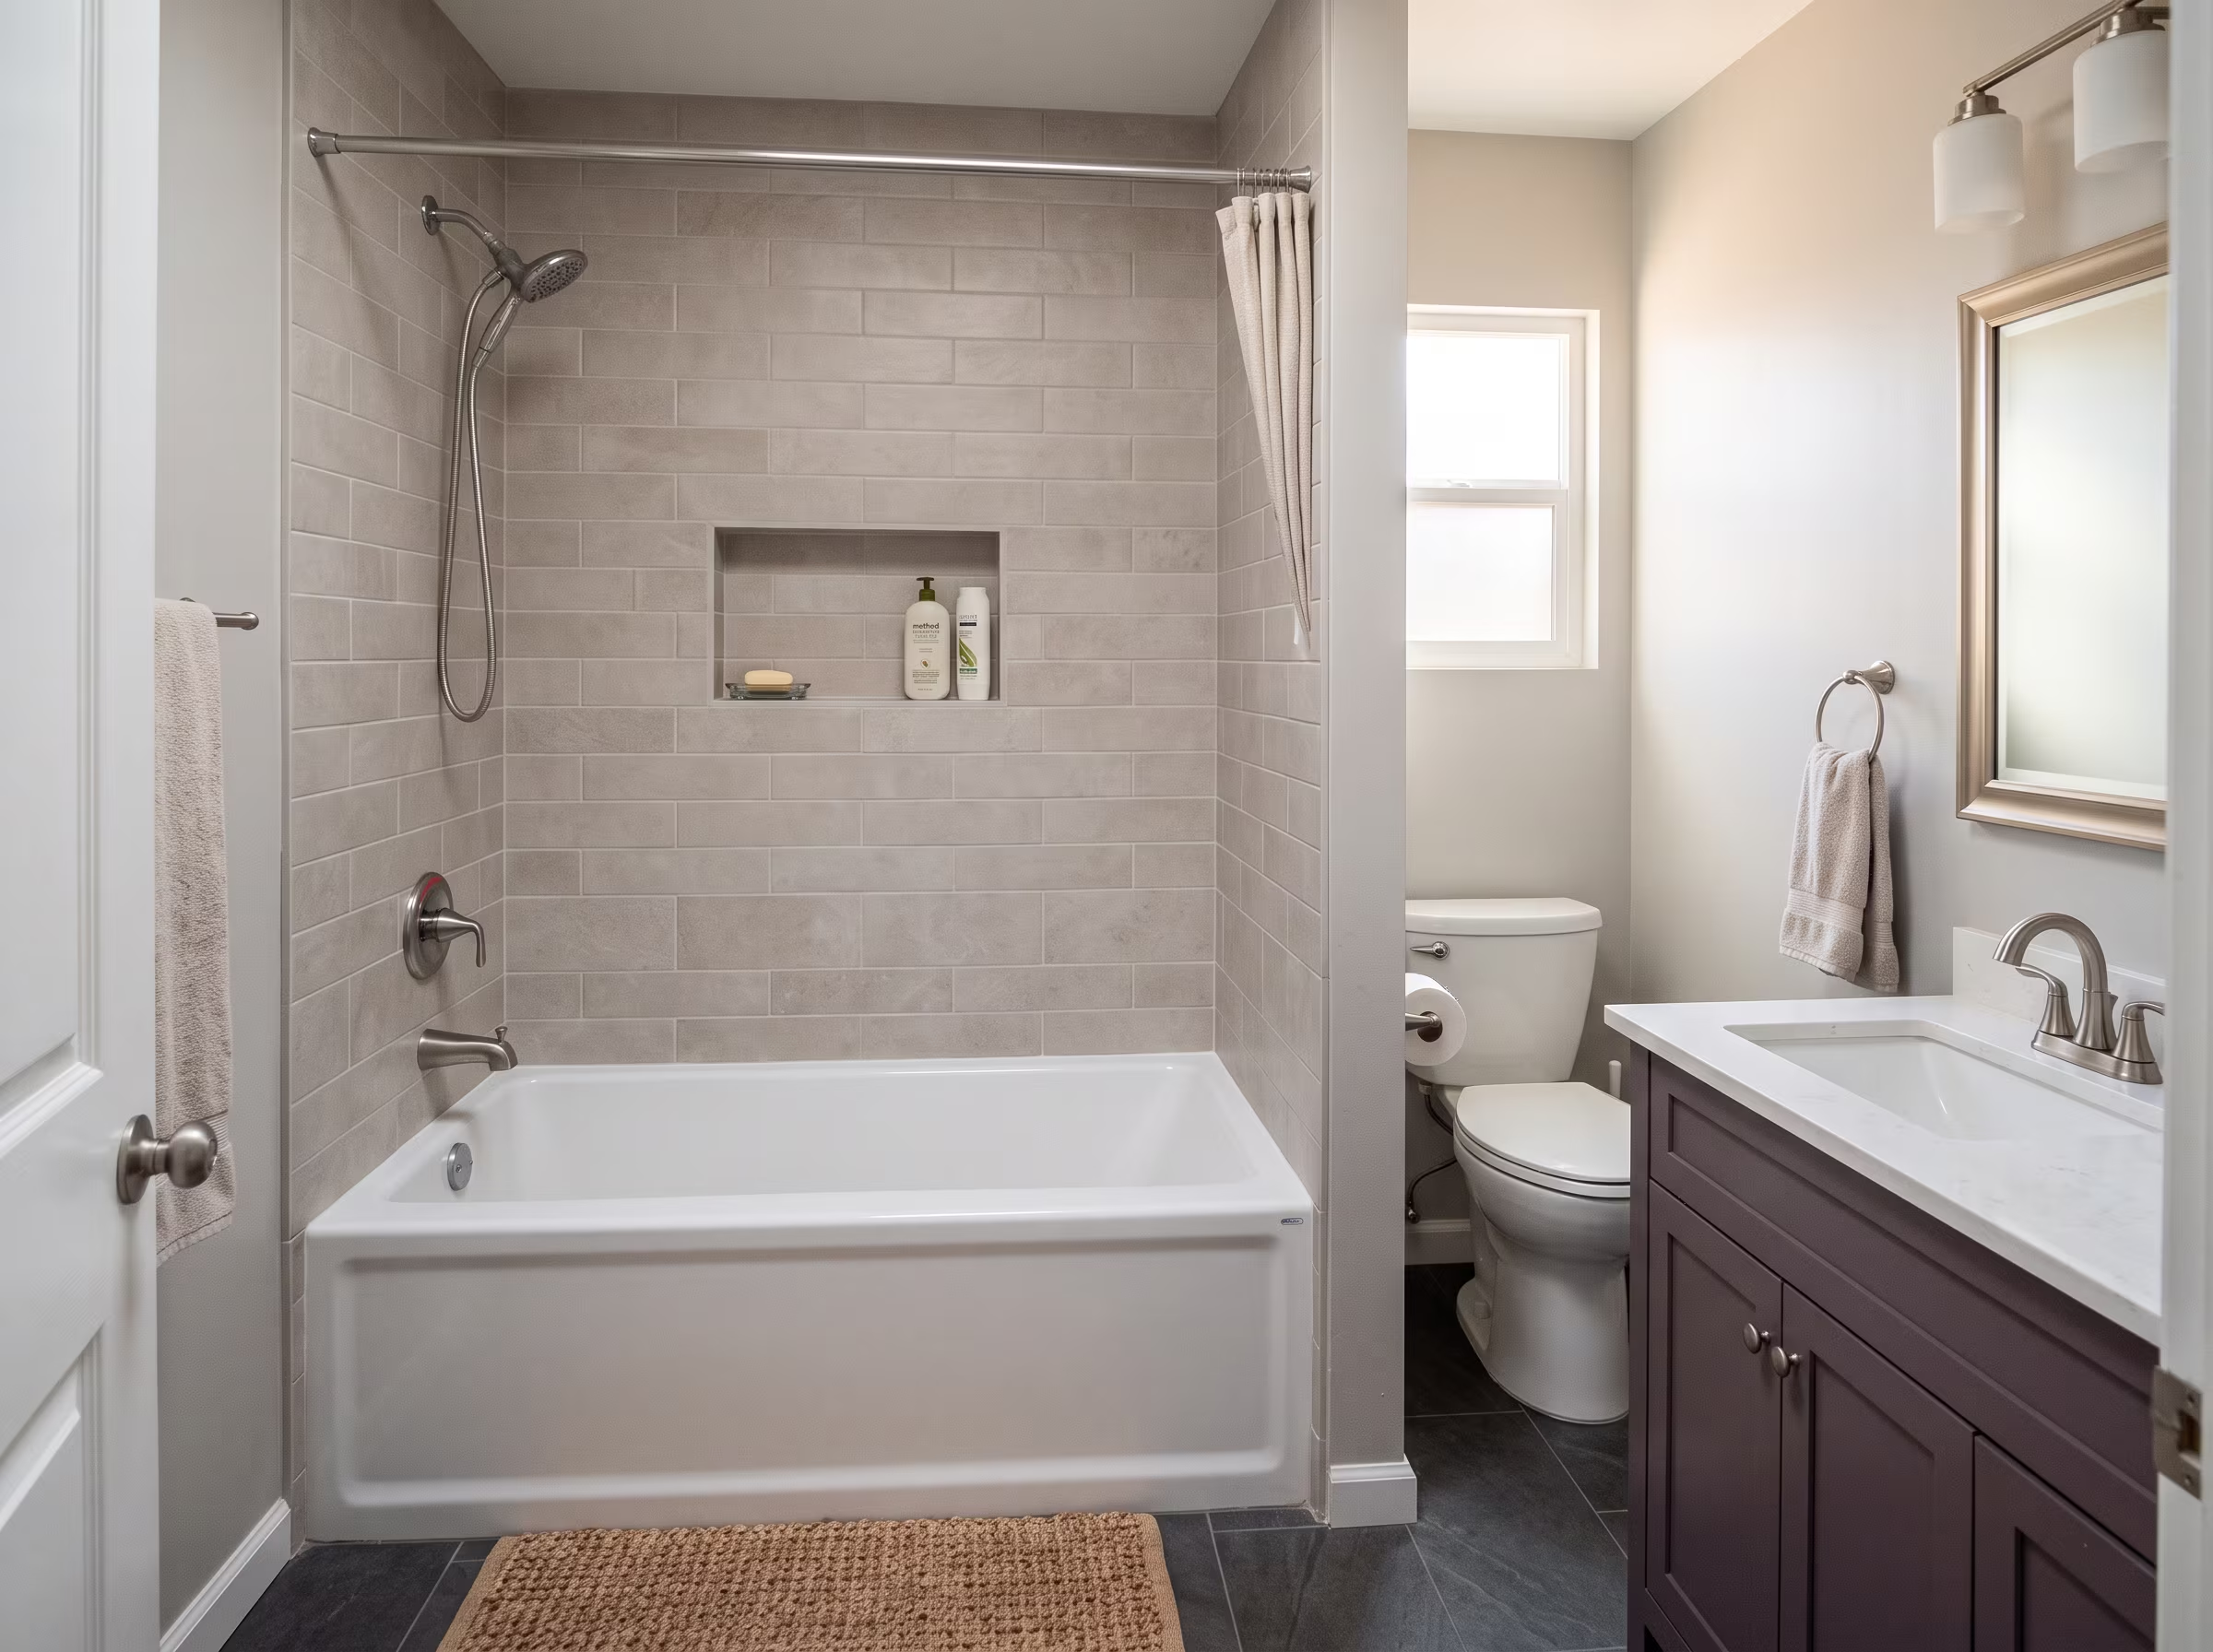
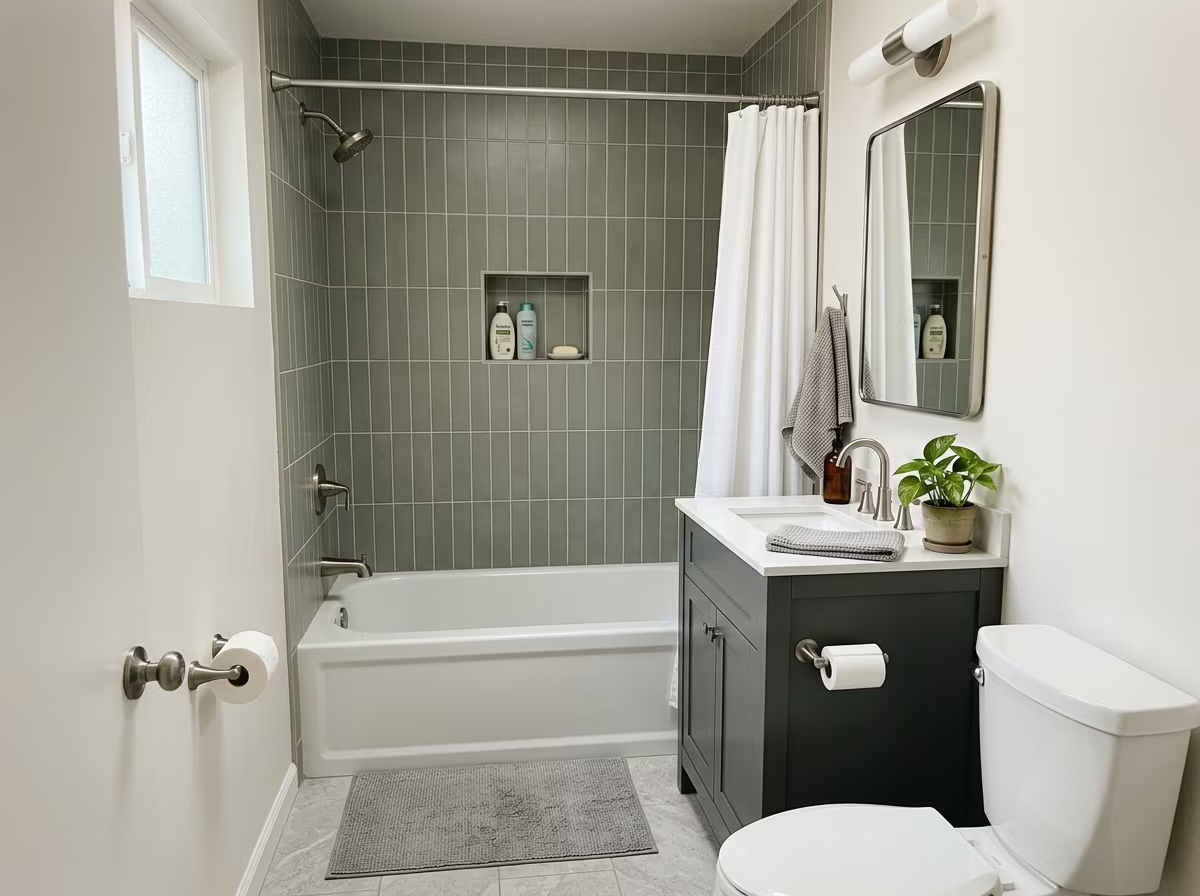
A shared hall bathroom with a tub-shower combination, 48-inch alcove format, vertical stack-bond wall tile to draw the eye up, and recessed niche storage to clear surfaces for multiple users.
Shared use48" tub alcoveVertical tile
03
Small Primary Bathroom
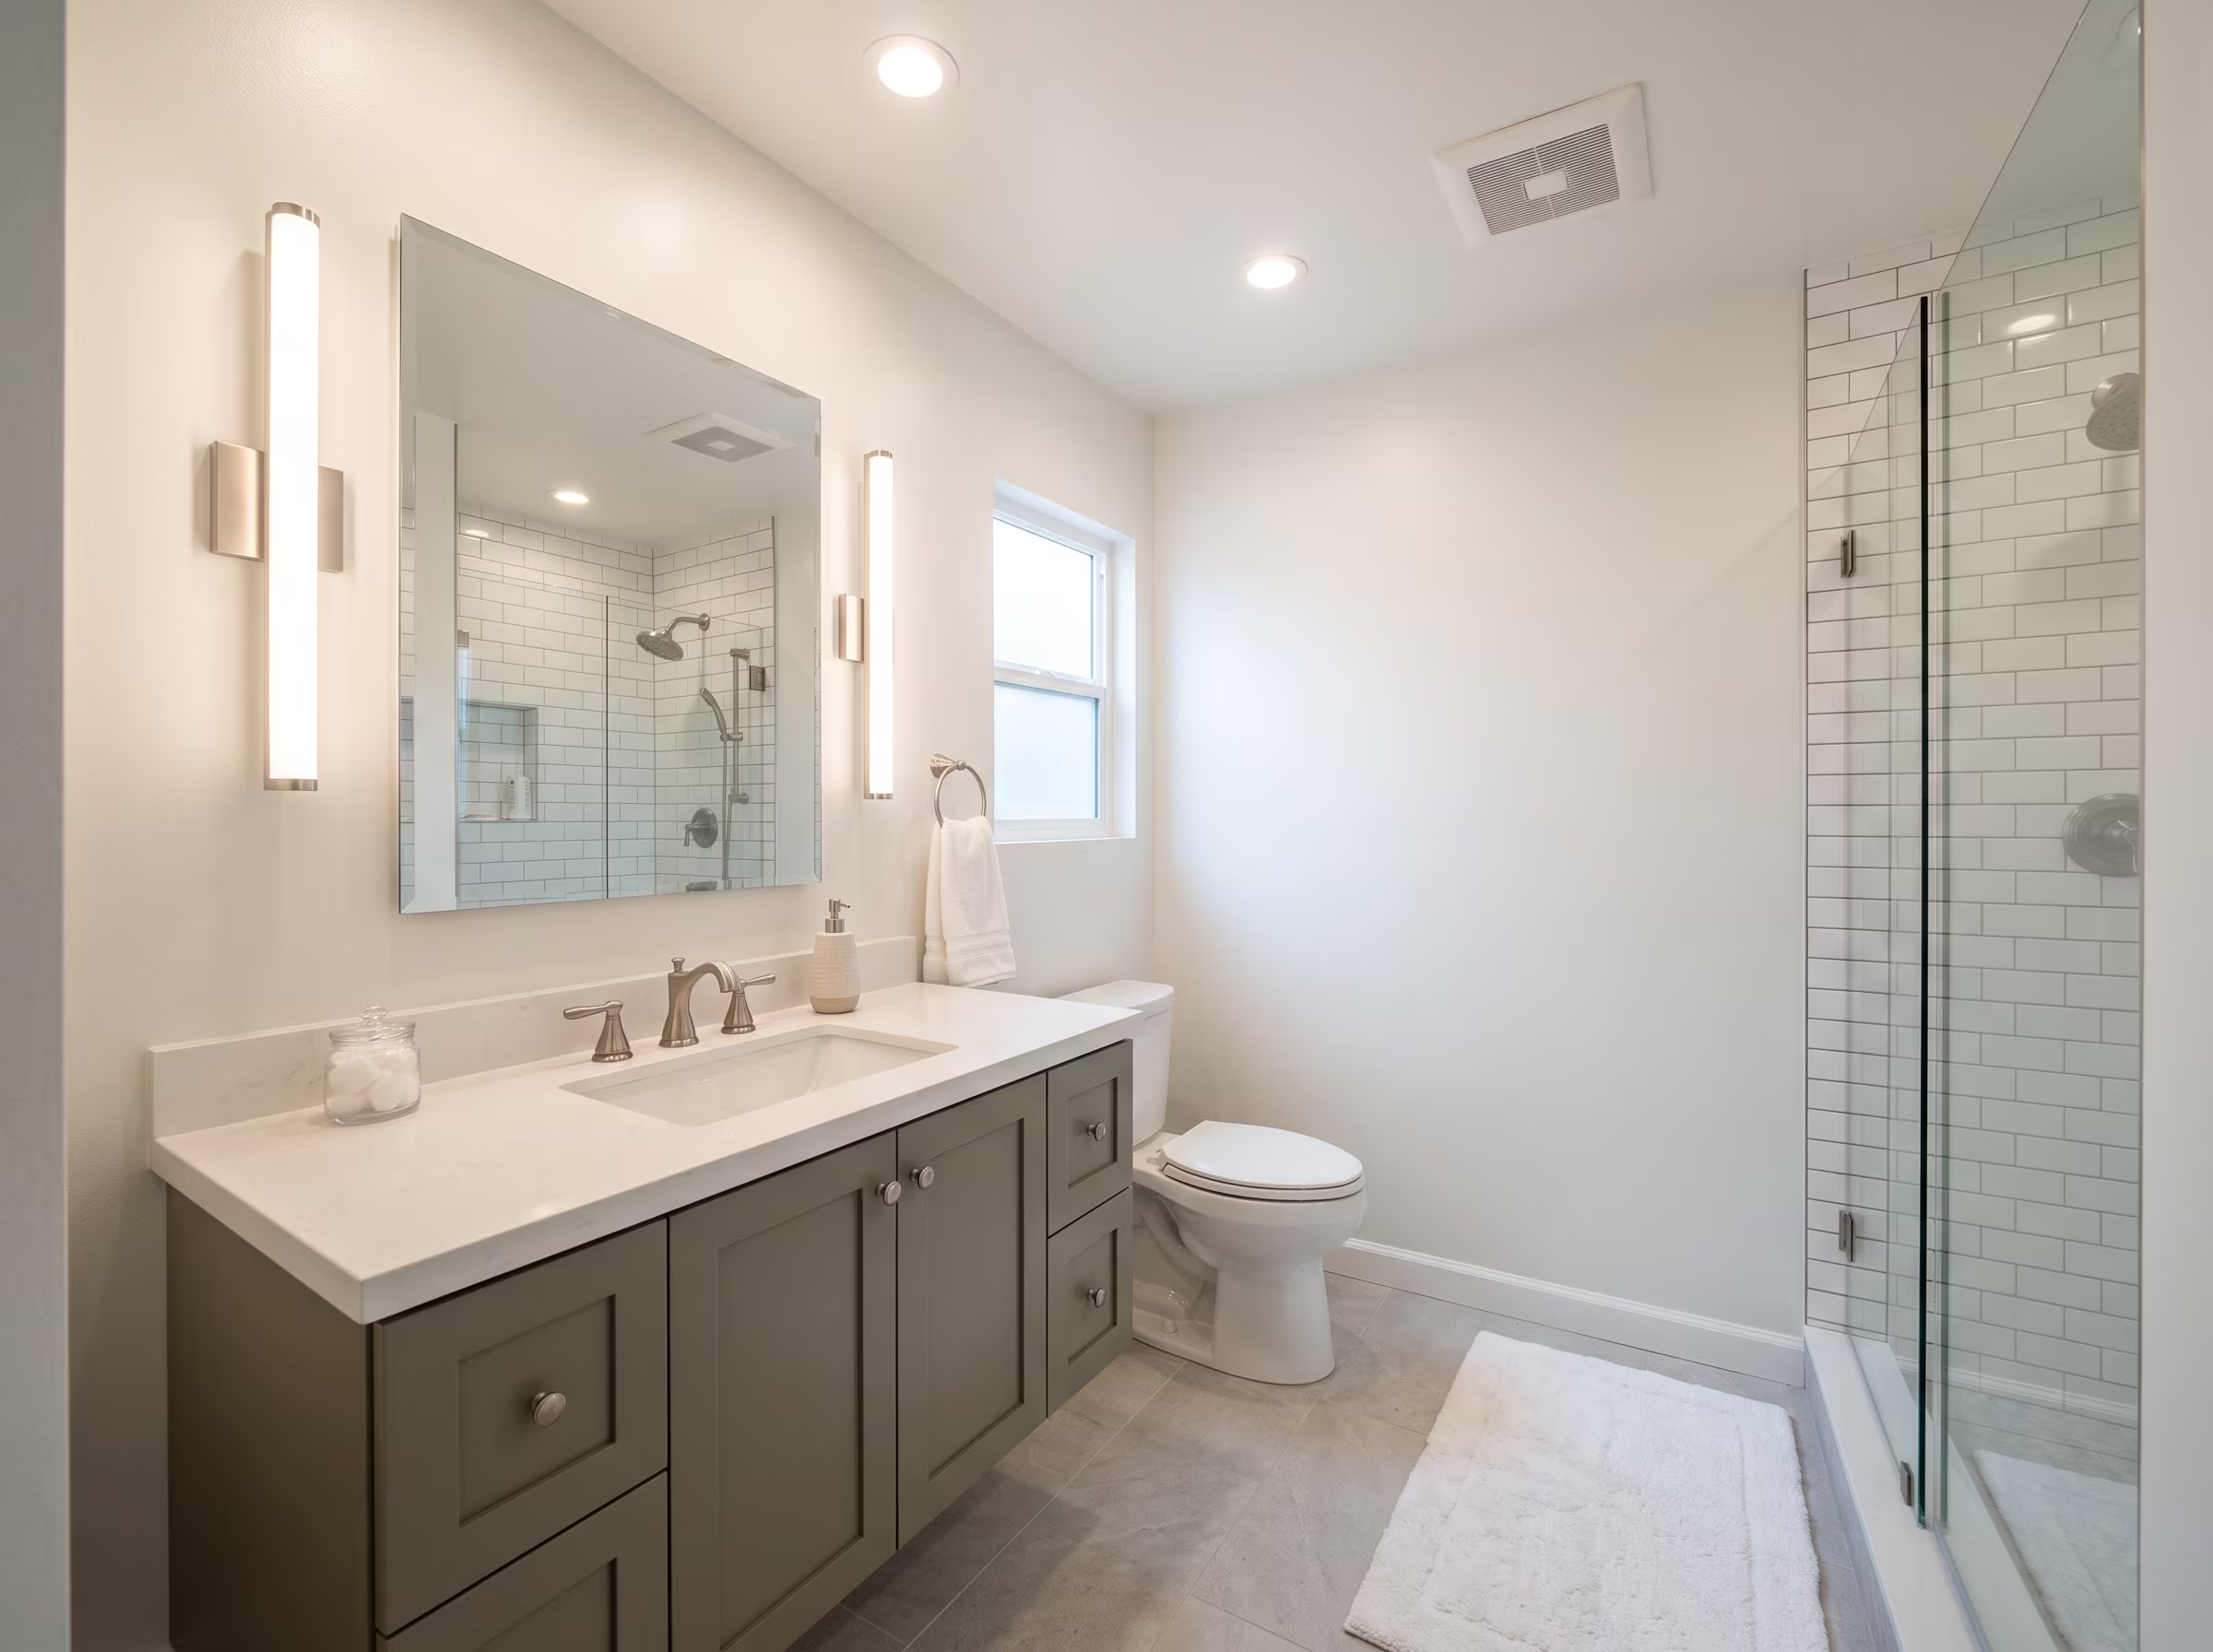
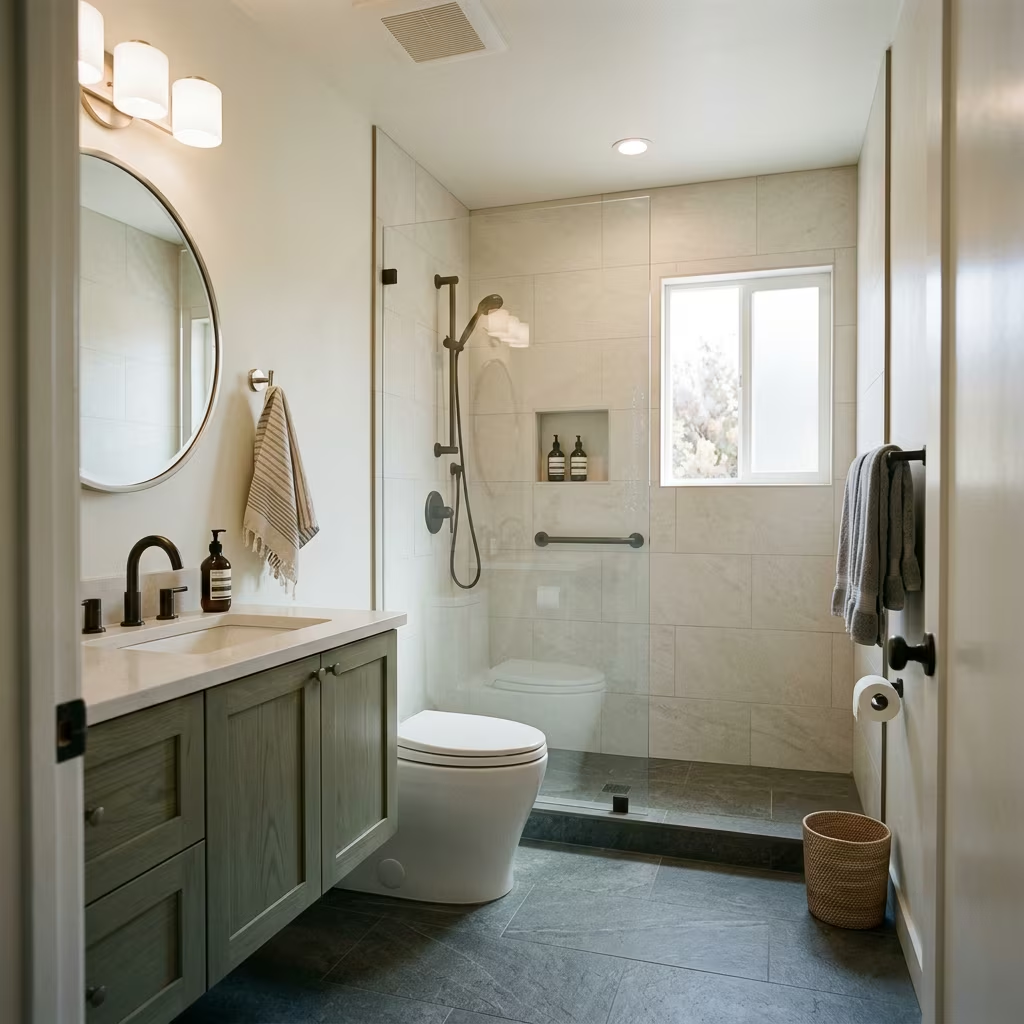
A compact primary bathroom where a 36 by 42-inch walk-in shower replaces a rarely used tub. Floating vanity, side-mounted vanity lighting, and a frameless glass panel to maintain sightlines across the room.
Tub removedFrameless glassFloating vanity
04
Tub-to-Shower Space Plan
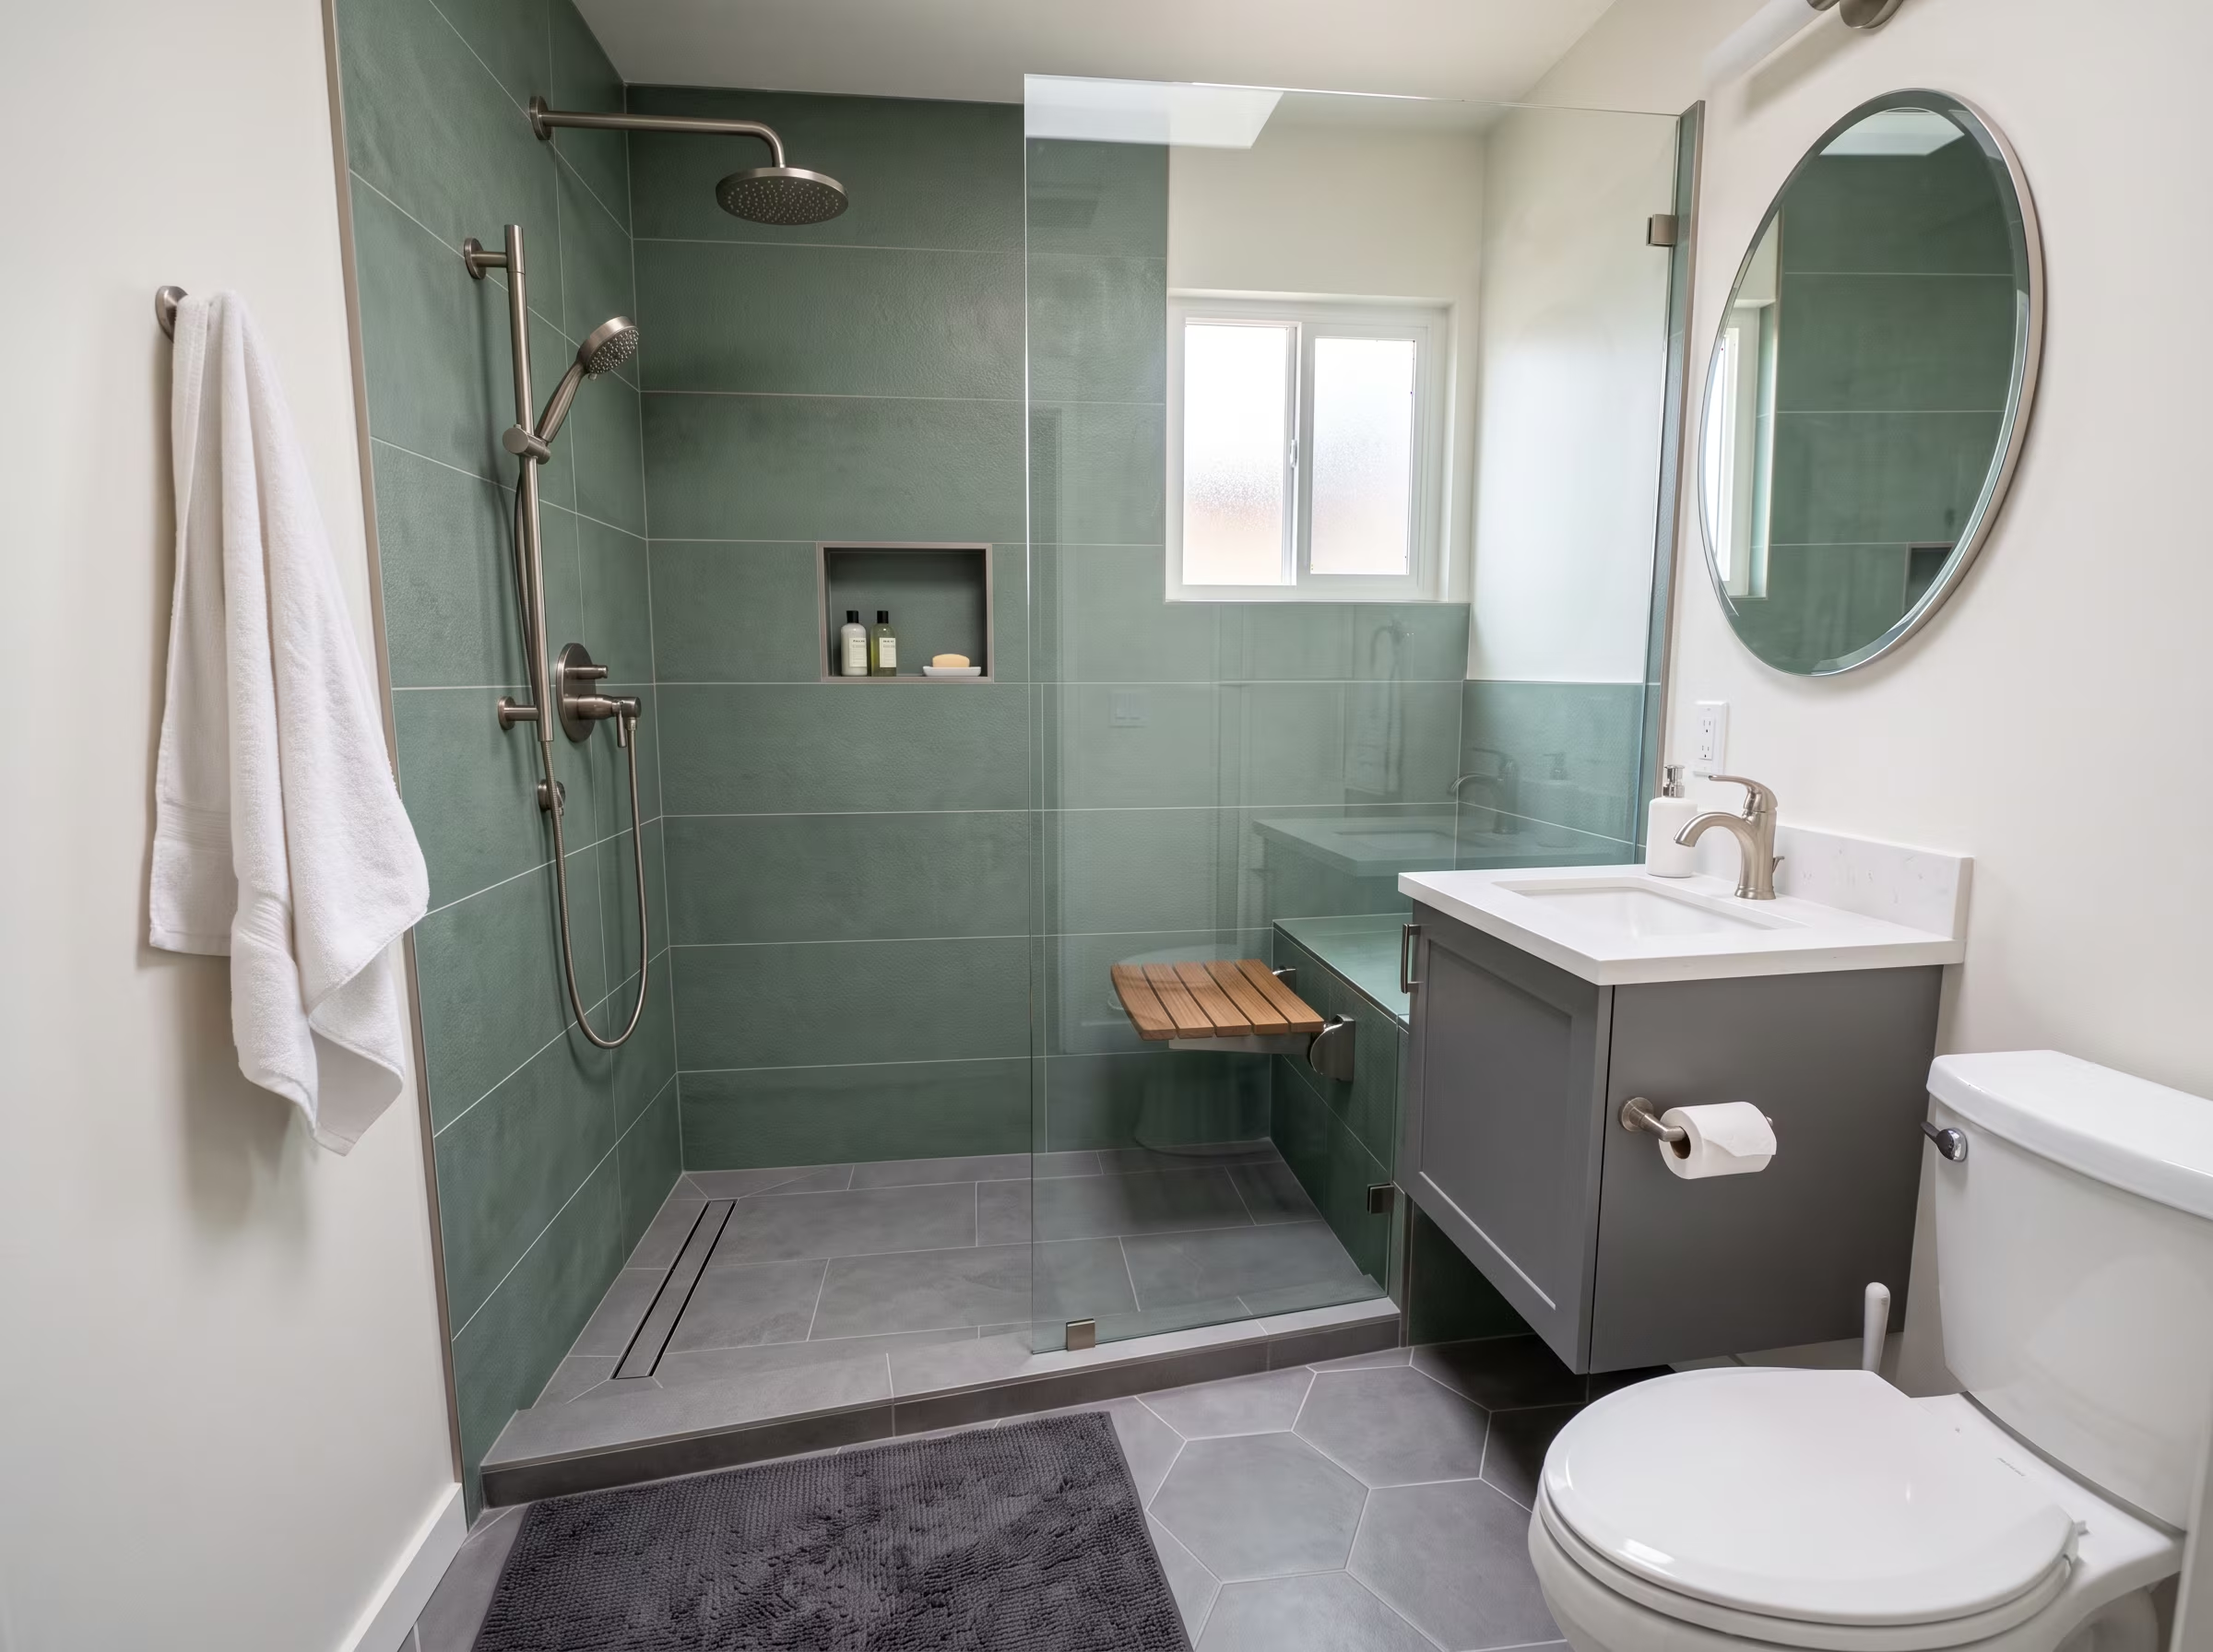
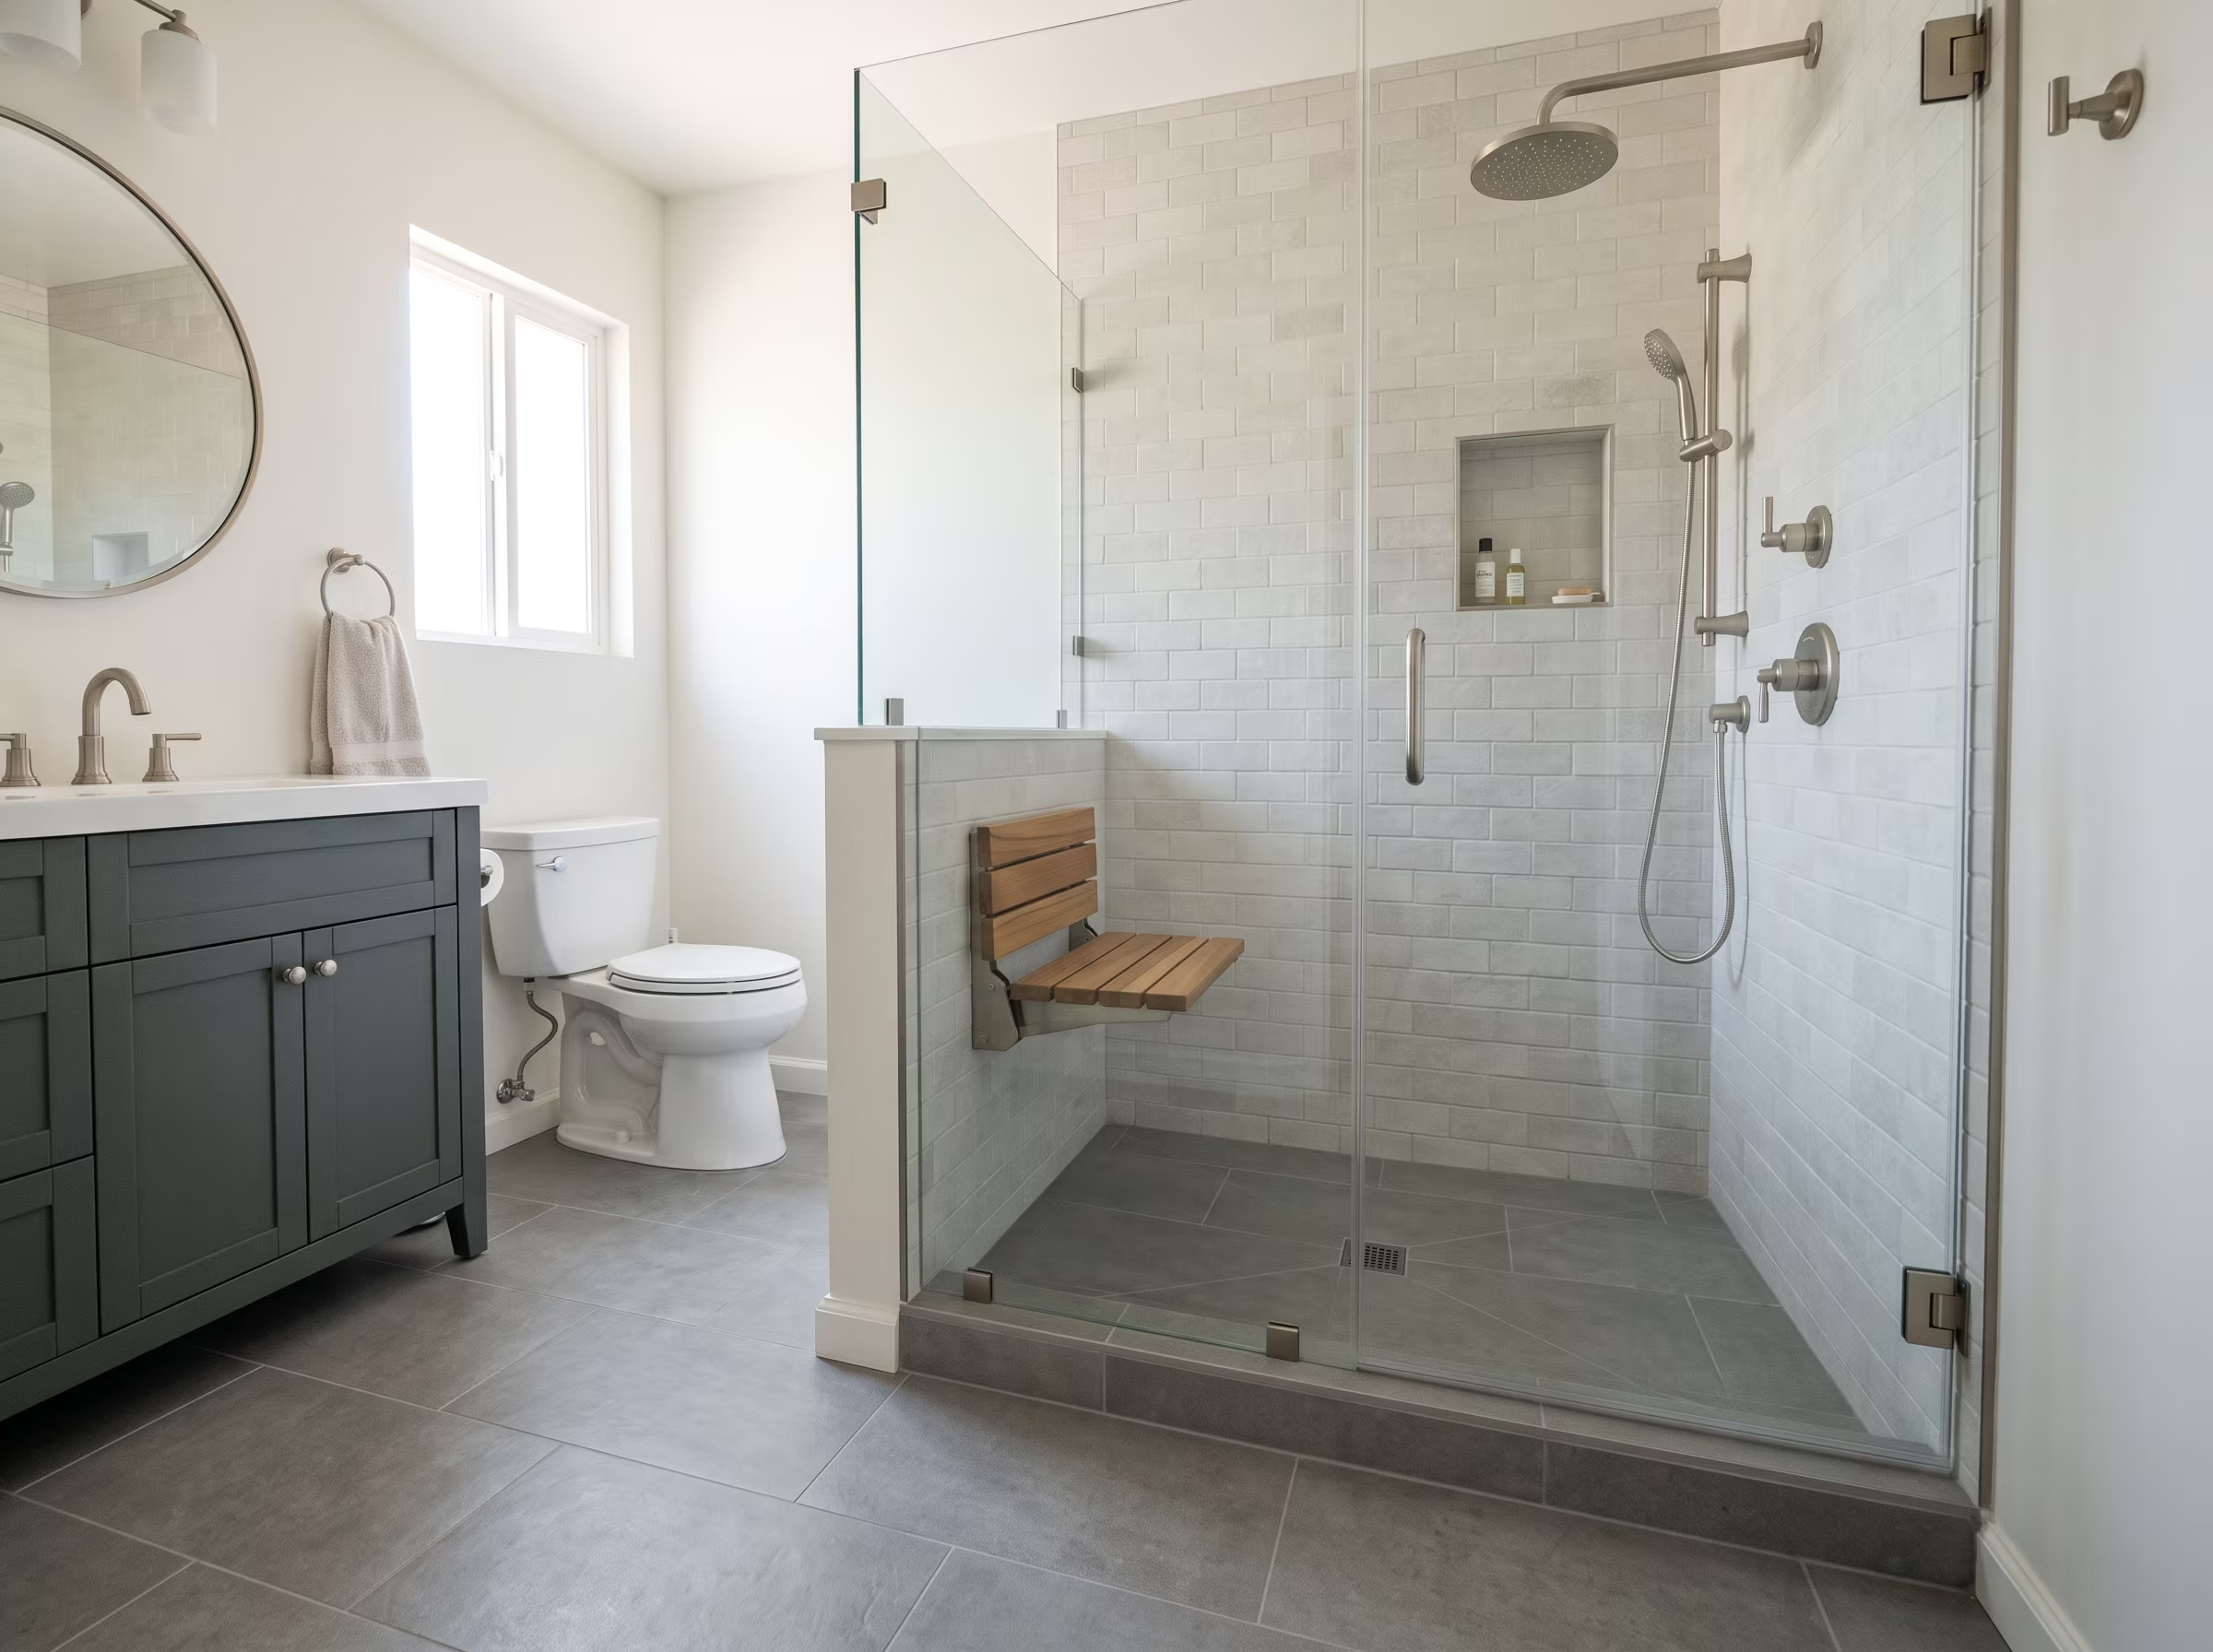
Converting a 60-inch tub alcove to a walk-in shower with a low curb entry. Continuous floor tile from the main bathroom into the shower, matched grout for visual continuity, and a fold-down teak bench.
Low curb entryContinuous tileFold-down bench
05
Storage-Led Layout
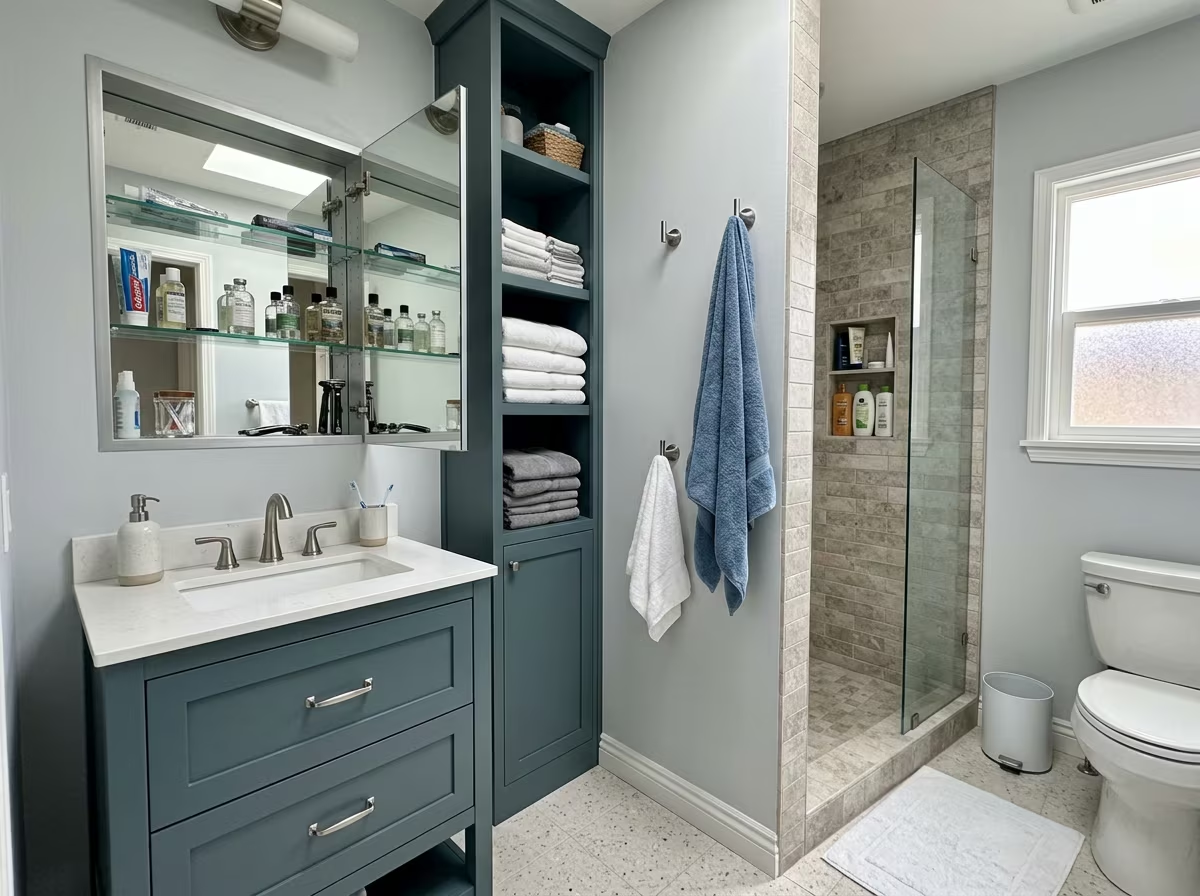
Every surface planned for storage efficiency. Recessed medicine cabinet spanning two stud bays, a tiled shower niche, a vertical linen tower beside the vanity and towel hooks at three heights for different household members.
Multi-zone storageVertical towerShower niche
06
Mobility-Friendly Compact Bathroom
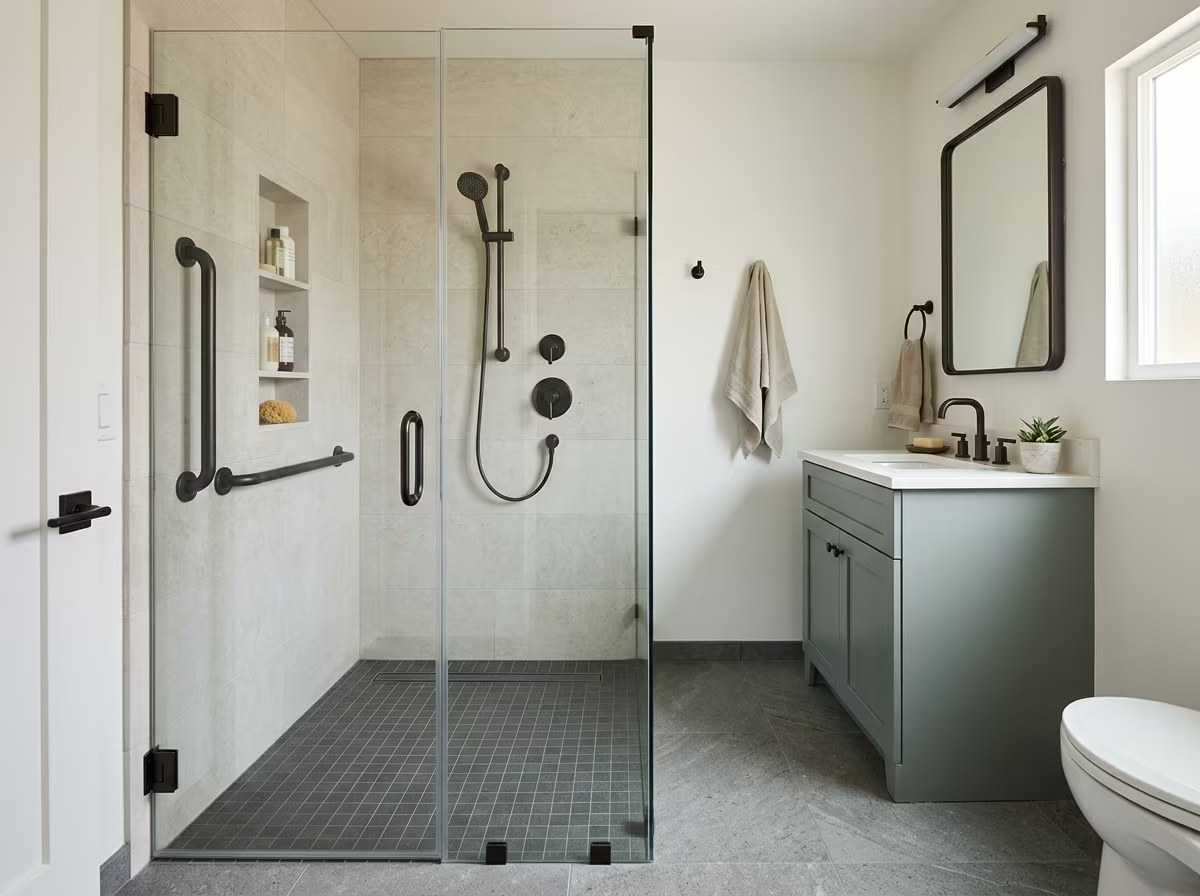
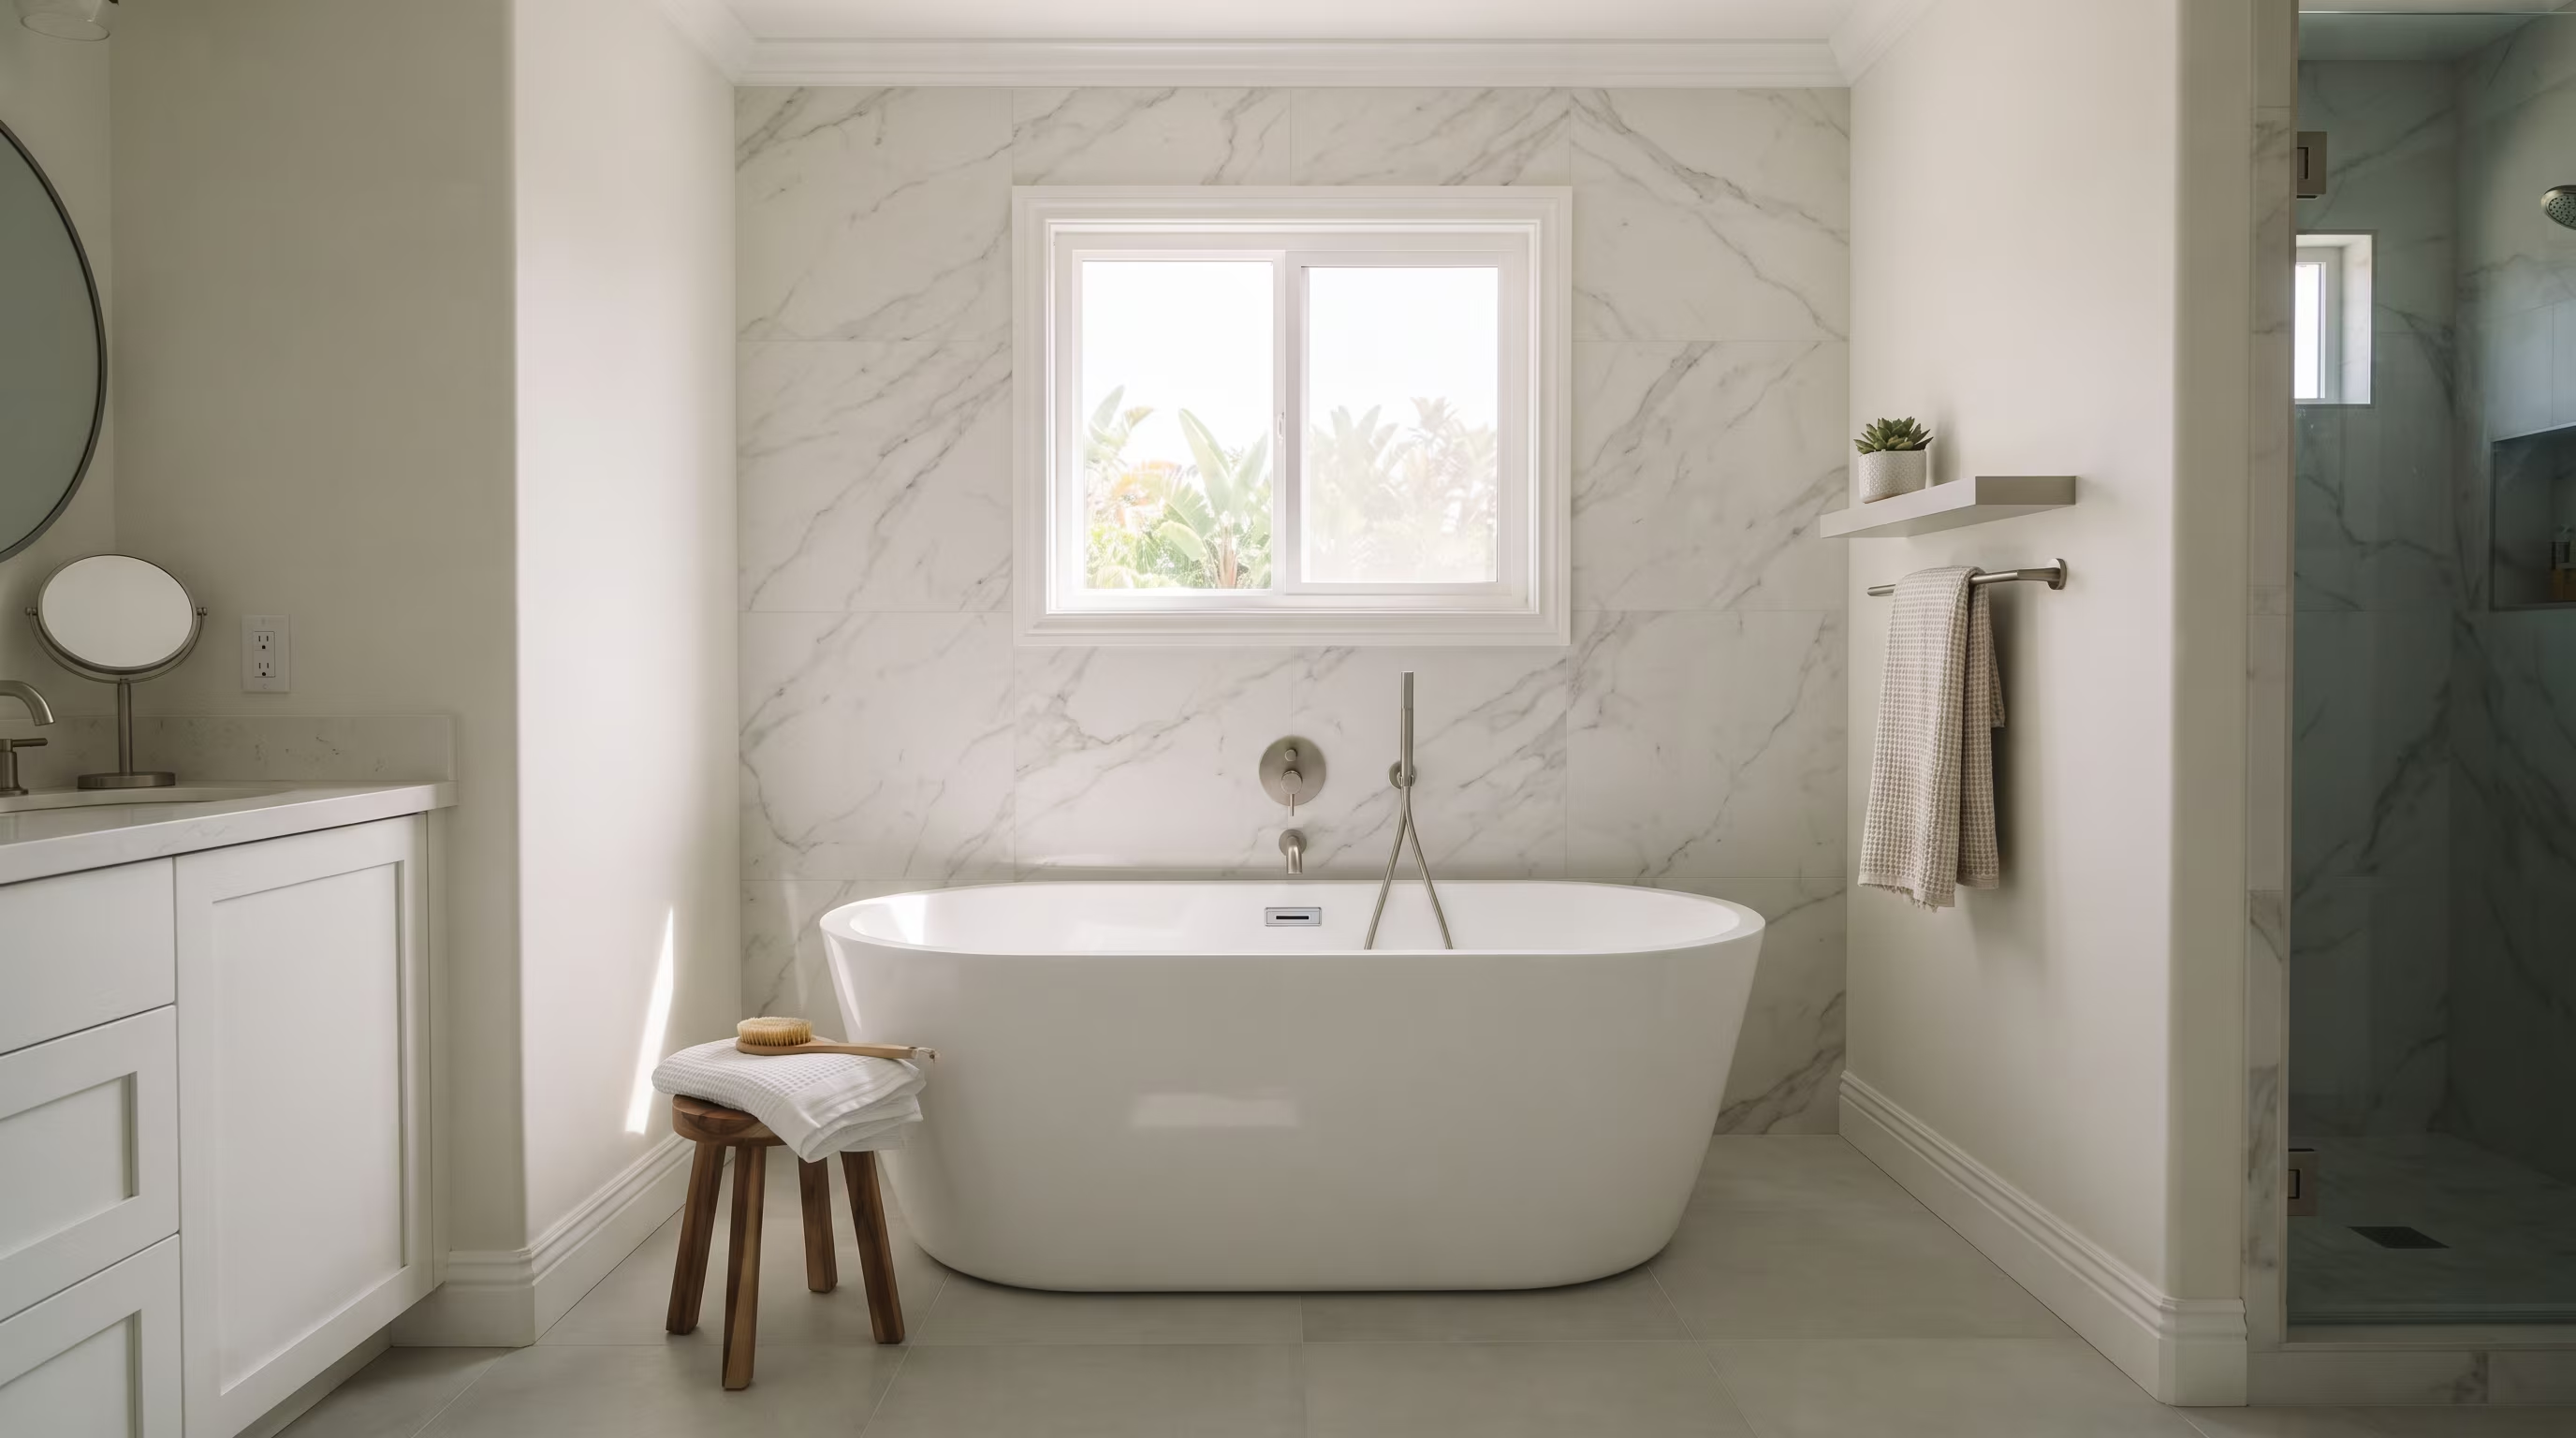
Curbless shower entry with proper drain slope, grab bar blocking installed in all walls during rough phase, handheld showerhead on a slide bar, lever faucet handles and slip-rated mosaic shower floor for grip.
Curbless entryGrab bar blockingLever controls
Where We Work
Small Bathroom Remodeling Across San Diego County
We proudly serve homeowners throughout San Diego County. Contact us to confirm availability at your address.
Coastal Communities
La Jolla
Pacific Beach
Ocean Beach
Point Loma
Carlsbad
Oceanside
Encinitas
Del Mar
Central San Diego
San Diego (City)
Mission Valley
Kensington
Normal Heights
University City
Clairemont
Allied Gardens
Del Cerro
Inland North
Escondido
Poway
Rancho Bernardo
San Marcos
Vista
Rancho Peñasquitos
East County
El Cajon
La Mesa
Santee
Lakeside
San Carlos
Spring Valley
South Bay
Chula Vista
National City
Imperial Beach
Bonita
Coronado
Don't see your neighborhood? We may still serve your area. Contact us or call to confirm availability at your address.
Ready to Assess Your Small Bathroom?
Every compact bathroom has workable options. A site visit gives us the information we need to tell you exactly what is possible in your space and provide a written proposal with no obligation.
Small Bathroom Remodeling: Frequently Asked Questions
Several changes have a measurable effect on perceived size without touching the plumbing stack. A full-width mirror or recessed medicine cabinet doubles reflected depth. Continuous floor tile using the same material and matched grout across wet and dry zones removes the visual break at the shower threshold. A shallower vanity (14 to 16 inches deep instead of 21 inches) adds visible floor space without relocating the drain.
Replacing an inswing door with a pocket door or outswing configuration can recover 6 to 8 square feet of usable floor area, subject to wall framing and adjacent conditions. Removing upper cabinet bulkheads and choosing recessed storage over projecting cabinets keeps wall surfaces cleaner. Layered lighting, particularly side-mounted vanity sconces and a full-width mirror, makes the room read brighter and more open.
The answer depends on your household's actual bathing habits and the room's footprint. A 60-inch tub alcove occupies roughly the same footprint as a generous walk-in shower, but if the tub is rarely used, the shower conversion recovers that space in a more functional way for daily adults.
Keep the tub if: young children are in the household, a tub is available only in this bathroom, or household members actively use it. Convert to a shower if: the tub is unused, shower access is the primary daily need, or an accessible entry is a priority. Compact 48-inch alcove tubs are also available if a shorter footprint matters. A site measurement confirms what actually fits before committing to either option.
Standard floor-mounted vanities are typically 21 inches deep. In a narrow bathroom, switching to a shallow-depth vanity at 14 to 18 inches recovers meaningful circulation space. Wall-mounted floating vanities in 14- to 16-inch depths create visible floor clearance that makes rooms feel less cramped and are easier to clean under.
The limiting factor is plumbing alignment. The drain rough-in position must align with the vanity's drain opening without requiring a long exposed trap. If the rough-in is not centered where the shallow vanity sits, a short lateral adjustment may be needed. This is typically a minor plumbing task but should be confirmed during the scoping visit. Corner-mounted vanity options are available for rooms under 35 square feet where wall-to-wall space is at a premium on every side.
There is no single correct answer, but a useful principle is to avoid excessive grout lines in small spaces, since many joints create visual busyness. Floor tiles in the 12x12 to 18x18-inch range work well in most compact bathrooms, providing fewer grout lines than mosaics while being manageable around fixtures. Large-format tiles (24x24 inches or larger) can work, but require a flat, stiff subfloor with minimal deflection to prevent cracking.
On shower walls, a 4x12 or 3x12 subway tile in a vertical stack-bond pattern draws the eye upward and makes rooms with lower ceilings feel taller. Mosaic tiles (2x2 inches or smaller) on the shower floor provide natural grip from the grout joints, which is useful in wet zones. The key condition is substrate: large-format tiles on a deflecting subfloor, or any tile on a moisture-damaged substrate, will fail regardless of size. Substrate assessment is part of the scoping process.
Yes, and many accessibility improvements are compatible with compact footprints and attractive design. A curbless or low-threshold shower entry, grab bar blocking installed in all walls during the rough phase, a handheld showerhead on a slide bar, lever faucet handles and slip-rated floor tile all improve safety and usability without requiring a larger room.
More extensive accessibility goals, such as a 60-inch wheelchair turning radius or a roll-in shower with transfer seating, do require specific clearances that may not be achievable in very small rooms without layout changes. What is feasible depends on your specific room dimensions. A site visit with clear accessibility priorities allows us to identify which improvements can be incorporated within the existing footprint and which might require a layout change to achieve fully.
Duration varies based on scope, material availability, permit requirements and what is discovered at demolition. A surface-level refresh with no layout changes, standard in-stock materials and no permit requirement can proceed more quickly than a project involving plumbing relocation, a permit review and special-order tile.
General planning phases to account for: material lead times and selection before the start date, permit review if applicable (which varies by jurisdiction and scope), demolition and rough work, inspection scheduling, waterproofing cure time, tile installation and cure time, fixture installation, and a punch list period. Any of these phases can be extended by hidden conditions, inspection wait times or material delays. A realistic timeline for your specific scope is part of the written proposal we provide after a site visit.
Within the City of San Diego, a bathroom remodel with no structural changes, no new plumbing fixtures and no relocation of existing fixtures may qualify for a No-Plan Building Permit or may be permit-exempt in some cases (Source: City of San Diego Development Services Information Bulletin IB-203). Adding a new plumbing fixture, relocating a drain or supply line, modifying venting, adding electrical circuits or making structural changes typically triggers a permit requirement and inspections.
In other incorporated cities within San Diego County (Chula Vista, El Cajon, Escondido, Carlsbad and others) and in unincorporated County areas, the rules differ. You should confirm the applicable permit authority for your specific address before scoping the project. Licensed plumbers and electricians pull their own trade permits for work in their discipline in many jurisdictions, which is separate from the general building permit your contractor may pull. A contractor familiar with San Diego County permit requirements can identify what applies to your specific project before work begins.

 BEFORE: Typical Problem Layout
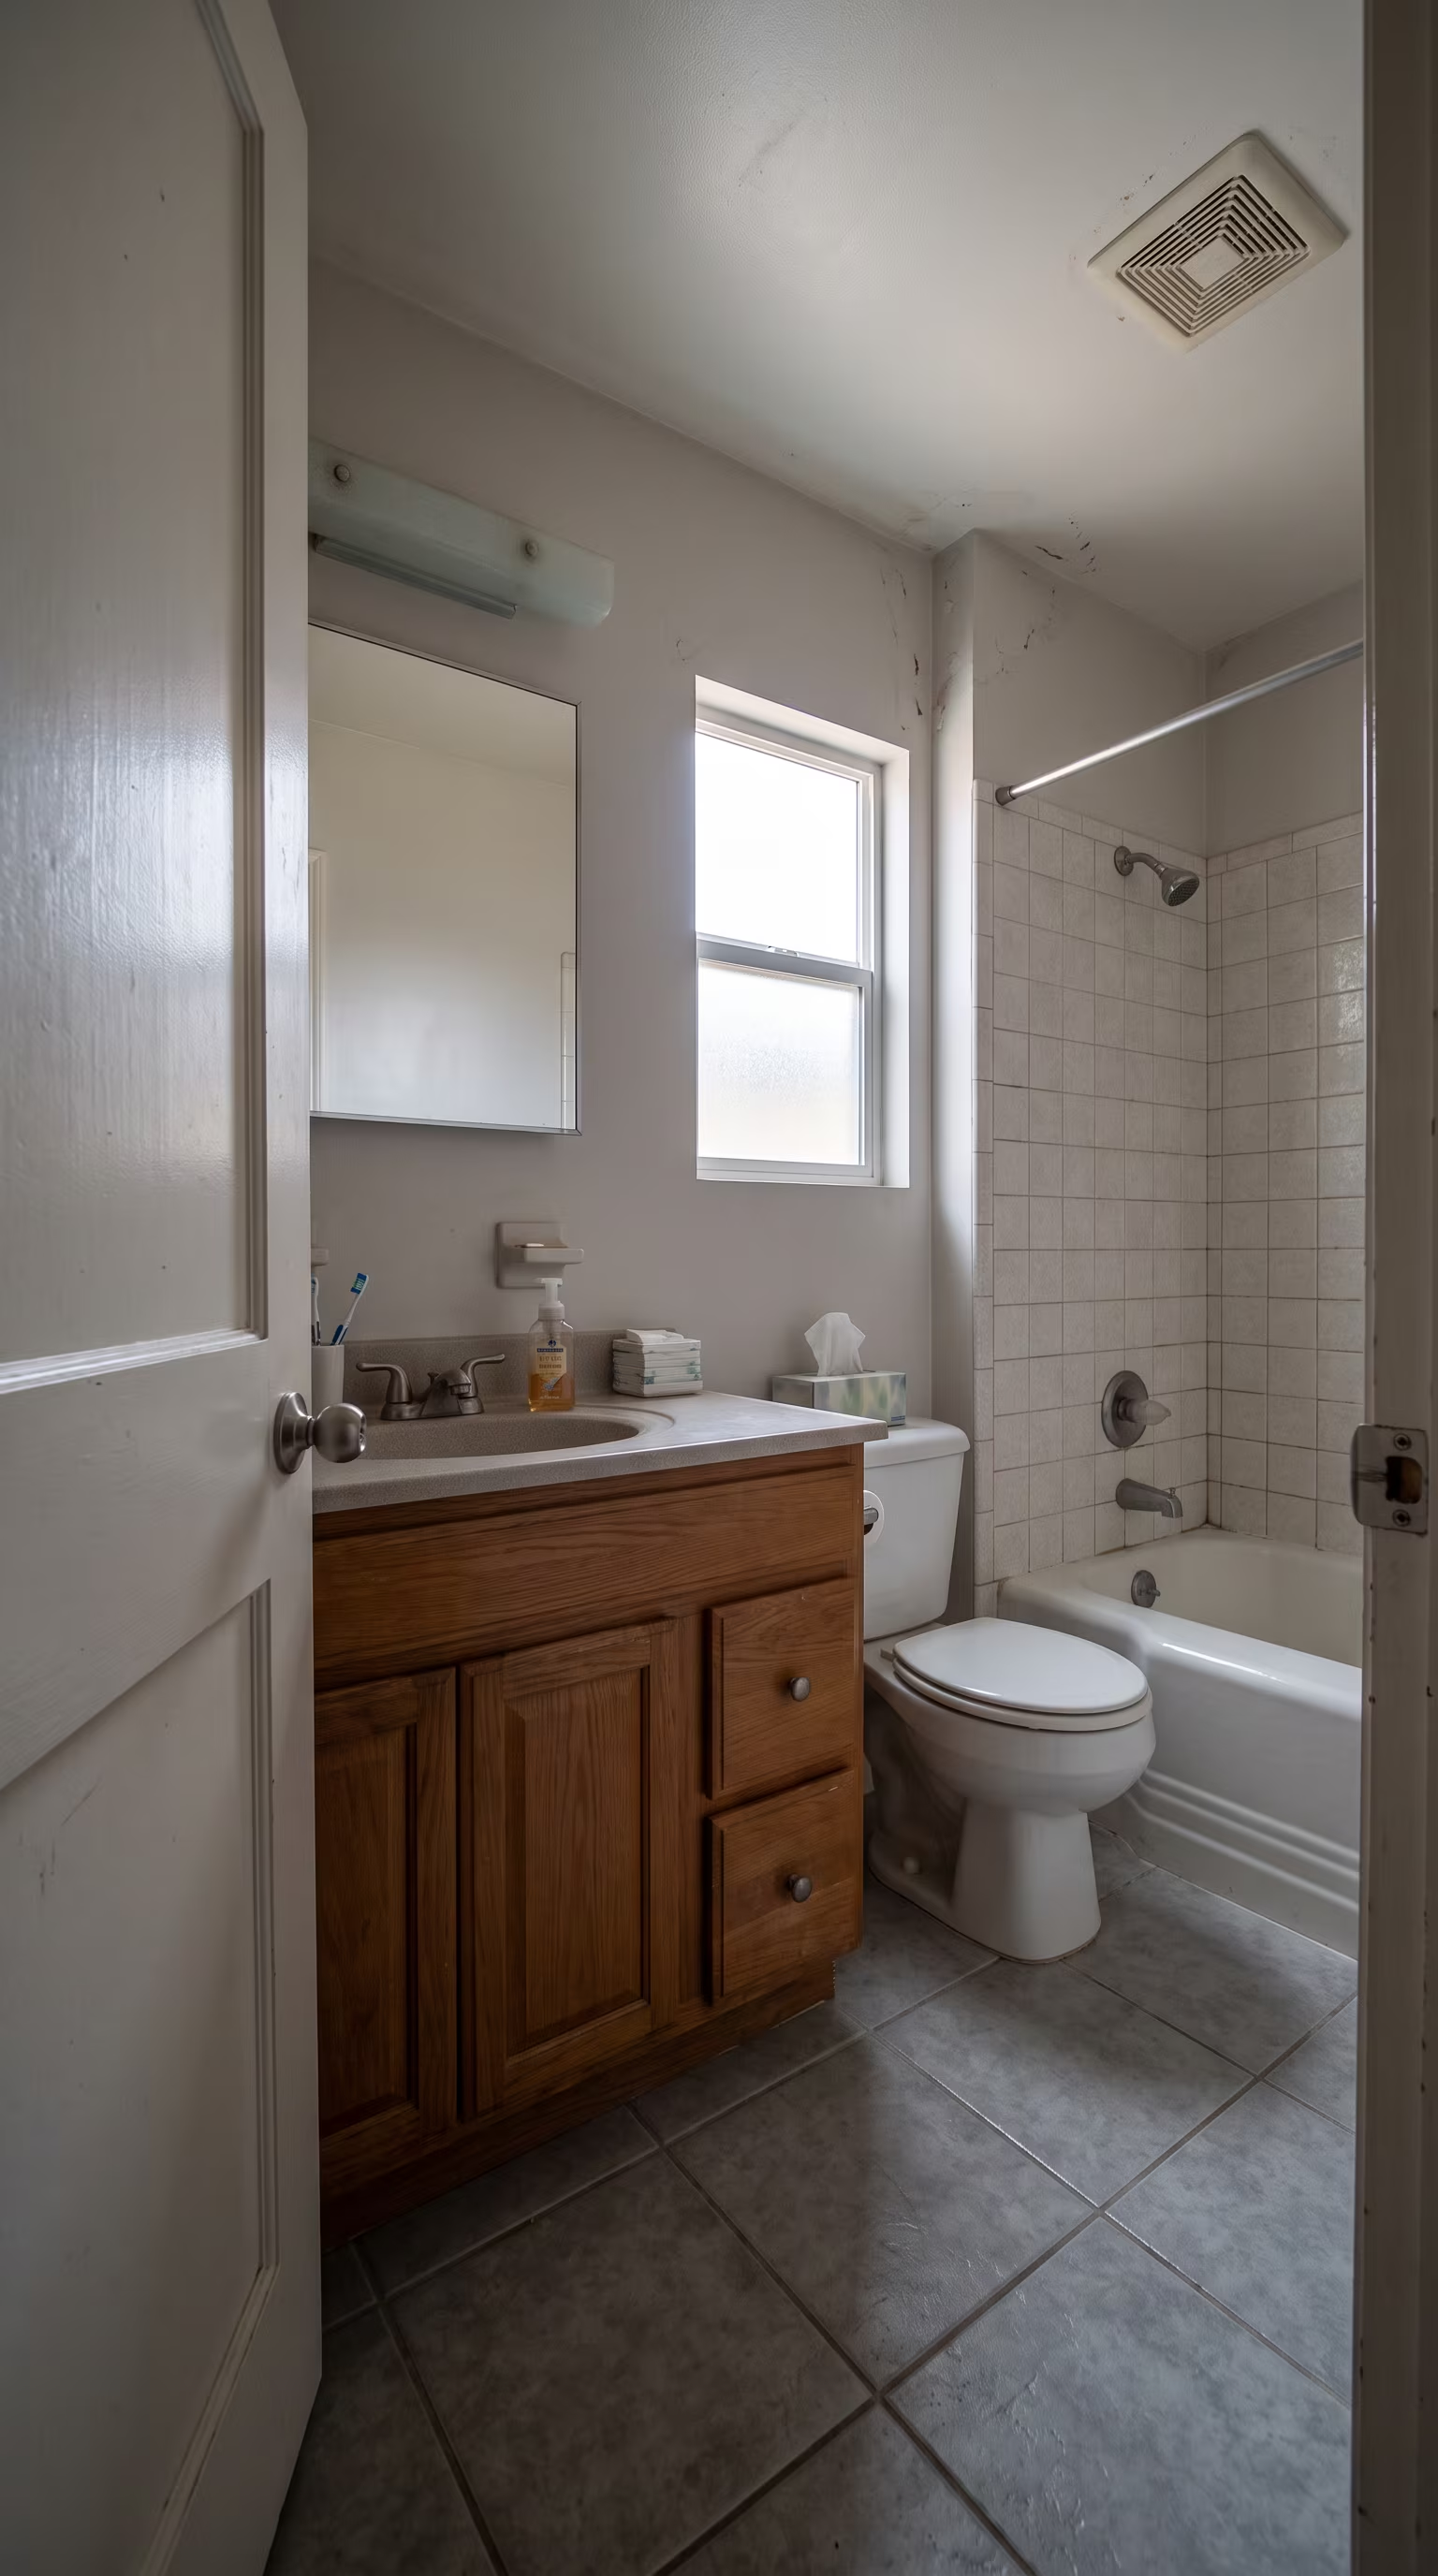
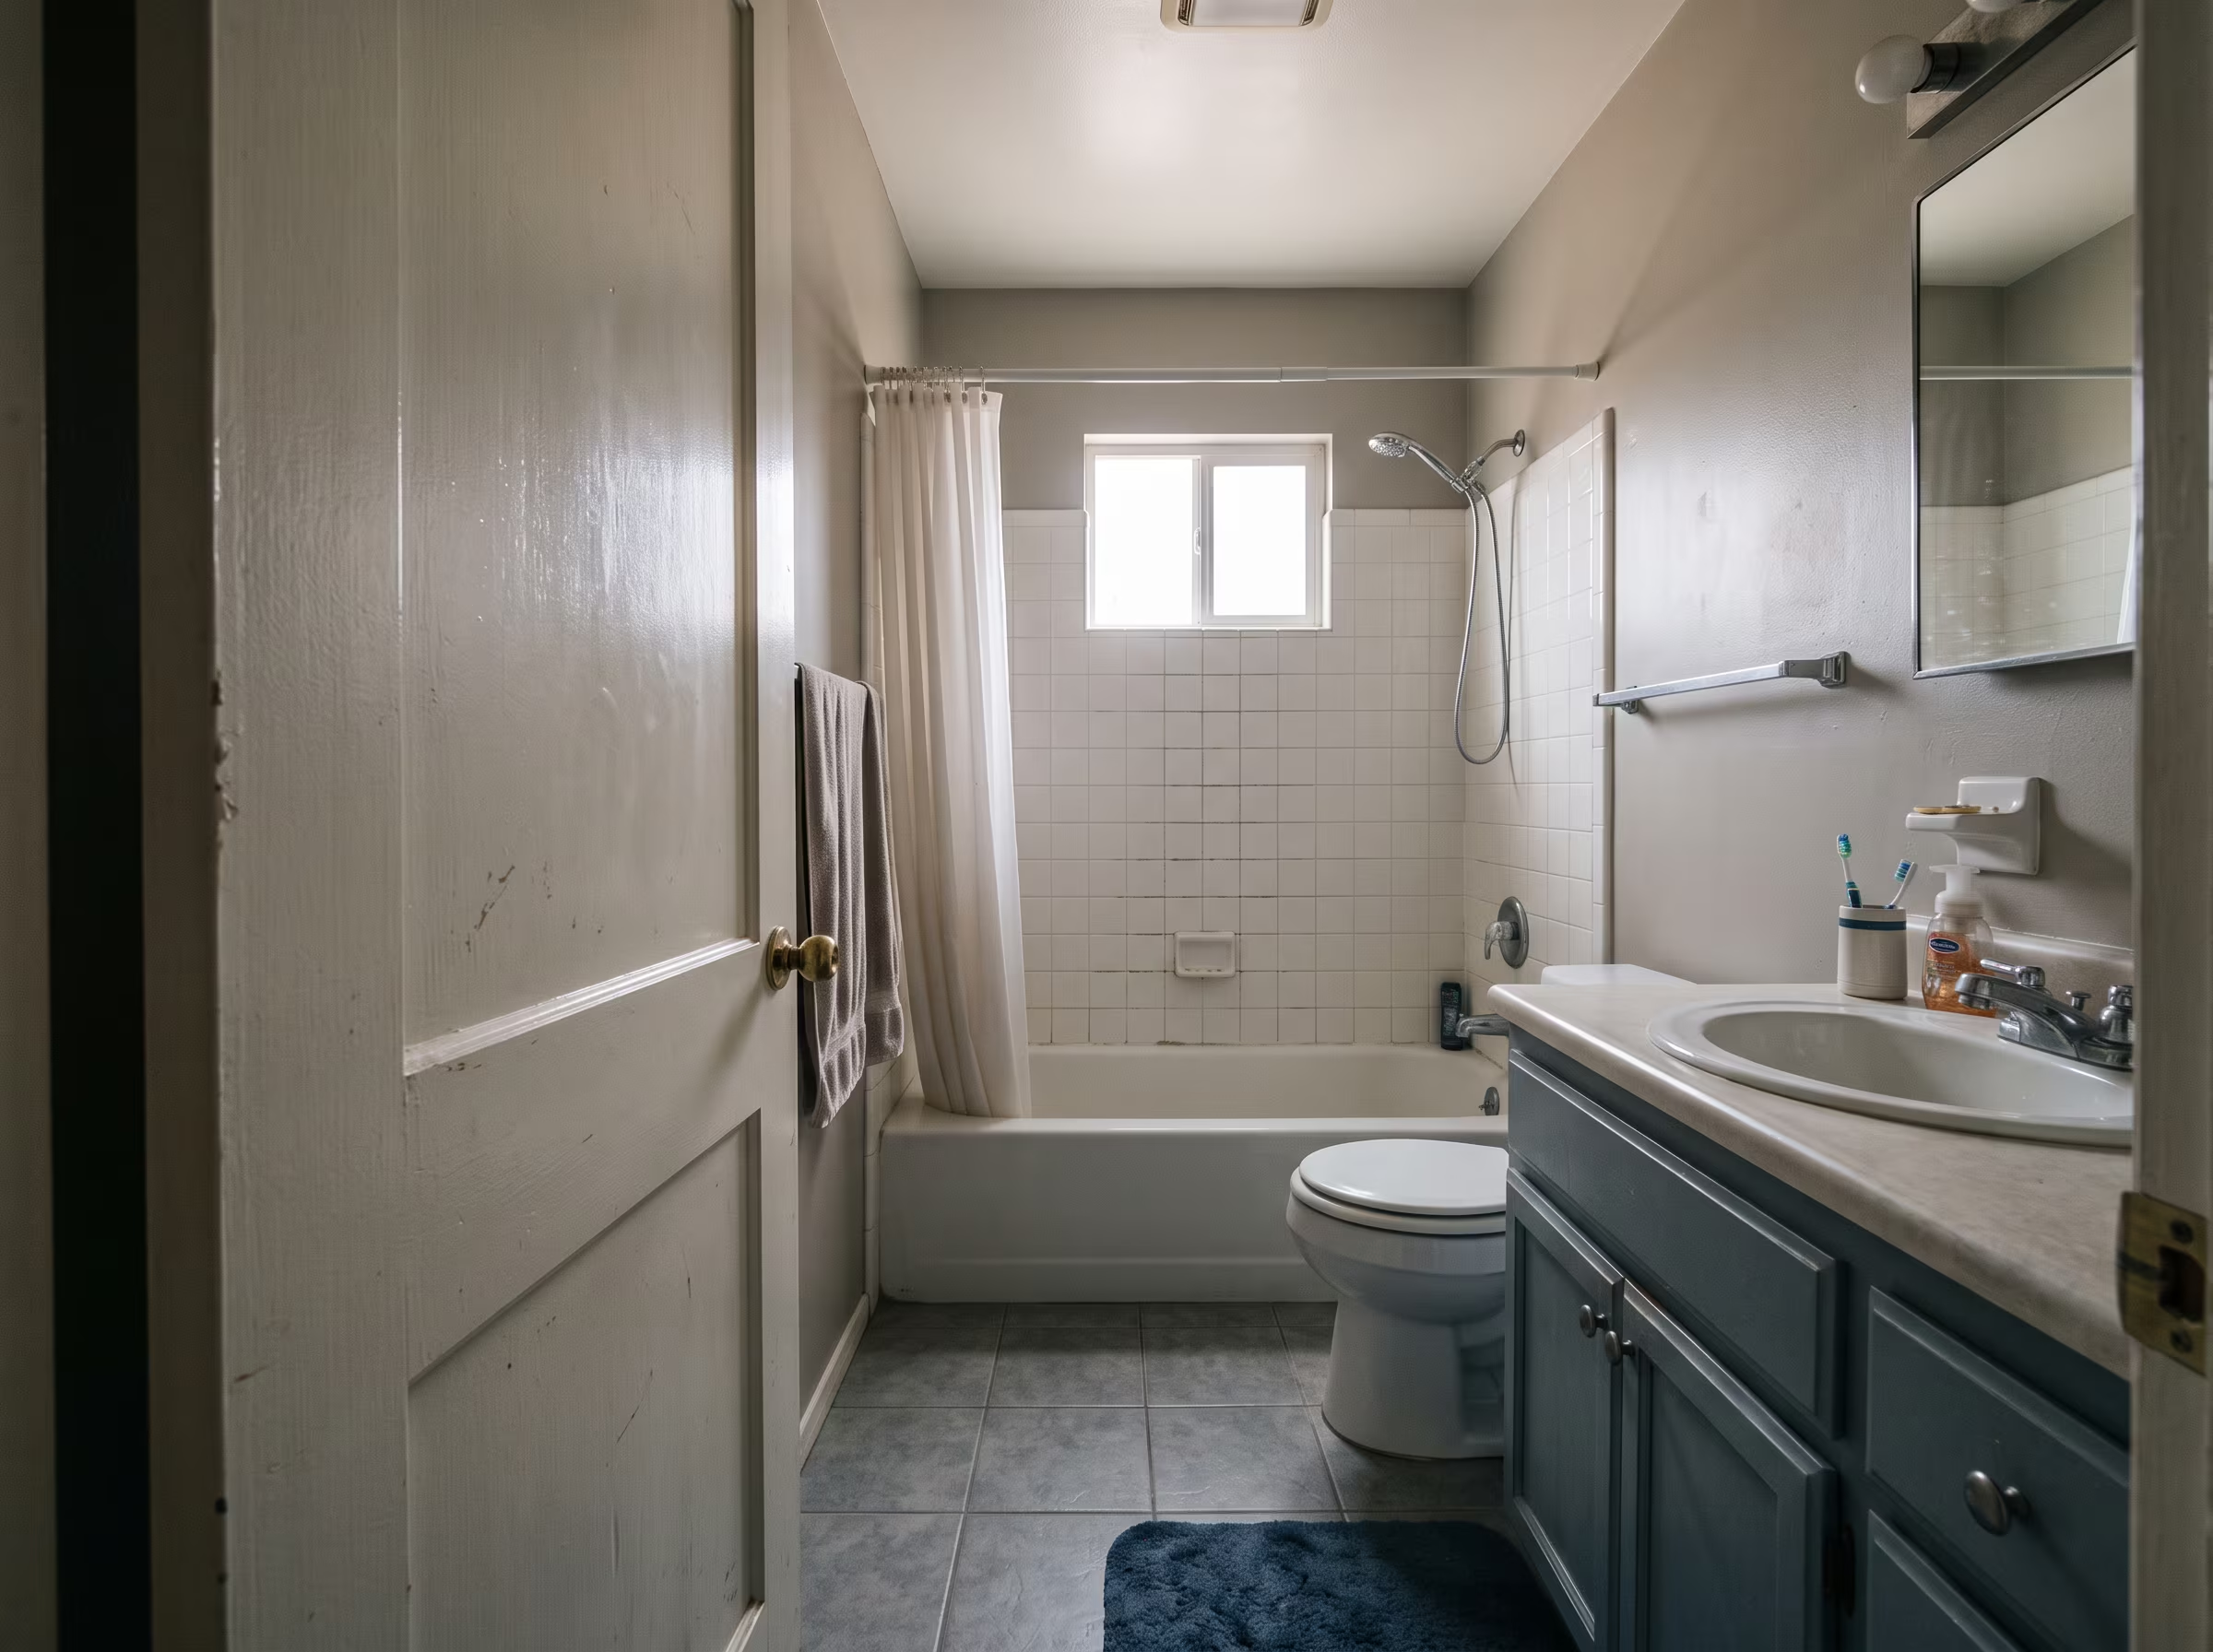
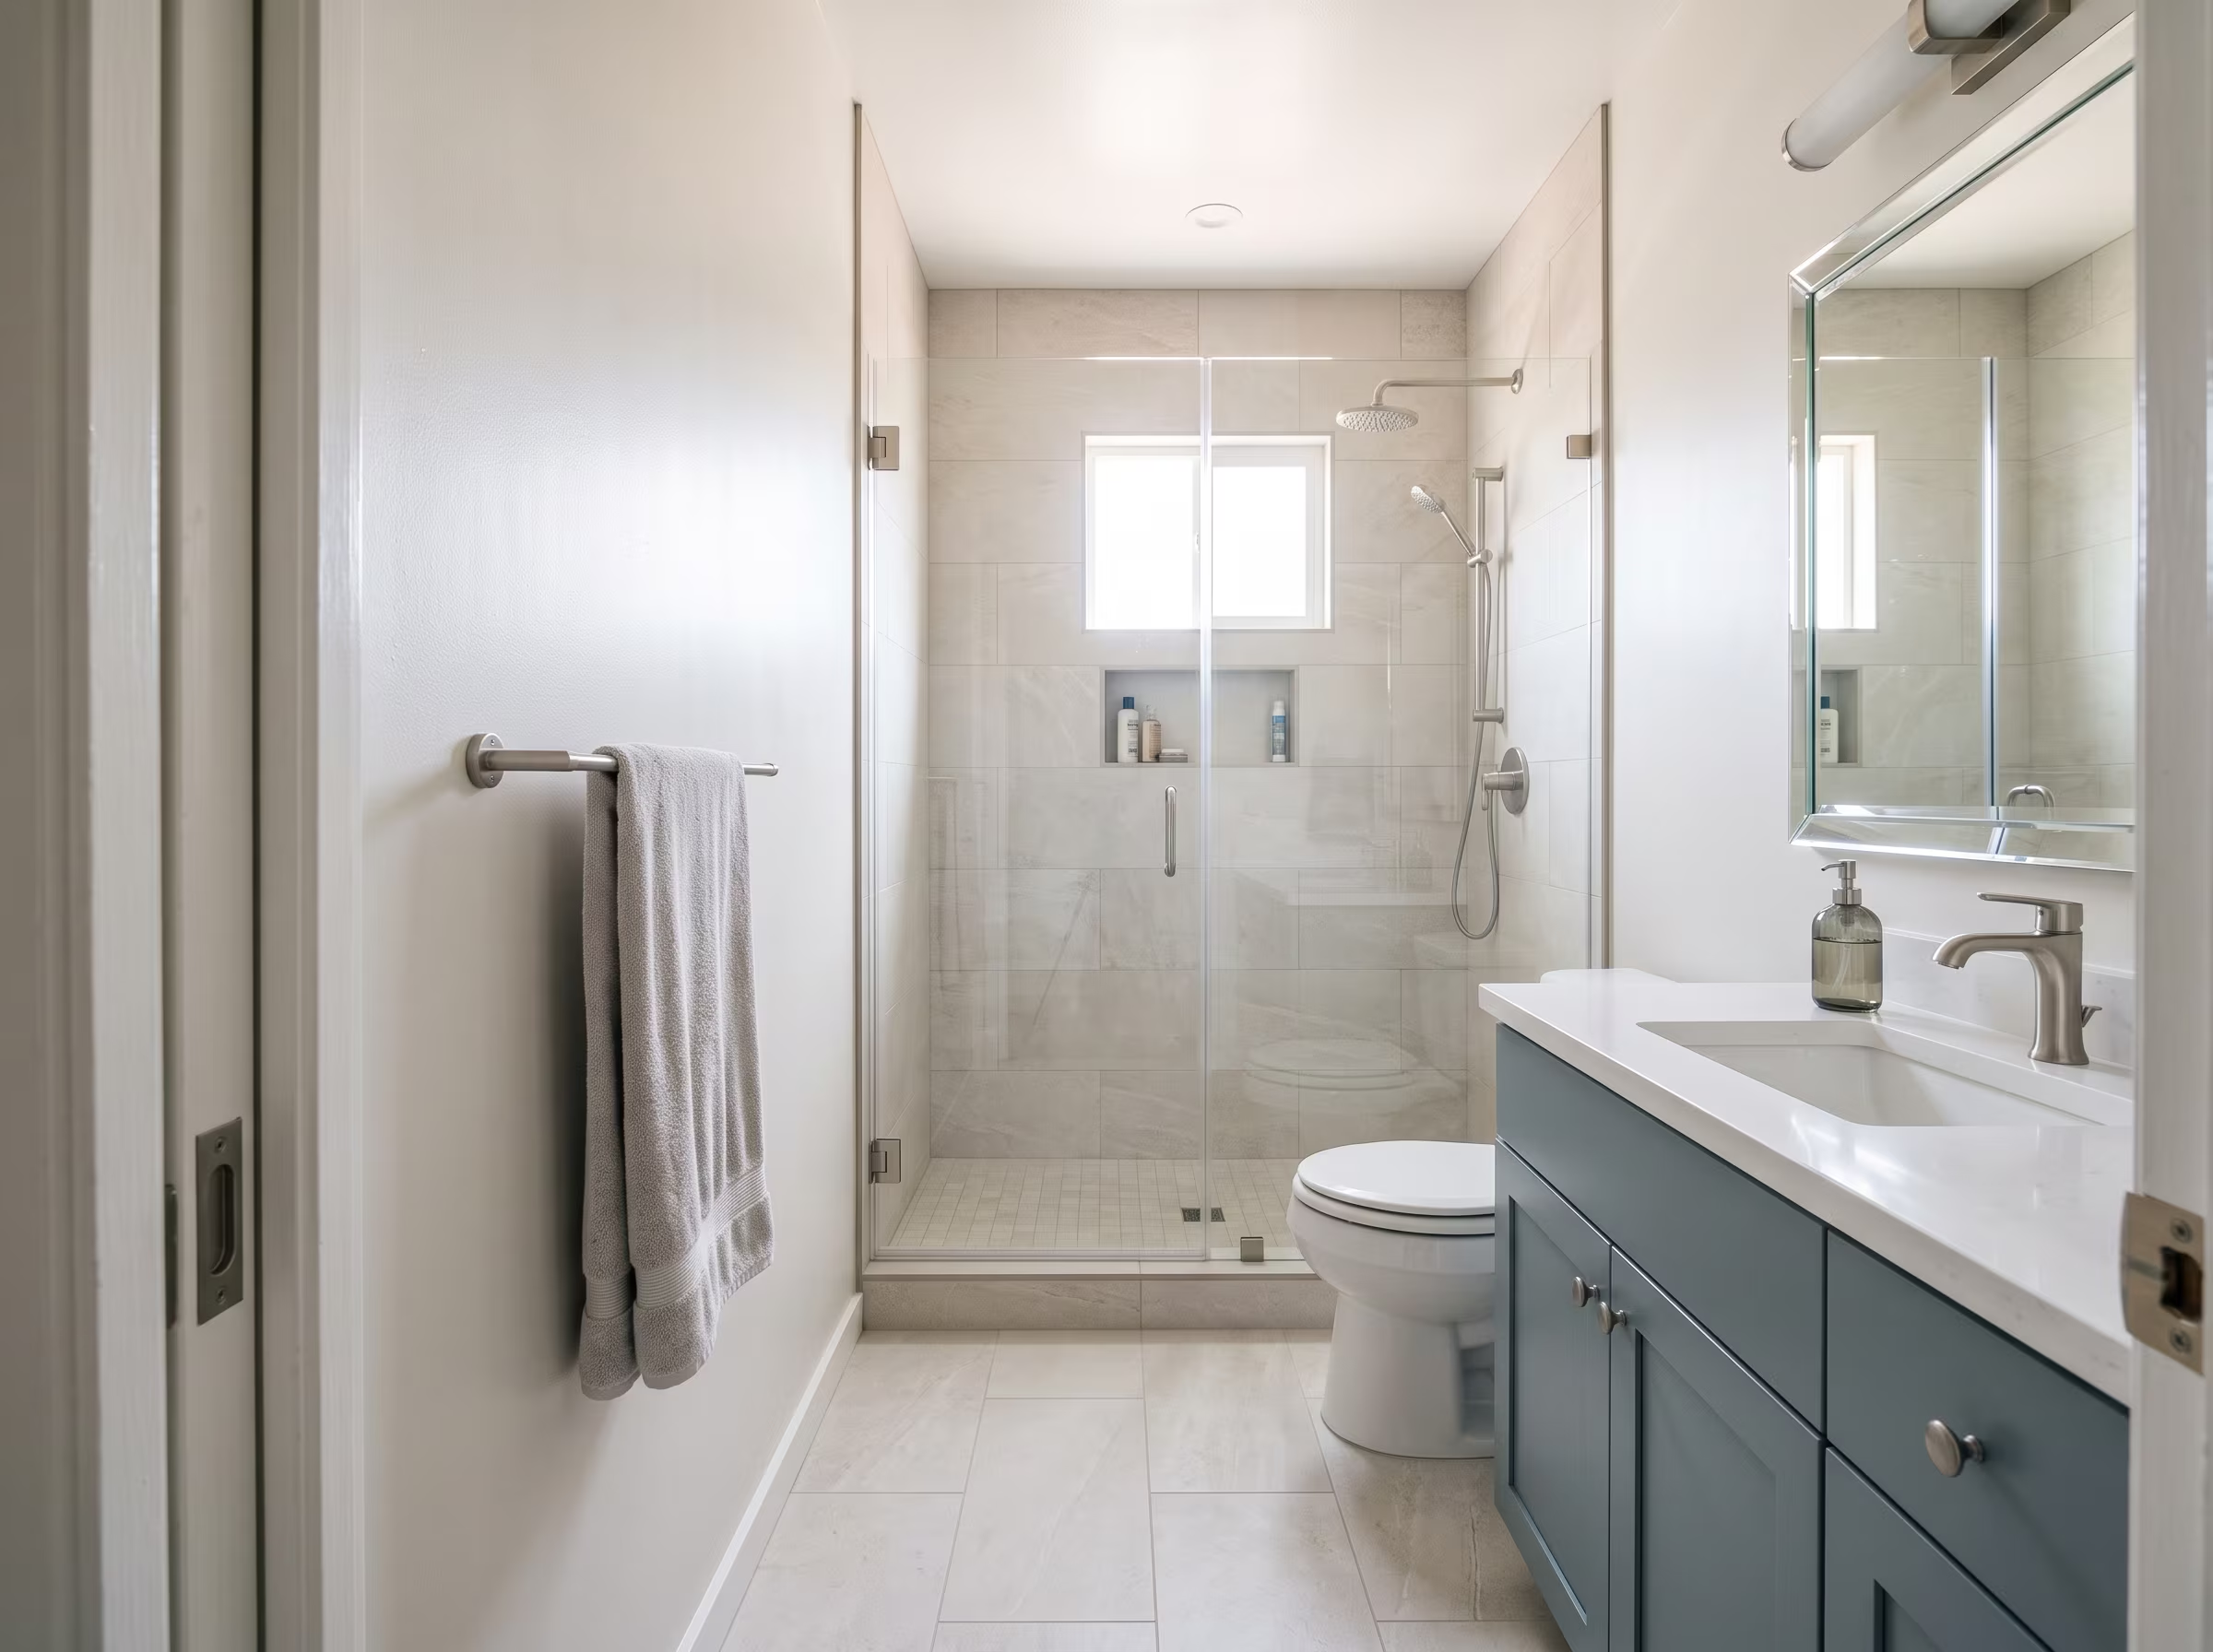
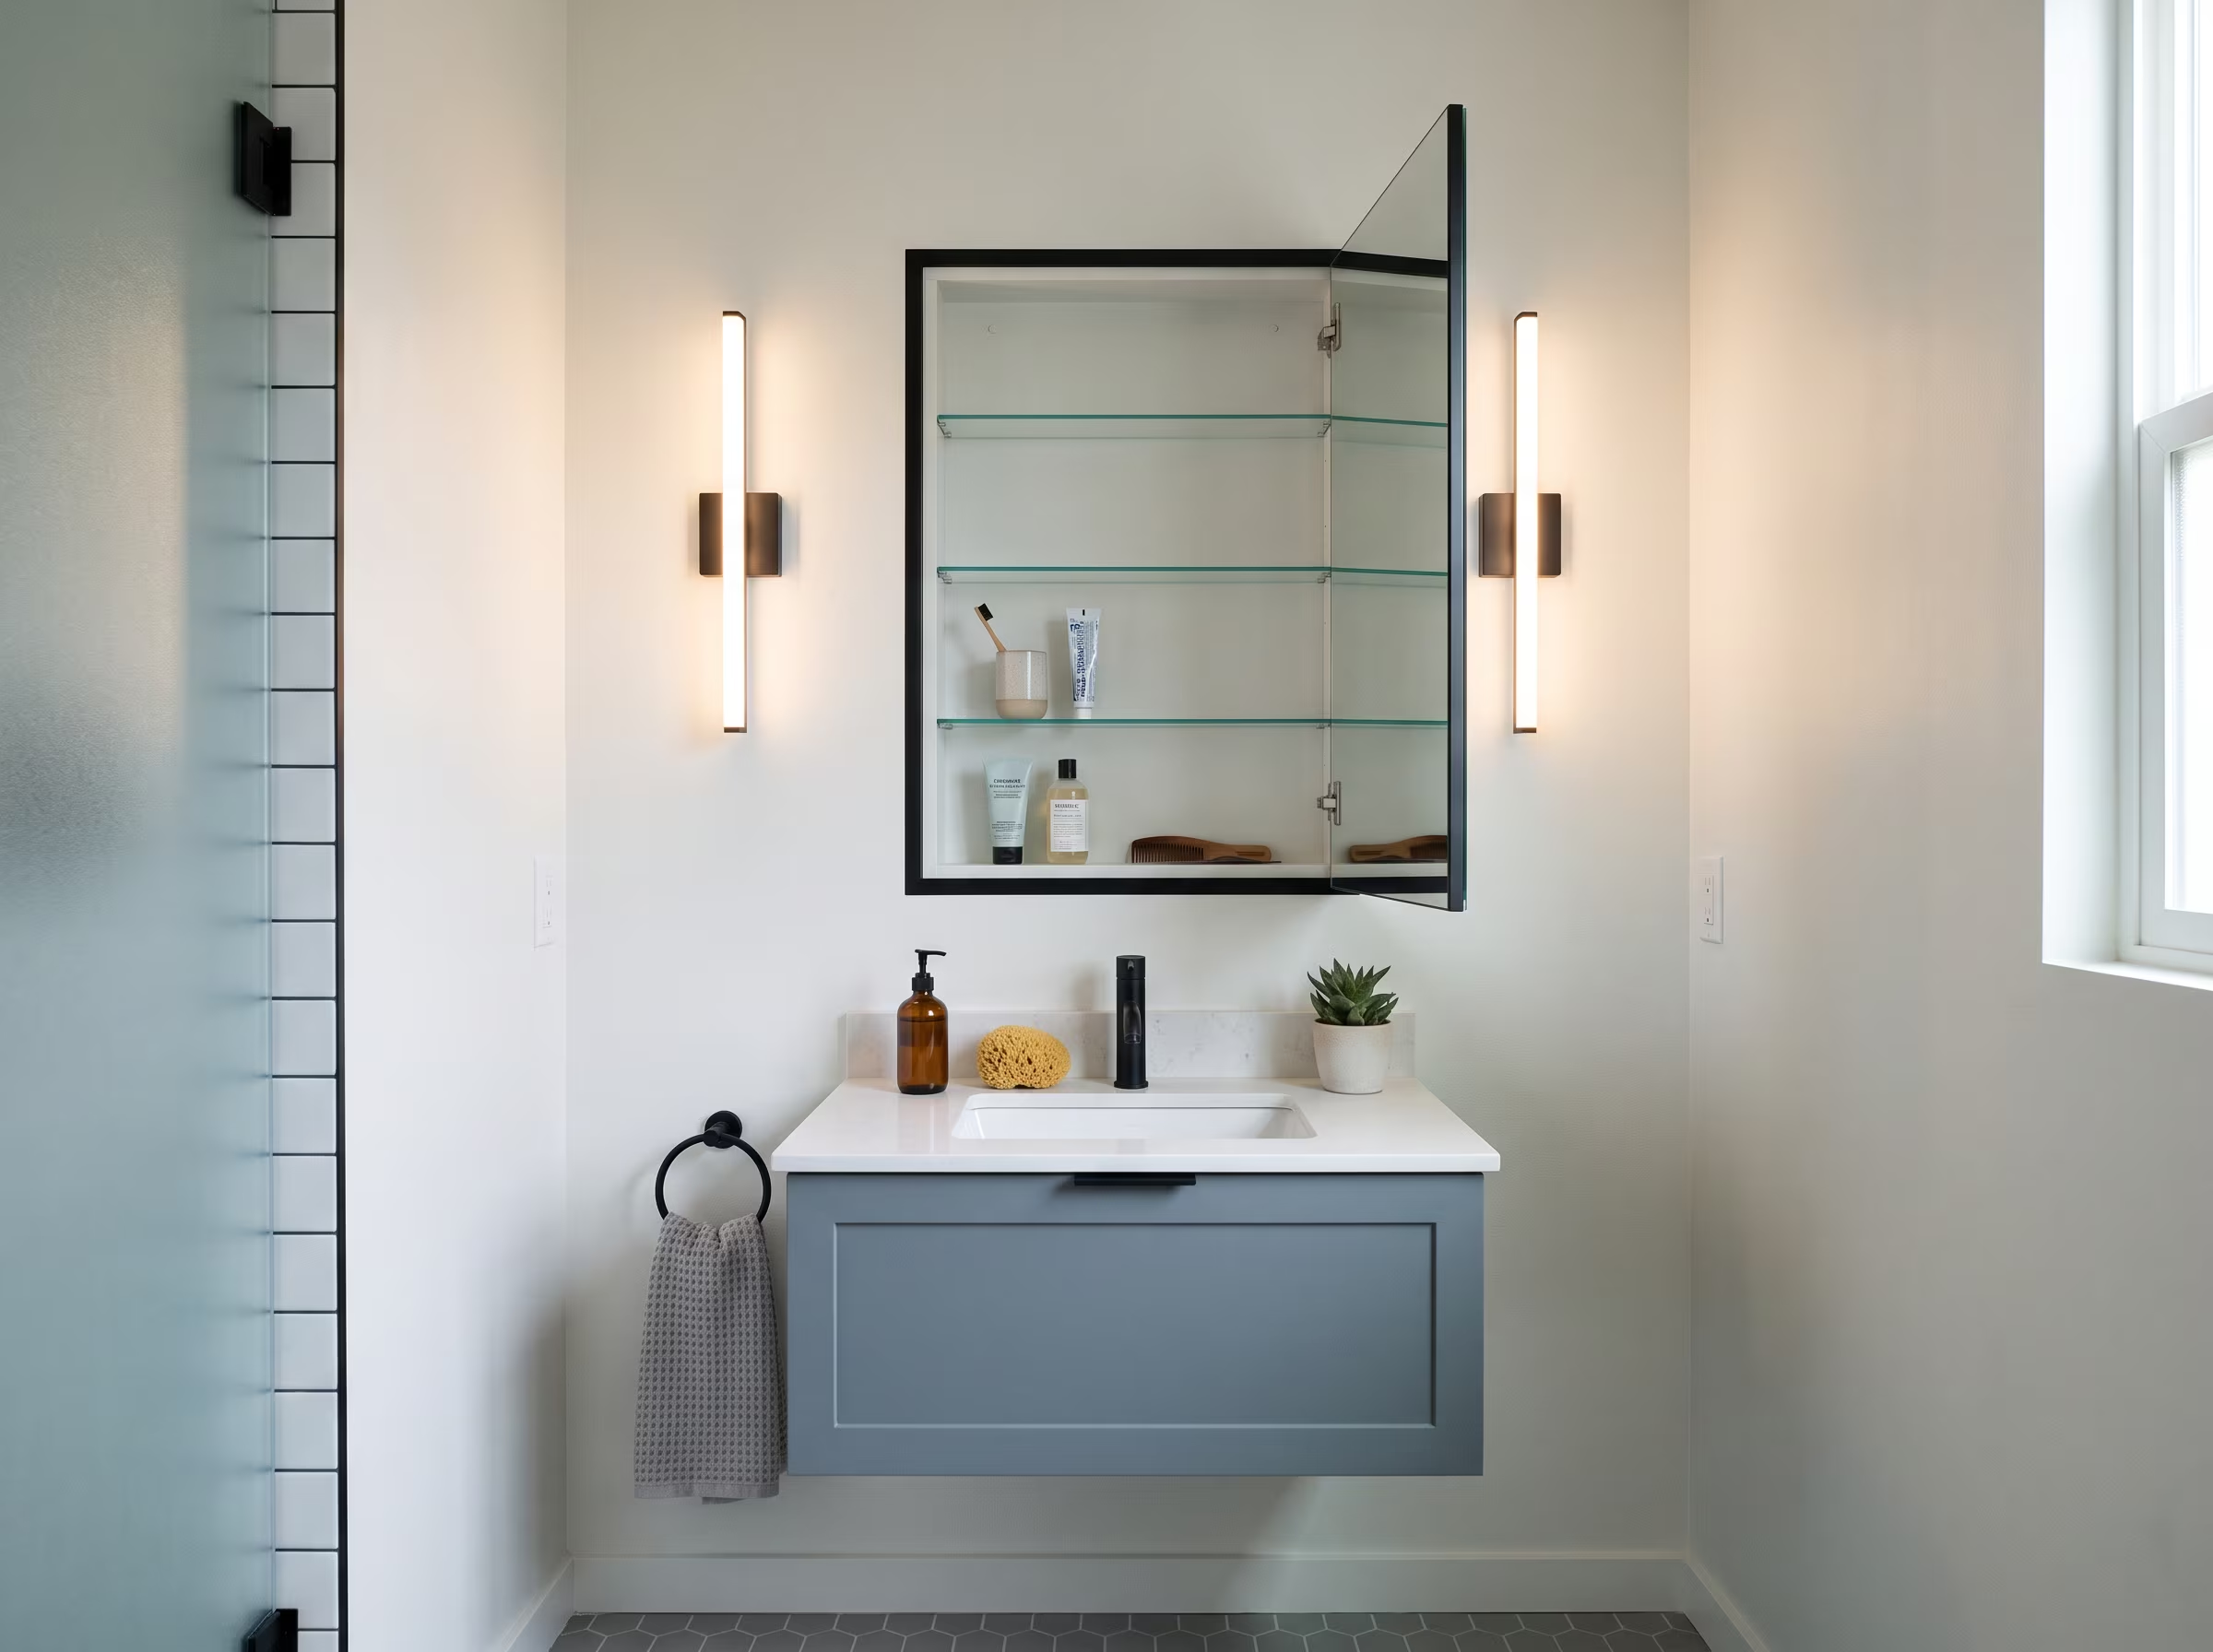 AFTER: Improved Layout
 01
01
 02
02
 03
03
 04
04
 05
05
 06
06

